Photo boards are an easy DIY with a big impact and M.J. from Pars Caeli is here to share her DIY photo board project. Starting with a large frame and some wire, you can create a piece of art and a place to hold precious memories. Take the first step (the one we often neglect) and get your photos off your phone. Seeing your images printed and in your hand is still such a satisfying way to enjoy your favorite people, great adventures, and everyday moments you don’t want to forget.


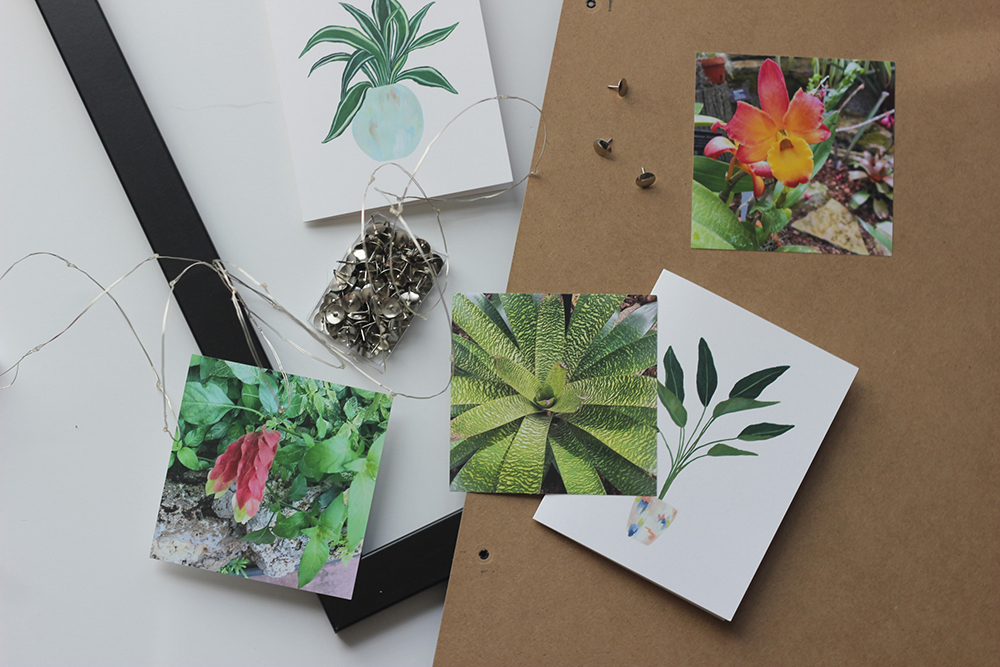
Photo boards are also a great money saver. Instead of spending to frame each image individually, you can group and cluster pictures for one larger composition. Photo boards are a great way to organize trip or event photos or to mark special anniversaries. We like combining our photos with a few treasured cards or mementos to add some depth and dimension to the collection.
DIY Photo Board Materials:
- Large non-metallic frame – the one in this project is a 20” x 24”. Look for a frame that is 1 or more inches thick.
- Thumbtacks
- Wire
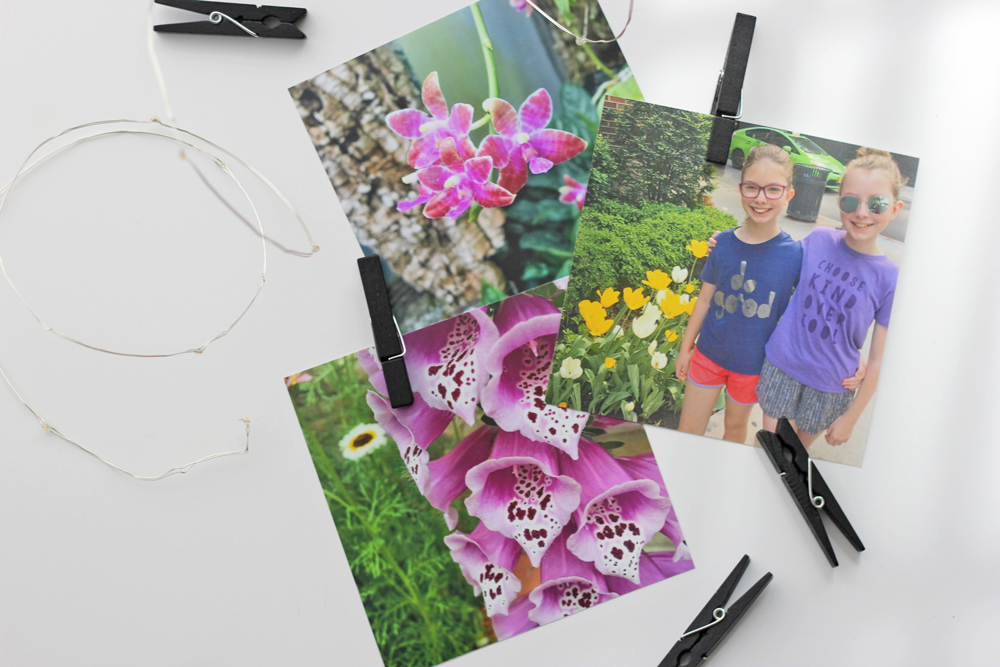
- Mini clothespins
- 10-20 of your favorite photo prints (these are printed in the 4” x 4” square option)
Directions:
Step 1: First, disassemble the frame, removing the backing, padding, and glass. You will need only the exterior frame.
Step 2: Next, lay out the photos that you’d like to display. Lay down the frame to get a sense for how many images will fit in the size that you have. Give each photograph some space to be seen, but don’t be too concerned about overlapping and layering in places as well.
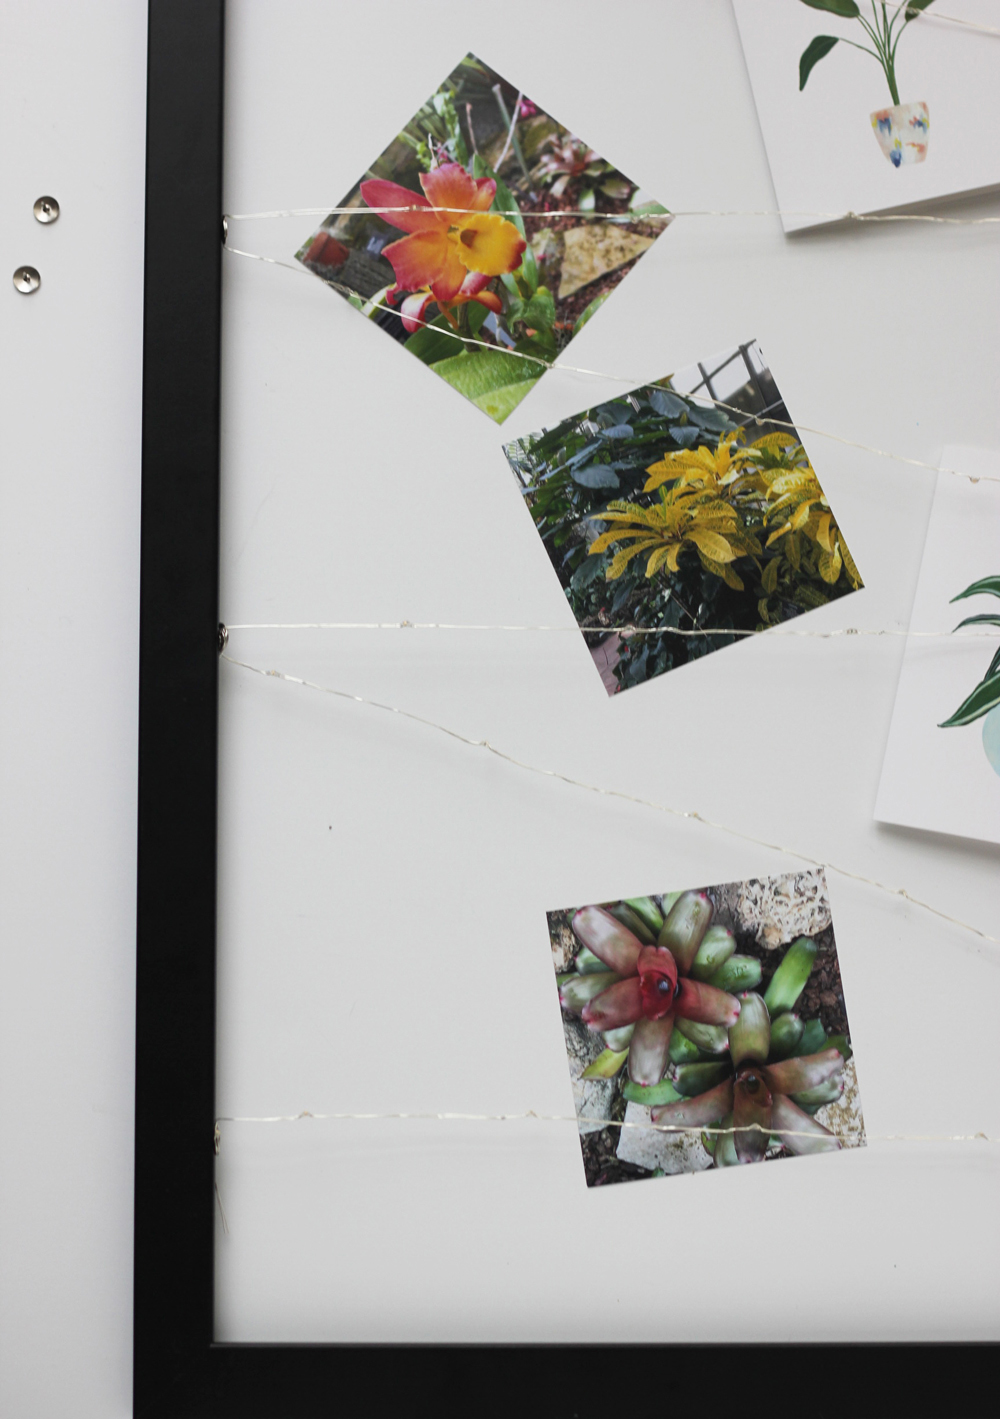
Step 3: Once you have images spaced, you can judge how far apart you want the wires. Since these images are 4 inches square, we spaced the lines of wire about 6-7 inches apart.
Take one of the thumbtacks and press (or lightly hammer if needed) the tack into the interior grooves of the frame. Make sure this is a secure connection, but keep in mind that the tacks won’t need to hold much weight.
Step 4: Repeat the process down one side of the frame. In this project, we used four tacks per side.
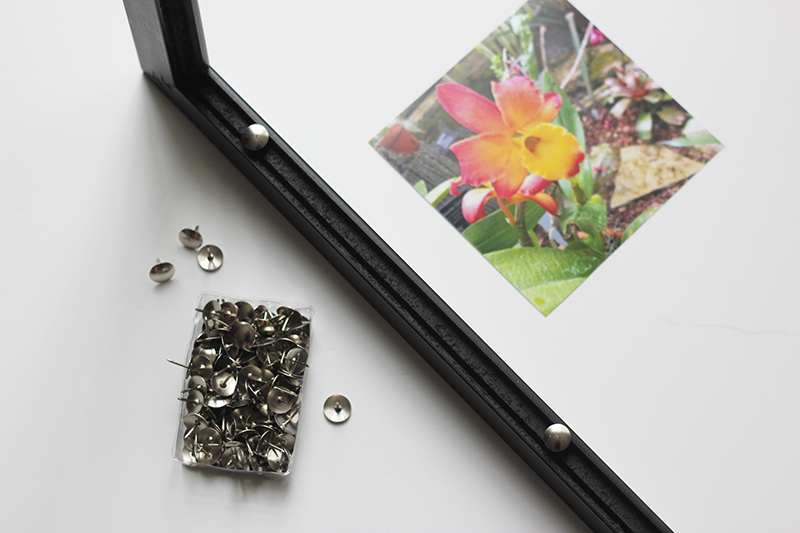
Step 5: Once you have your tacks down one side, repeat the same process on the opposing side. Place the tacks directly across (horizontally) from the first set of you pressed in.
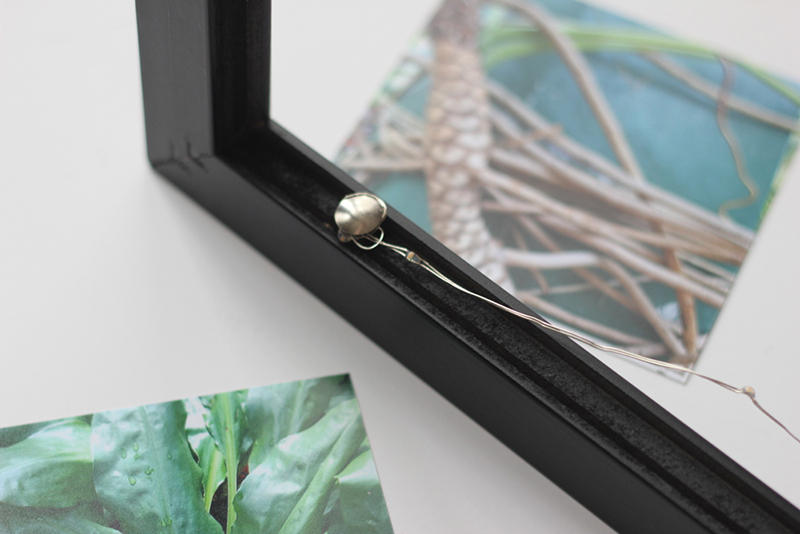
Step 6: Thread wire around and around the top tack and tug gently to secure. String the wire across to the top tack on the opposite side and continue stringing it, back and forth, until you’ve reached the bottom tack.
Step 7: Secure the final tack as you did the initial one, and trim off loose ends.
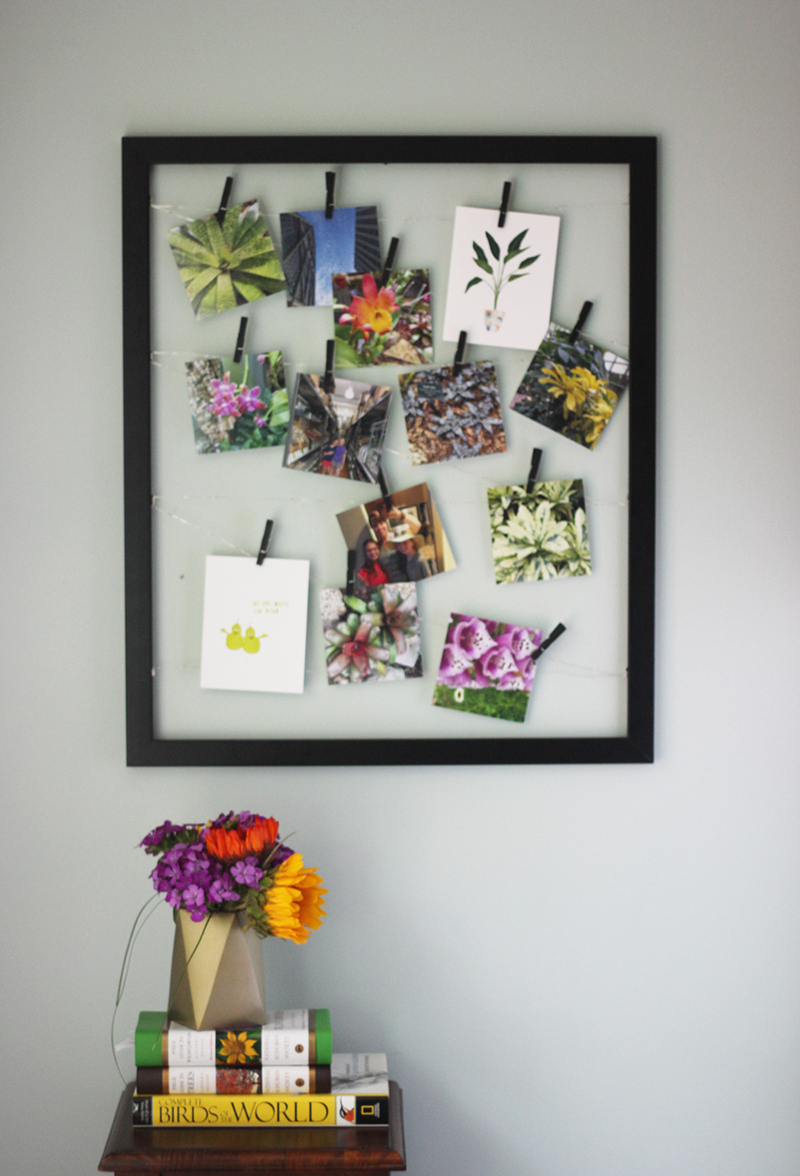
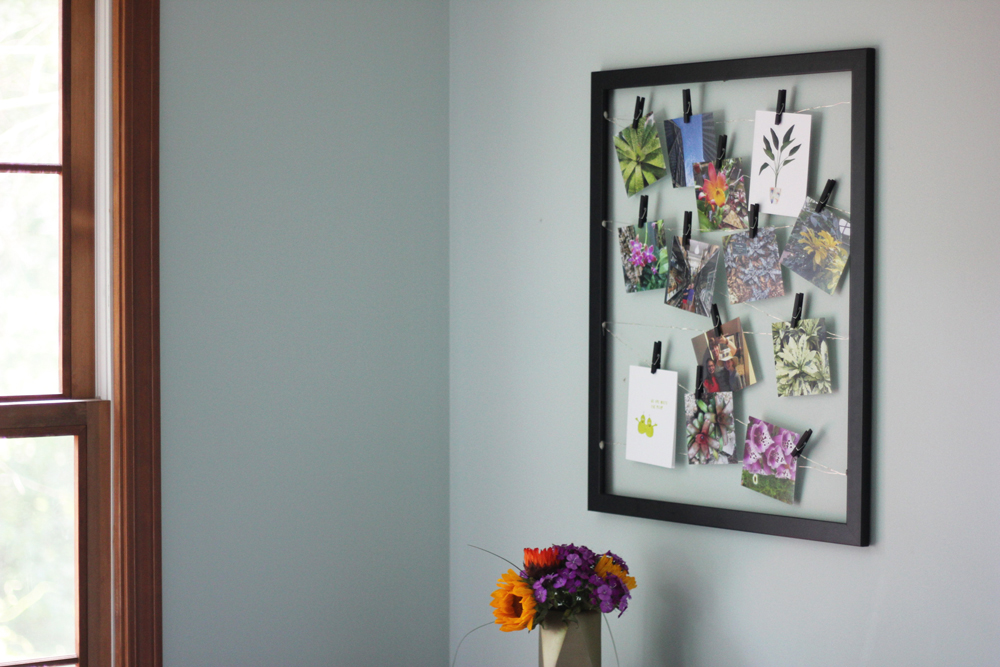
Step 8: Take your clothespins and place your photographs and other images on the wires. Remember that less might be more! We coordinated the frame with the clothespins for a unified look, but you can also add more color through paper clips or painted clothespins.
Also, consider using “fairy lights” as your wire. These are super thin lights that could brighten up your display as they also hold your photos! Just attach the battery pack onto the back of the frame with hot glue to keep it fastened.
Don’t forget to visit our guides on fresh wall art ideas, DIY photo frames and see our inspirational quotes for your print projects.
Follow Pars Caeli on Instagram for more inspiration


