


Adding text to a photo book is what turns a collection of images into a story. Captions, dates, and short notes give your photos context—so years from now, you don’t just remember what it looked like, but what it felt like.
Whether you’re creating a family album, travel book, or gift, the right mix of photos and text helps shape a story that’s clear, personal, and easy to revisit.

What to Write in a Photo Book
If you’re not sure what to include, start simple—most photo books rely on short captions and a few key details to bring each page to life. You don’t need long paragraphs, just enough to add meaning to each moment.
Here are the most common ways to use text in a photo book:
- Captions: Short descriptions that explain what’s happening in the photo
“First day at the lake — Summer 2025” - Dates and locations: Anchor your memories in time and place
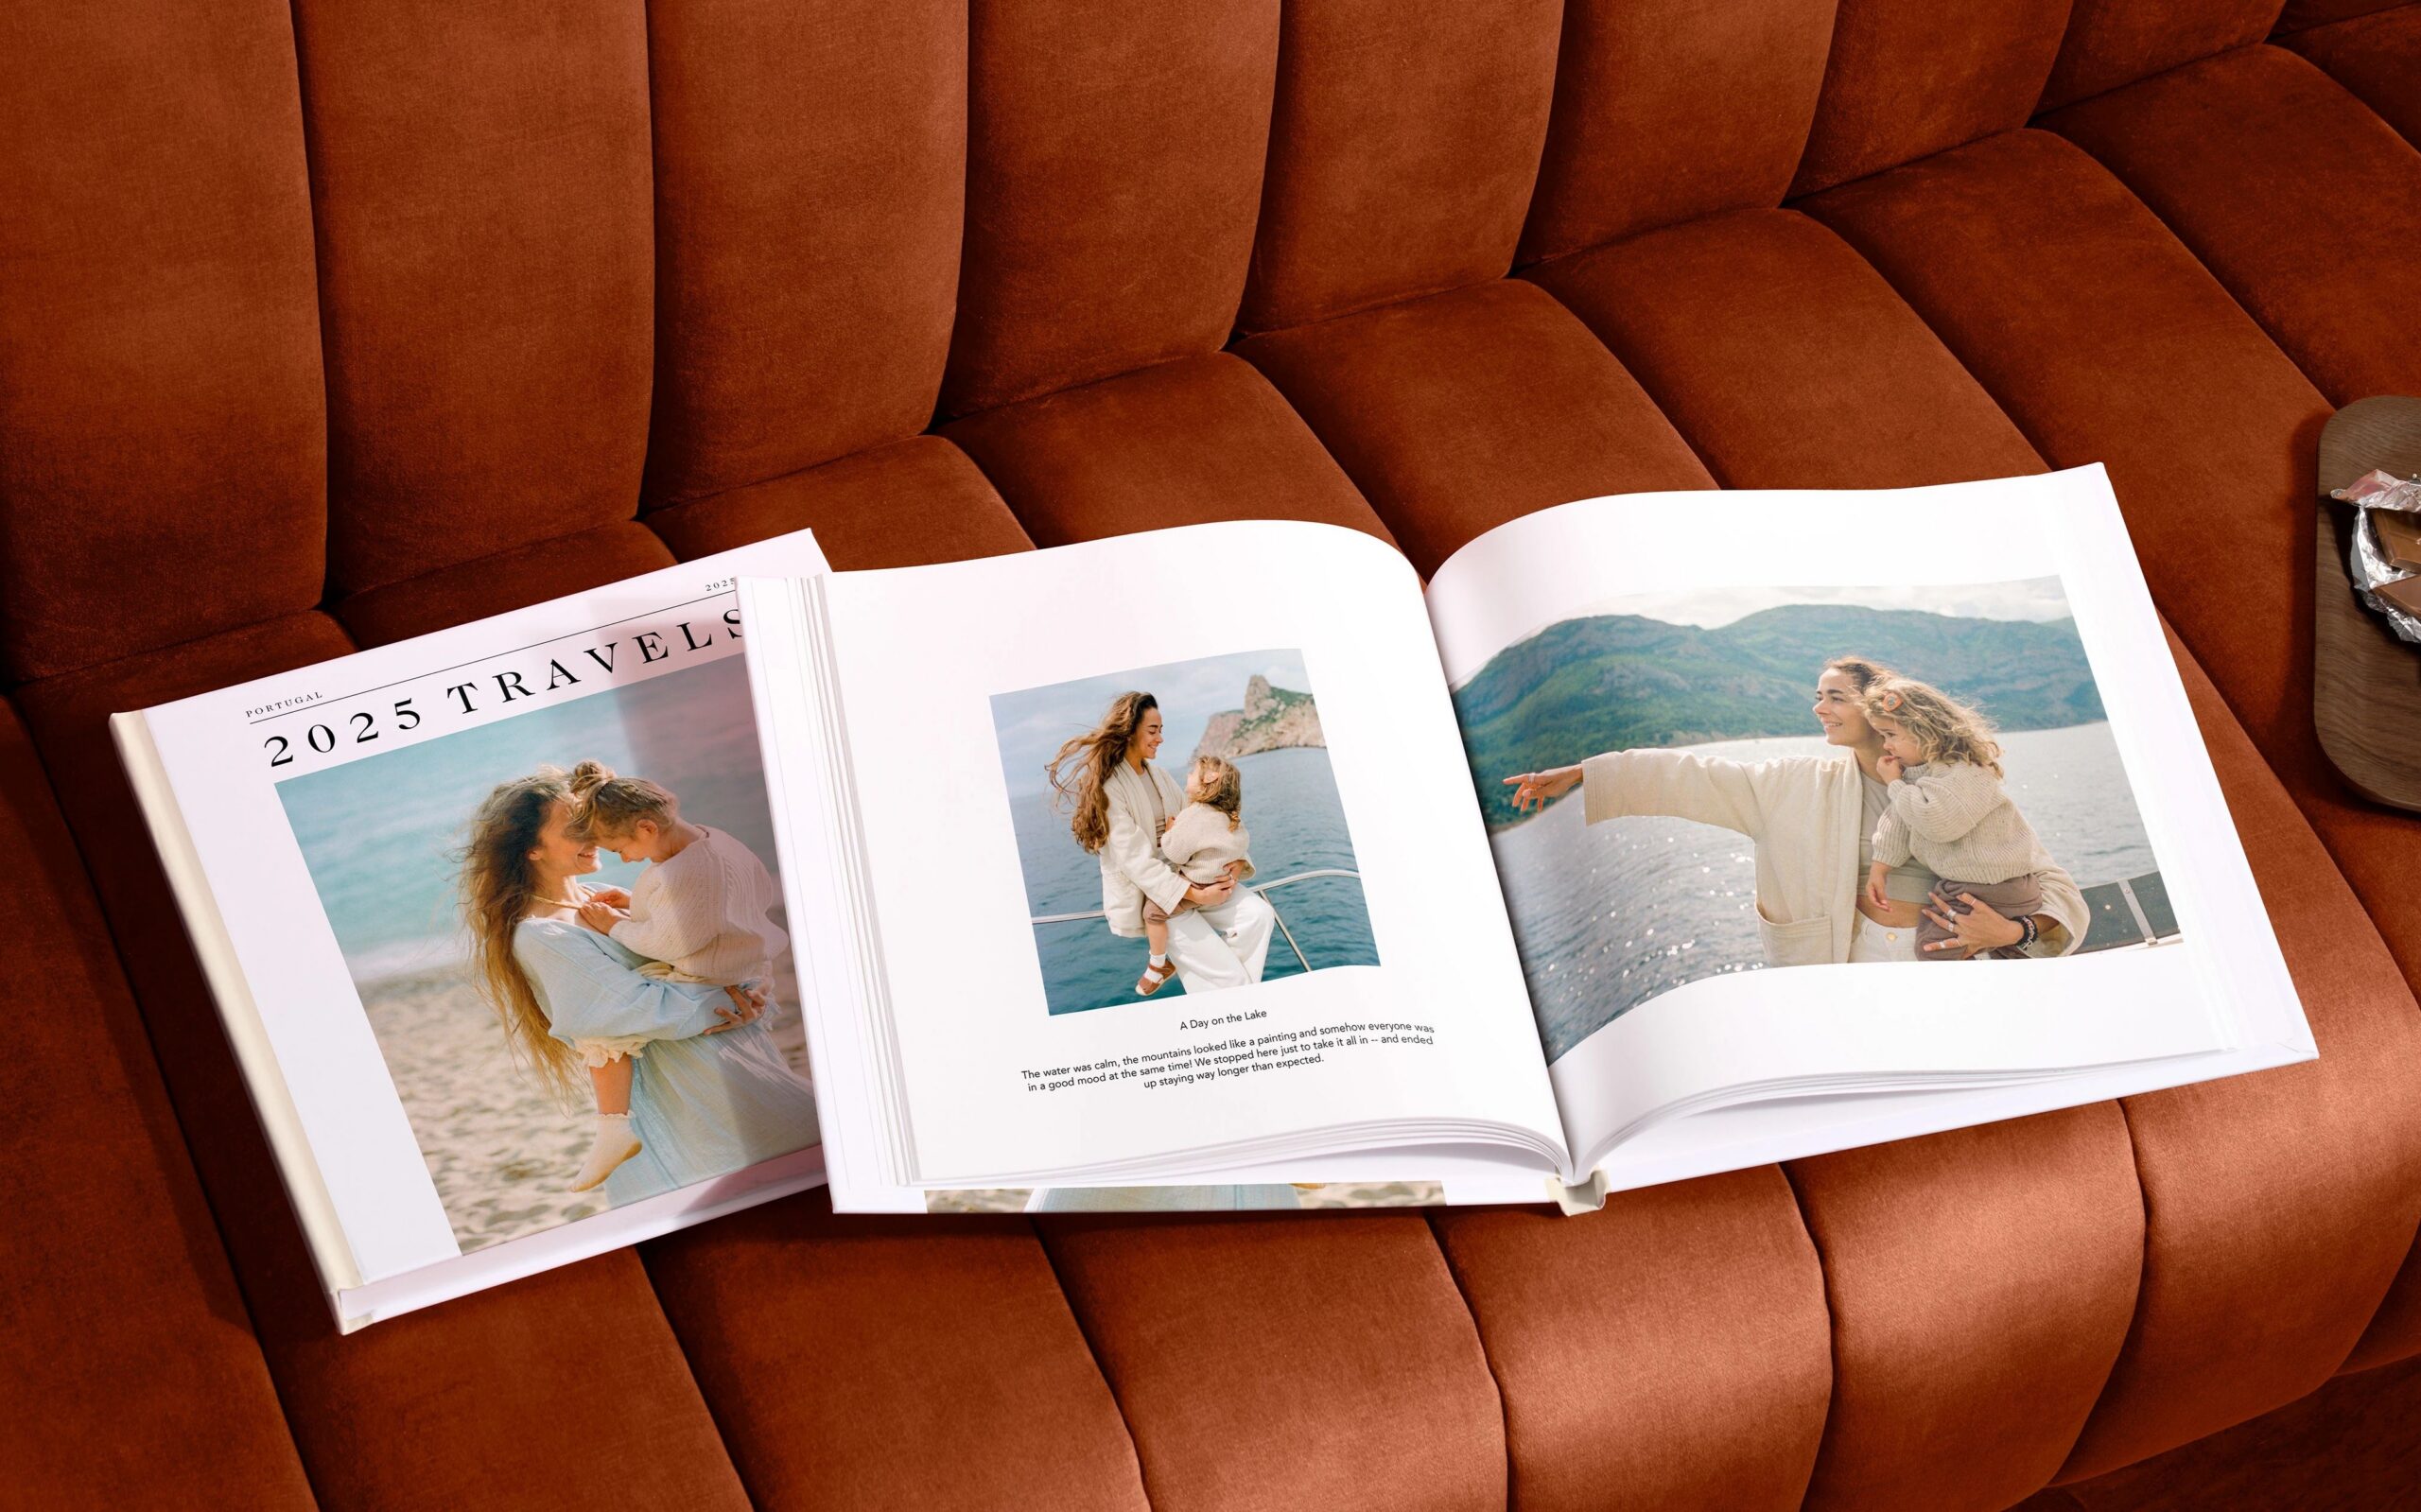
“Maui, Hawaii · June 2024” - Short stories or notes: Add a sentence or two for moments that need more context
“We almost missed this sunset, but it ended up being our favorite night of the trip.” - Quotes or sayings: Great for milestone books or gifts
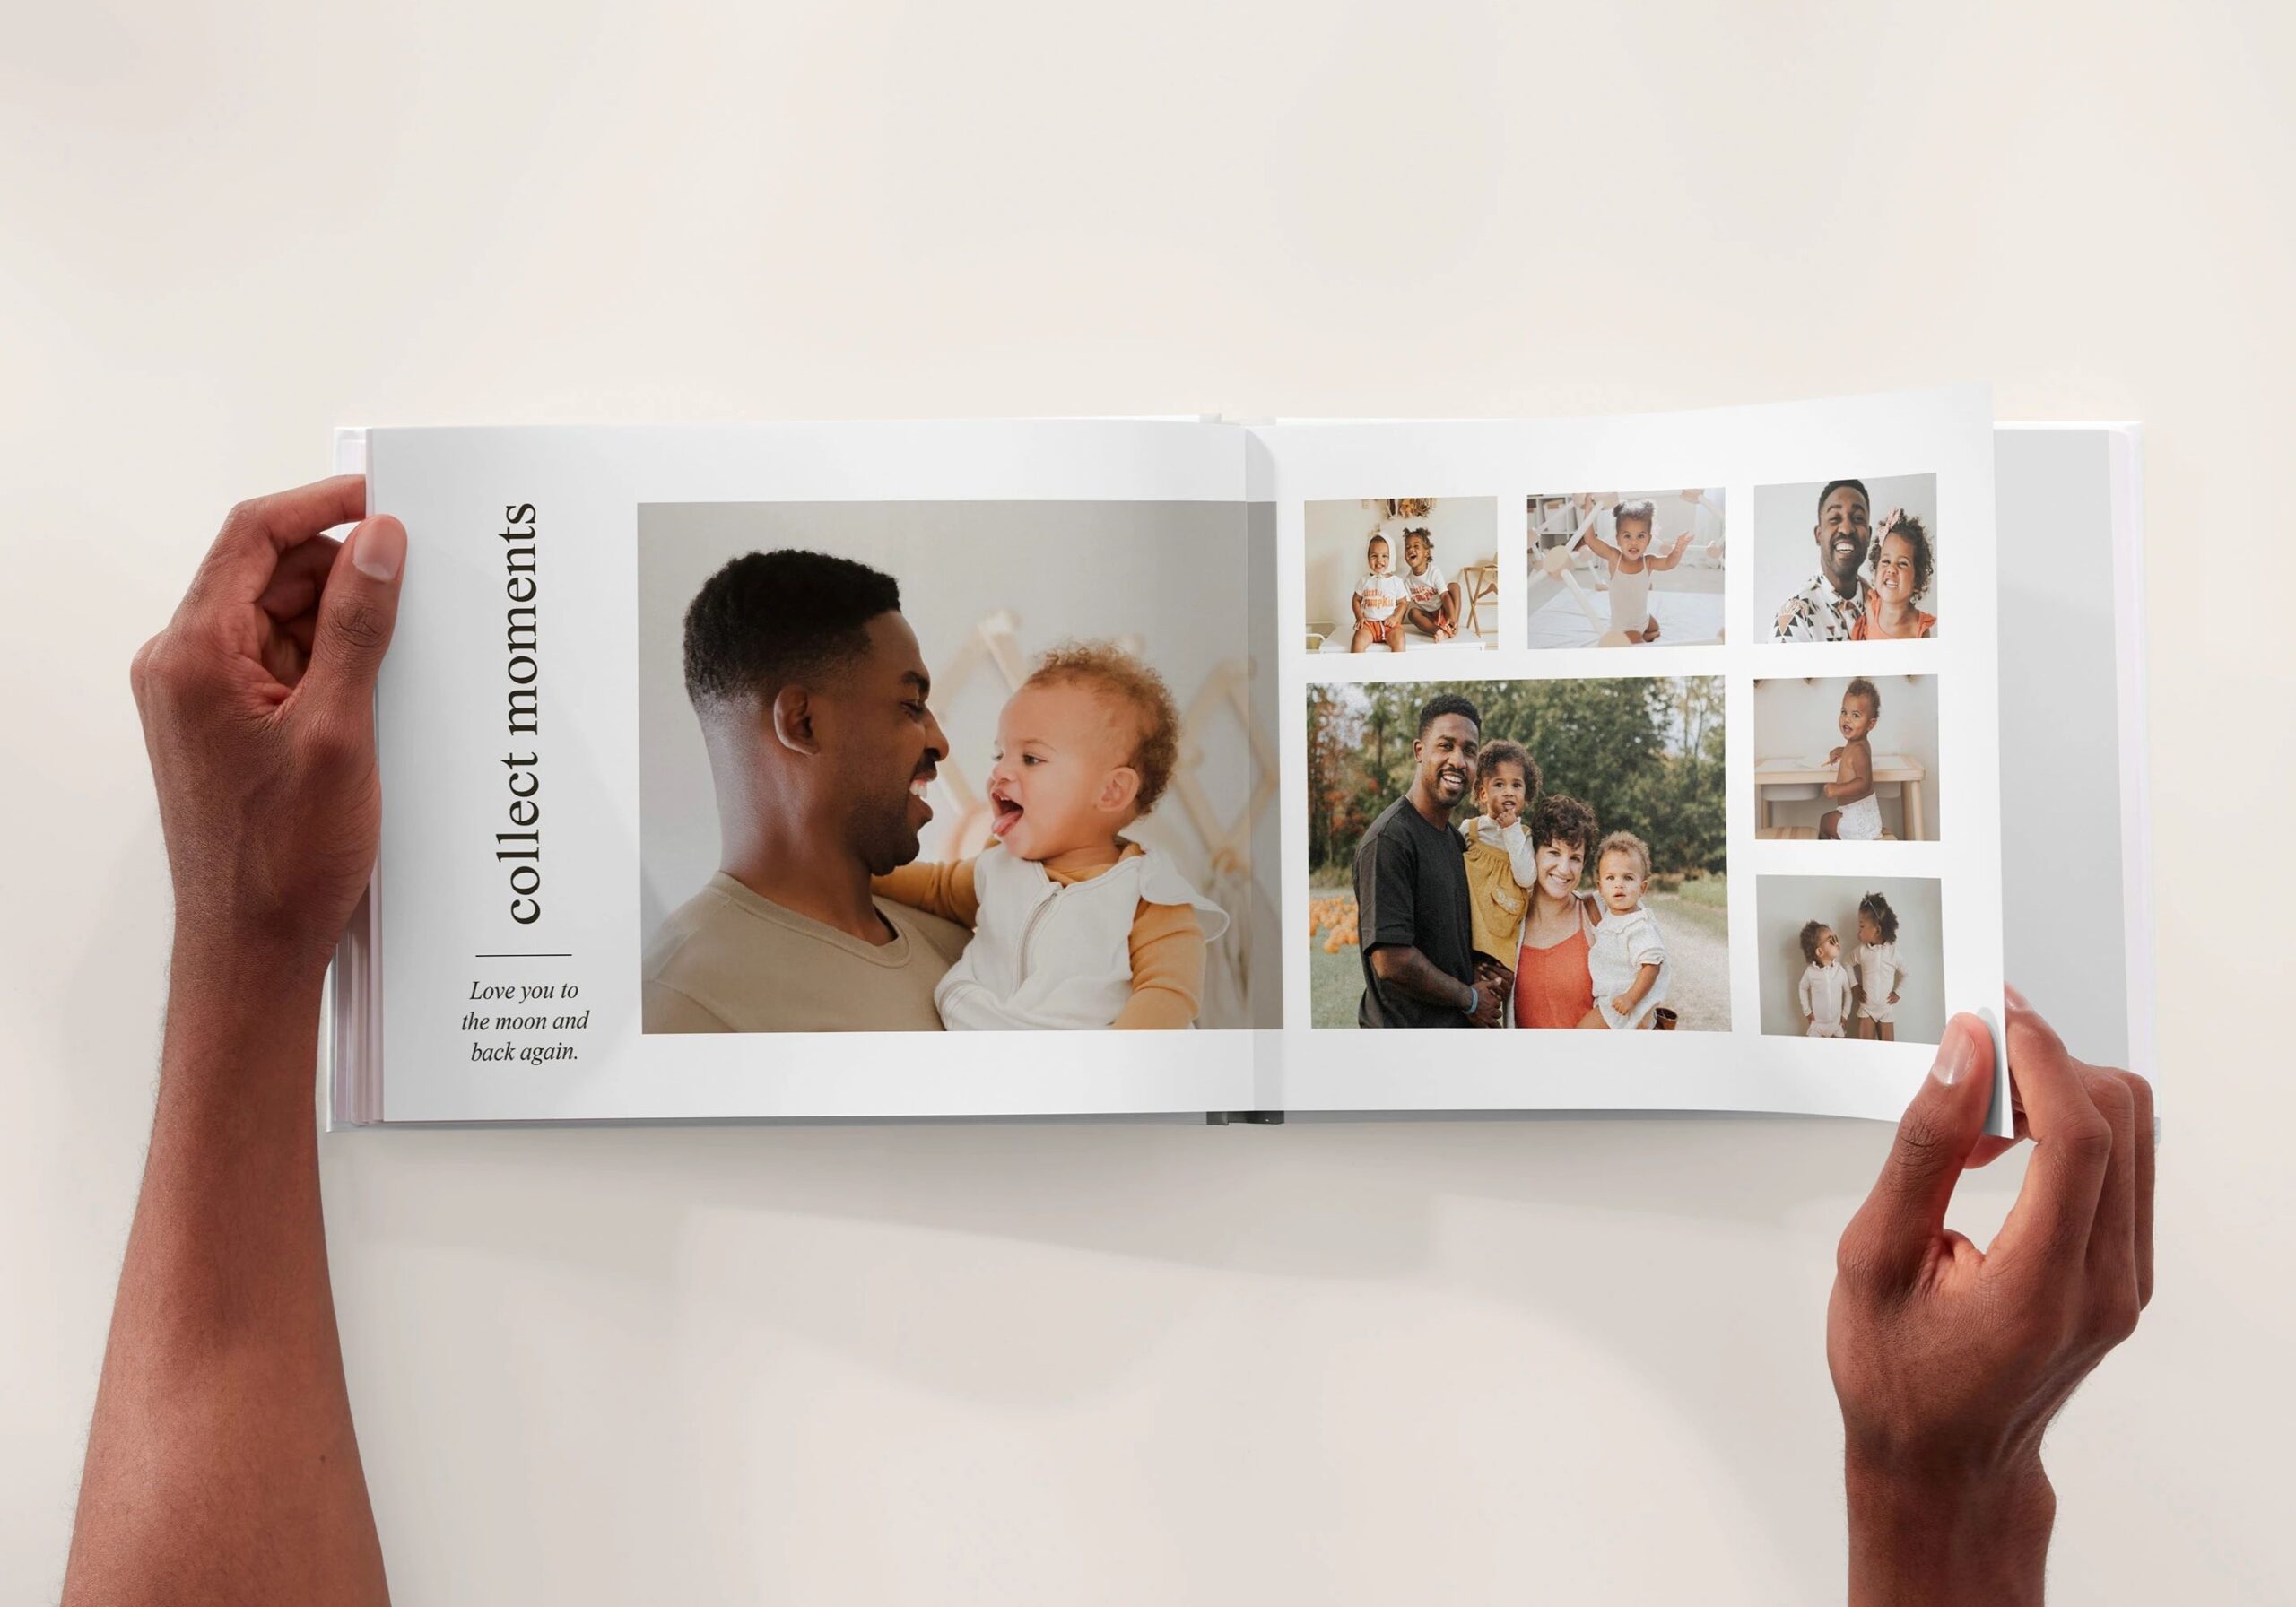
“The best is yet to come.” - Milestones or highlights: Call out key moments
“First steps” or “Graduation Day”
You don’t need to use all of these on every page. A mix of short captions and occasional longer notes usually creates the best balance.
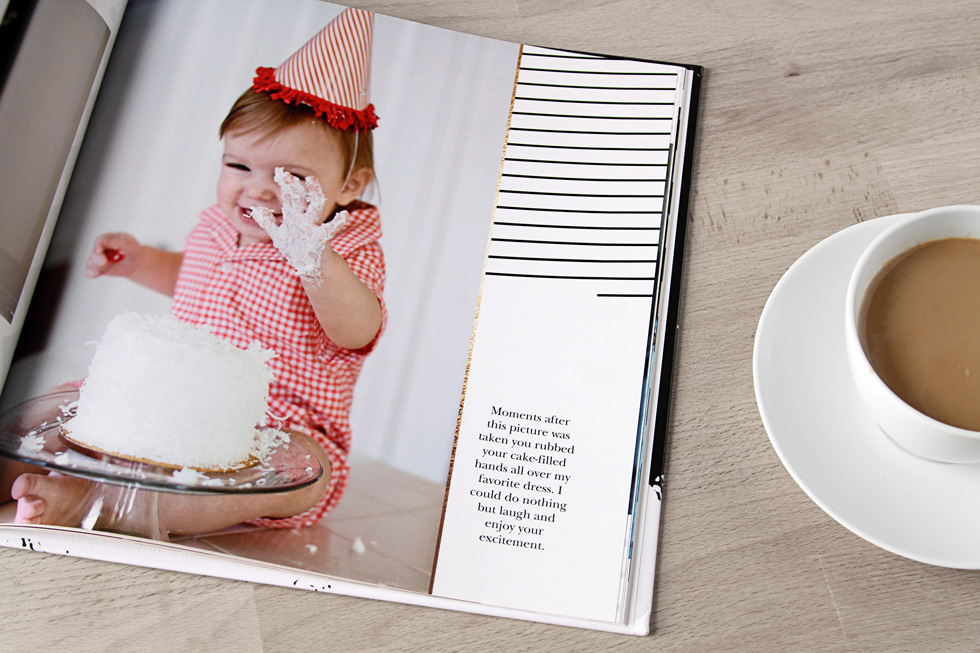
Photo Book Caption Ideas by Occasion
If you’re stuck on what to write, start with simple, natural language. These examples are meant to be used as-is or adapted to your photos.
Travel Photo Book Captions
- “Day 3: Exploring the city”
- “Views we didn’t want to leave”
- “Worth every mile”
- “Sunset over the coast”
- “Our favorite stop on the trip”
Baby Photo Book Captions
- “Hello, world”
- “One month old”
- “First smile”
- “Tiny moments, big memories”
- “Growing a little more every day”

Wedding Photo Book Captions
- “The best day of our lives”
- “Just married”
- “Surrounded by love”
- “From this day forward”
- “Every moment, every detail”
Family Photo Book Captions
- “Sunday together”
- “At home, where we belong”
- “The little moments”
- “Another year of us”
- “Memories in the making”
Graduation or Yearbook Captions
- “Class of 2026”
- “The next chapter starts now”
- “Made it”
- “Years in the making”
- “On to what’s next”
Keep captions short and specific. You’ll appreciate the clarity later more than something overly clever.
How to Add Text to a Photo Book
Once you’re in the photo book builder and placing your photos, you can add text anywhere on the page to start shaping your story.
To add and customize text in your photo book:
- Click “Add Text Box” from the toolbar
- Drag and place the text box anywhere on your page
- Double-click to start typing your caption or story
- Resize or rotate the box to fit your layout
- Choose your font, size, and color
- Adjust alignment, background color, and opacity for readability
- Use preset text styles (like headline or caption) to stay consistent
Your text settings will carry over as you add more boxes, making it easy to keep a cohesive look across every page.
How to Design Photo Book Pages With Text

Where and how you place text matters just as much as what you write.
A few layout approaches that work well:
- Captions below photos: Clean and easy to read, especially for albums with lots of images
- Text overlays: Place text directly on the photo for a more modern look (just make sure it stays readable)
- Full text pages: Use a dedicated page for longer stories, intros, or reflections
- Mix of layouts: Combine full-page images, collages, and text-focused pages to keep your book visually interesting
Try not to treat every page the same. For example, you might open a section with a full-page photo and a short title, then follow it with a collage page that includes smaller captions. Variation helps your book feel more dynamic and intentional.
Tips for Balancing Text and Photos
It’s easy to overdo text—or skip it entirely. The goal is to support your photos, not compete with them.
- Keep it readable: Choose simple fonts and make sure text contrasts well with the background
- Don’t overcrowd pages: If a photo stands on its own, let it
- Use longer text sparingly: Save paragraphs for key moments
- Stay consistent: Stick to a few fonts and styles throughout your book
- Think in layers: Photos draw attention first, text adds meaning second
A good rule of thumb: if your eye doesn’t know where to look first, simplify the page.
Start Telling Your Story
The best photo books don’t just show what happened—they explain why it mattered. Adding captions, dates, and small details helps turn everyday photos into something you’ll actually want to revisit—and remember clearly over time.
As you build your book, focus on clarity over perfection. A simple caption in the right place can do more than a fully designed page with no context.
When you’re ready, you can start creating your photo book and add text as you go—one memory at a time.
Additional Resources: