
Ideas & Inspiration
We’re here to inspire and celebrate ways to stay connected to those who matter most. Share memories on your lifetime journey. Whether you’re looking to make the perfect photo book, greeting card, or decorative wall art, we’ve got you covered. Explore our innovative home decor tips, fun family activities, and creative ways to preserve your favorite photos.
How to Make a Photo Book
Learn how to make a photo book with Shutterfly. Choose templates, customize pages, add text, and create a personalized photo book from start to finish. 4 min read


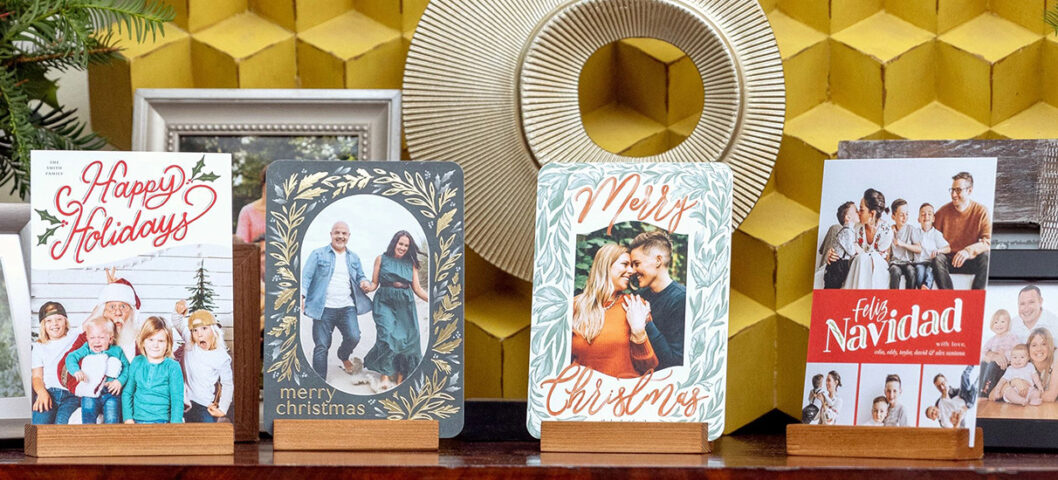
How to Print Your Canva Christmas Card Design
Created a Canva Christmas card design? Learn how to upload your design to Shutterfly, customize your order, and print beautiful holiday cards. 3 min read
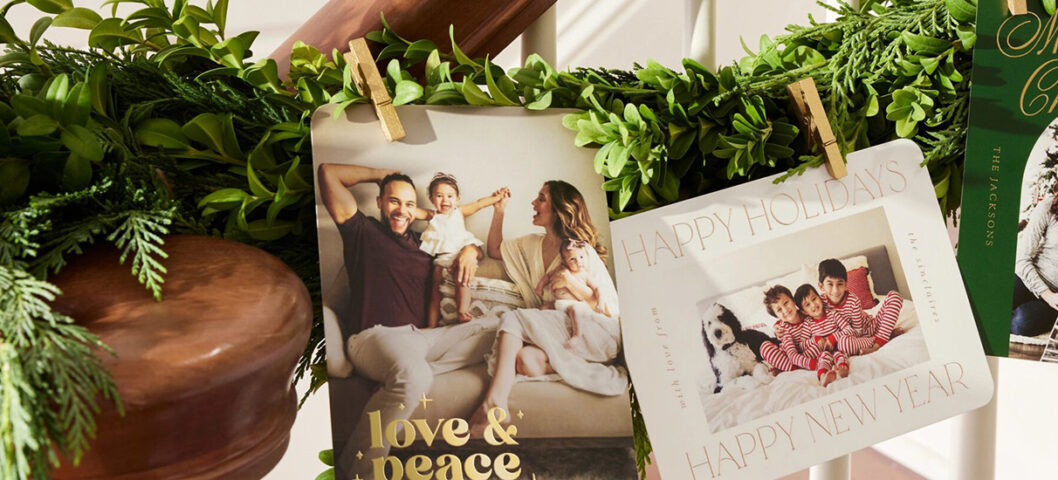
Cyber Monday Christmas Cards: Holiday Card Deals
Save on Christmas cards during Shutterfly's Cyber Monday sale. Learn when to shop, what to expect, and how to order your holiday cards for less. 4 min read
Black Friday Christmas Cards: Save on Holiday Cards
Save on Christmas cards during Shutterfly's Black Friday sale. Learn when to shop, what to expect, and how to get your holiday cards for less. 4 min read

How to Upload Google Photos to Shutterfly
Learn how to upload Google Photos to Shutterfly in just a few steps. Import photos directly into your library or projects to create personalized keepsakes. 4 min read
How to Use Personalized Note Cards
Discover thoughtful ways to use personalized note cards, from thank you notes to business correspondence, plus etiquette tips for every occasion. 3 min read
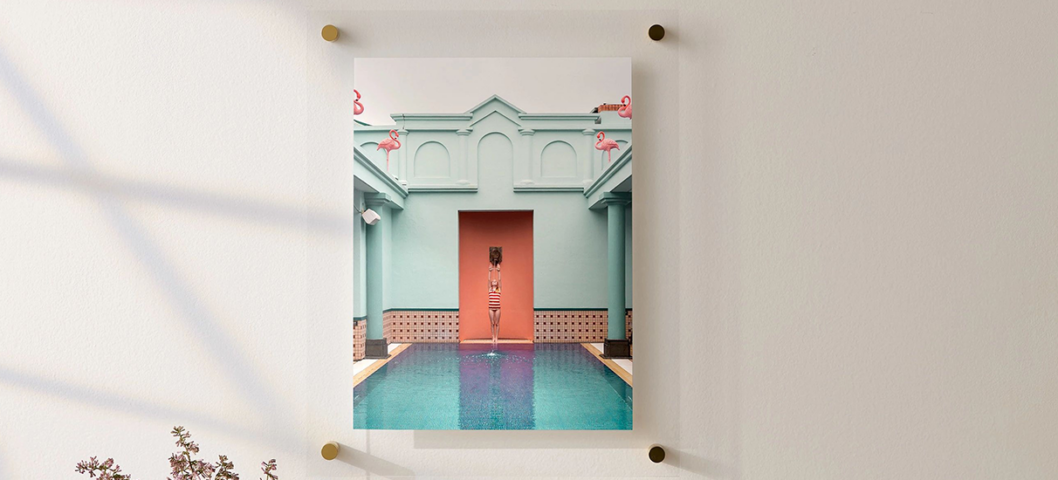
What Are Acrylic Prints? A Complete Guide to Acrylic Photo Prints
Learn what acrylic prints are, how acrylic photo prints are made, customization options, available sizes, care tips, and more before you order. 6 min read

Photo Christmas Ornament Ideas for Every Occasion
Discover photo ornament ideas for family, pets, weddings, memorials, baby's first Christmas, vacations, and more to create personalized keepsakes. 7 min read
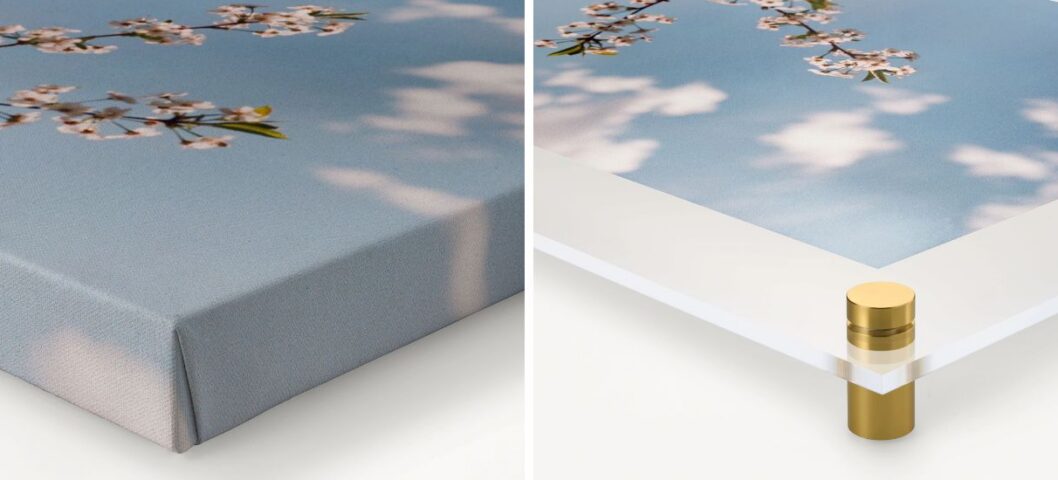
Canvas vs. Acrylic Prints: What’s the Difference?
Compare canvas vs. acrylic prints to learn the differences in finish, texture, durability, glare, and display style before choosing your wall art. 5 min read

Photo Book Layout Ideas: Creative Ways to Design Every Page
Discover creative photo book layout ideas, from full-page spreads and collages to captions and white space, to tell your story beautifully. 5 min read

Personalized Family Ornaments for Every Milestone
Create personalized family ornaments with Shutterfly. Discover creative ways to celebrate family photos, milestones, and holiday traditions. 2 min read