
DIY
Sometimes it’s best to just do it yourself! You don’t have to be a professional designer to know that DIY projects are fun and often the best way to create the products you truly want. Browse our DIY articles for fun inspiration to create your own home decorations, Christmas decor, greeting cards and more. With Shutterfly, you can use DIY inspiration to customize gifts, decor, cards, and much more with our variety of personalization options.

Photo Christmas Ornament Ideas for Every Occasion
Discover photo ornament ideas for family, pets, weddings, memorials, baby's first Christmas, vacations, and more to create personalized keepsakes. 7 min read

How To Make Personalized Christmas Ornaments
Learn how to make personalized Christmas ornaments with this step-by-step guide. Customize ornaments with photos, text, and festive designs. 3 min read
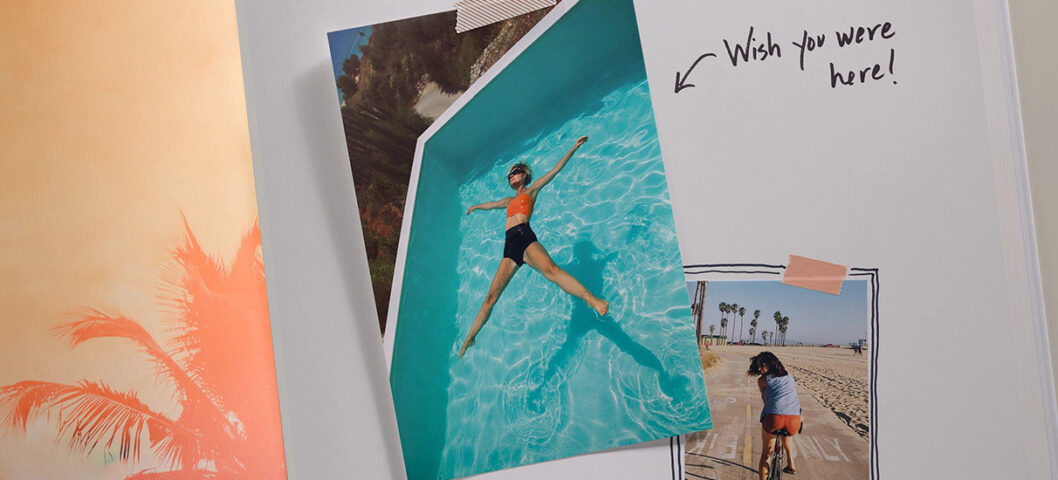
Scrapbook Ideas to Turn Your Favorite Photos Into Something Personal
Get inspired with creative scrapbook ideas for travel, summer, weddings, friendships, family memories, and more using photo prints, keepsakes, and DIY layouts. 6 min read
How to Turn Your Canva Designs Into Shutterfly Products
Upload your Canva designs to Shutterfly to create cards, wall art, and gifts. Learn how to export, upload, and print your design. 4 min read
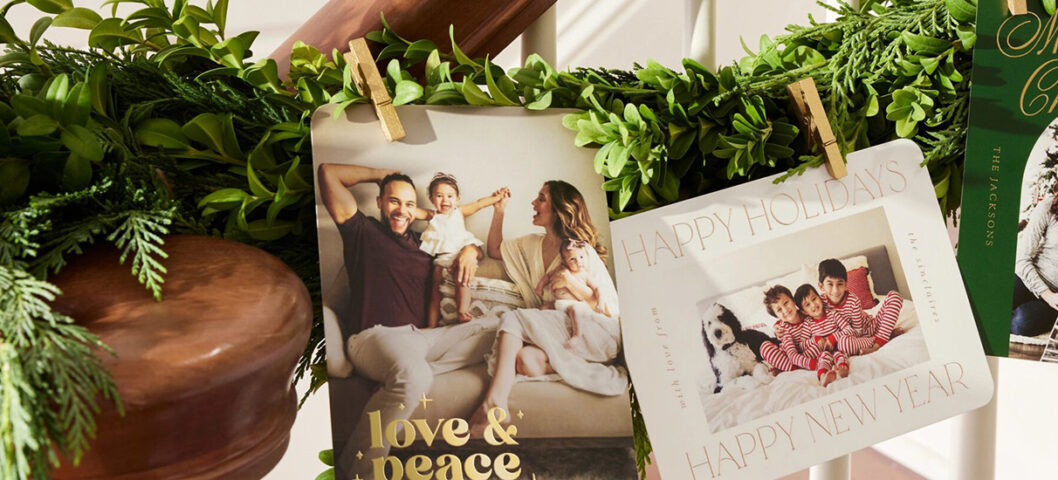
What to Do with Christmas Cards
Wondering what to do with the Christmas cards you receive each year? You can display them around your home, save them as keepsakes to revisit later, or repurpose them into creative holiday projects. Each approach lets you enjoy the photos and… 2 min read
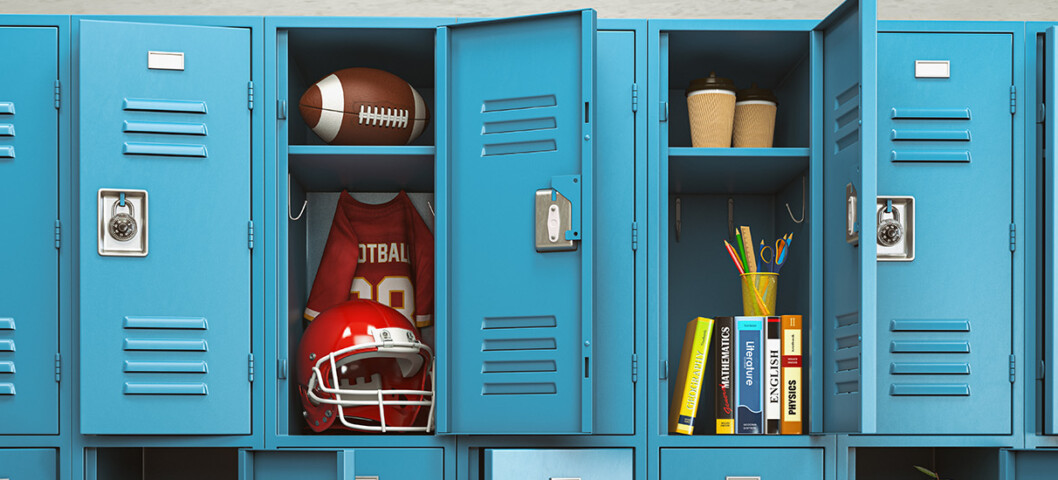
Best Locker Decor Ideas & Organizing Tips
Discover creative locker decor ideas with Shutterfly's personalized items, perfect for making your school space stylish and organized! 5 min read

When to Start Decorating for Halloween
We all look forward to decorating our homes with spooky Halloween decor every October. Decorations for this holiday always stand out. Since Halloween involves specific decoration, you'll want to hang your decorations at the right time. 3 min read

Create and Print Your Digital Scrapbook
Create and print your digital scrapbook with Shutterfly. Design online with ease, then turn your creations into beautiful photo books. 5 min read
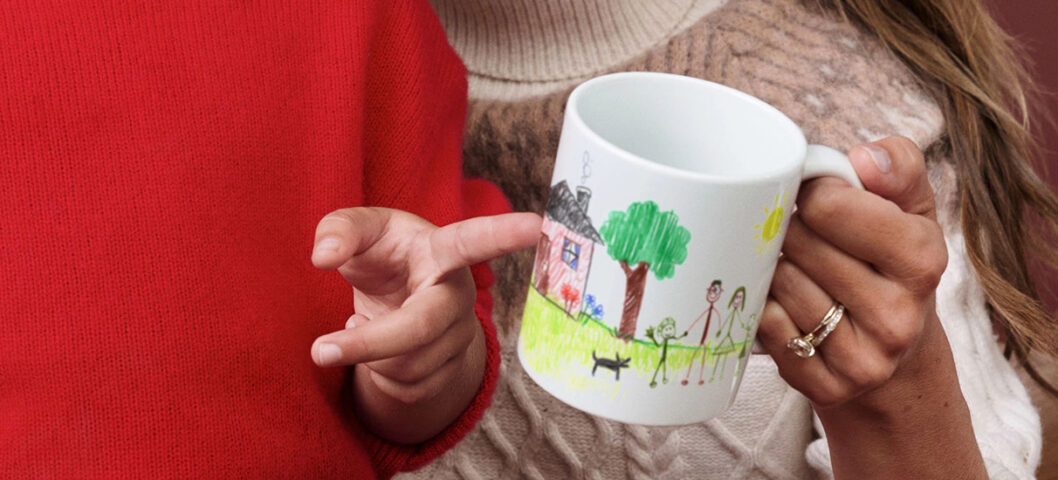
Creative DIY Gift Ideas for Everyone in Your Life
Discover creative DIY gifts with Shutterfly! From photo books to custom coffee mugs, find unique ideas to make your presents unforgettable 8 min read
How To Make the Best 50th Birthday Party Invitations
Ensure your 50th birthday bash is one to remember with a custom birthday invitation that sets the tone for your event. Following these five easy steps, you'll create a truly memorable 50th birthday invite with Shutterfly. 4 min read
How to Make 60th Birthday Invitations Online
Reaching the milestone of a 60th birthday is a cause for celebration with friends and family. Our guide will walk you through five simple steps to create a standout birthday party invitation that will make an immediate impression. 4 min read

How To Make Fun Fact Wedding Napkins in 2024
In this helpful guide, we'll walk you through the process of making fun fact wedding napkins, from choosing a template to personalizing the text and look—in three easy steps. Your custom napkins will look great and be the perfect ice breakers for your guests. 3 min read