
Ideas & Inspiration
We’re here to inspire and celebrate ways to stay connected to those who matter most. Share memories on your lifetime journey. Whether you’re looking to make the perfect photo book, greeting card, or decorative wall art, we’ve got you covered. Explore our innovative home decor tips, fun family activities, and creative ways to preserve your favorite photos.
How to Make a Photo Book
Learn how to make a photo book with Shutterfly. Choose templates, customize pages, add text, and create a personalized photo book from start to finish. 4 min read

Business Holiday Card Messages for Clients, Employees & Partners
Find business holiday card messages for clients, employees, and partners, plus etiquette tips, signing ideas, and professional wording examples. 11 min read

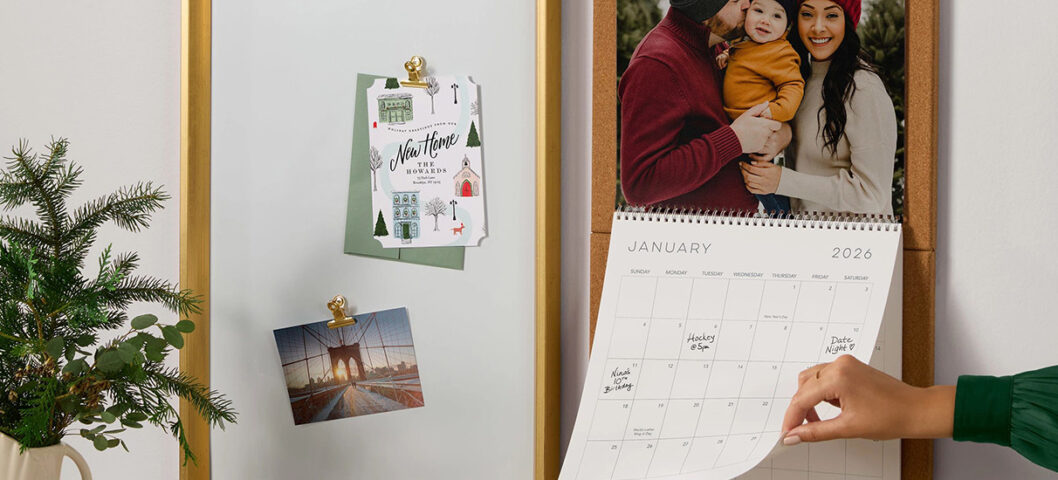
How to Make a Photo Wall Calendar in 6 Simple Steps
Learn how to make a custom wall calendar with photos, important dates, layouts, and personalized touches in six simple steps. 8 min read

How to Address Christmas Cards Properly
Sending holiday and Christmas cards is one of the most important traditions for many households. Lean on our guide to addressing Christmas cards, including rules, tips, and etiquette to get your cards to everyone on your list. 3 min read

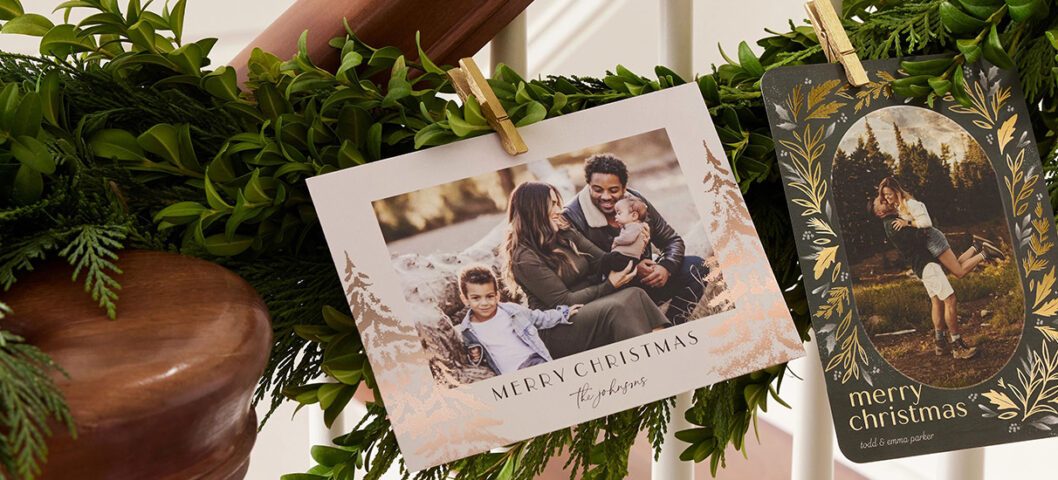
Top Christmas & Holiday Card Trends for 2026
Discover the top Christmas card trends for 2026, from bold colors and minimalist designs to premium finishes and multi-photo layouts. 5 min read

75+ Christmas Quotes to Help You Celebrate the Season
Find the best Christmas quotes to celebrate the season, from funny and heartfelt to inspirational, perfect for sharing holiday cheer with everyone. 10 min read

How to Print Photos at CVS or Walgreens with Same-Day Pickup
Need prints fast? Get FREE same-day photo pickup at participating CVS and Walgreens. Many orders are ready in as little as 1 hour. 4 min read

Why Send Holiday Cards? 10 Reasons They’re Still Worth Sending
Learn why people still send holiday and Christmas cards. Discover 10 meaningful reasons to share photos, celebrate milestones, and stay connected. 5 min read

10 Christmas Card Mistakes to Avoid Before You Order
Avoid common Christmas card mistakes before you order. Learn how to choose photos, proofread, personalize, and mail your holiday cards on time. 5 min read


125 Thanksgiving Wishes for Family, Friends & More
Make your gratitude count. Explore thoughtful Thanksgiving wishes and greetings to share with family, friends, coworkers, and more. 8 min read