


When it comes to decorating your home, nothing resonates more deeply than the personal touch of custom prints. These unique pieces do more than just enhance your space—they tell a story. With Shutterfly’s wide array of customization options, you can transform cherished memories, favorite quotes, or your own artwork into stunning wall art that breathes life into your home. In this guide, we’ll explore how custom prints can turn your living space into a meaningful reflection of who you are.
The Power of Personalization
In a world where digital memories often get lost in the shuffle, bringing those moments to life through custom prints adds a tangible layer of significance. When you create with Shutterfly, you’re not just decorating; you’re capturing what matters most. Whether it’s a family vacation photo, a snapshot with friends, or a quote that inspires you, each custom piece becomes a keepsake that keeps your favorite memories close.
These prints do more than fill your walls—they fill your home with warmth and personality. Each custom creation is a reflection of your unique experiences, turning your space into a gallery of the moments that matter most. It’s about celebrating what makes life special and creating something you’ll treasure for years to come.
Custom Print Ideas for Your Home
Each custom print you create is more than just décor—it’s a way to make your space uniquely yours. Whether you’re crafting a gallery wall, framing a standout photo, or arranging a set of photo tiles, you’re not just decorating; you’re celebrating the moments that define you.
With Shutterfly, bringing your memories to life is easy, and the result is always special. Your custom prints become more than just wall art—they become keepsakes that tell your story, adding a personal touch to your home in a way that only something truly meaningful can.
Gallery Walls: A Statement Piece That Reflects You
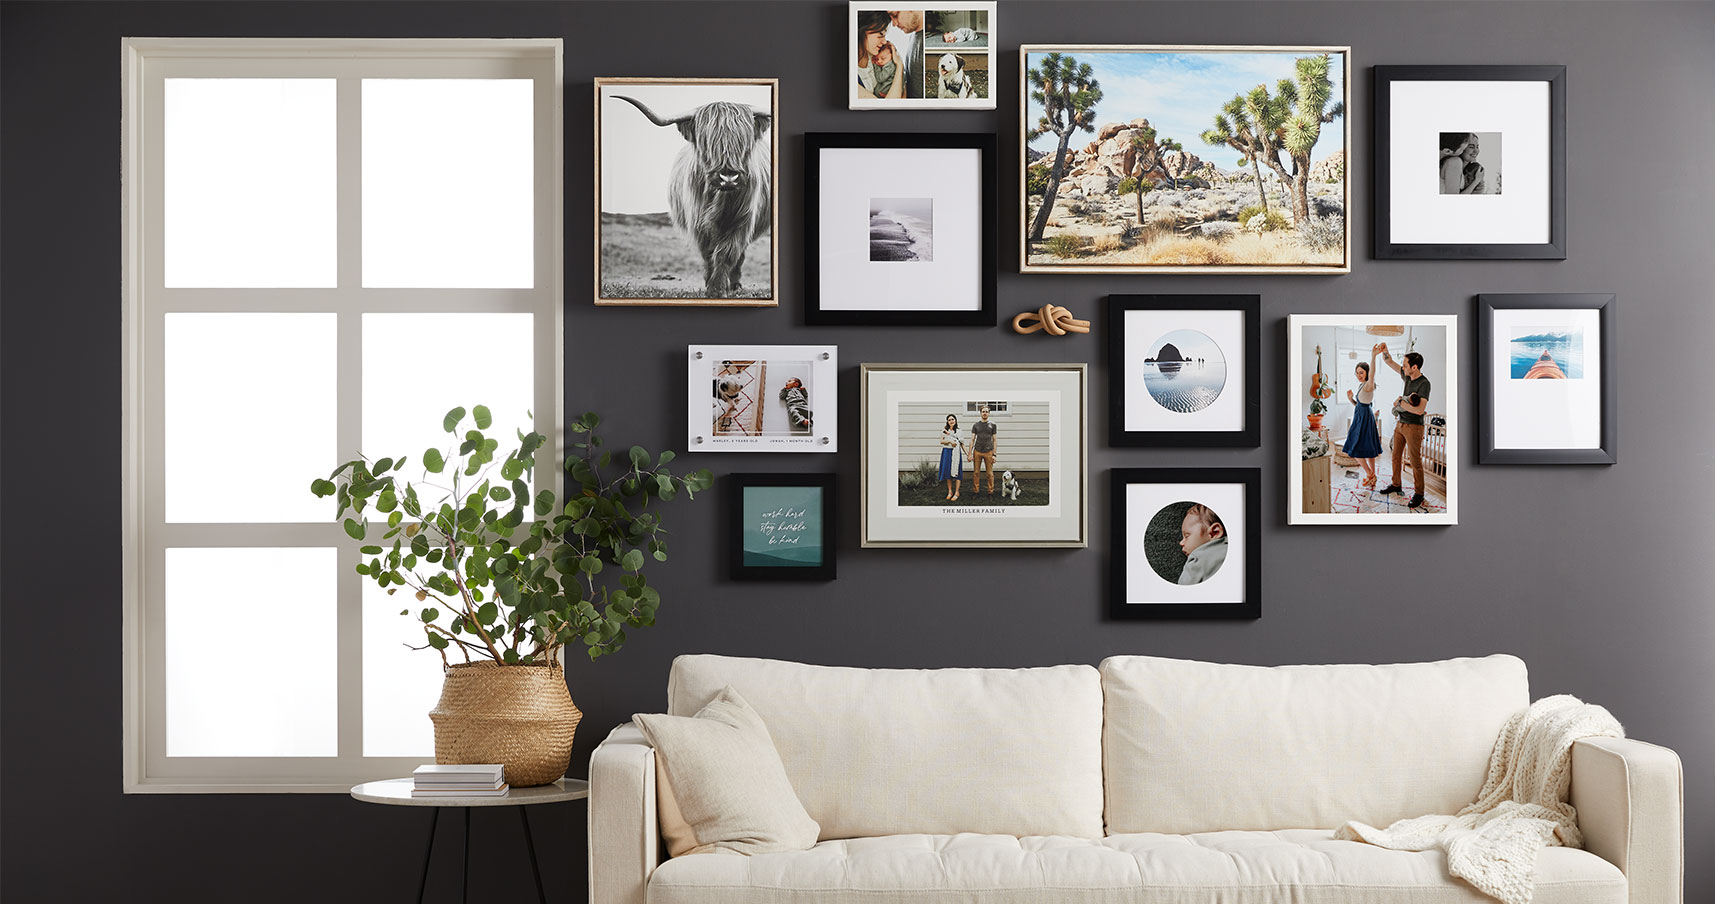
Gallery walls have become a popular trend in home décor for good reason. They allow you to showcase a collection of photos, artwork, and prints in a way that is both stylish and deeply personal. Creating a gallery wall is an excellent DIY project, and with Shutterfly’s custom wall art prints, you can ensure that every piece is meaningful.
How to Create a Stunning Gallery Wall:
- Choose a Theme: Whether it’s family memories, travel adventures, or abstract art, decide on a theme that ties your prints together.
- Mix and Match Sizes: Varying the sizes of your custom prints can add visual interest. Combine small, medium, and large prints for a dynamic layout.
- Incorporate Different Mediums: Mix traditional photo prints with canvas prints, metal prints, and even framed art to add texture and depth to your gallery wall.
With Shutterfly, you can easily create a cohesive gallery wall by customizing prints to match your chosen theme and color palette. Plus, with the ability to preview and arrange your prints before ordering, you can ensure that your gallery wall will be perfectly curated.
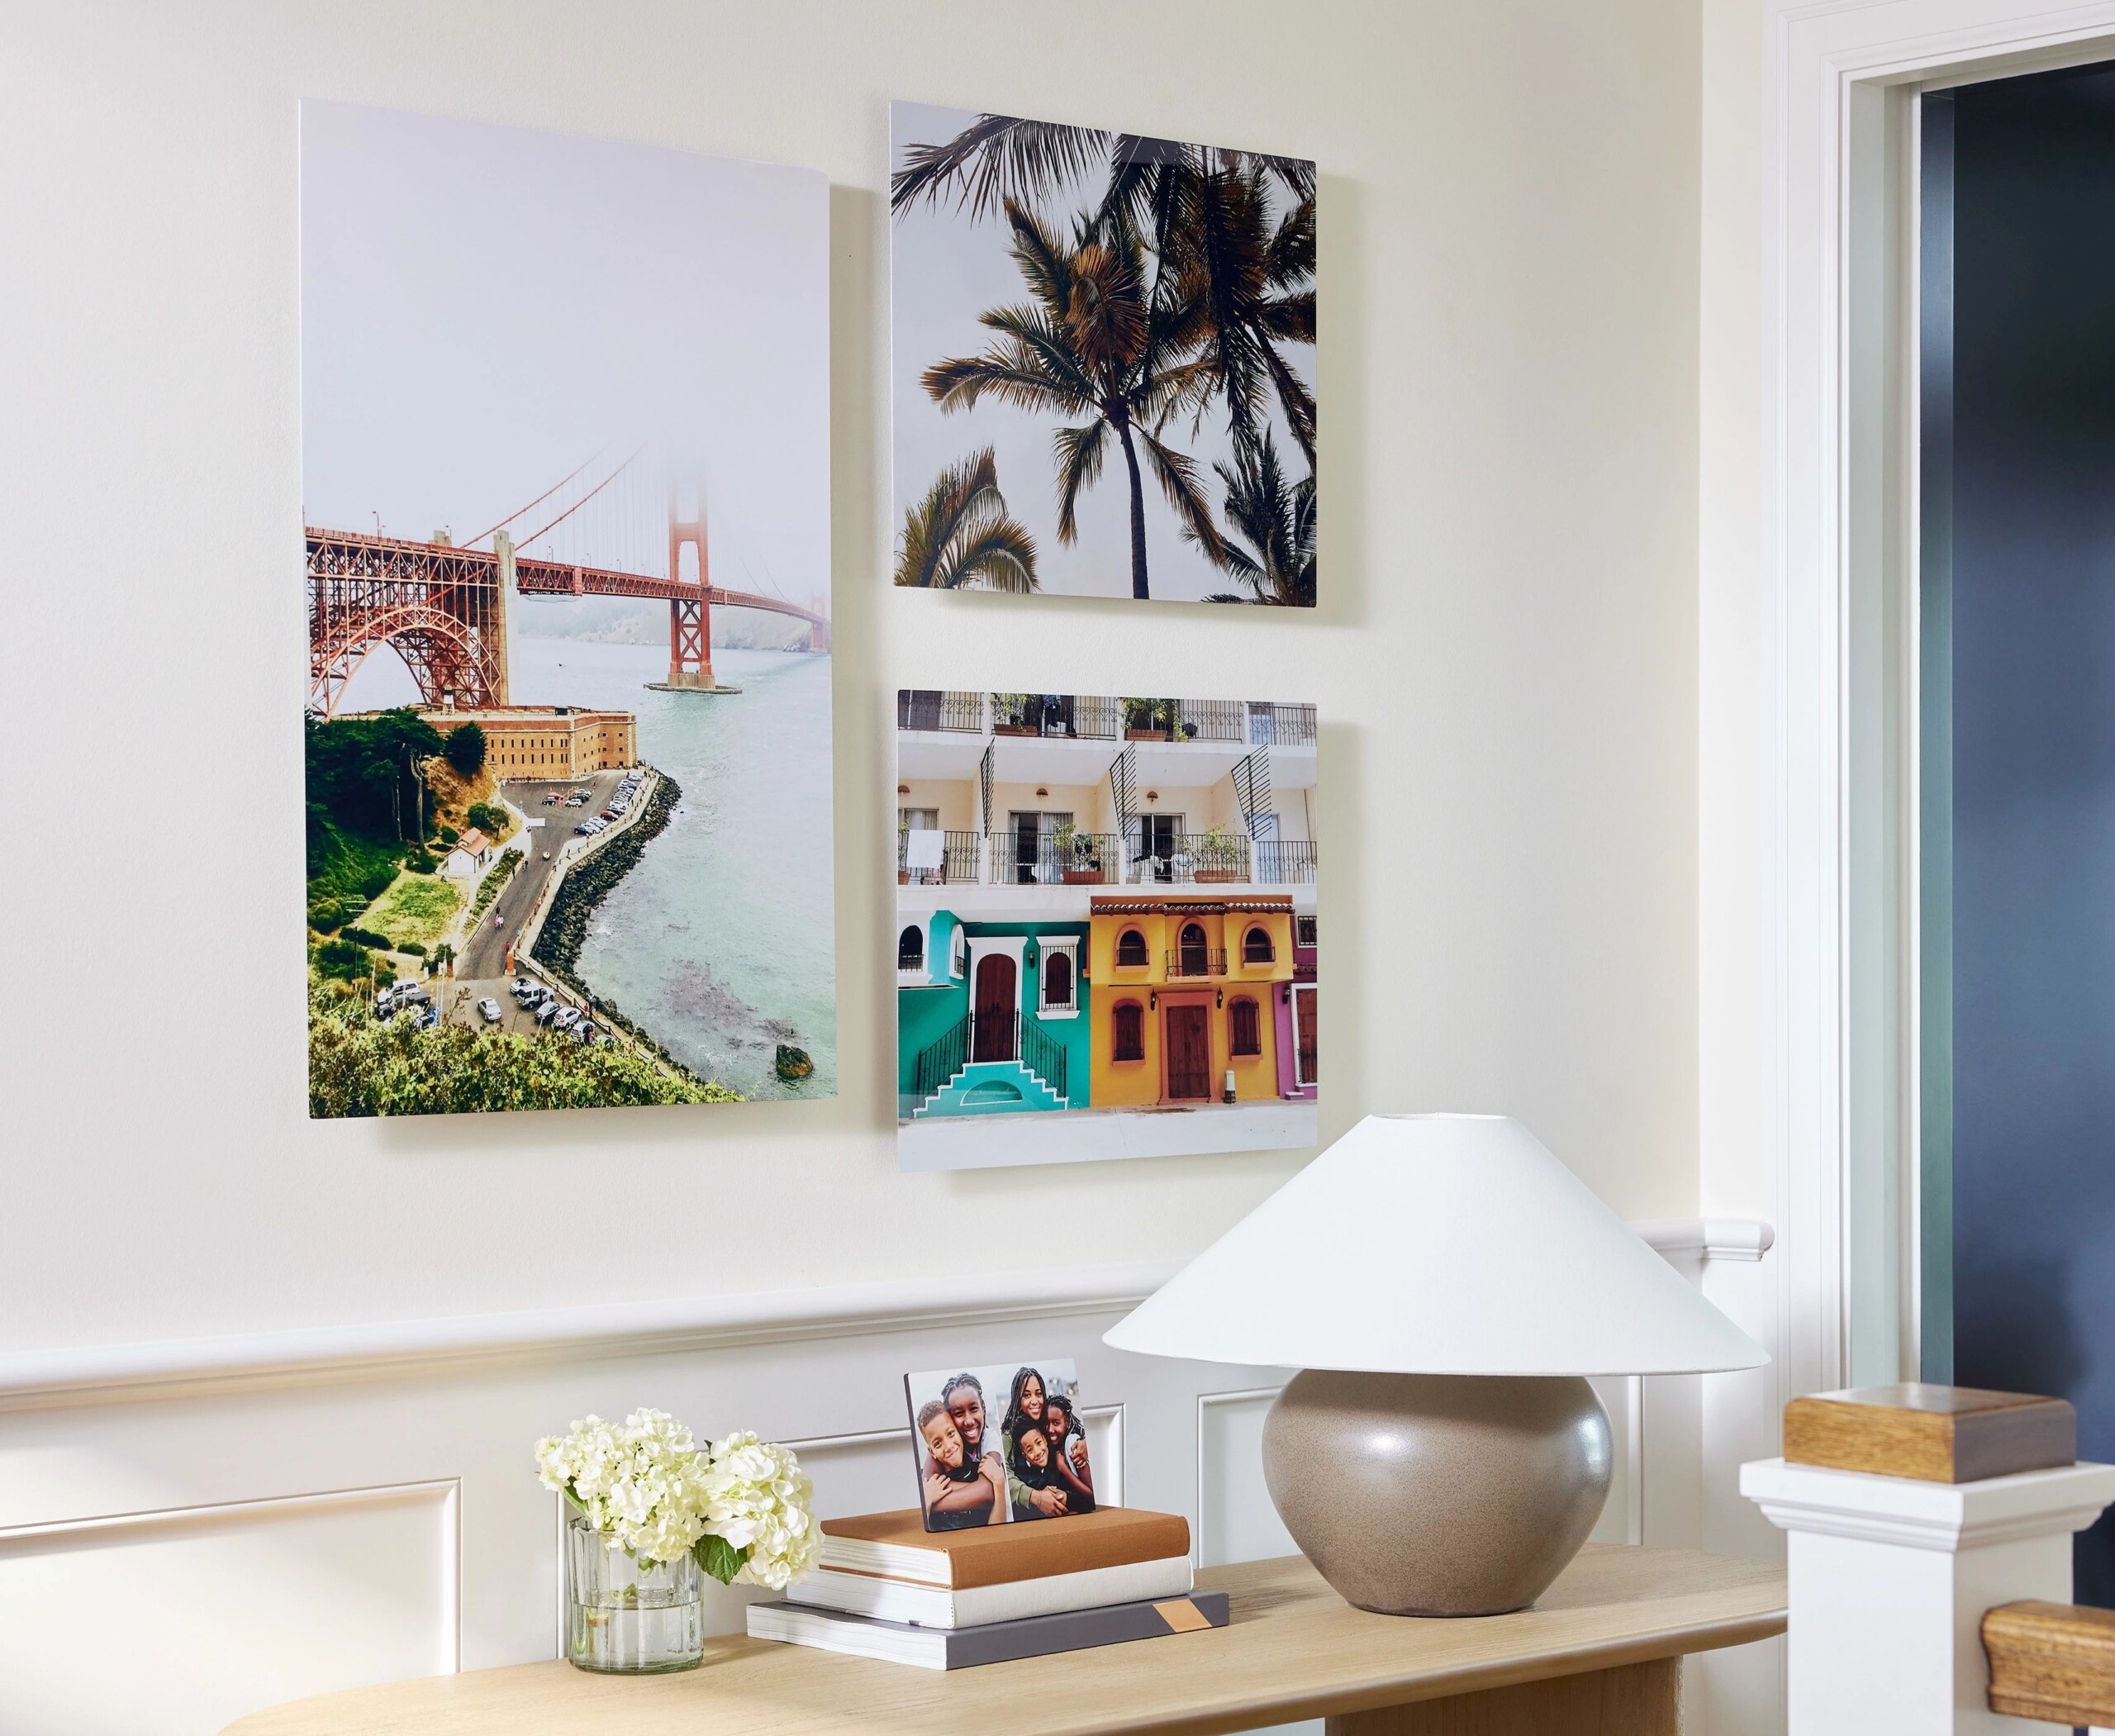
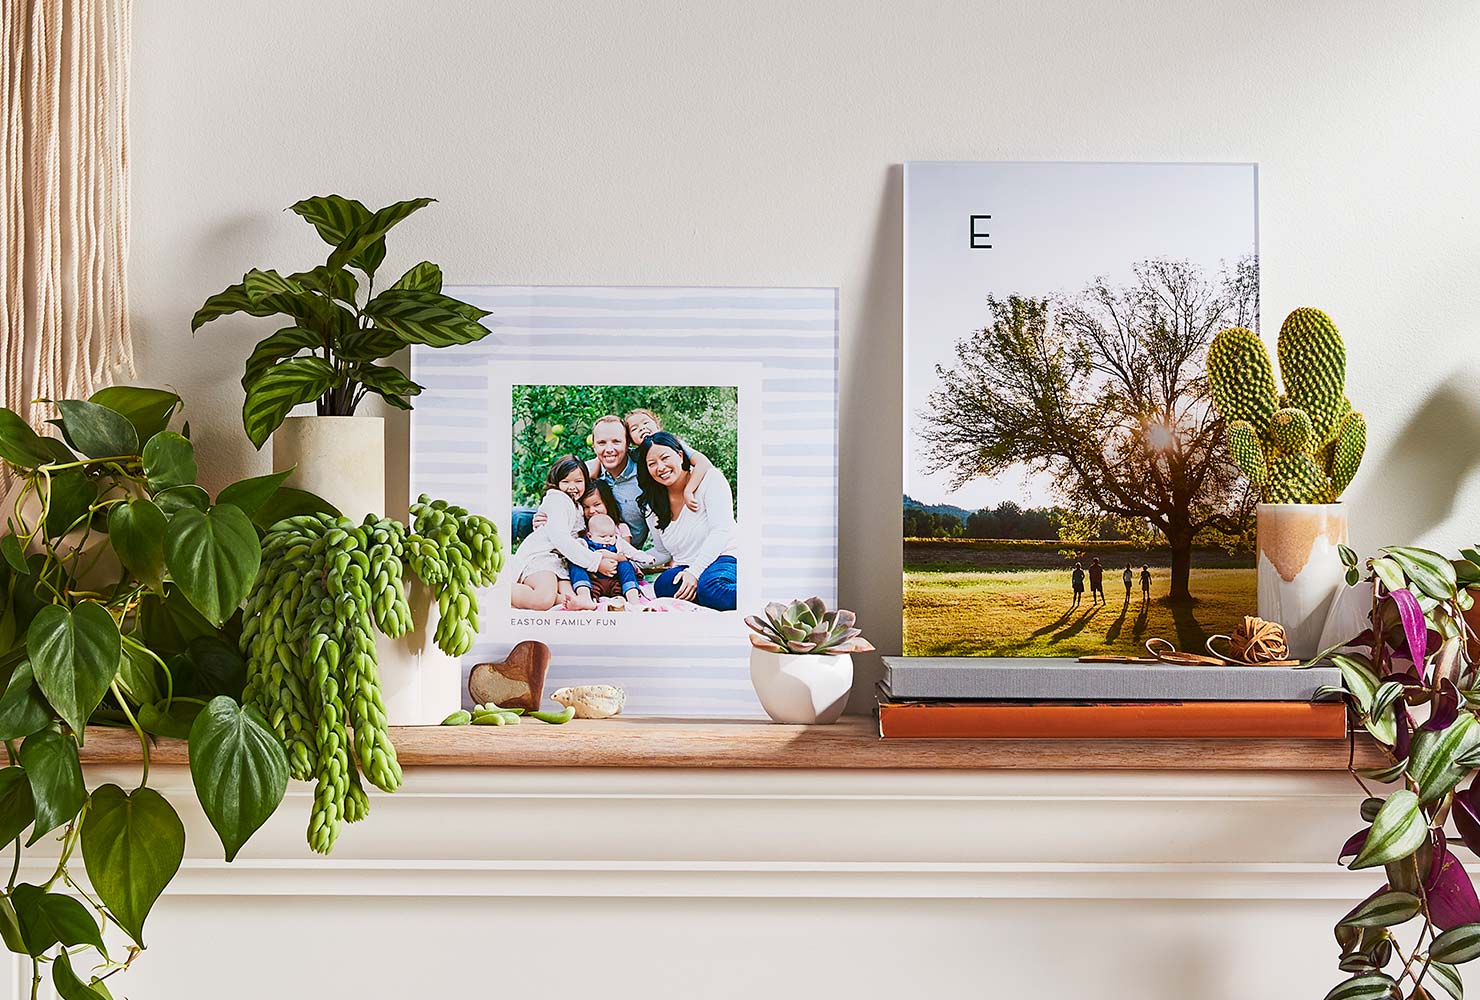
Canvas Prints: Classic Elegance with a Personal Touch
Canvas prints are a timeless option for adding sophistication and warmth to your home décor. Their textured surface and rich colors make them a perfect choice for showcasing everything from family portraits to scenic landscapes.
Why Canvas Prints Are Perfect for Home Décor:
- Versatile Display Options: Canvas prints can be hung as stand-alone pieces or grouped together for a more impactful display.
- Customizable Sizes: Shutterfly offers a range of sizes, allowing you to create large statement pieces or smaller, complementary prints.
- Ready-to-Hang: With pre-installed hanging hardware, your custom canvas prints are ready to be displayed as soon as they arrive.
To make your project even more special, consider creating a series of canvas prints that tell a story, such as the progression of your family over the years or a collection of your favorite travel destinations.
Metal Prints: A Modern and Sleek Aesthetic
For those who prefer a more contemporary look, metal prints offer a sleek and modern alternative to traditional wall art. Printed on durable aluminum, these photo prints have a matte or glossy finish that enhances the vibrancy of your photos, making colors pop and details stand out.
Incorporating Metal Prints into Your Home:
- Bold and Bright Spaces: Metal photo prints are ideal for spaces where you want to make a bold statement, such as a living room or entryway.
- Pairing with Other Prints: Create a striking contrast by pairing metal prints with softer materials like canvas or wood for a balanced look.
- Highlighting Photography: The high-definition quality of metal prints makes them perfect for displaying photography, especially images with rich colors and intricate details.
Use Shutterfly’s customization tools to choose from different finishes, including matte for a more subdued look or glossy for maximum impact.
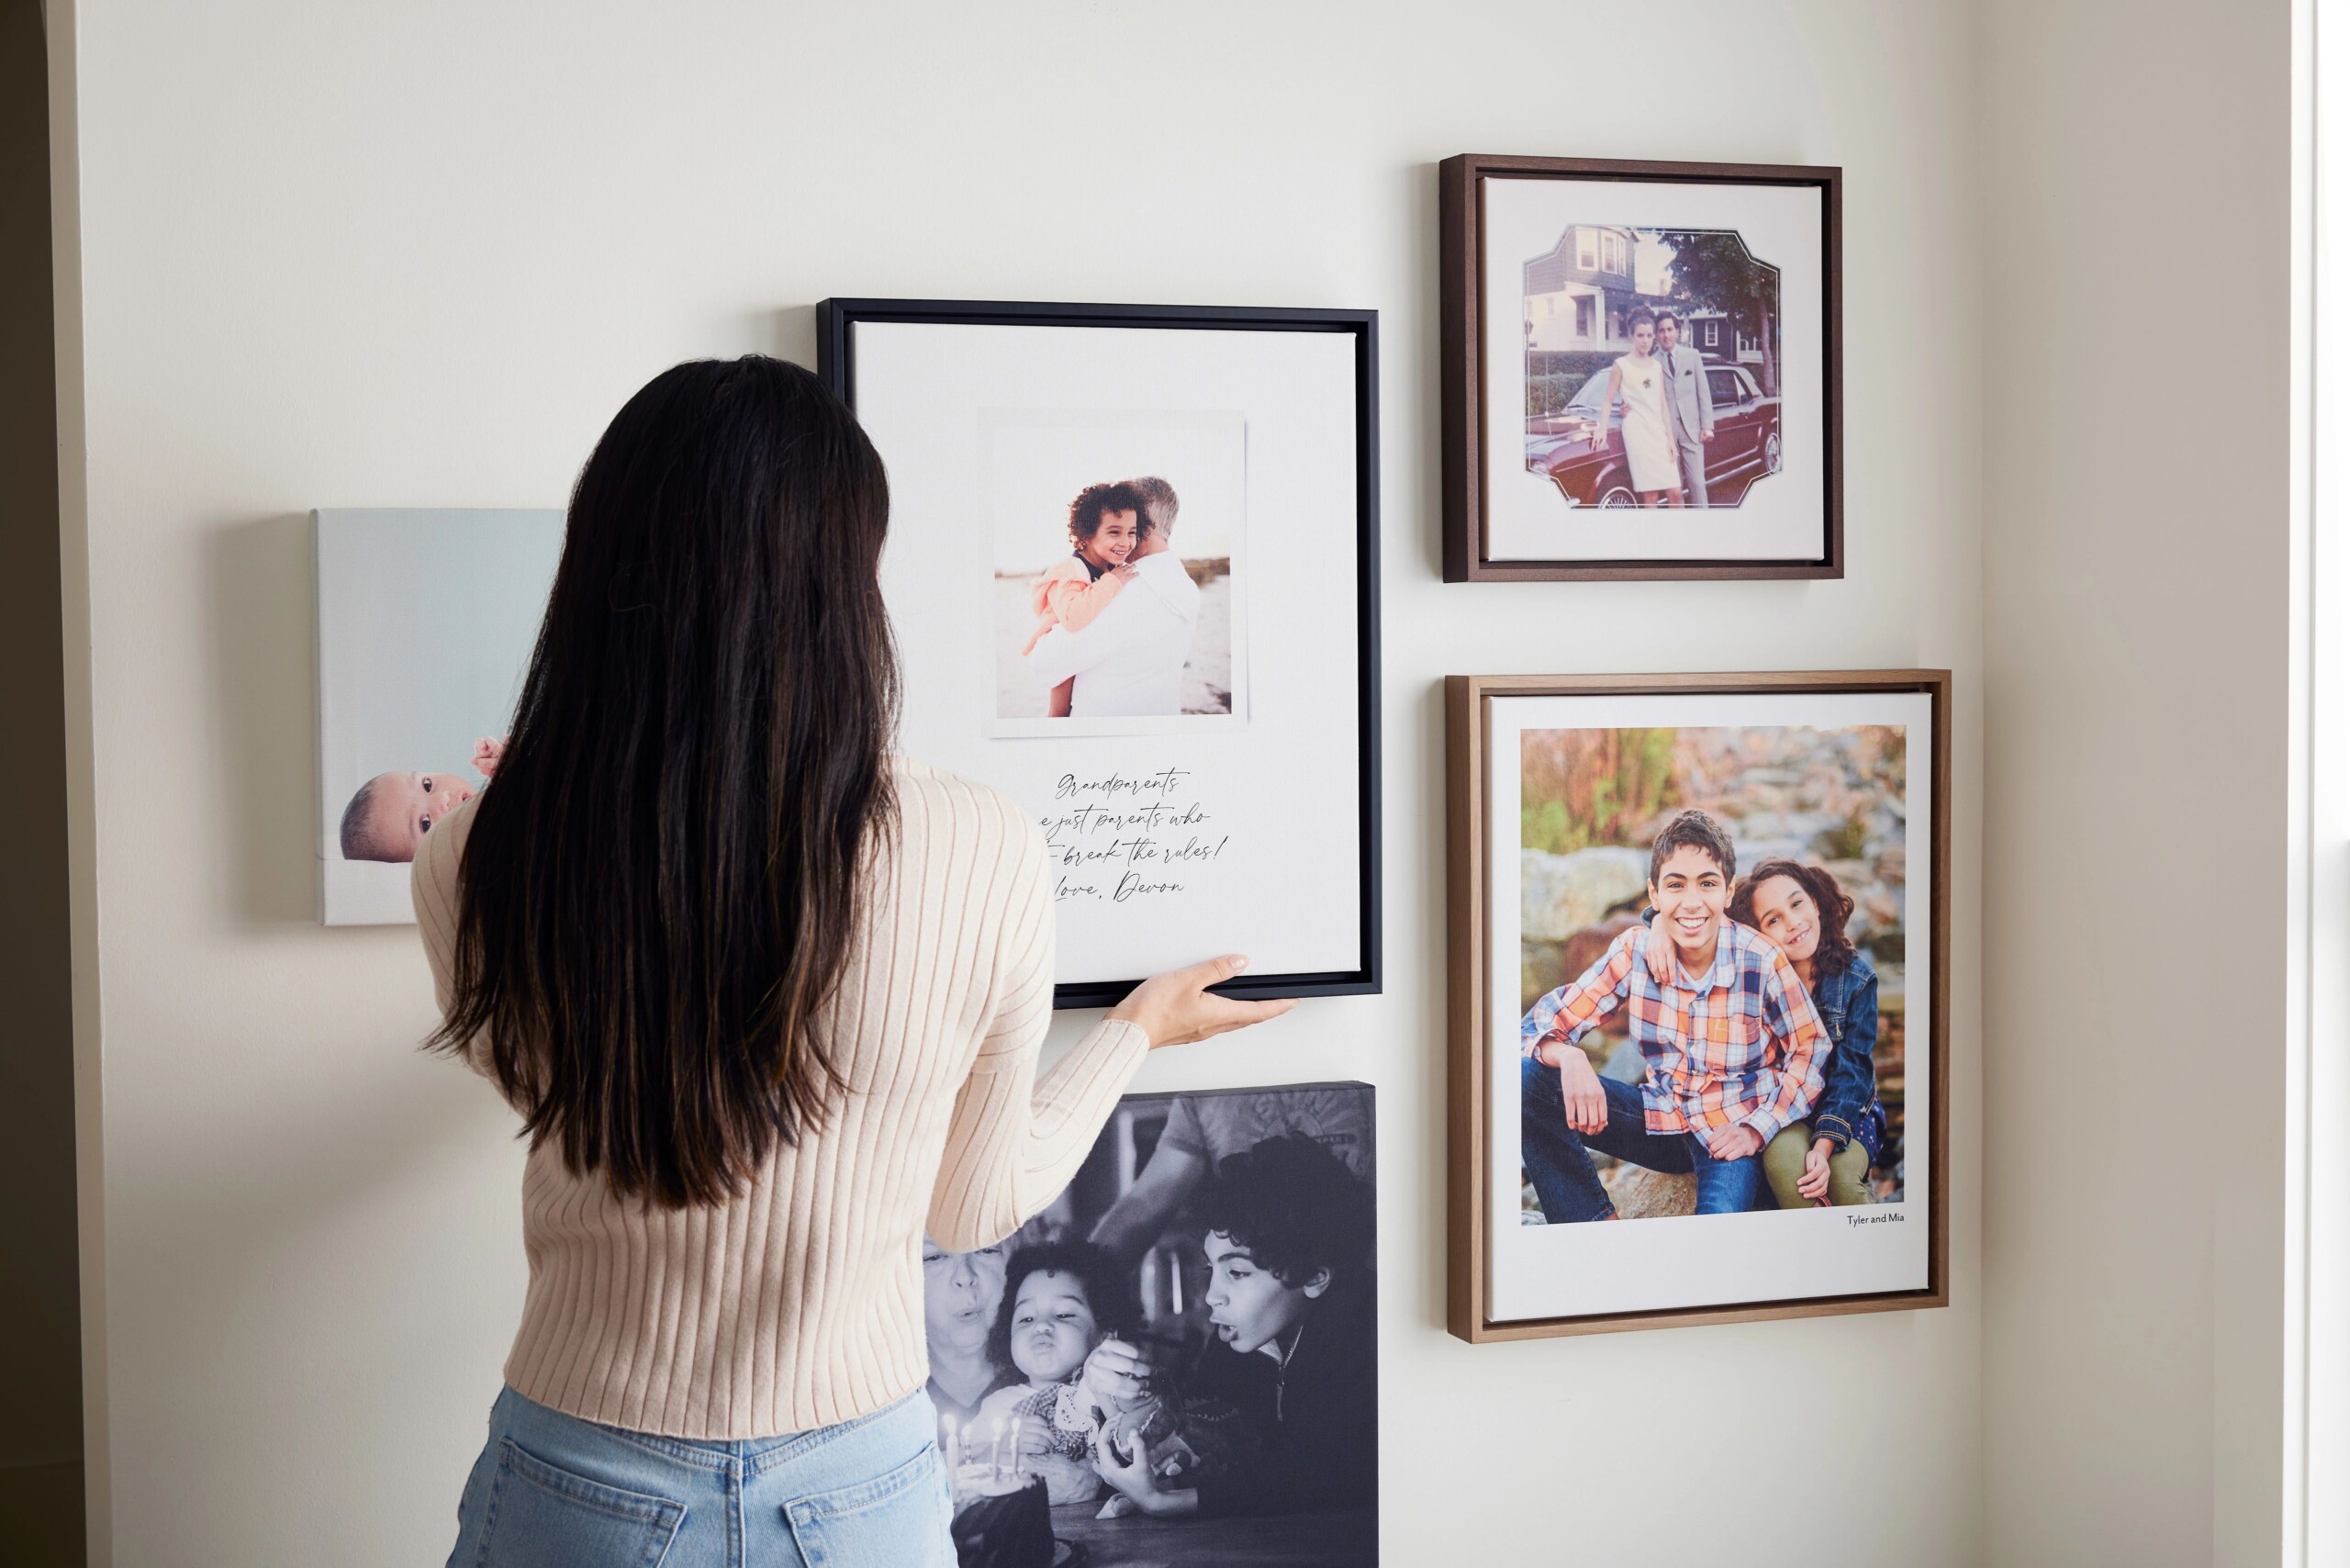
Framed Prints: Timeless Style Meets Modern Customization
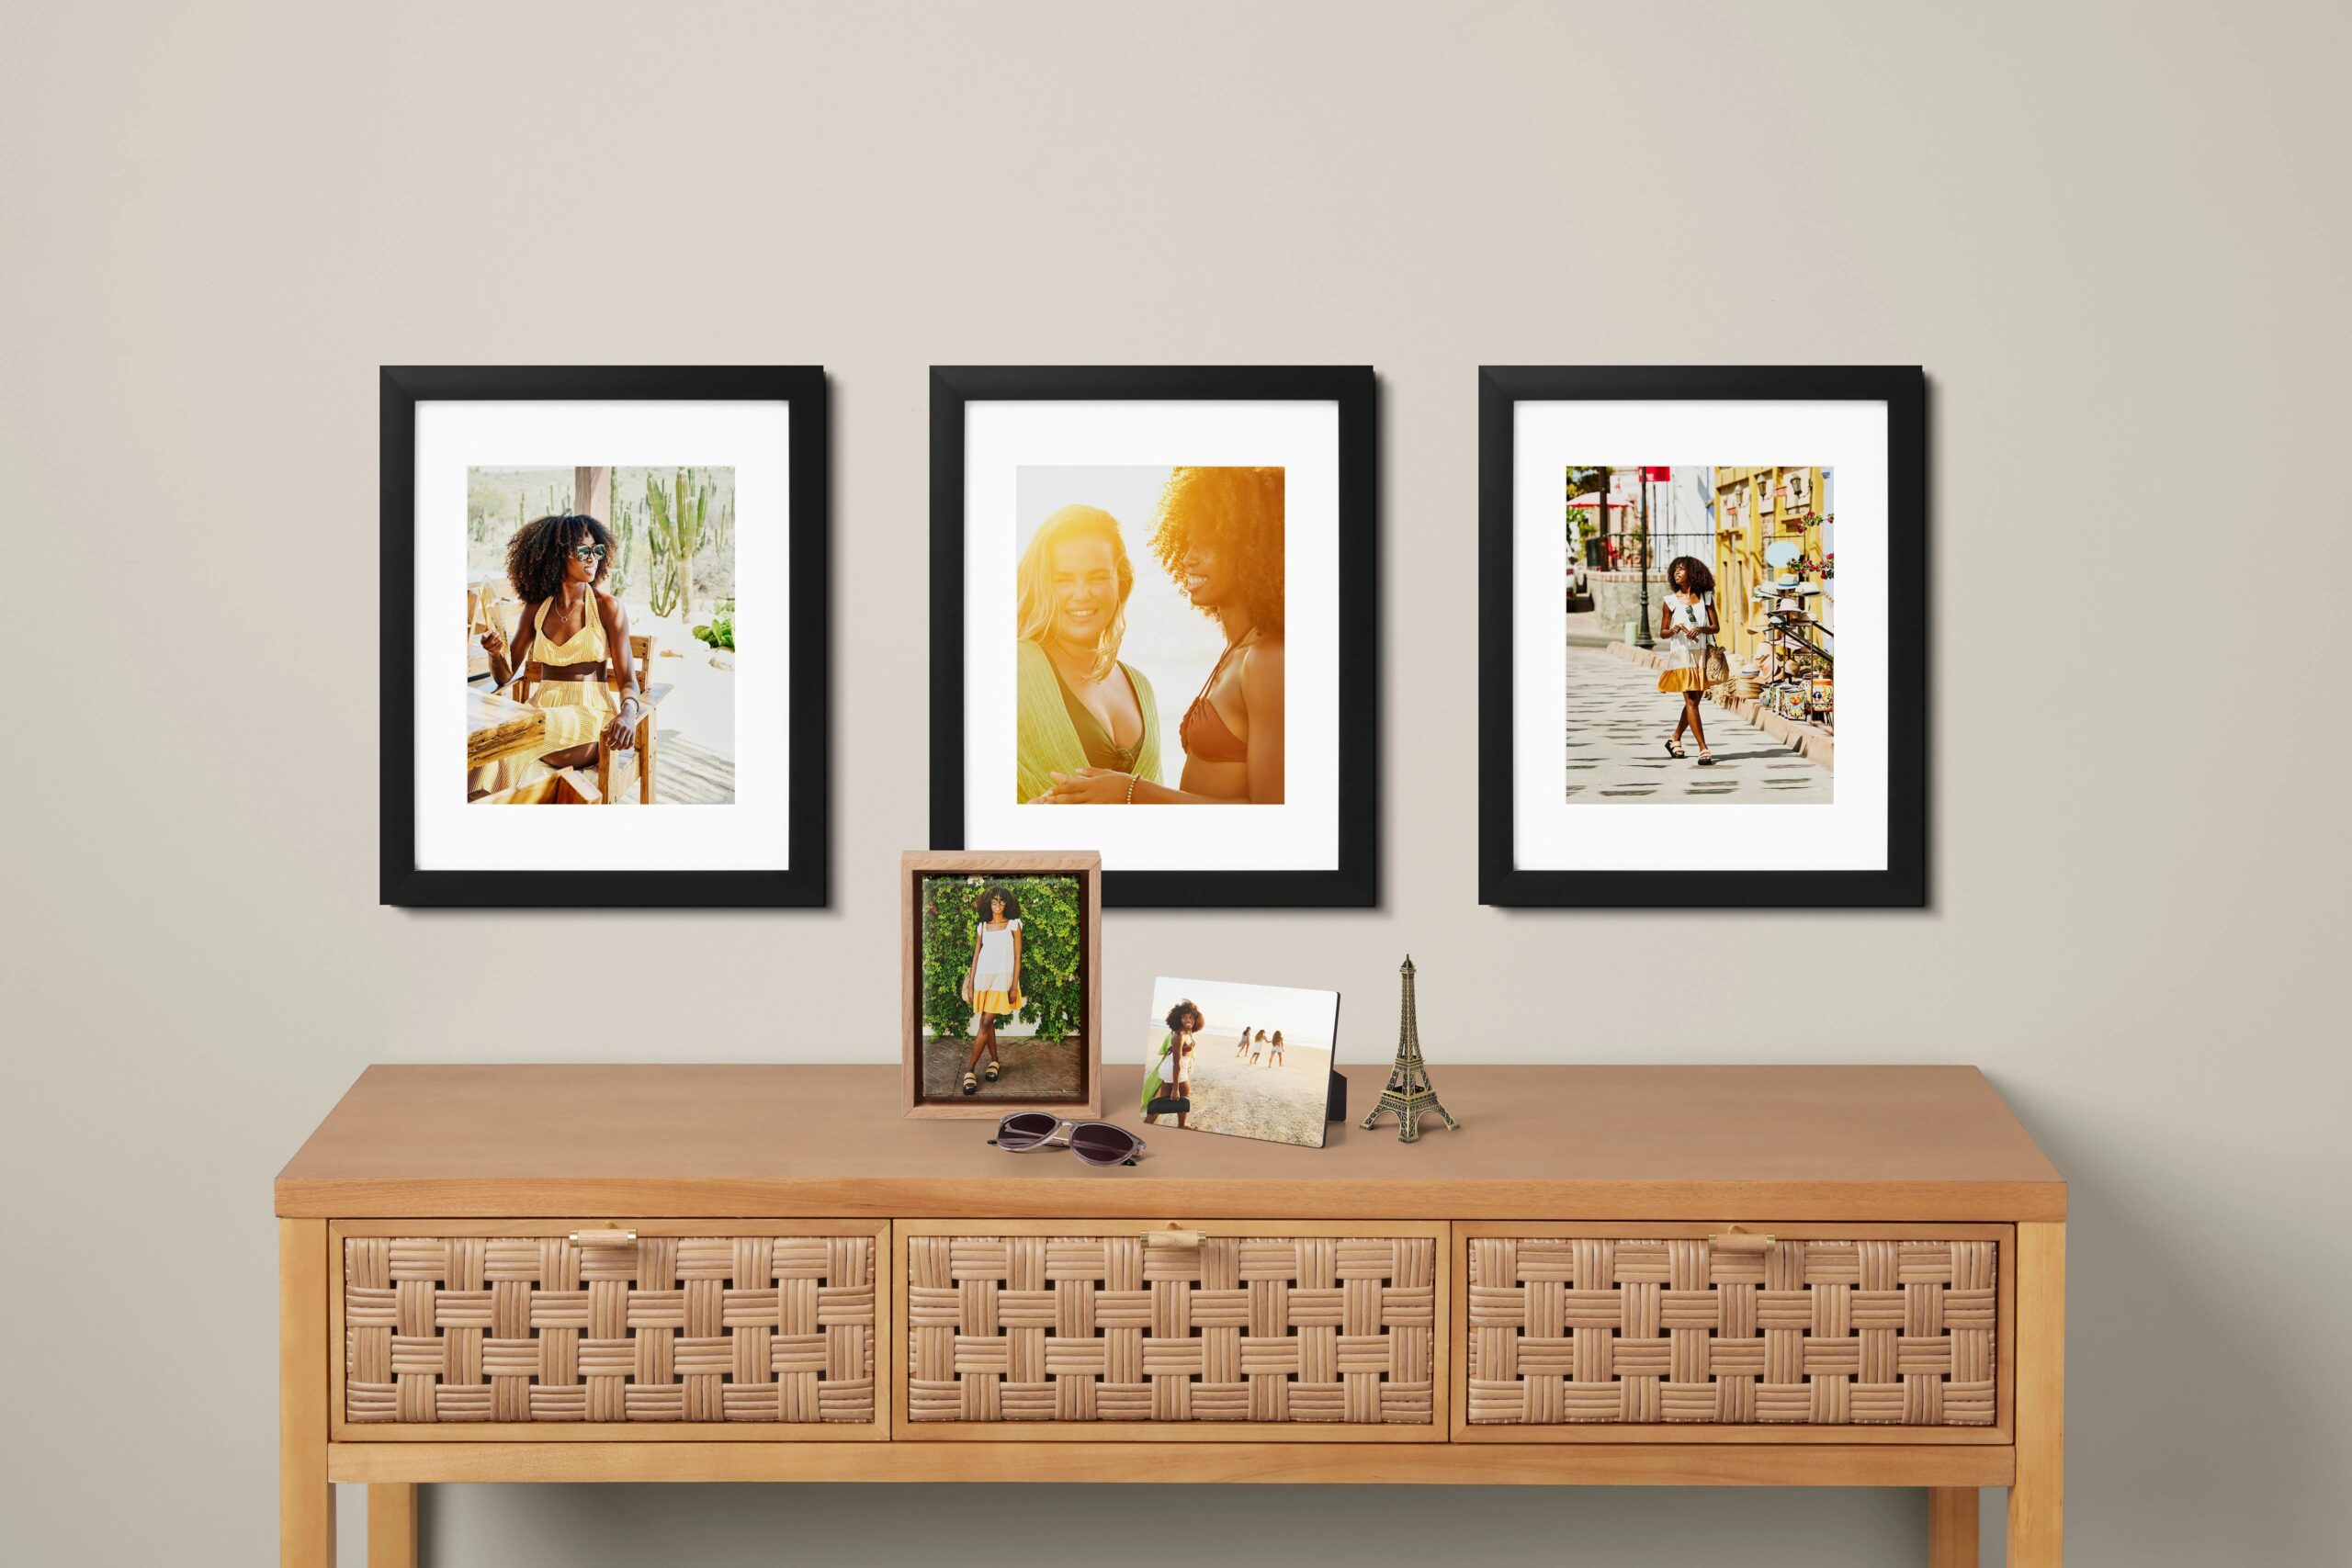
Framed prints offer a classic way to display your favorite photos and artwork. The right frame can elevate a simple print into a sophisticated piece of art, making it an essential element in any home décor project.
Tips for Creating Custom Framed Prints:
- Select the Right Frame: Shutterfly offers a variety of frame styles and colors, from sleek black frames to rustic wood, allowing you to match your home’s décor.
- Matting Options: Add a mat to your print for a more polished look. Mats can also help to draw attention to the image and give it more presence on your wall.
- Curate a Collection: Framed prints work beautifully in sets. Consider creating a series of framed photos that capture a theme or tell a story, such as seasonal changes or a day in the life of your family.
With Shutterfly’s easy-to-use design tools, you can preview how your framed prints will look with different frame and matting options, ensuring a perfect fit for your home.
Photo Tiles: Versatile and Repositionable Wall Art
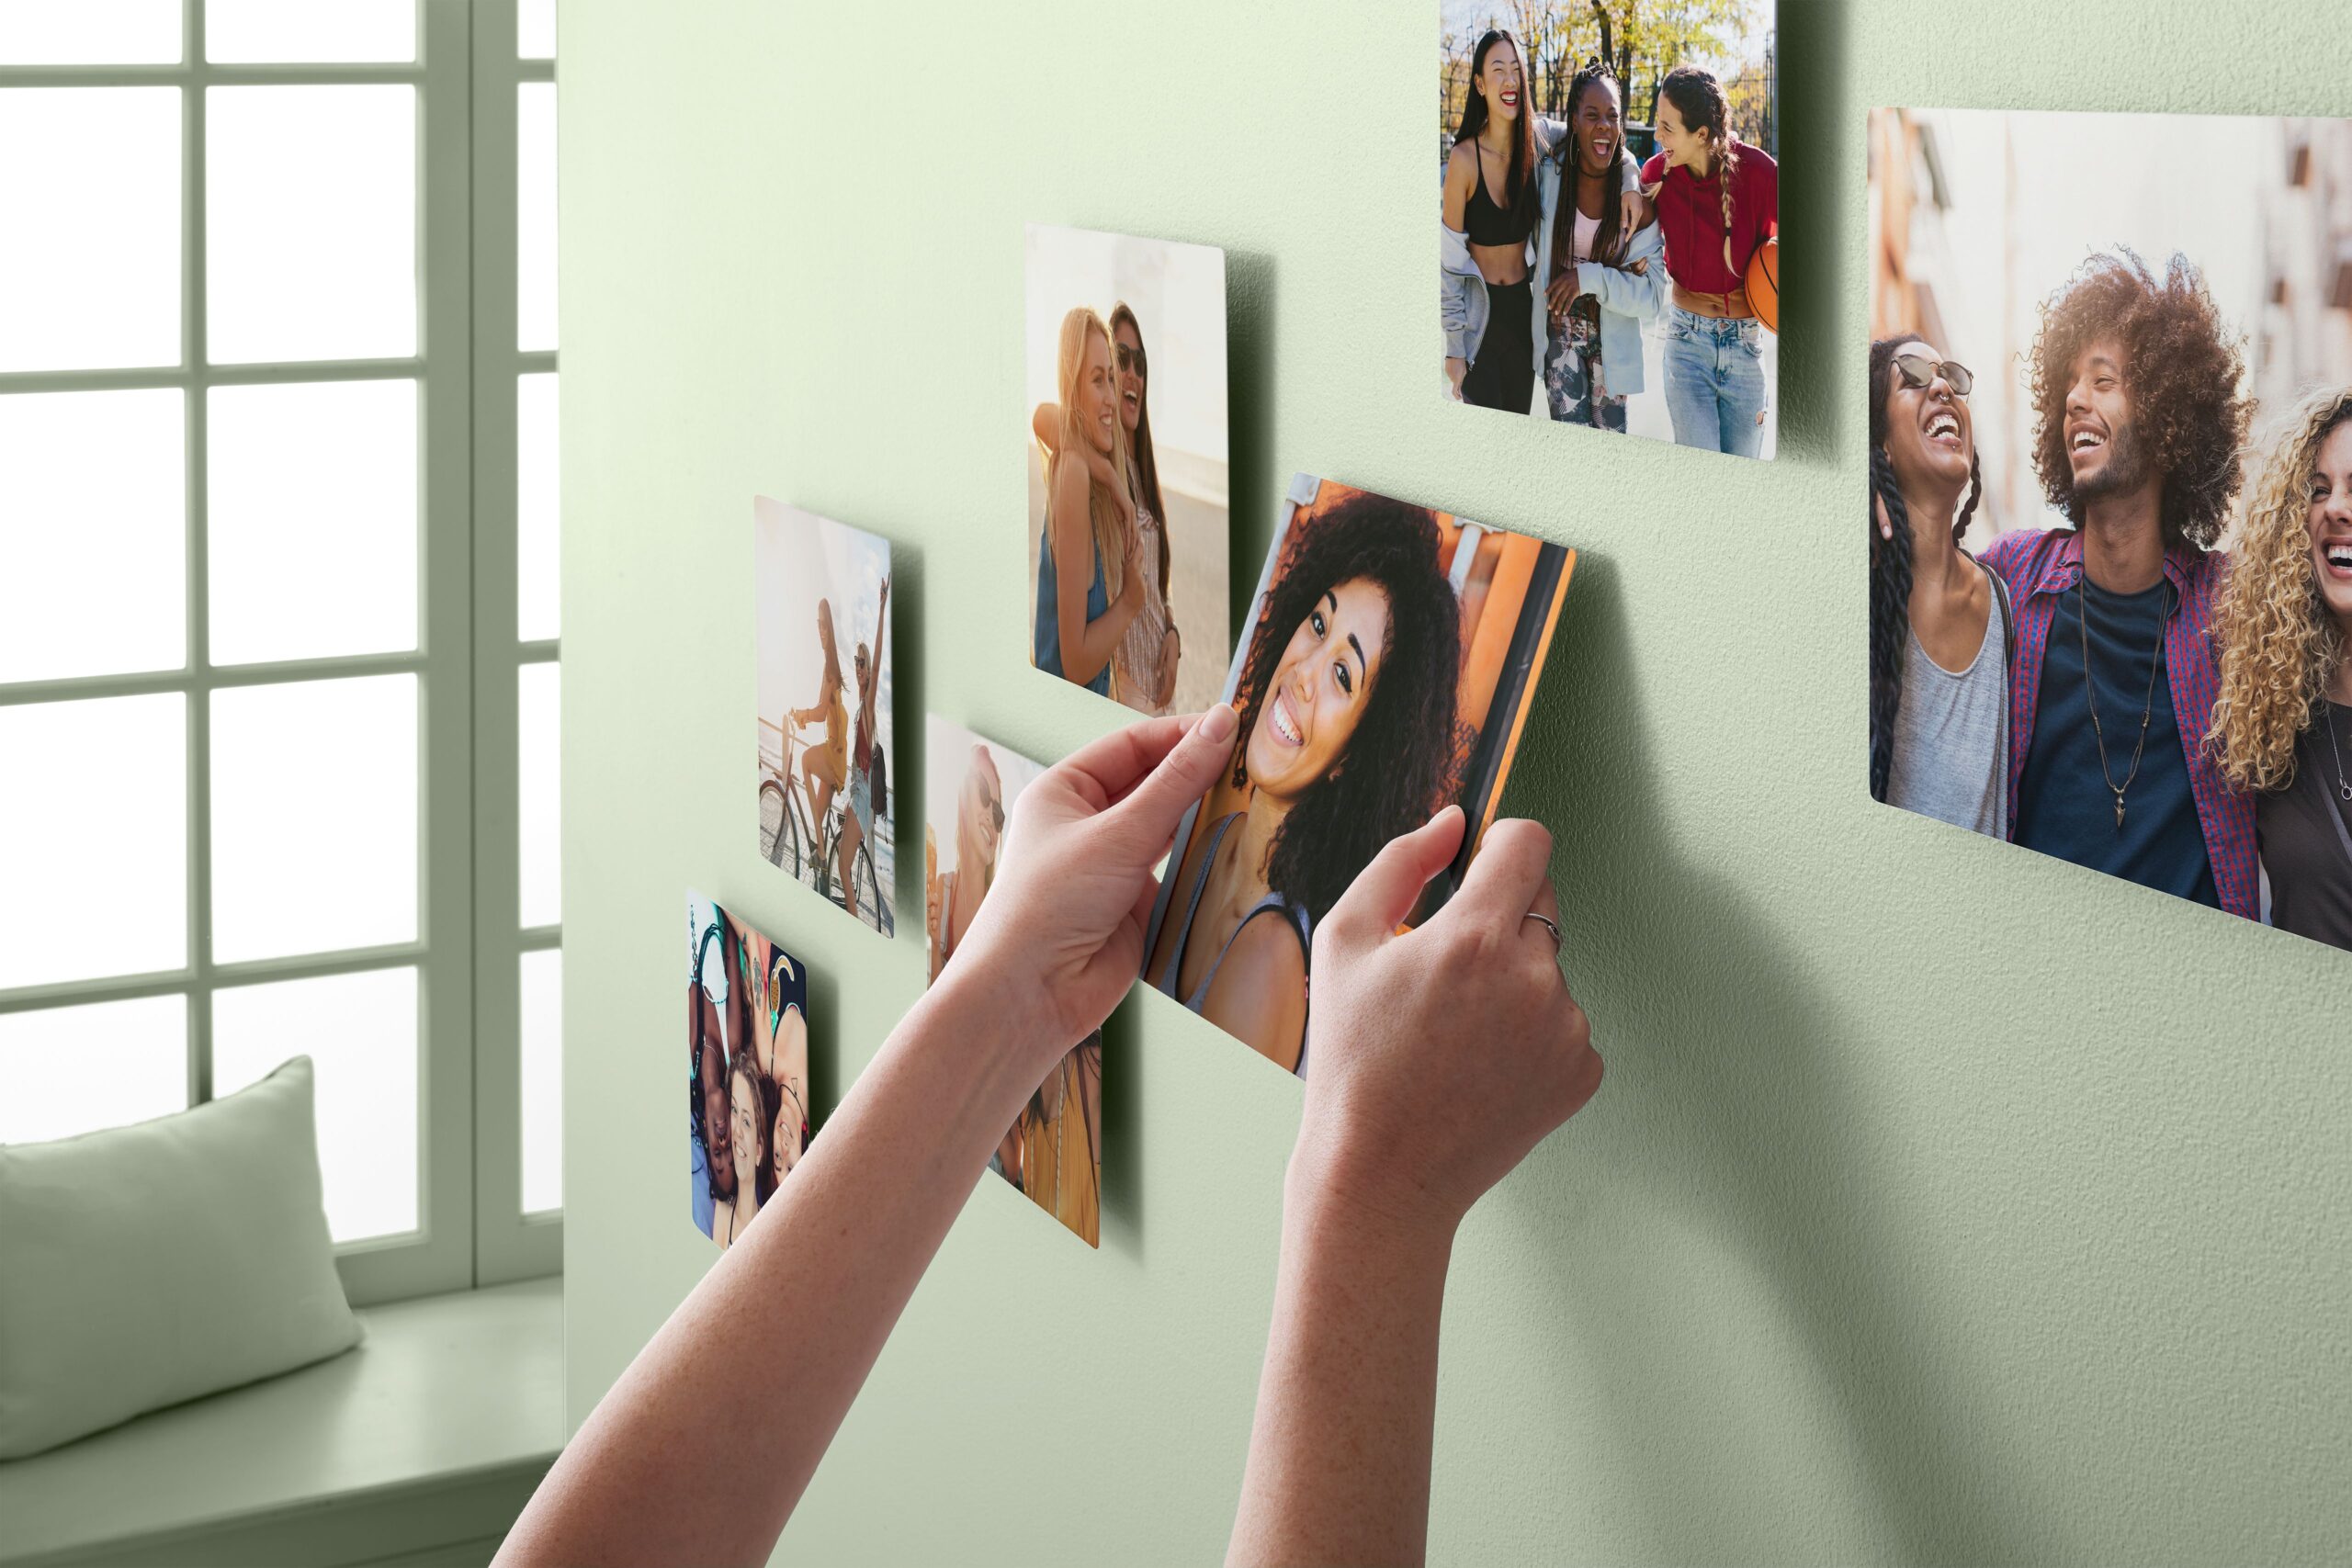
Photo tiles are a fantastic option for those who love to frequently update and rearrange their wall décor. Lightweight and easy to install, these tiles make it simple to create a dynamic and ever-changing display of your favorite photos and designs. With Shutterfly’s custom photo tiles, you can personalize your home in a way that’s both stylish and flexible.
How to Use Photo Tiles in Your Home:
- Easy Installation: Shutterfly’s photo tiles come with adhesive backing, so you can easily stick them to any wall without the need for nails or tools. This makes them perfect for renters or anyone who wants to avoid damaging their walls.
- Rearrange on a Whim: One of the best features of photo tiles is their repositionability. You can move them around whenever you like, creating new layouts or adding new tiles to your collection without any hassle.
- Create a Rotating Gallery: Use photo tiles to display a rotating gallery of your favorite images. Swap out tiles seasonally or whenever you capture a new photo that you love. This keeps your wall art fresh and reflective of your current favorites.
Stickable photo tiles are particularly great for spaces where you want the flexibility to change things up, such as a home office, hallway, or children’s room. Their versatility makes them a fun and interactive way to showcase your personal style and memories.
Acrylic Prints: Bold and Vibrant Visuals
If you’re looking for a way to make your photos truly stand out, acrylic prints are the way to go. The sleek, glossy finish of acrylic enhances the depth and color of your images, giving them a vibrant, almost three-dimensional appearance.
Ideas for Incorporating Acrylic Prints:
- Modern and Minimalist Spaces: Acrylic prints are perfect for contemporary homes with a minimalist aesthetic. Their clean lines and vibrant colors add a touch of luxury to any room.
- Feature Wall: Use a large acrylic print as the centerpiece of a feature wall, or arrange several smaller prints in a grid pattern for a striking effect.
- Vivid Photography: The clarity and brilliance of acrylic prints make them ideal for displaying high-definition photography, especially images with bold colors or dramatic contrasts.
With Shutterfly’s customization options, you can create acrylic prints in various sizes, ensuring they fit perfectly within your space.
Custom Posters: Creative Freedom at Your Fingertips
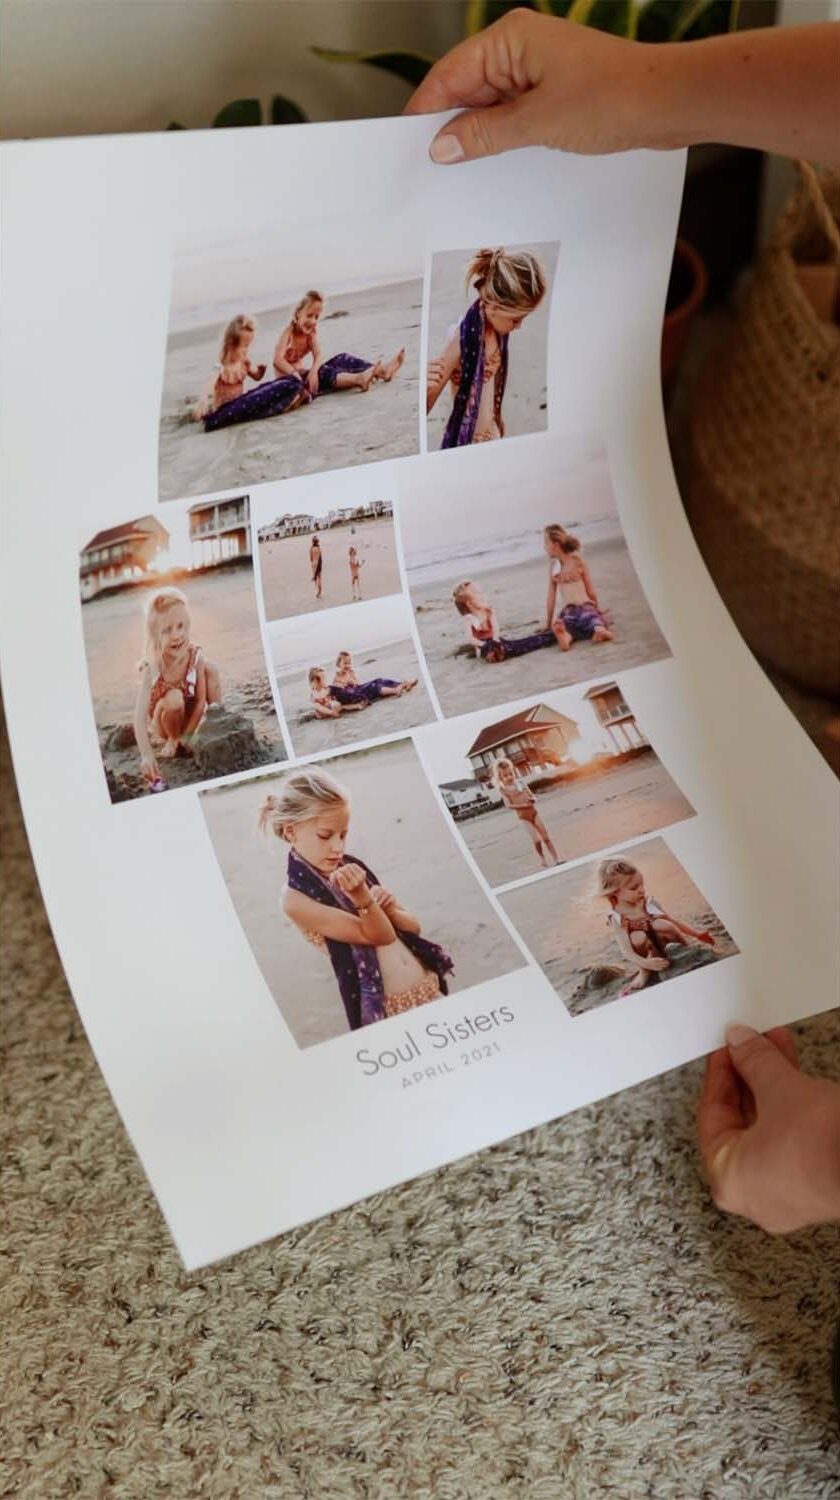
Custom posters offer a fun and flexible way to decorate your home. Whether you’re a fan of bold typography, abstract designs, or photo collages, personalized posters give you the creative freedom to express yourself.
Why Custom Posters Are Great for Home Décor:
- Affordability: Posters are a cost-effective way to decorate large spaces or change up your décor seasonally.
- Versatility: Easily swap out posters to refresh your space whenever you like. Mix and match different designs to keep your walls looking fresh and interesting.
- Framing: Pair your custom poster with a simple frame or create a picture frame to match your home’s aesthetic.
Shutterfly allows you to design custom posters with a variety of templates, ensuring that your poster perfectly reflects your style.
Final Thoughts: Personalize Your Home with Custom Prints
Custom prints offer endless possibilities for personalizing your home. With Shutterfly, you’re not just decorating—you’re making your space a true reflection of who you are. So why wait? Start creating today, and turn your walls into a canvas for the stories that make your life uniquely yours.
Additional Resources: