


Creating a gallery wall is a fantastic way to personalize your home, showcase your favorite photos, and turn your walls into a canvas of memories. Whether you’re an experienced decorator or a beginner, pulling together a cohesive display can be a fun and rewarding project. Here are 12 stunning gallery wall layouts and ideas to inspire your next home décor update.
Gallery Wall Layouts & Ideas
From clean grids to curated mixes, gallery walls are an easy way to turn favorite photos and artwork into a cohesive display. Explore these creative gallery wall layout ideas to find the right balance of structure, spacing, and style for your space—whether you’re filling a large blank wall or creating a small, intentional moment.
1. Symmetrical Grid
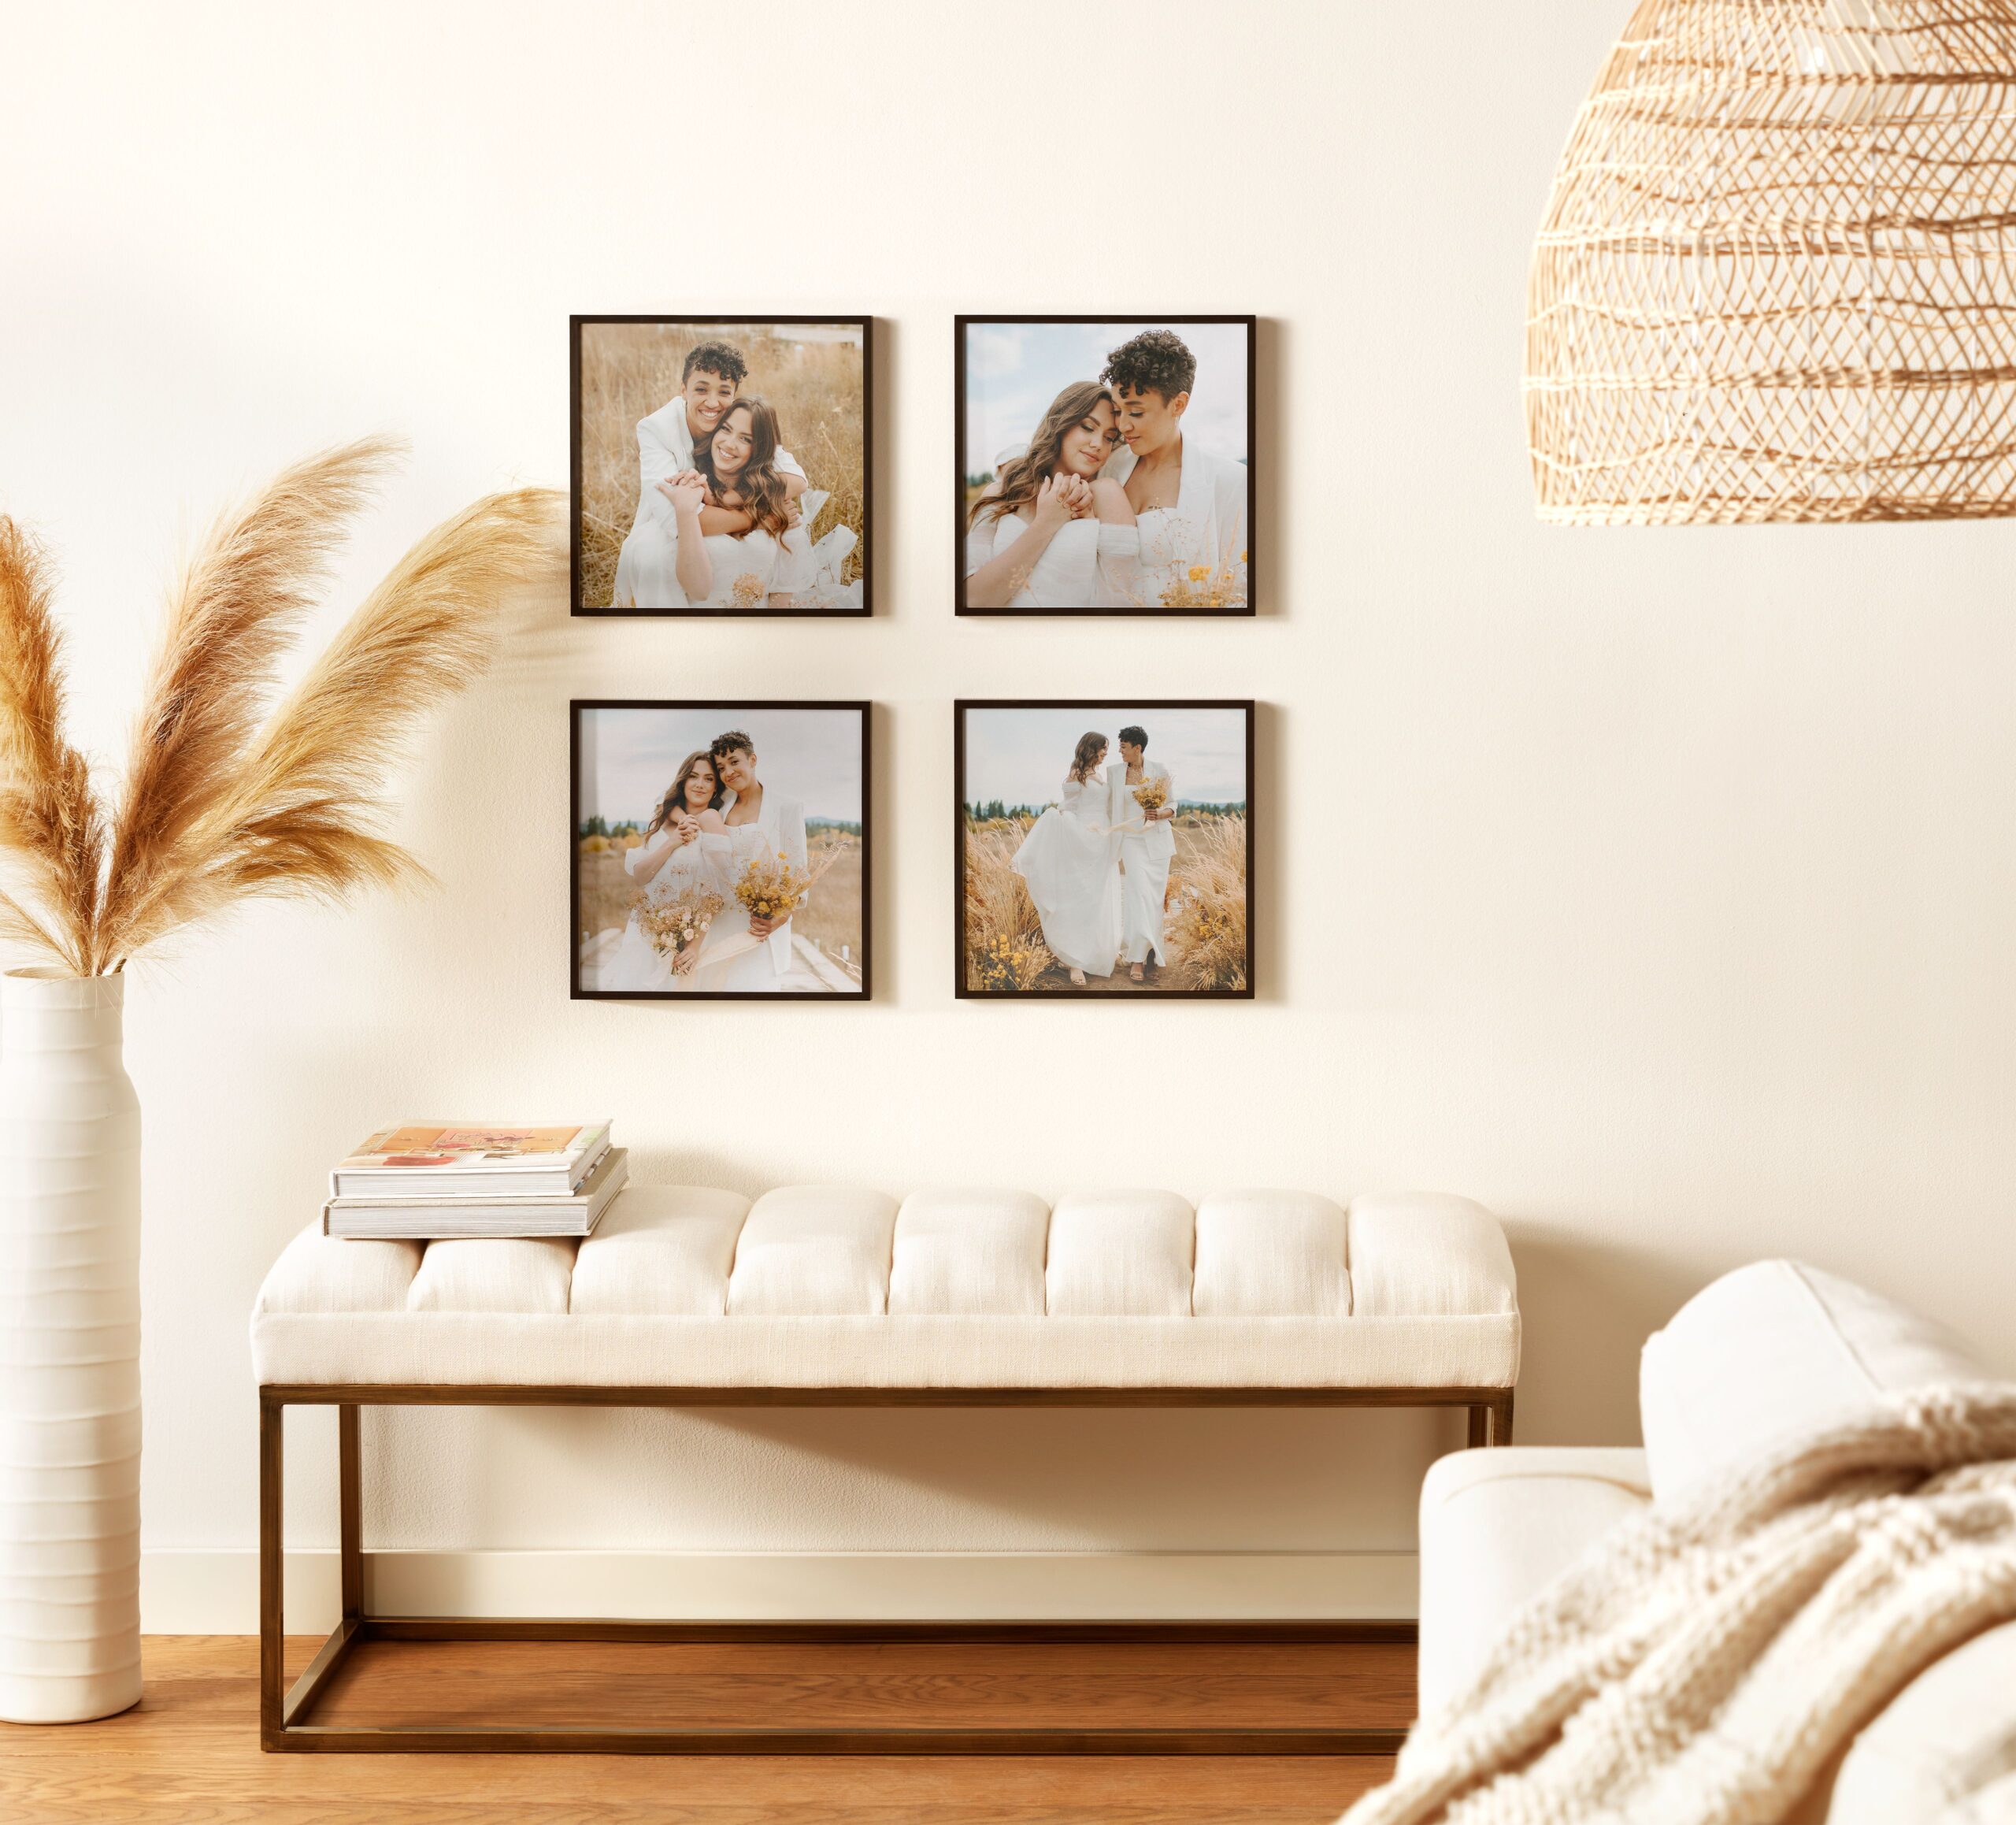
In This Gallery Wall
Framed Photo Tiles in black, size 12 x 12″
For those who love order and balance, a symmetrical grid gallery wall is perfect. Arrange identical frames in a grid pattern to create a clean, uniform look. This layout works well in spaces where you want to add visual interest without overwhelming the room. Use consistent frame sizes and colors for a cohesive effect.
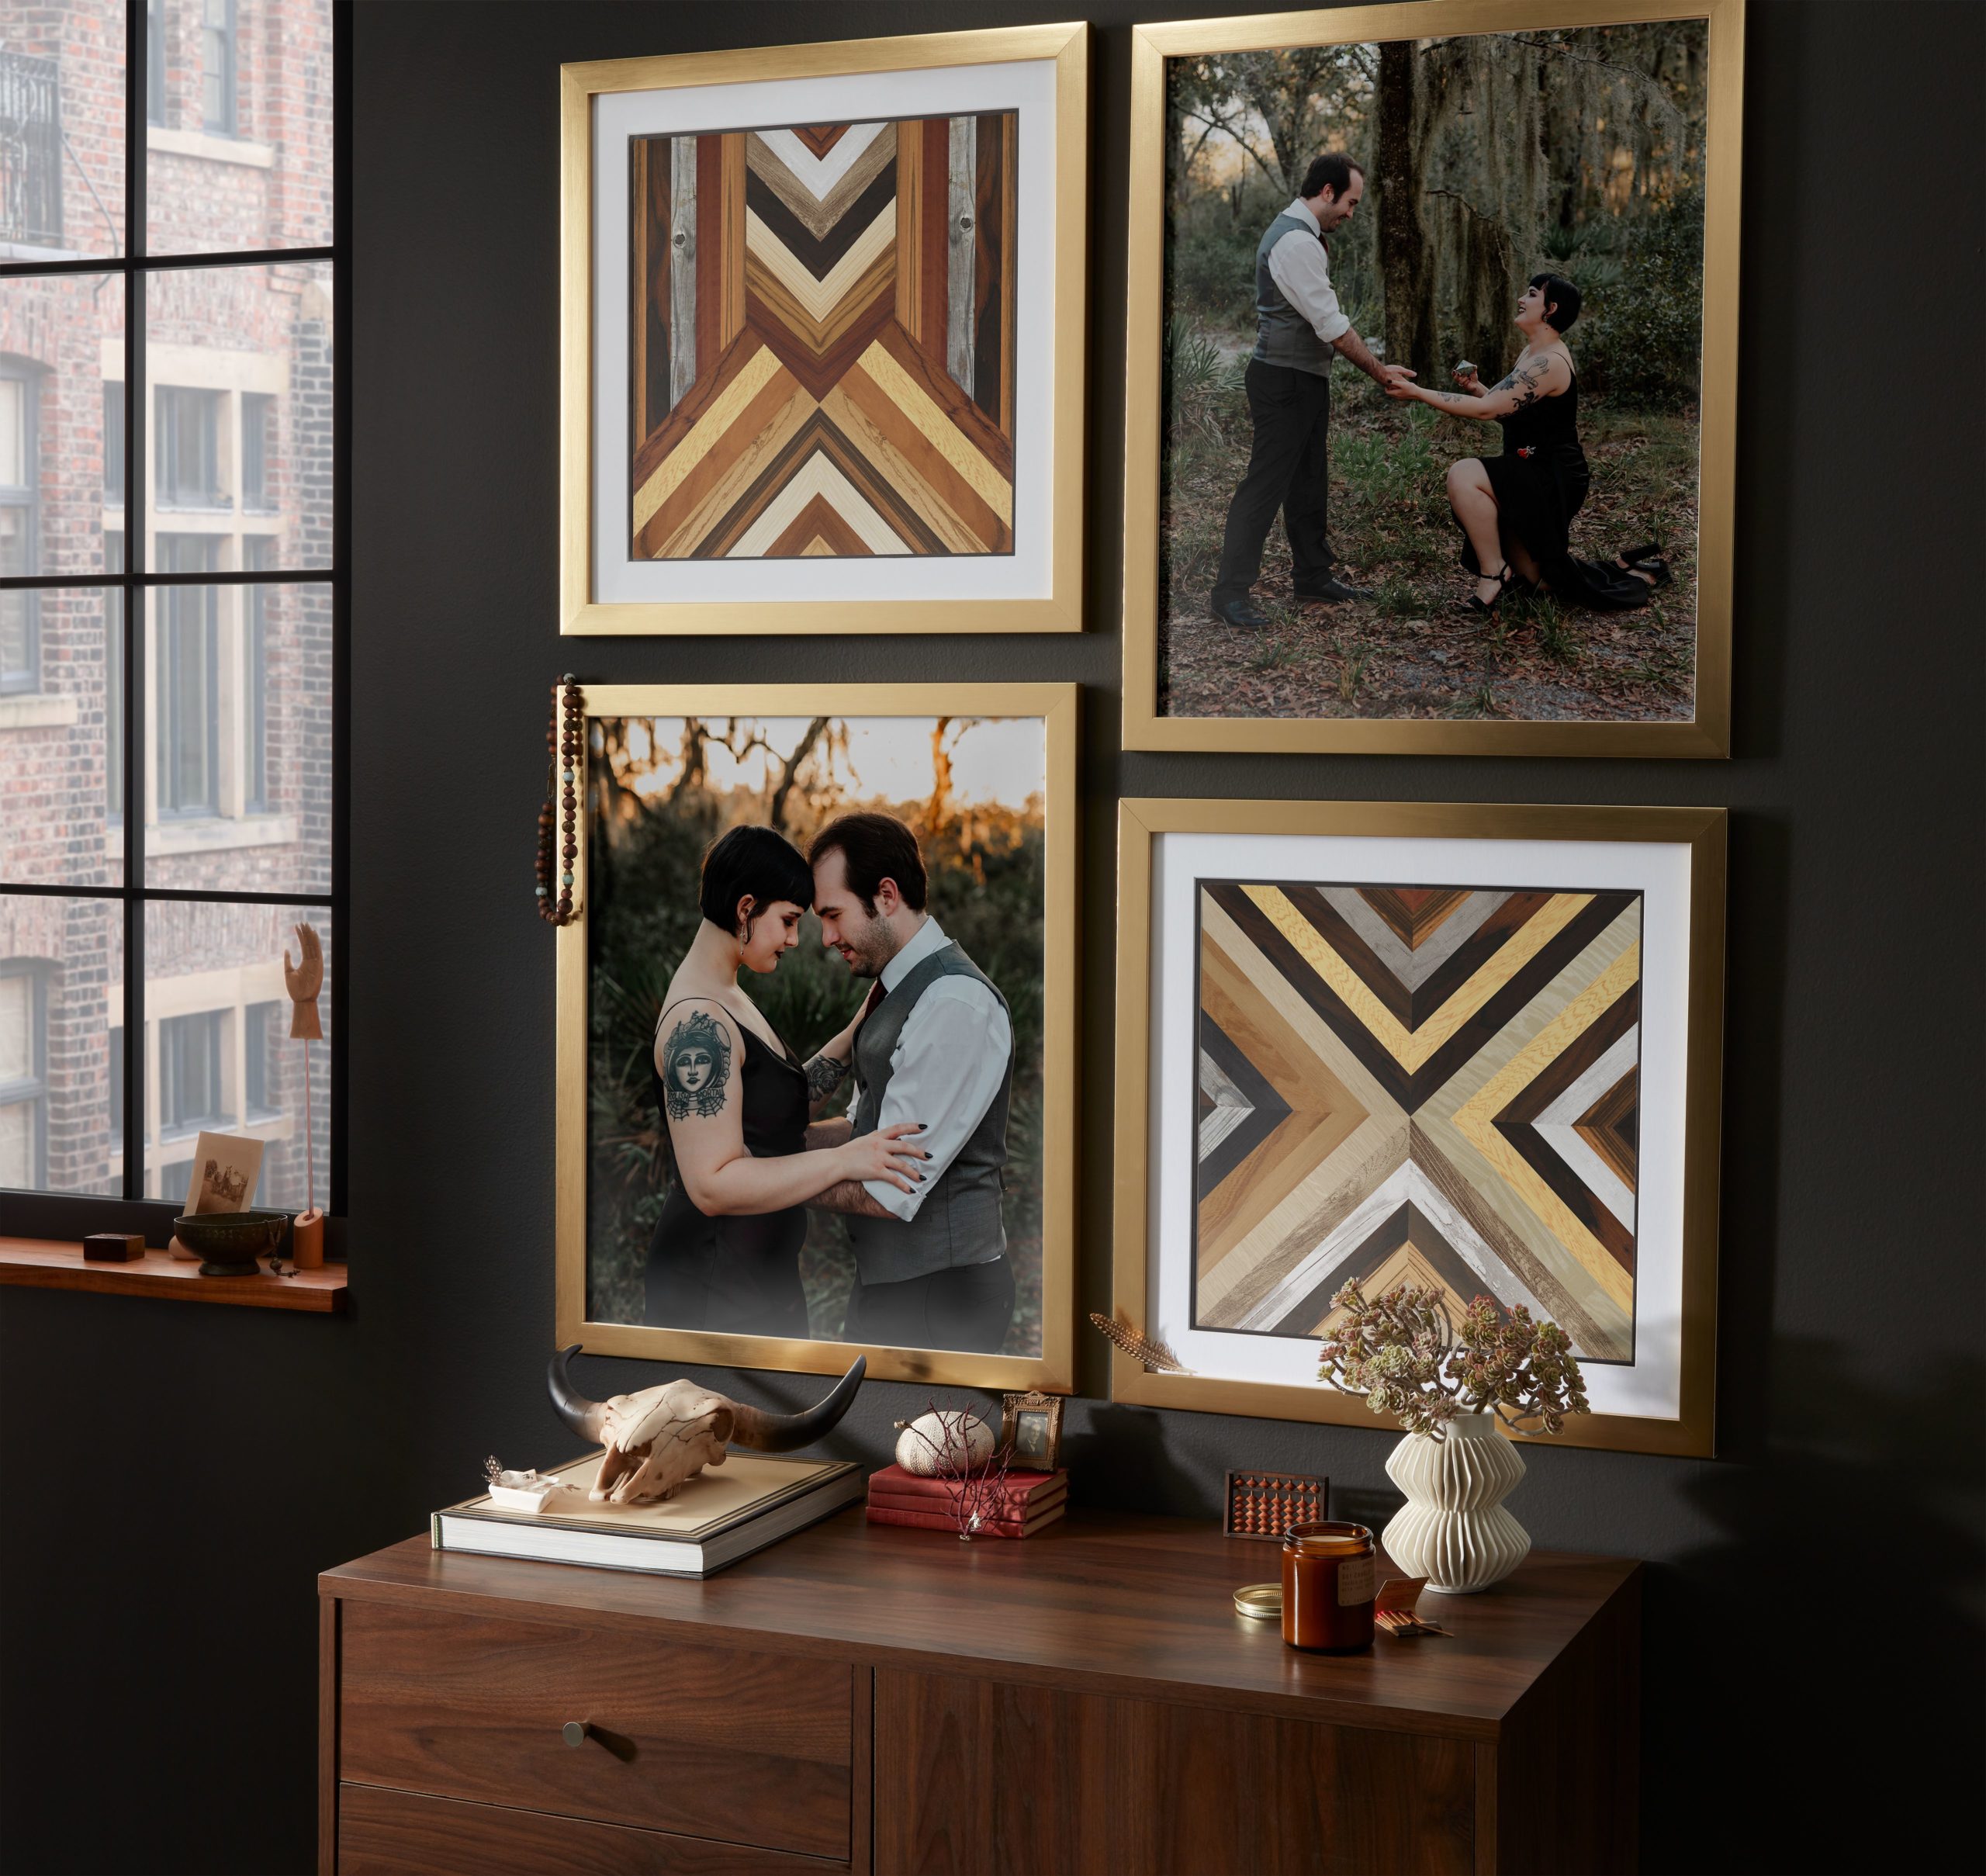
2. Eclectic Mix
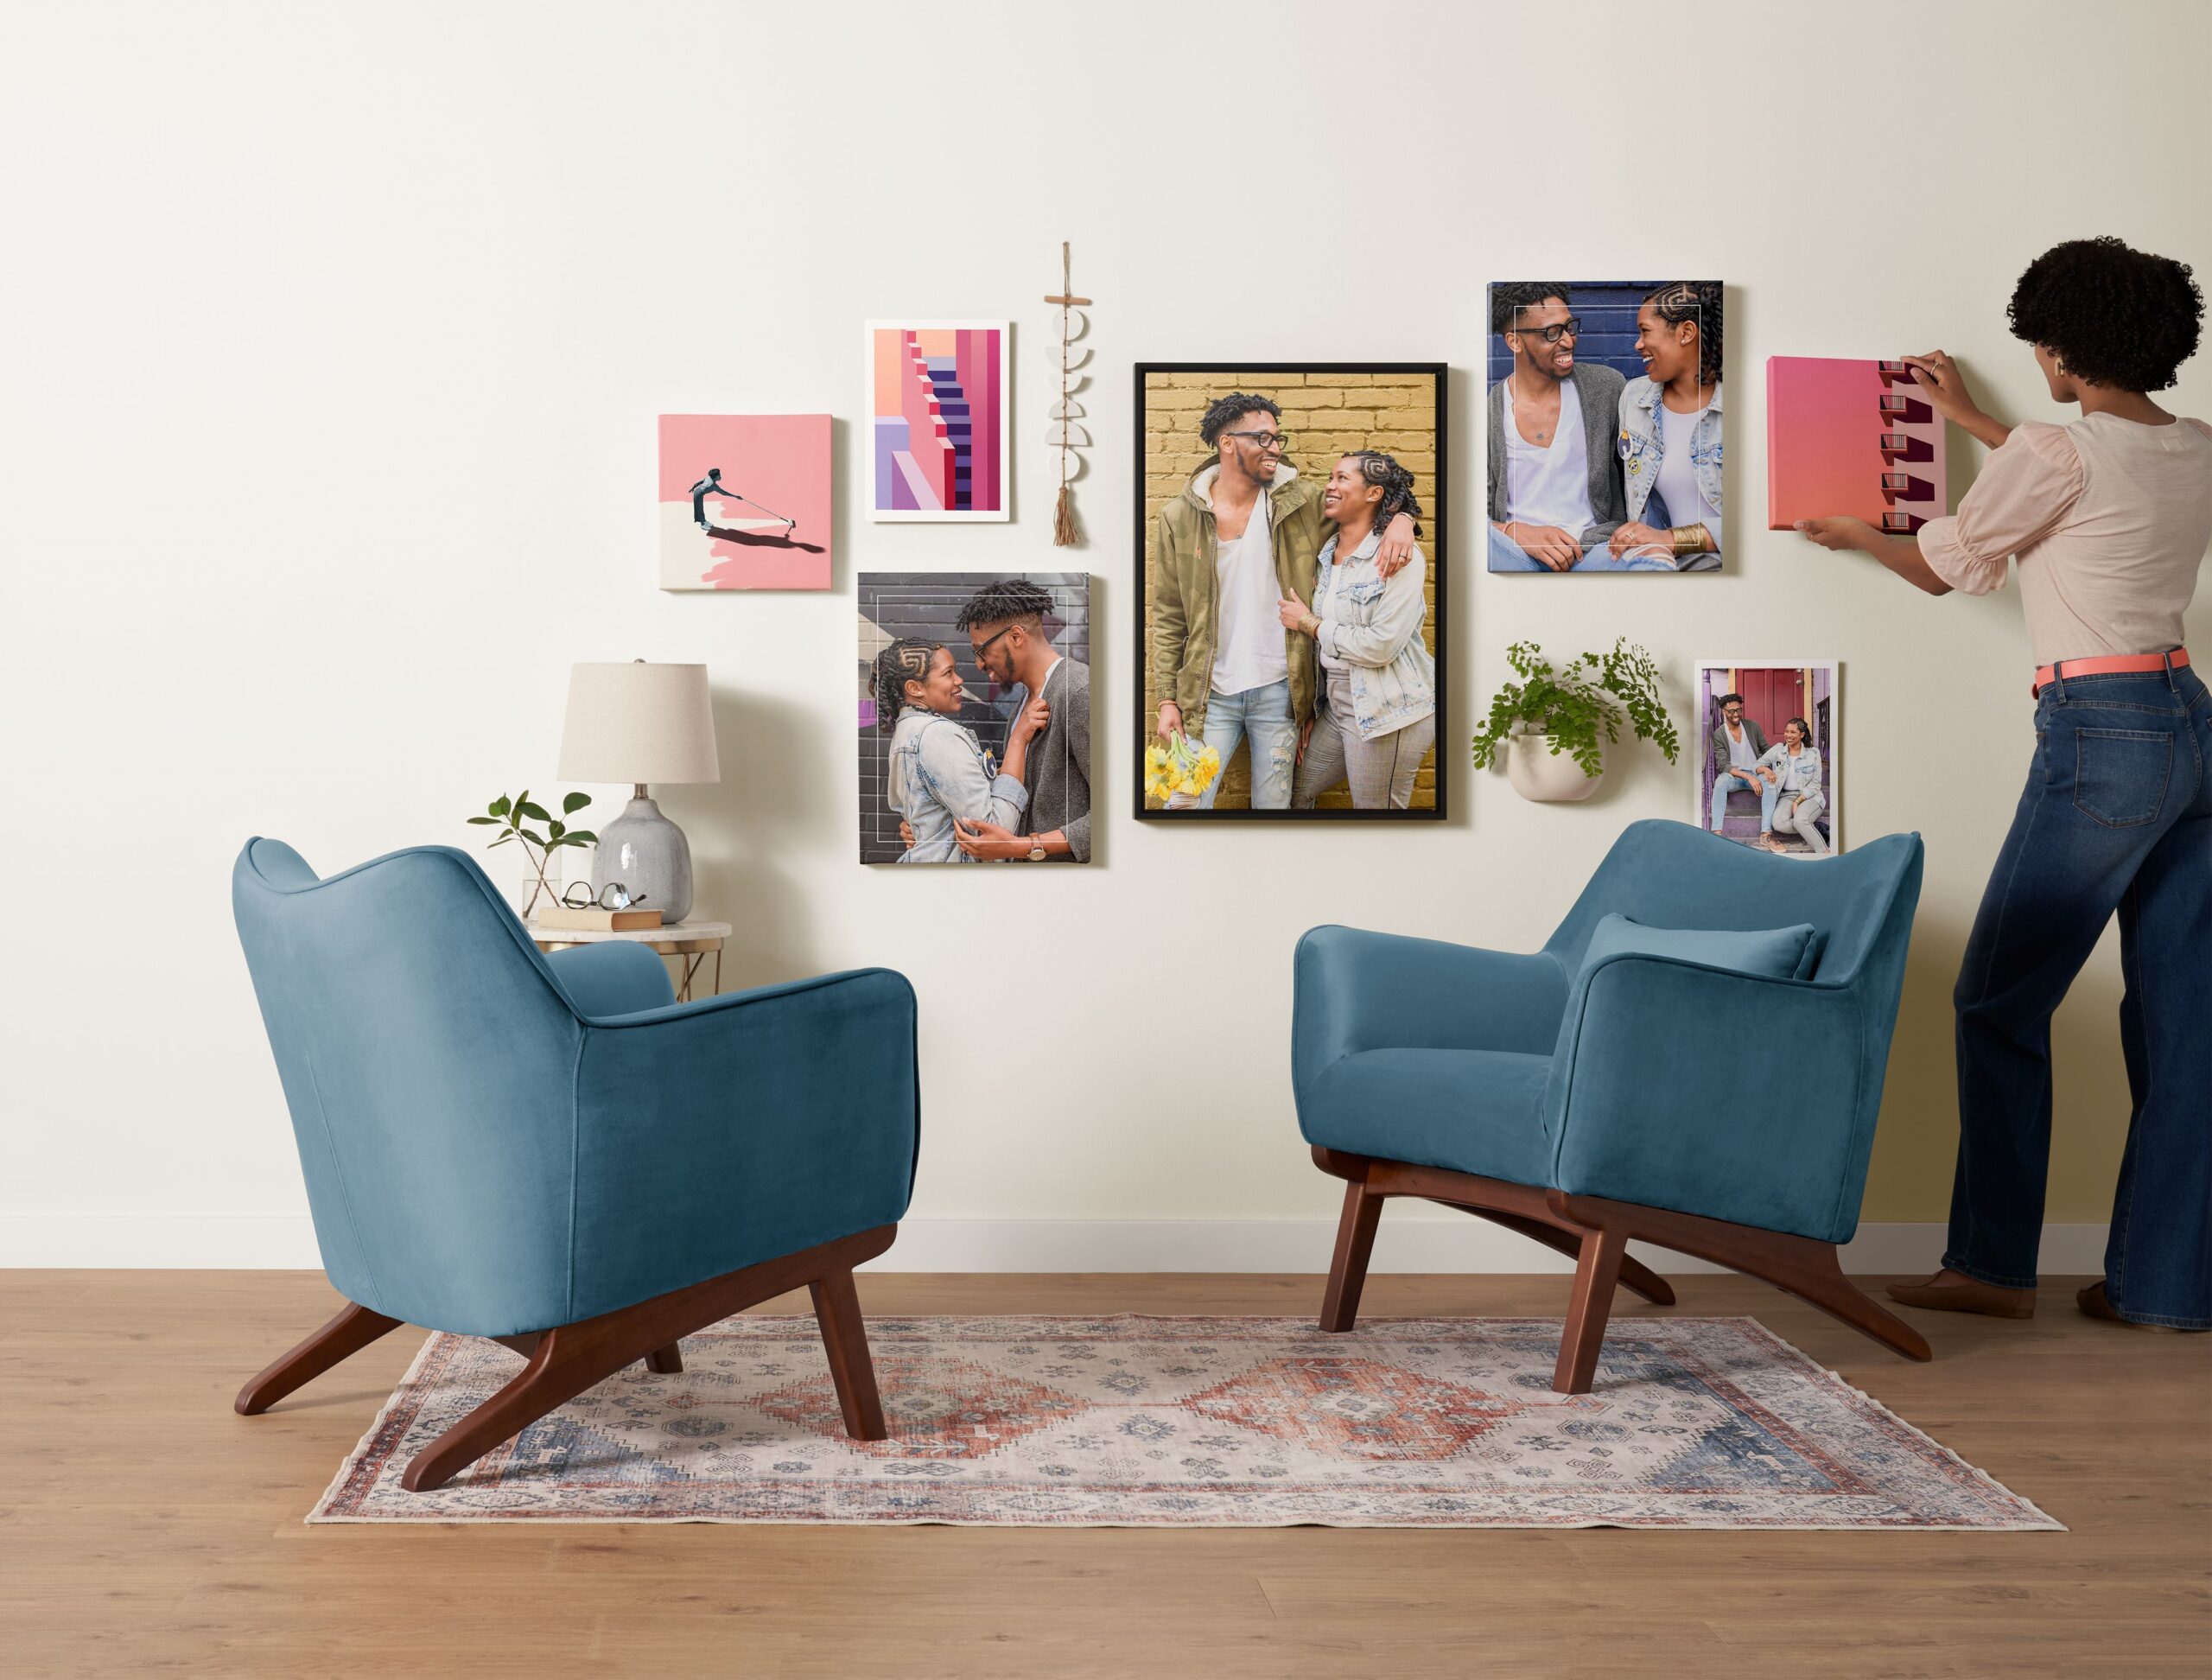
In This Gallery Wall
Canvas Print, size 16 x 20″
Framed Canvas Print in black, size 20 x 30″
Metal Photo Tile, size 10 x 14″
If you prefer a more laid-back and creative approach, try an eclectic mix gallery wall. Combine different frame styles, colors, and sizes to create a unique, personalized display. Incorporate various art pieces, photos, and even objects like mirrors or wall sculptures. This style thrives on variety, so don’t be afraid to mix and match.
3. Compact Grid
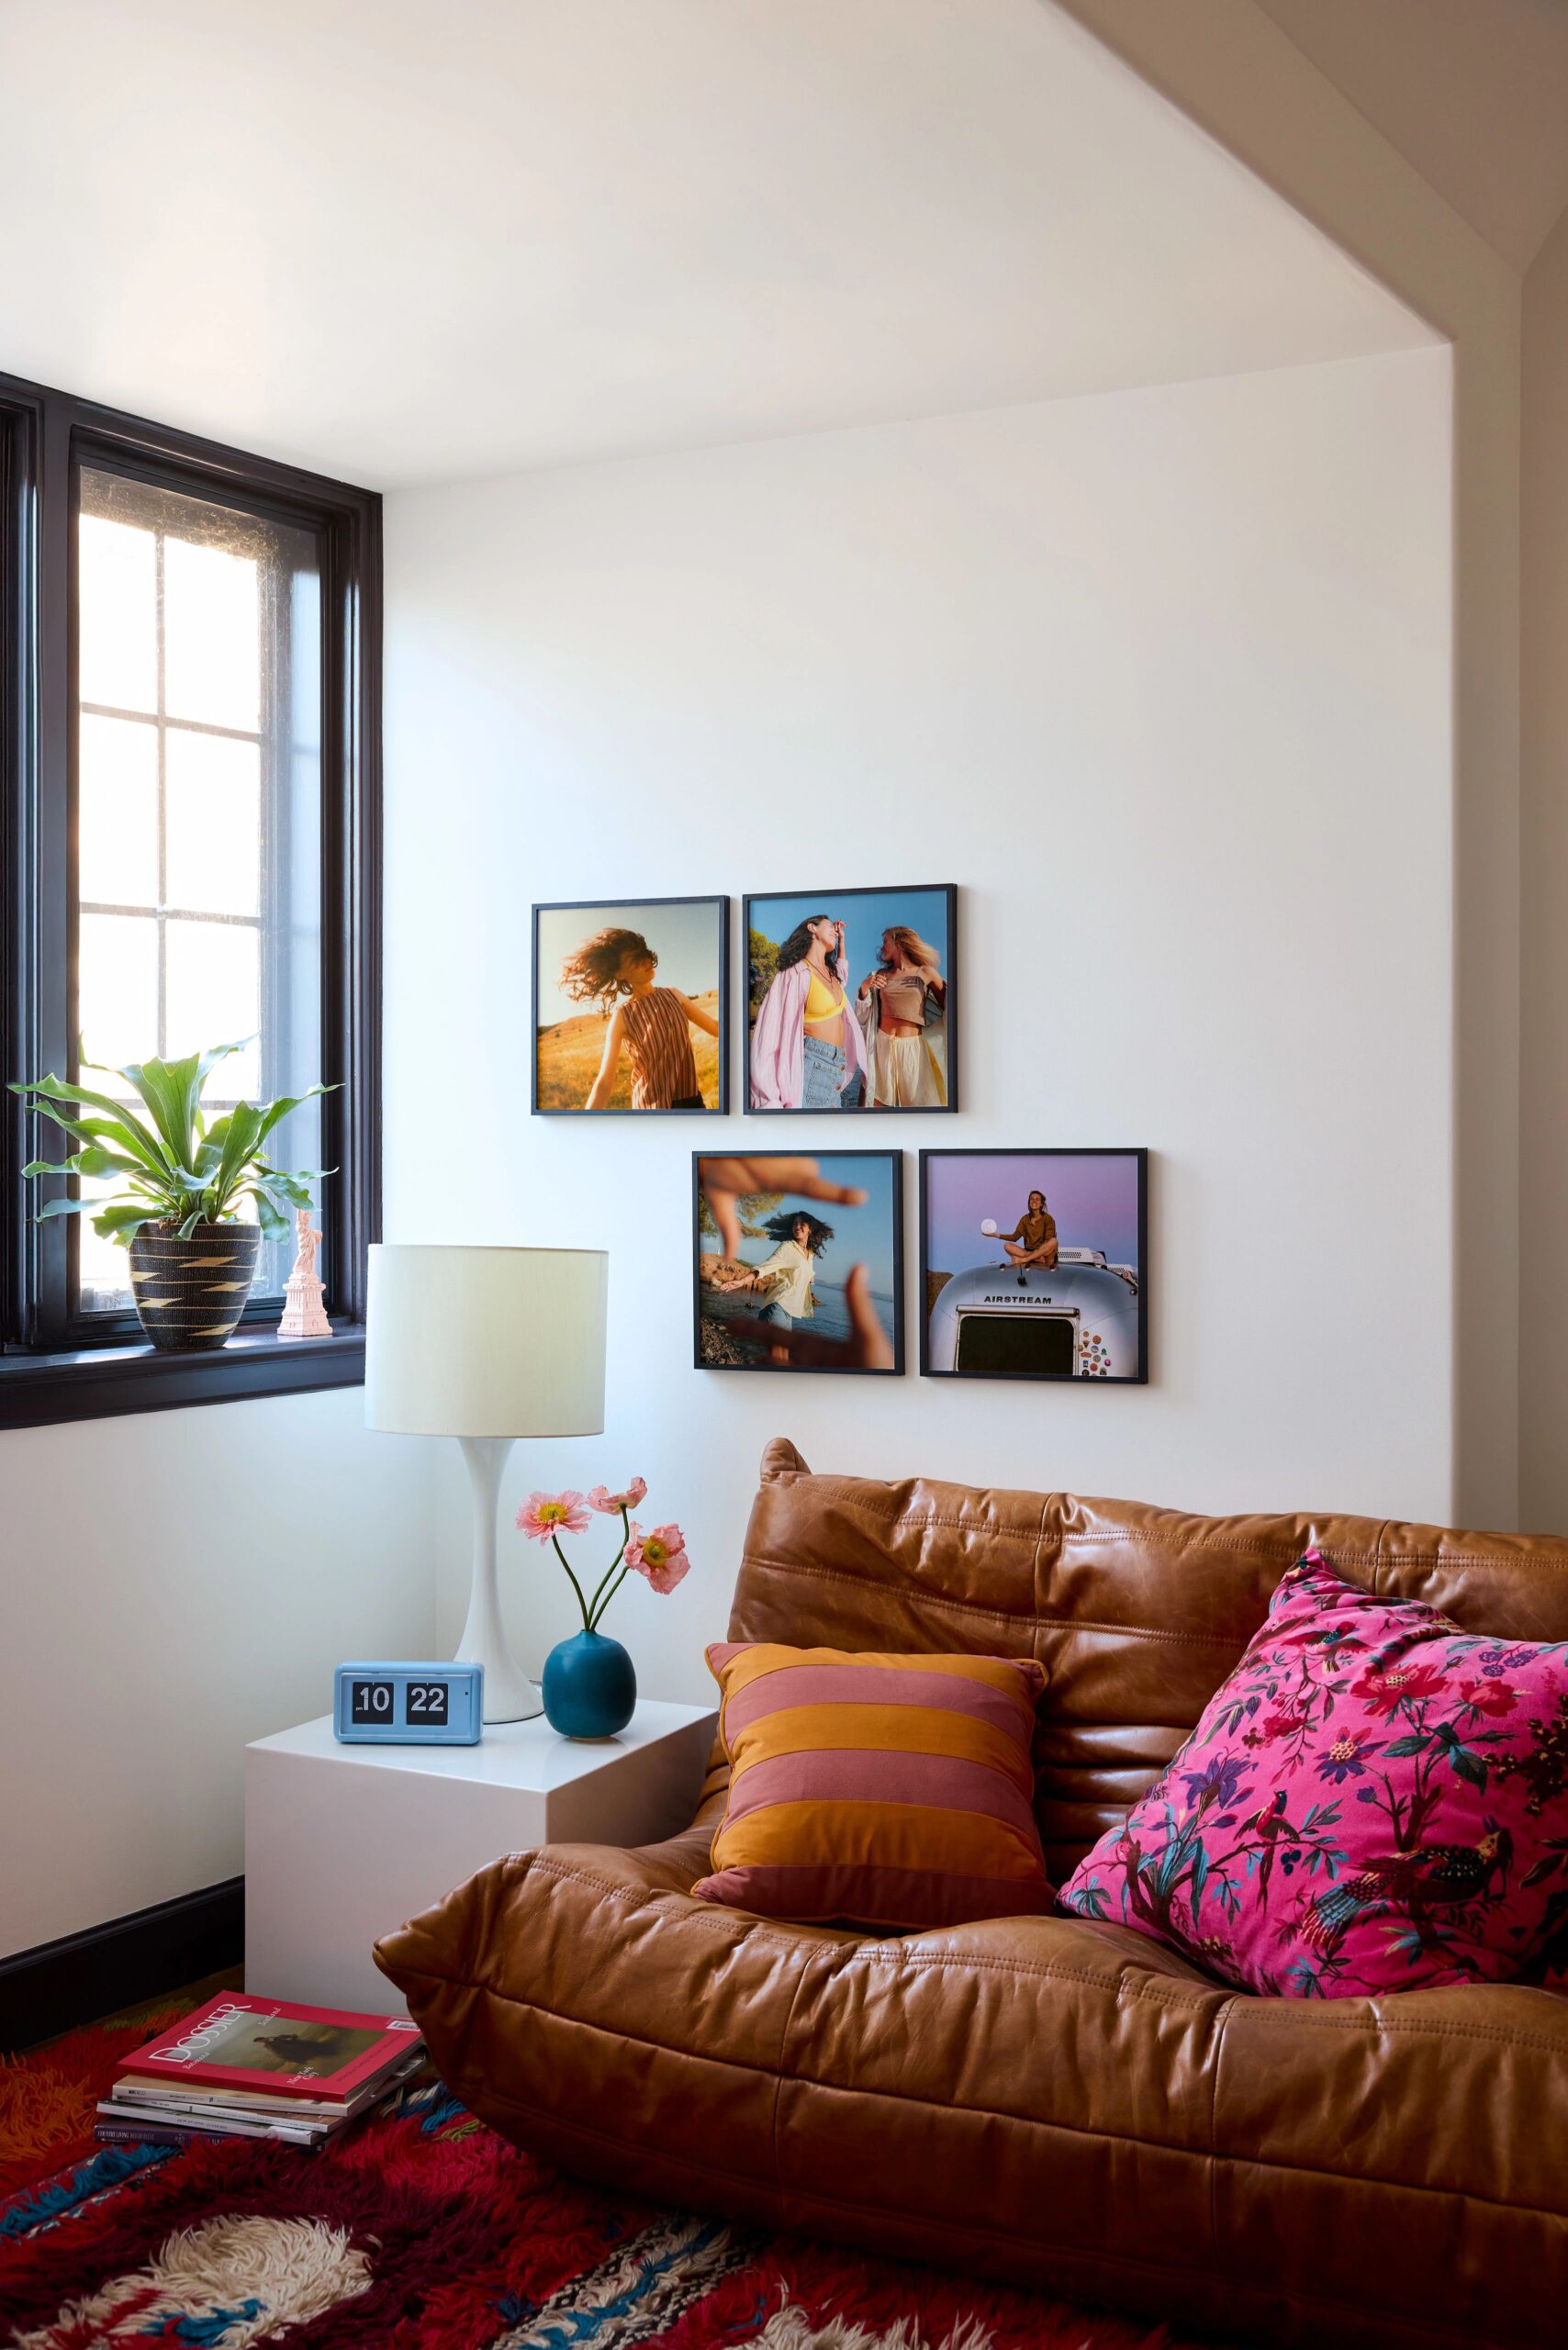
In This Gallery Wall
Framed Photo Tile in black, size 10 x 10″
A compact grid gallery wall features a small set of evenly sized frames arranged in a clean, symmetrical layout. This style is perfect for showcasing a handful of favorite photos—like travel memories or candid moments—while leaving plenty of open wall space around the display. Its simple structure makes it ideal for bedrooms, reading corners, or smaller living spaces where you want a polished look without visual clutter.
4. Monochromatic
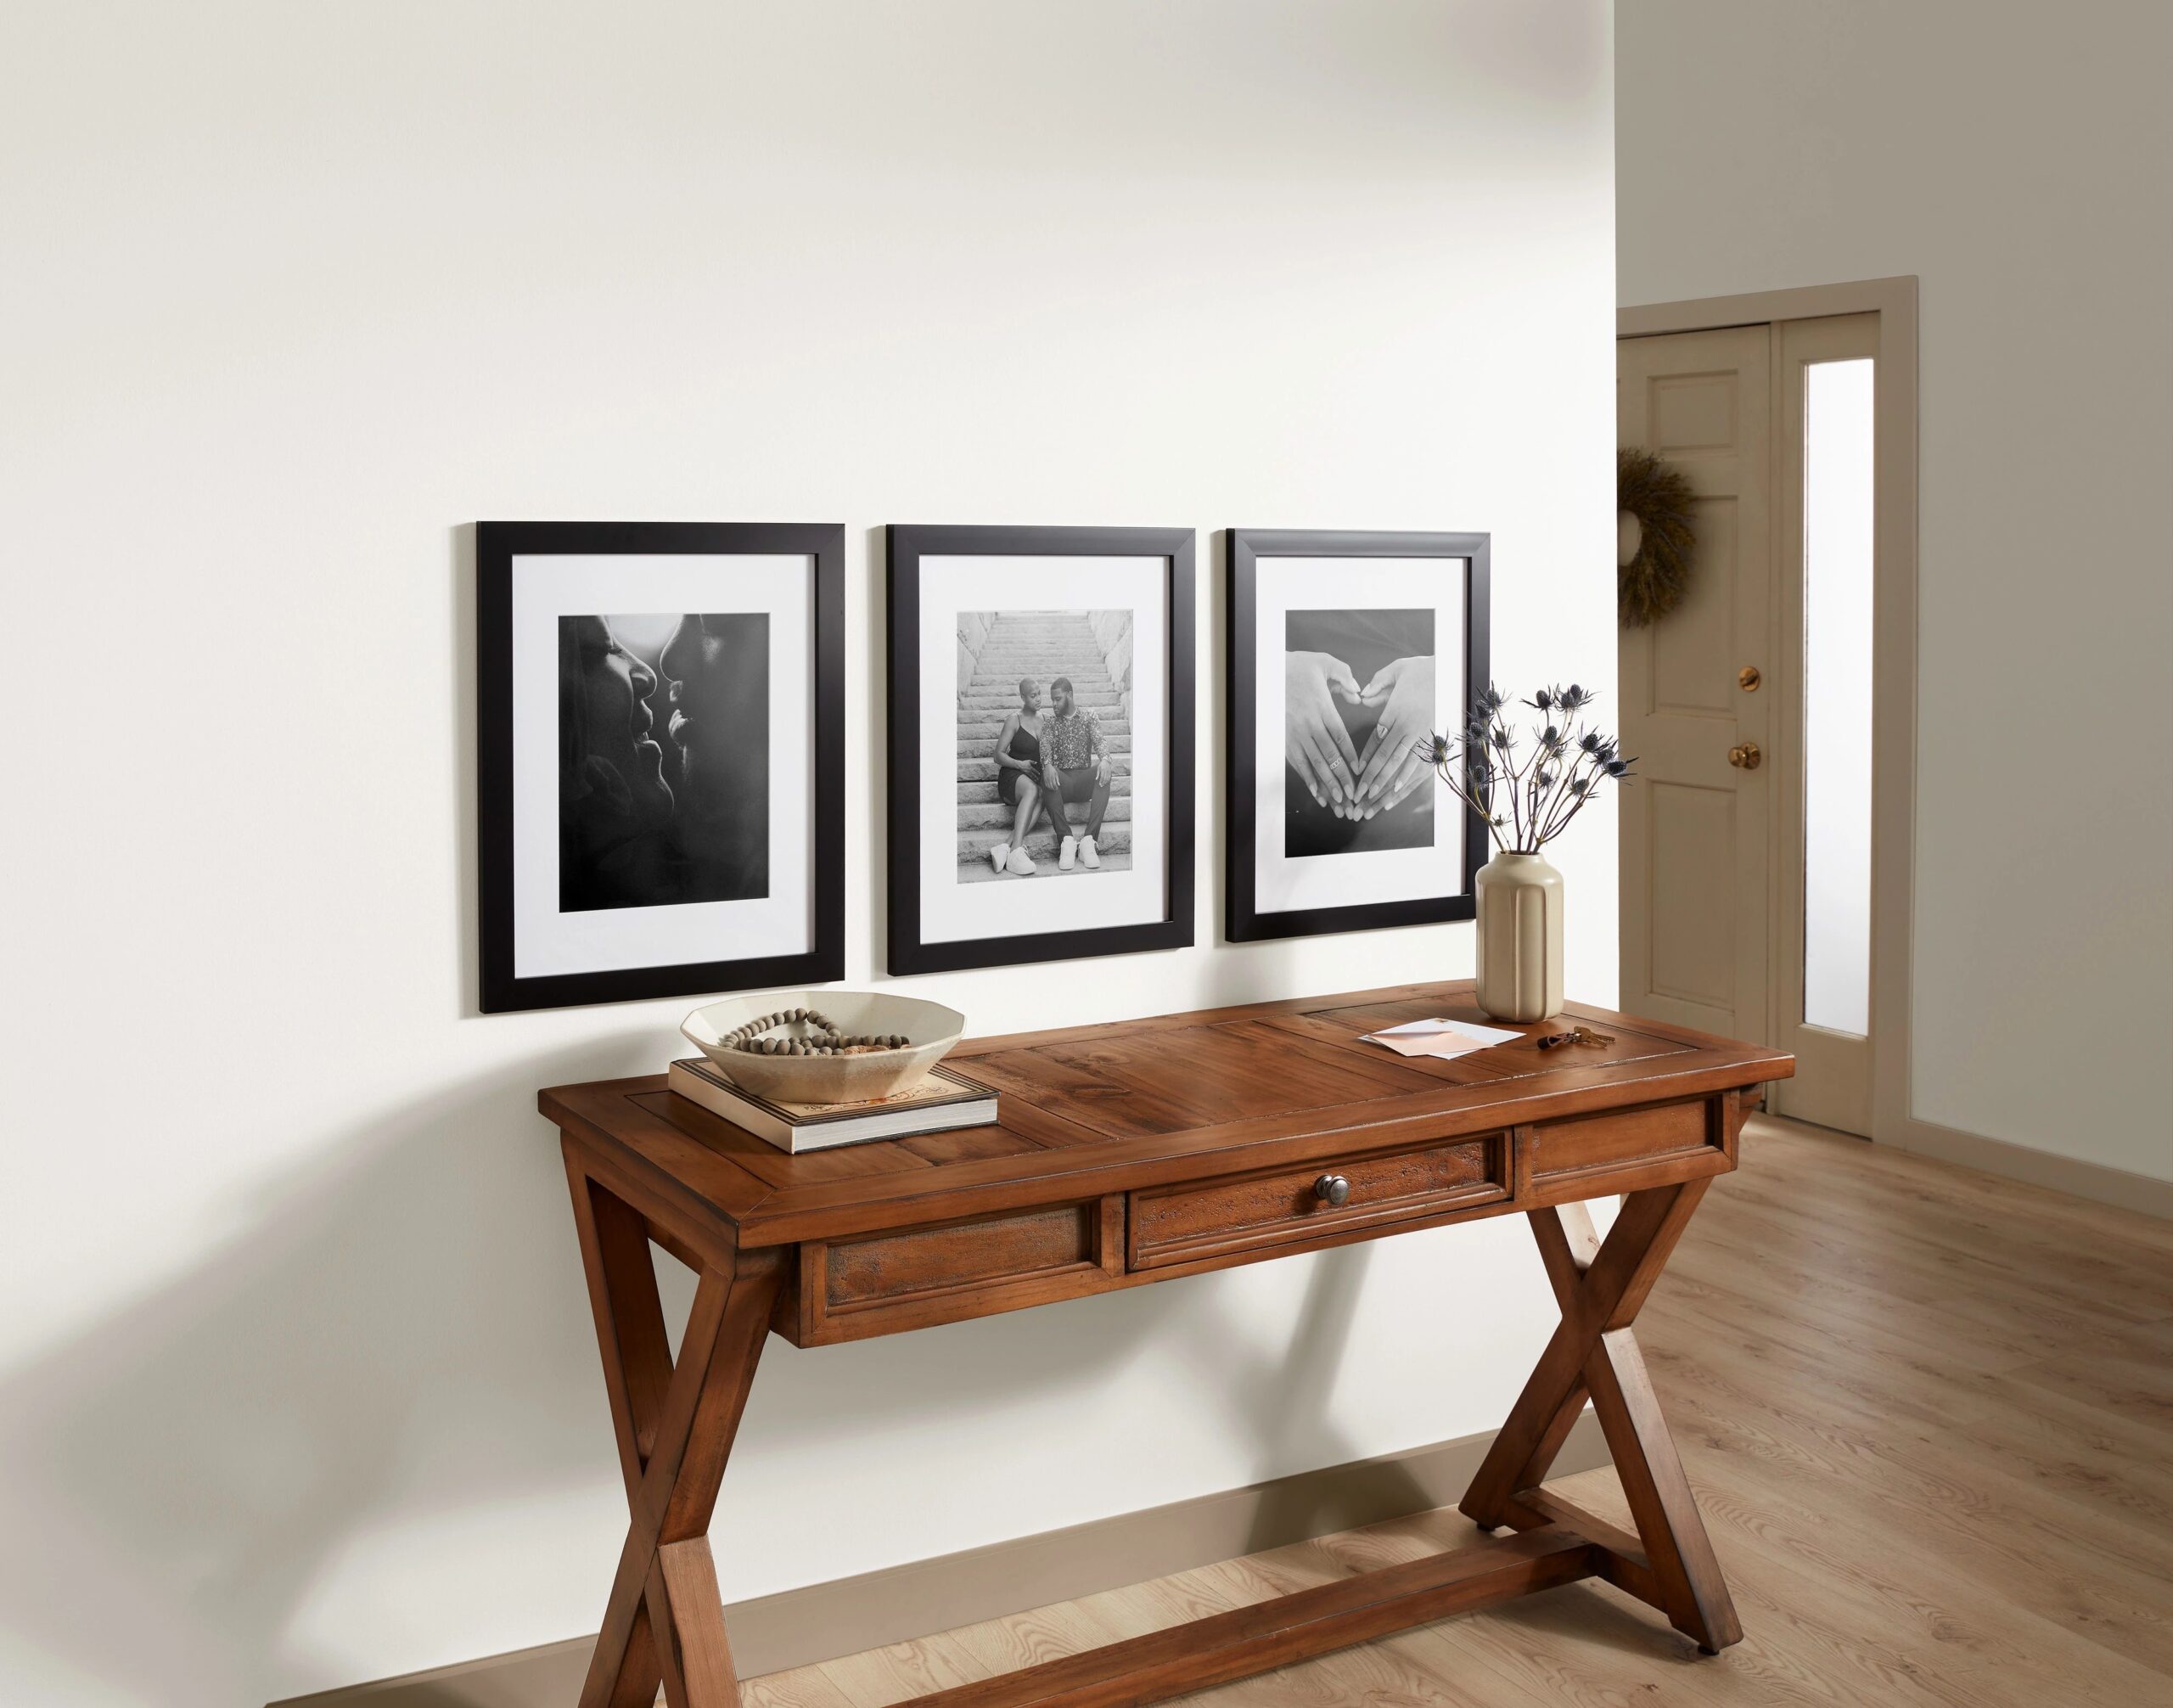
In This Gallery Wall
Framed Print in black, size 16 x 20″
A monochrome gallery wall is a sophisticated and modern option. Stick to black-and-white photos and frames for a timeless look that complements any décor. This style emphasizes the subjects in your photos and works particularly well in minimalist spaces.
5. Panoramic
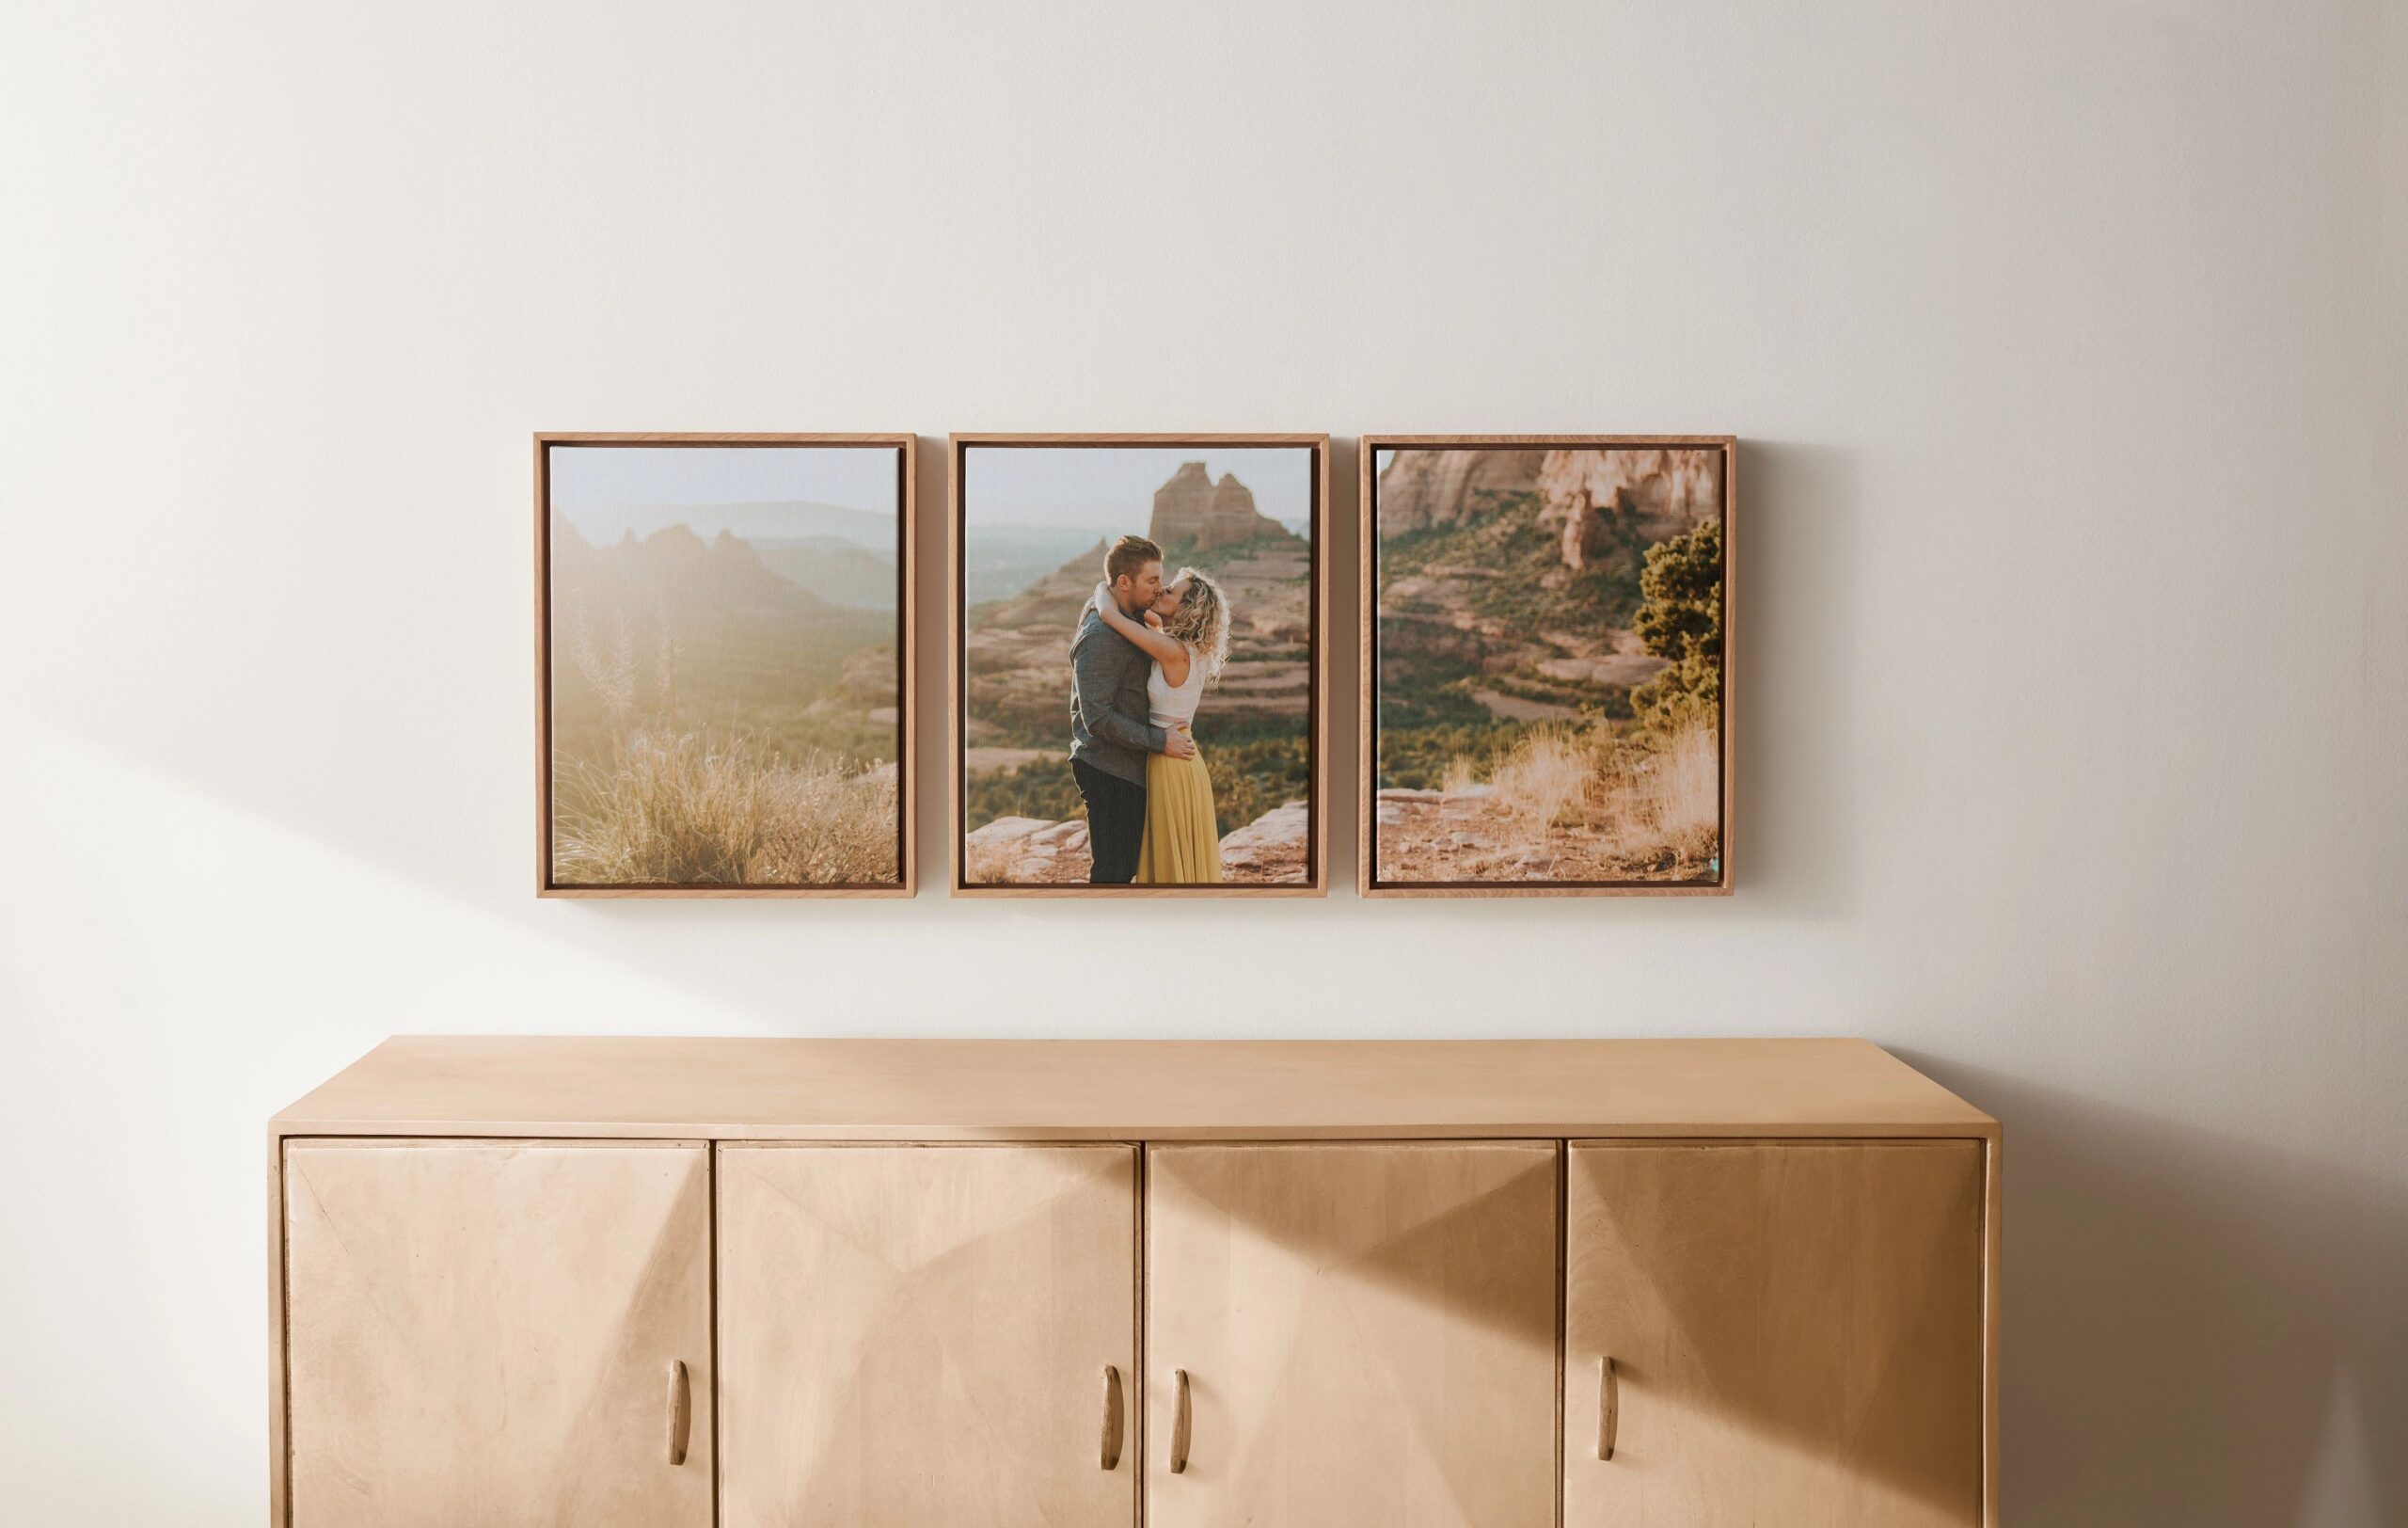
In This Gallery Wall
Framed Canvas Print in natural, size 16 x 20″
For a unique and eye-catching display, consider using a panoramic photo split across multiple pieces of wall art in your gallery wall. This approach creates a seamless, wide-angle visual that draws attention and adds depth to your space. Ideal for landscapes or cityscapes, a panoramic gallery wall makes a bold statement while tying the room together.
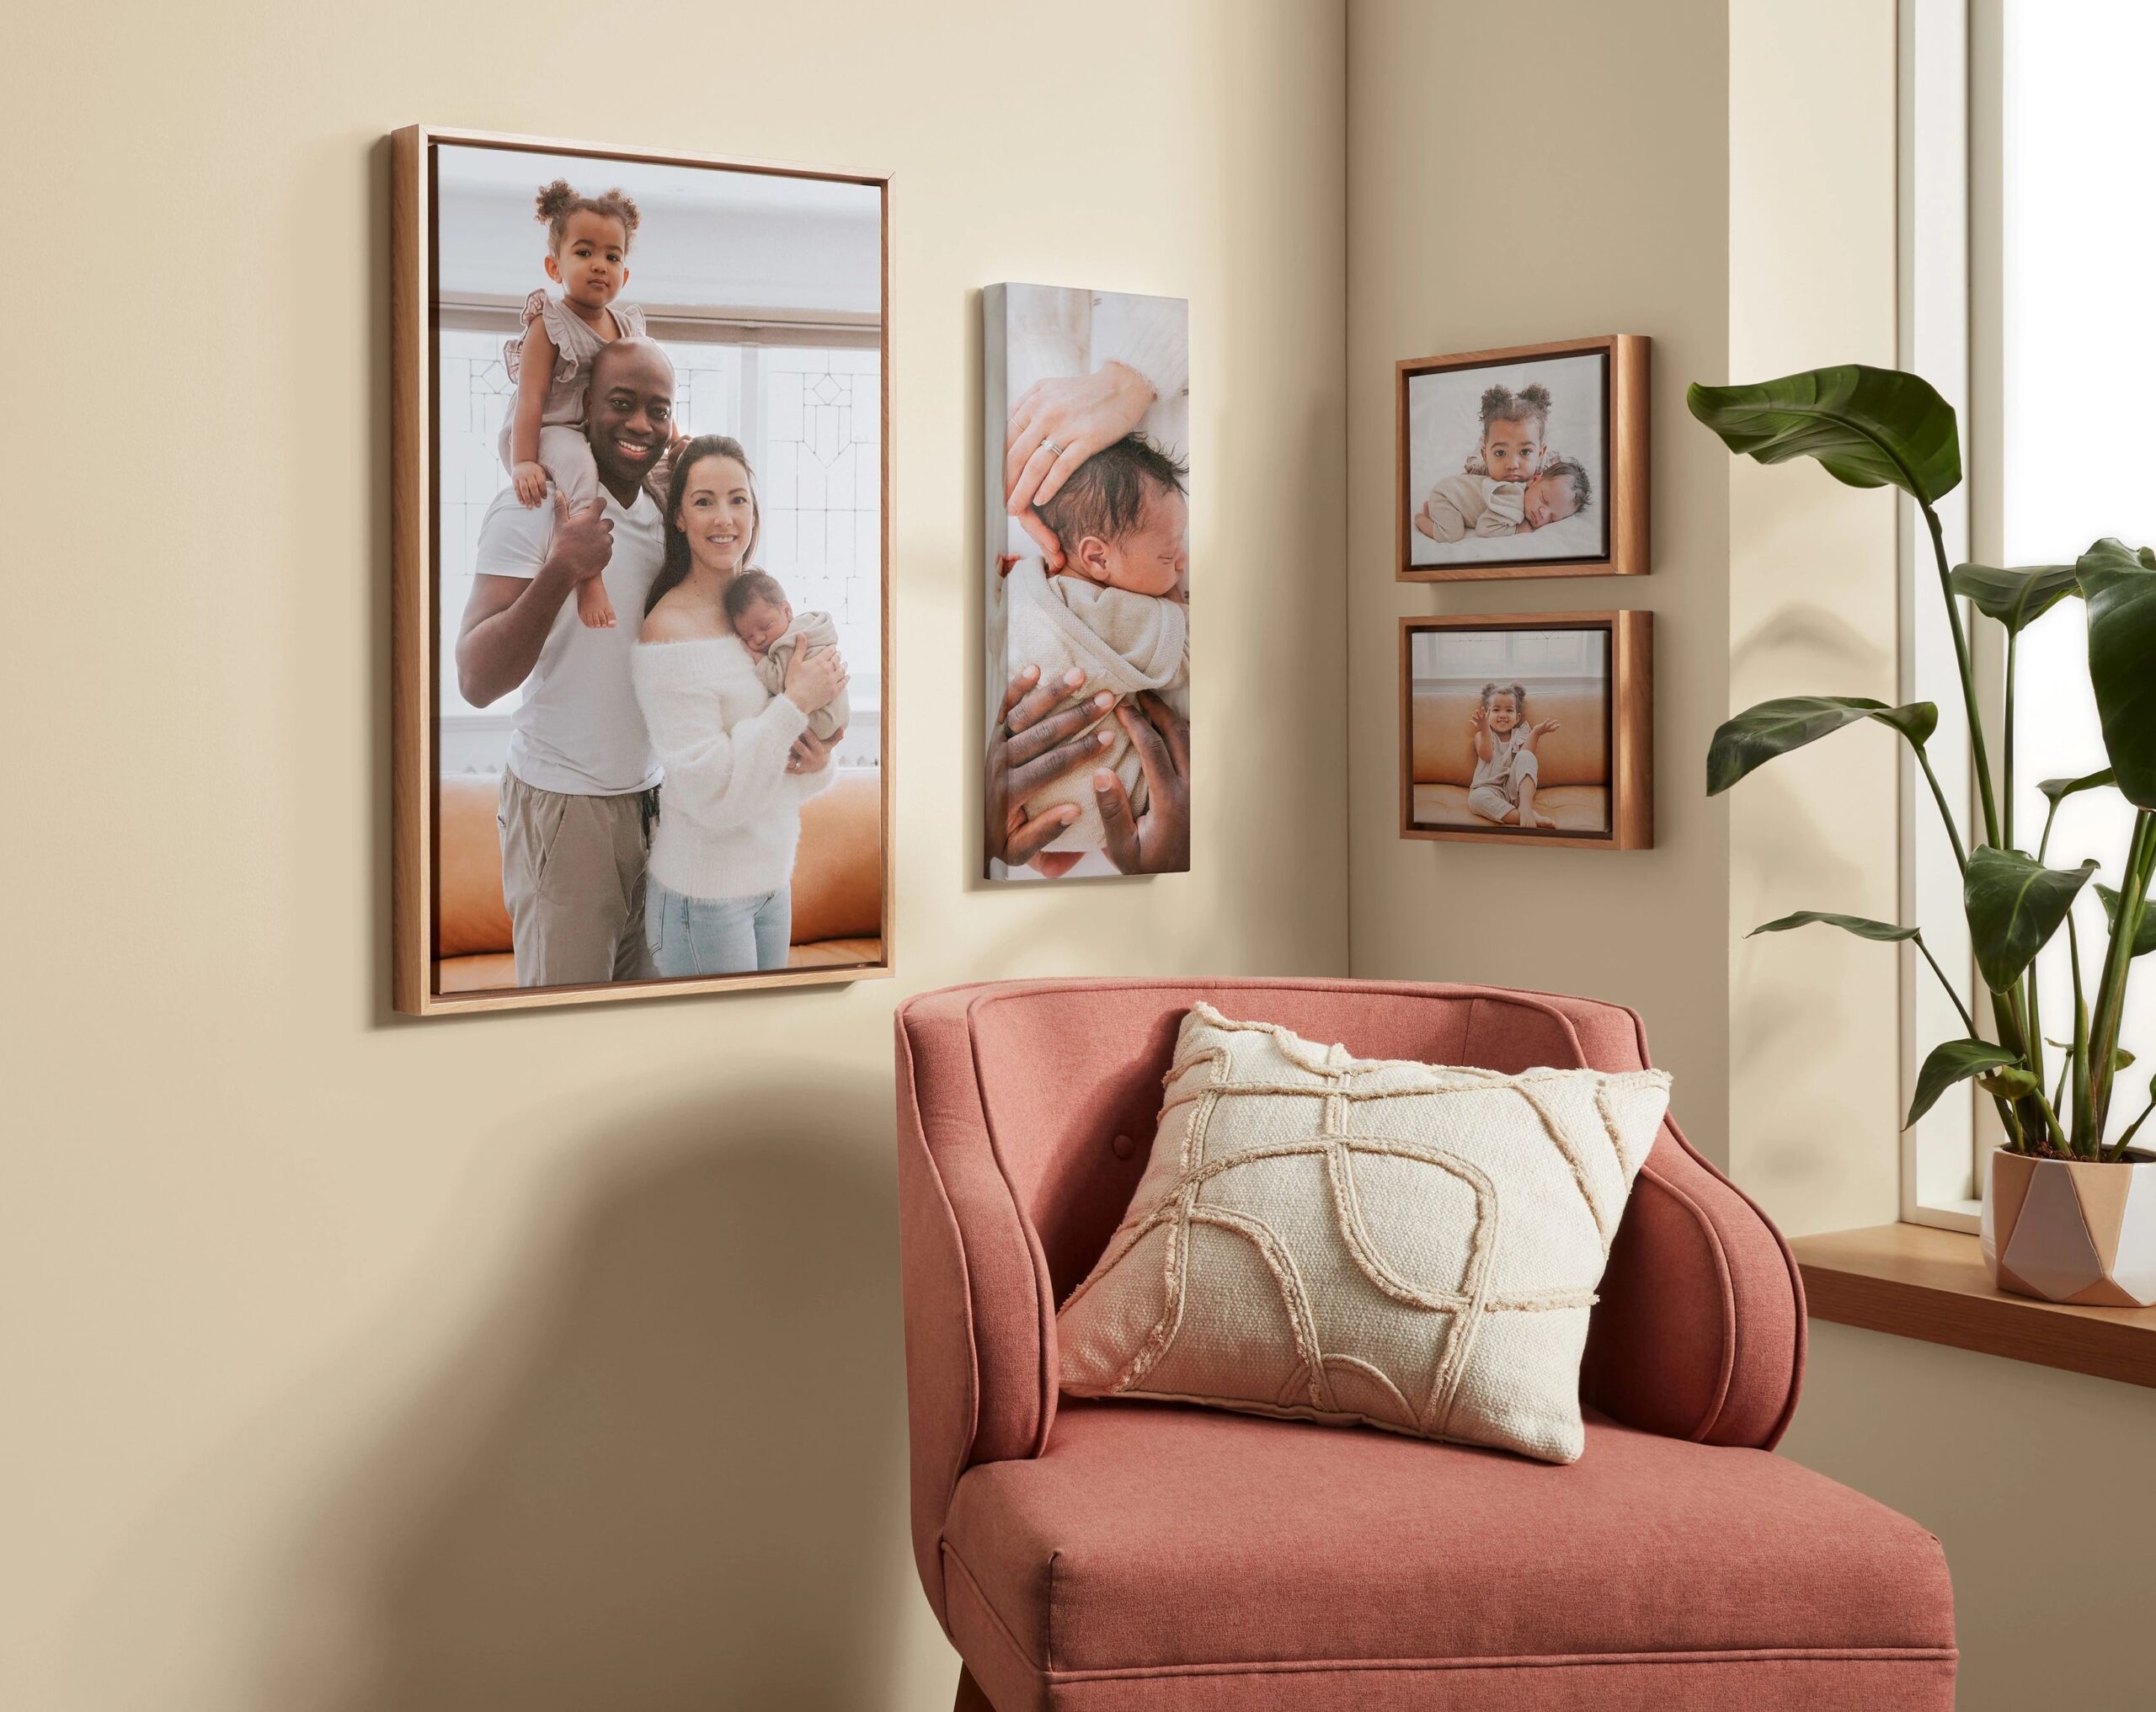
6. Family Photo
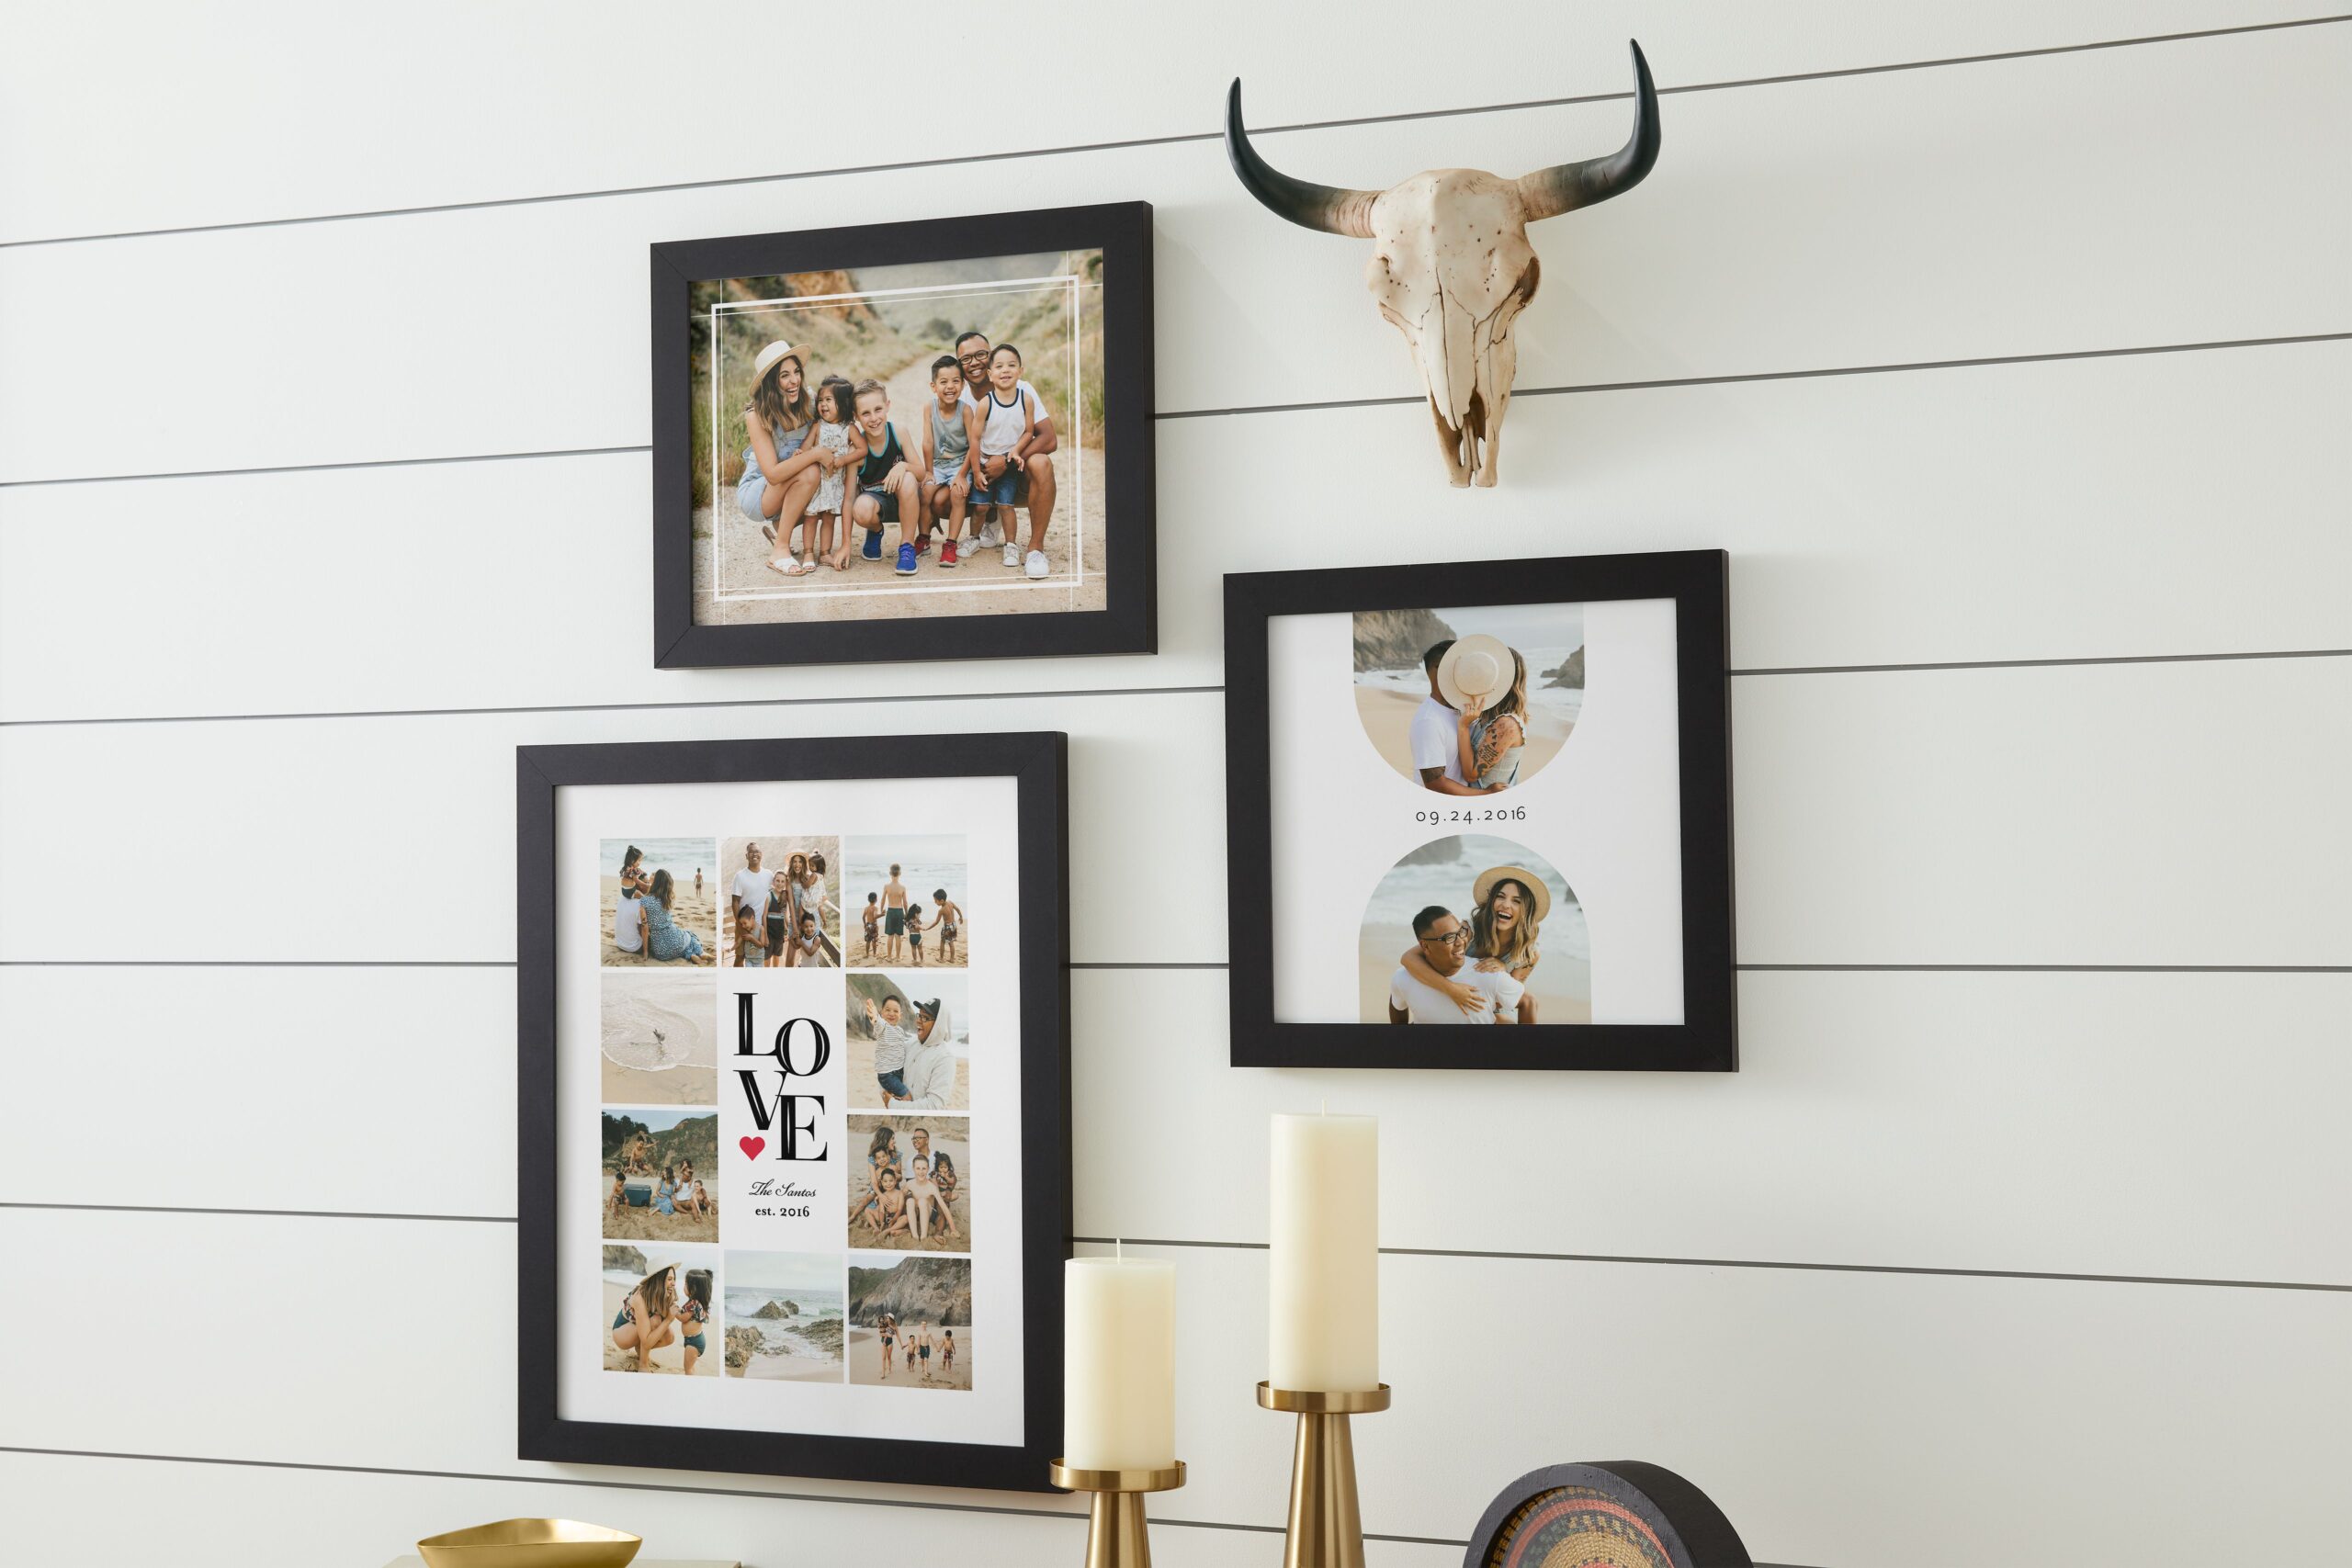
In This Gallery Wall
Framed Art Print in black, size 11 x 14″
Framed Art Print in black, size 12 x 12″
Framed Art Print in black, size 5 x 7″
Celebrate your loved ones with a dedicated family photo gallery wall. Select your favorite family pictures and arrange them in a heartwarming display. This idea works well in communal spaces like living rooms, where you can reminisce over shared memories with family and friends. Mix in candid shots with formal portraits for a more dynamic layout.
7. Statement Piece
In This Gallery Wall
Framed Canvas Print in natural, size 20 x 30″
Canvas Print, size 10 x 14″
Framed Art Print in natural, size 11 x 14″
Anchor your gallery wall with a statement piece, such as an oversized photo or artwork. Surround it with smaller frames to create a balanced and eye-catching display. This style works well in spaces where you want to emphasize a particular photo or art piece while still incorporating additional elements.
8. Geometric
In This Gallery Wall
Metal Photo Tiles, size 8 x 8″
Add a modern twist to your gallery wall by arranging your frames in a geometric pattern. Consider triangles, diamonds, or zigzags to create a striking and contemporary look. This idea is perfect for adding visual interest to a room without the need for bold colors or oversized frames.
9. Alternating Symmetrical
In This Gallery Wall
Framed Print with gold, size 16 x 16″
Framed Print with gold, size 16 x 20″
For a playful twist on a classic symmetrical layout, try alternating between two different frame sizes in your gallery wall. Arrange one frame size horizontally and the other vertically, alternating them in columns. Align the top and bottom of each column and maintain consistent spacing between frames for a balanced yet dynamic look. This approach combines symmetry with a touch of fun, creating a visually interesting and well-organized display.
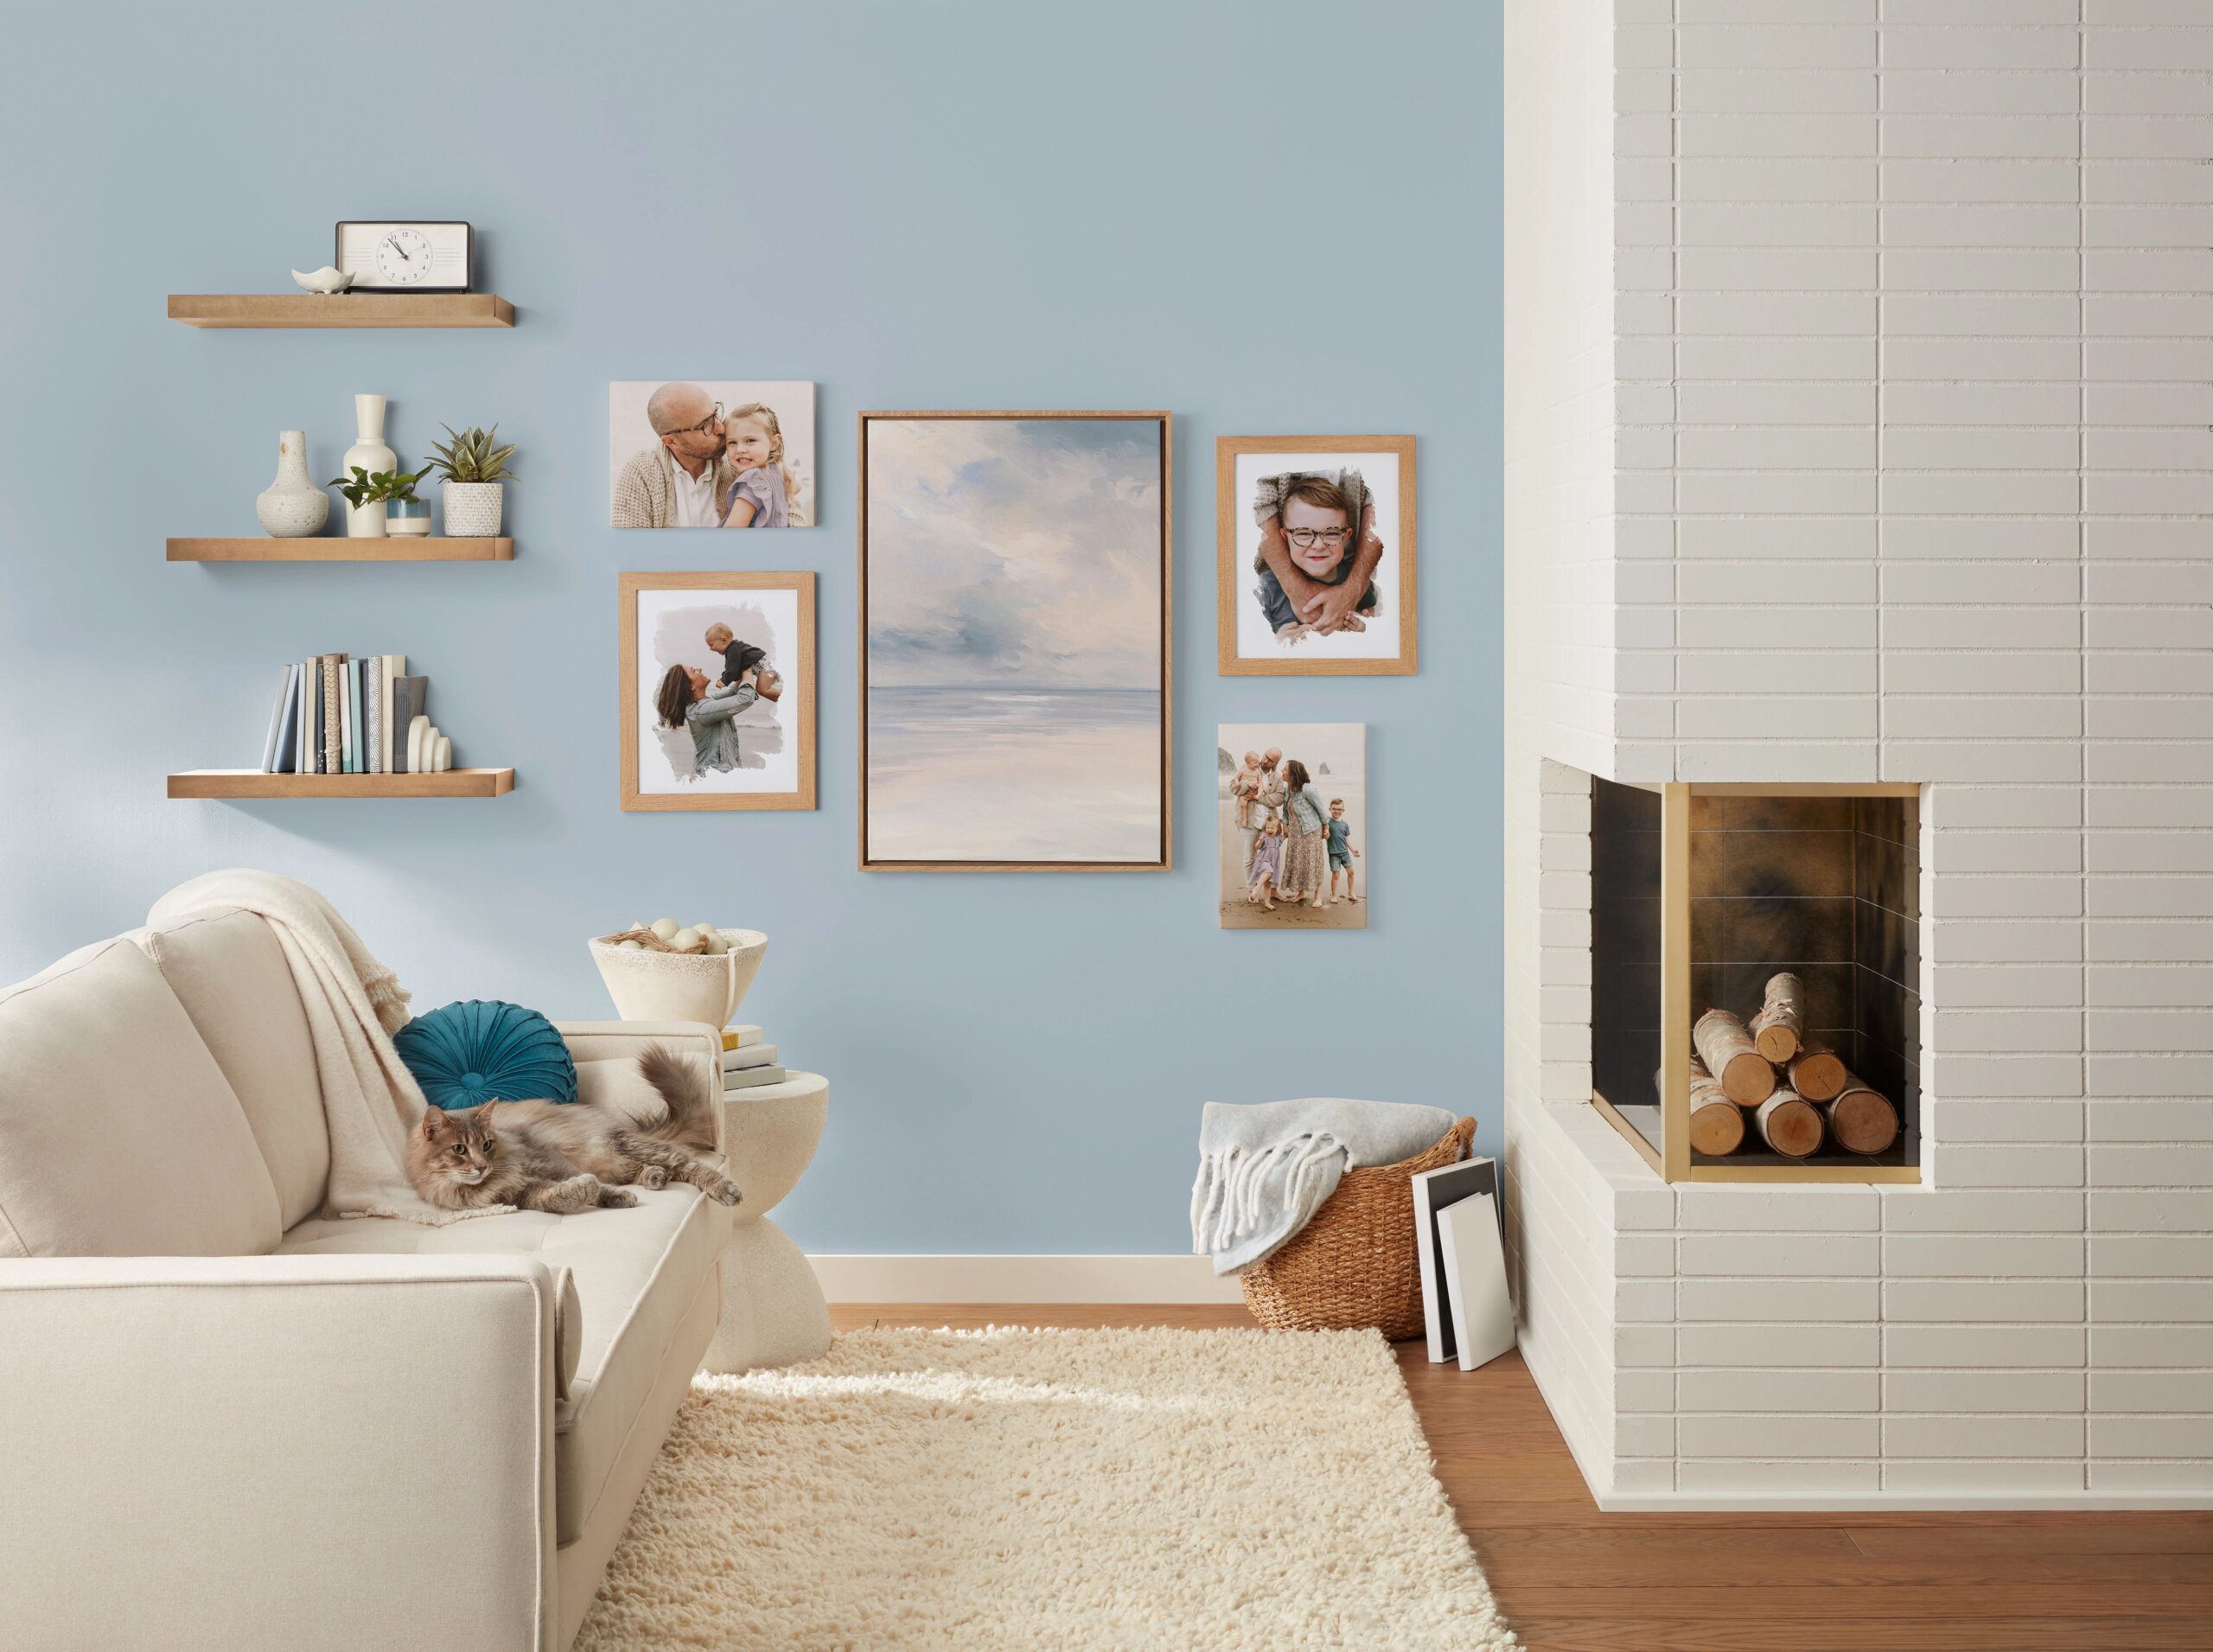
10. Floating Shelves
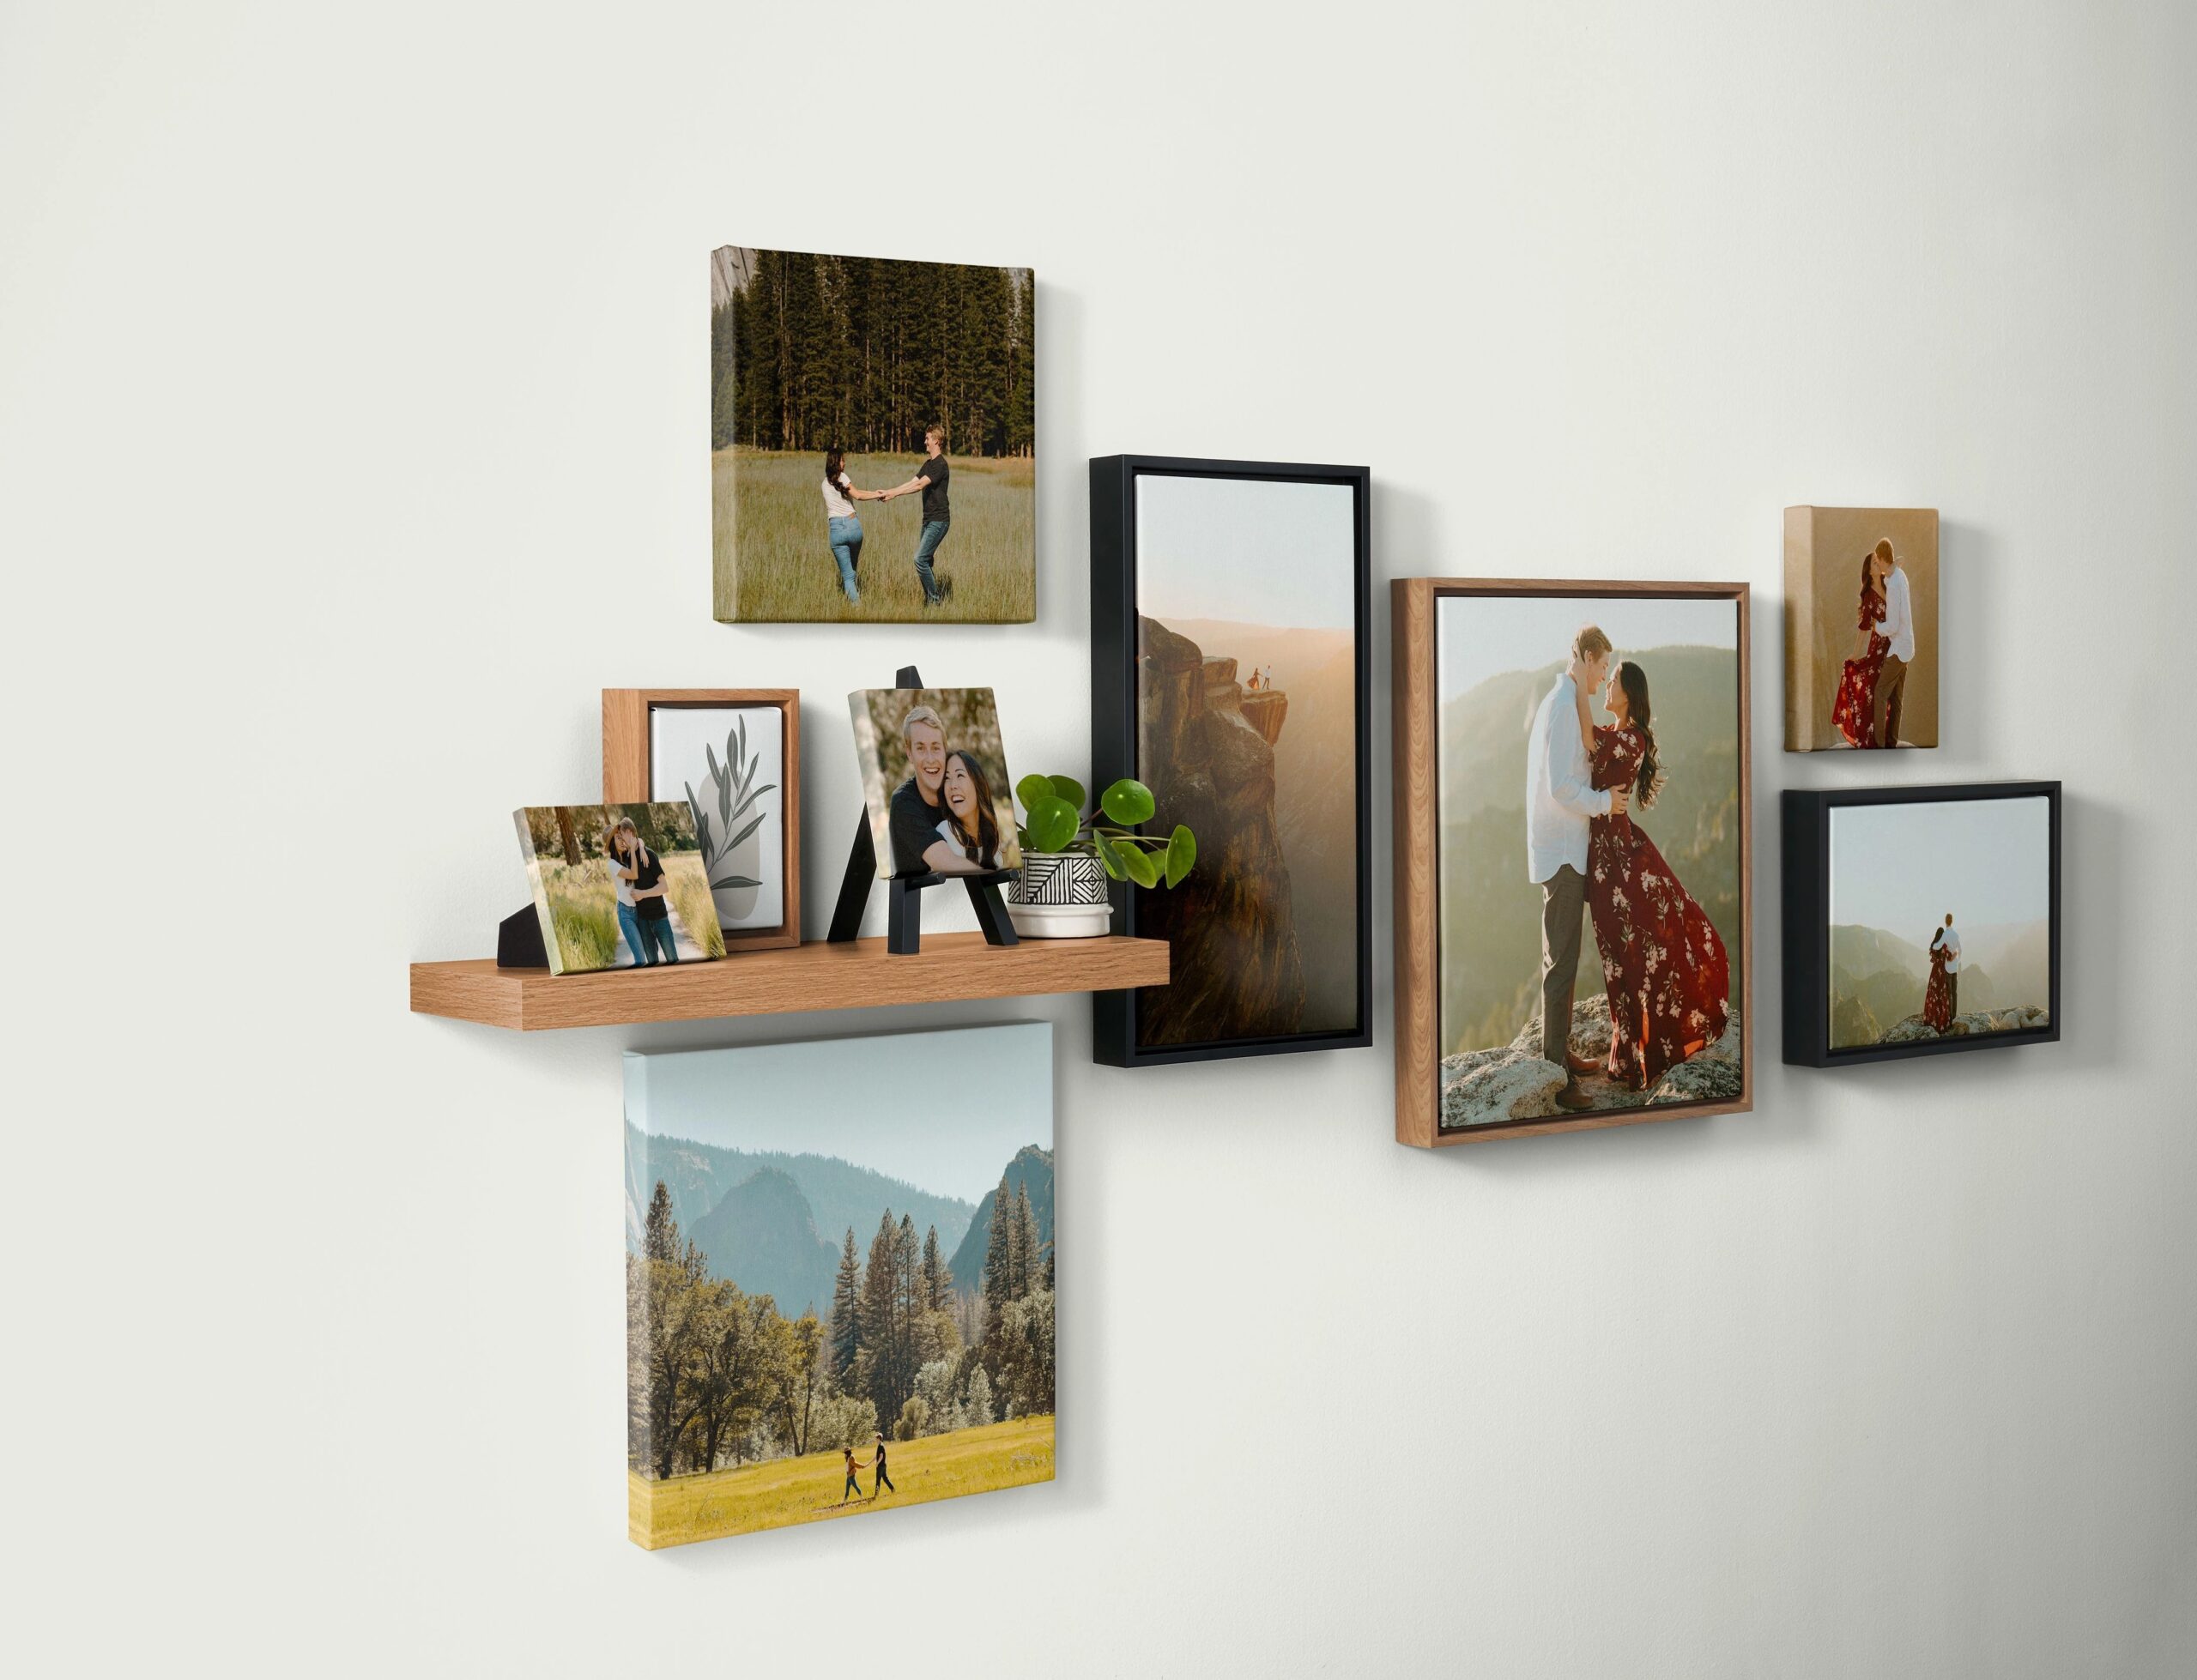
In This Gallery Wall
Framed Tabletop Print, size 8 x 10″
Easel Back Canvas Print, size 5 x 7″
Canvas Print, size 8 x 10″,
Canvas Print, size 16 x 16″
Canvas Print, size 12 x 12″
Framed Canvas Print in black, size 10 x 14″
Framed Canvas Print in natural, size 16 x 20″
Framed Canvas Print in black, size 10 x 20″
Incorporate floating shelves into your gallery wall for added versatility. Display framed photos alongside decorative objects, books, and plants. This approach allows you to change up your display easily and adds dimension to your wall. Floating shelves work particularly well in living rooms or home offices.
11. Color-Coordinated
In This Gallery Wall
Framed Canvas Print in natural, size 20 x 30″
Framed Canvas Print in natural, size 8 x 10″
Canvas Print, size 10 x 20″
Create a cohesive look by color-coordinating your gallery wall. Choose photos with similar color schemes or frame them in matching hues. This idea is great for adding harmony to a space and can tie together different elements of your room’s décor.
12. Wedding Photo
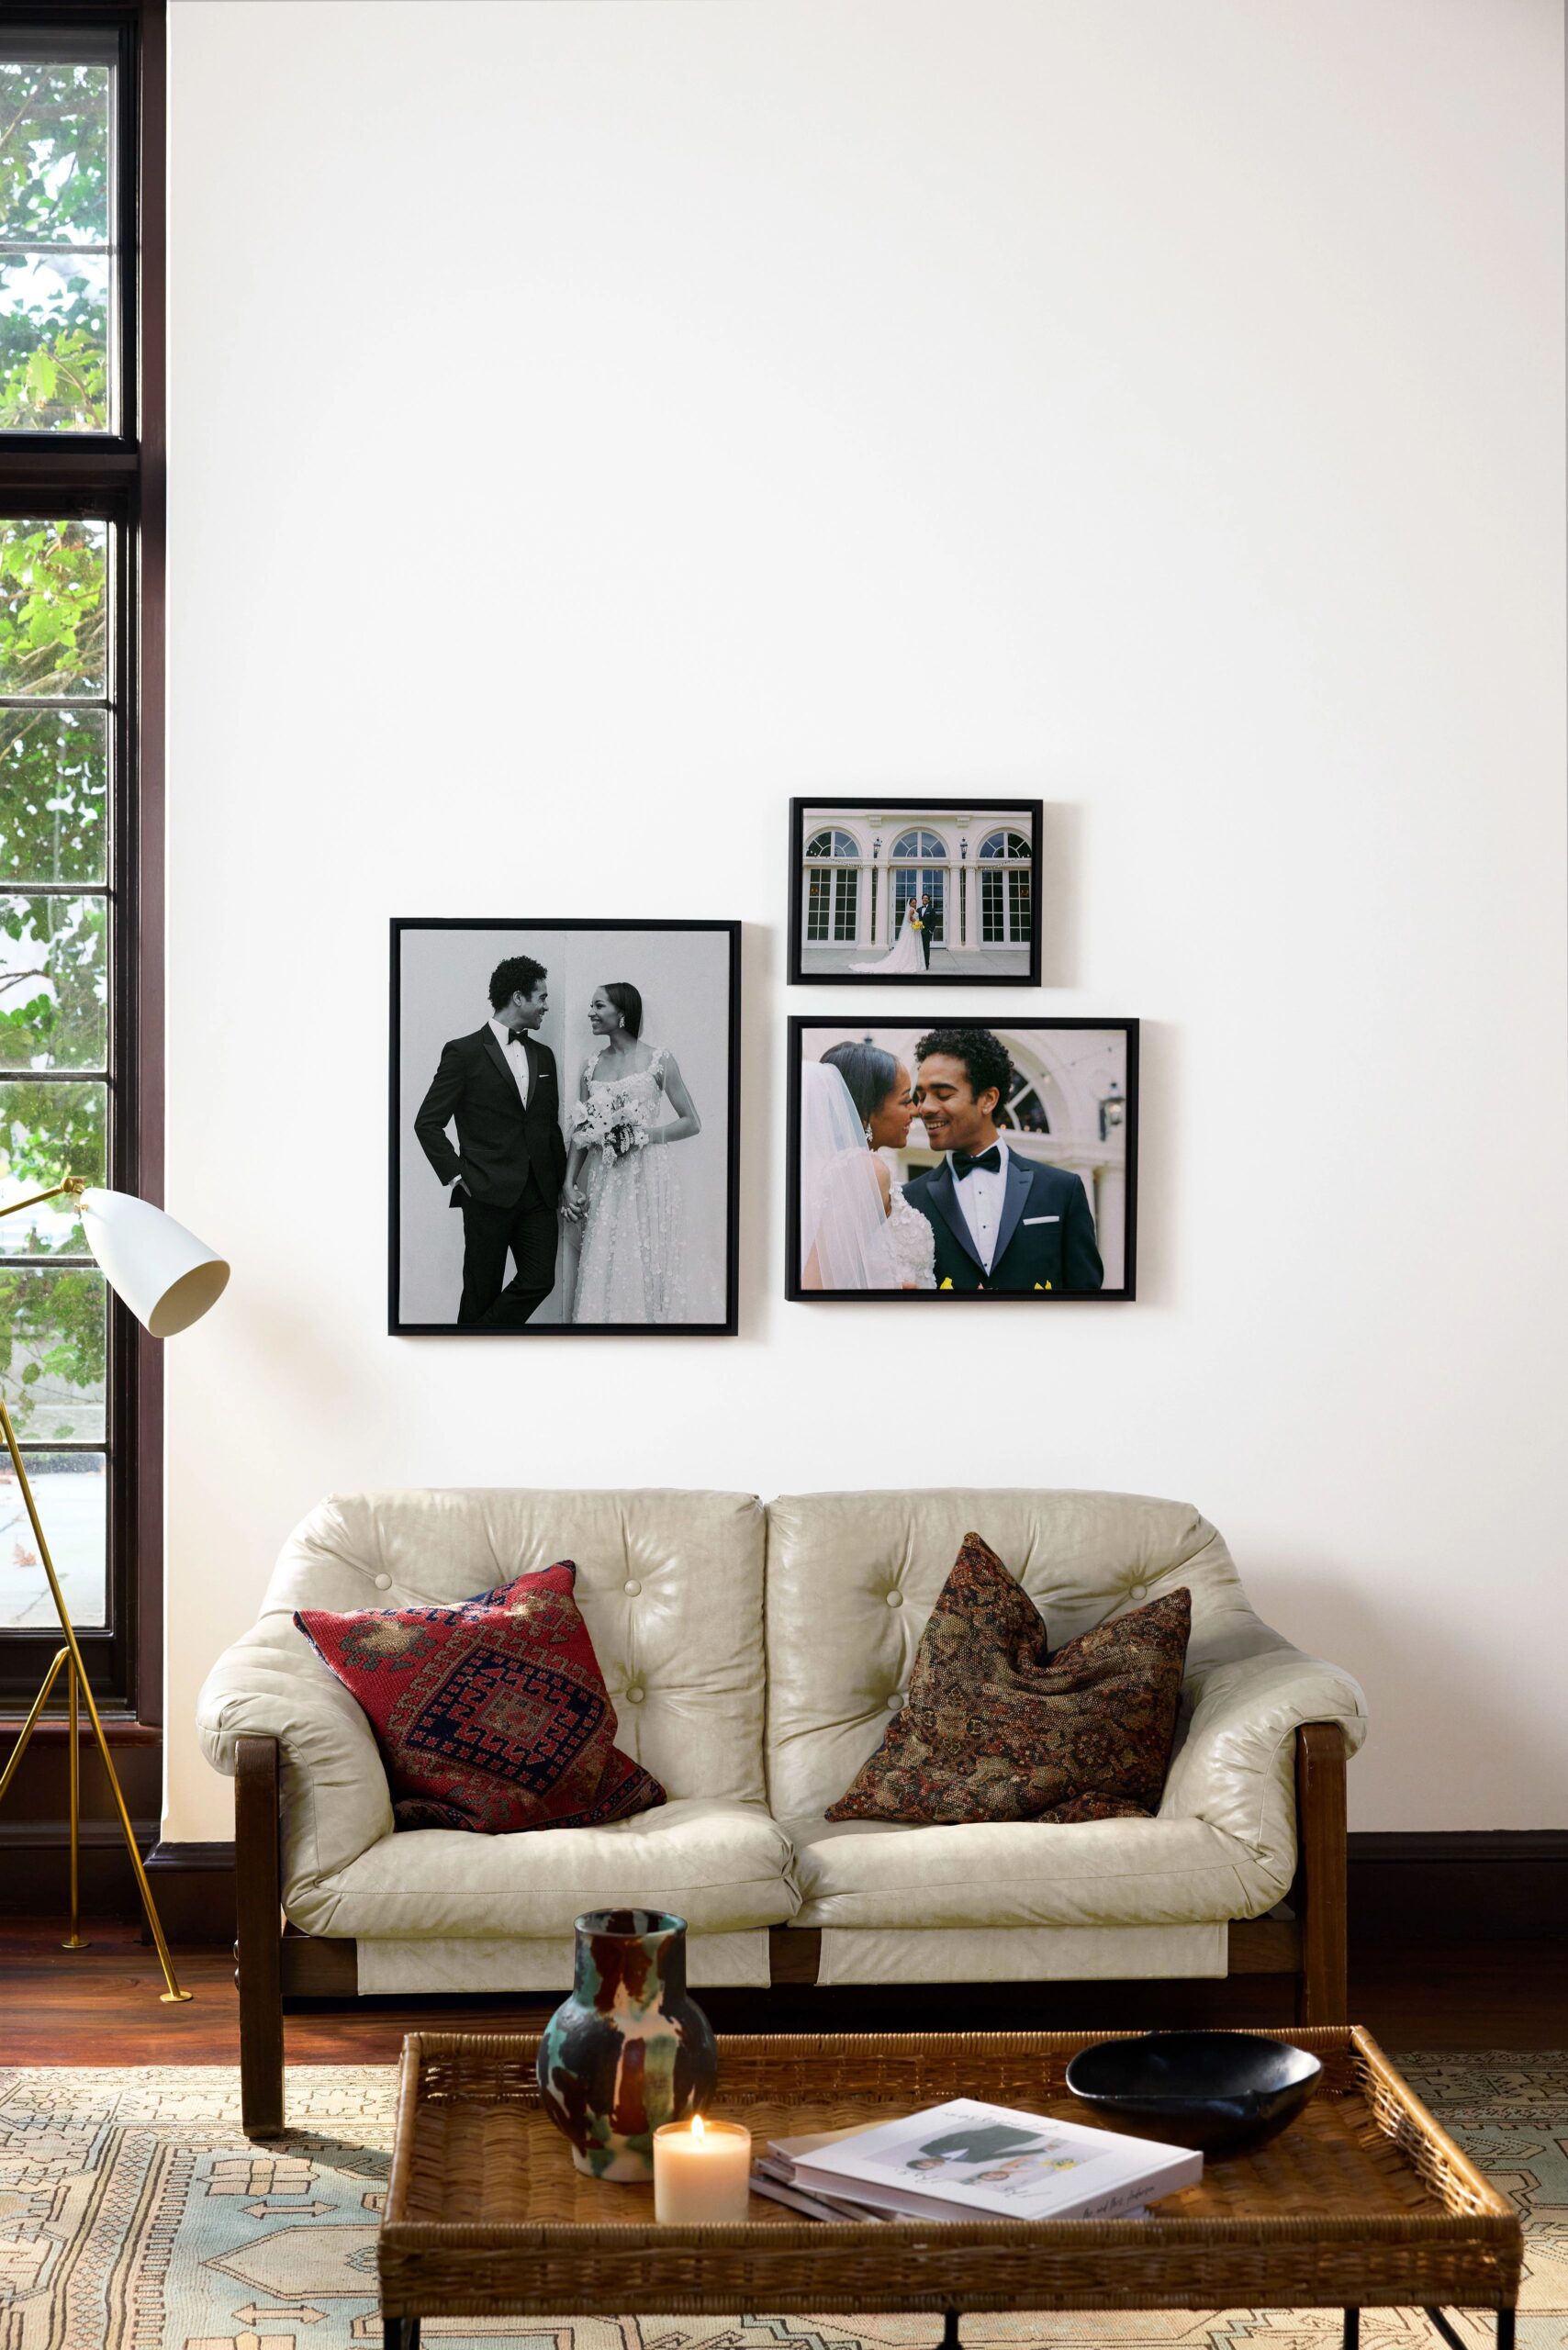
In This Gallery Wall
Framed Canvas Print in black, size 10 x 14″
Framed Canvas Print in black, size 16 x 20″
Framed Canvas Print in black, size 20 x 24″
How to Plan Your Gallery Wall Layout
Planning your gallery wall layout is crucial to achieving a polished look. Here are a few tips to get you started:
- Start with a focal point: Choose one piece to anchor your gallery wall, and build around it.
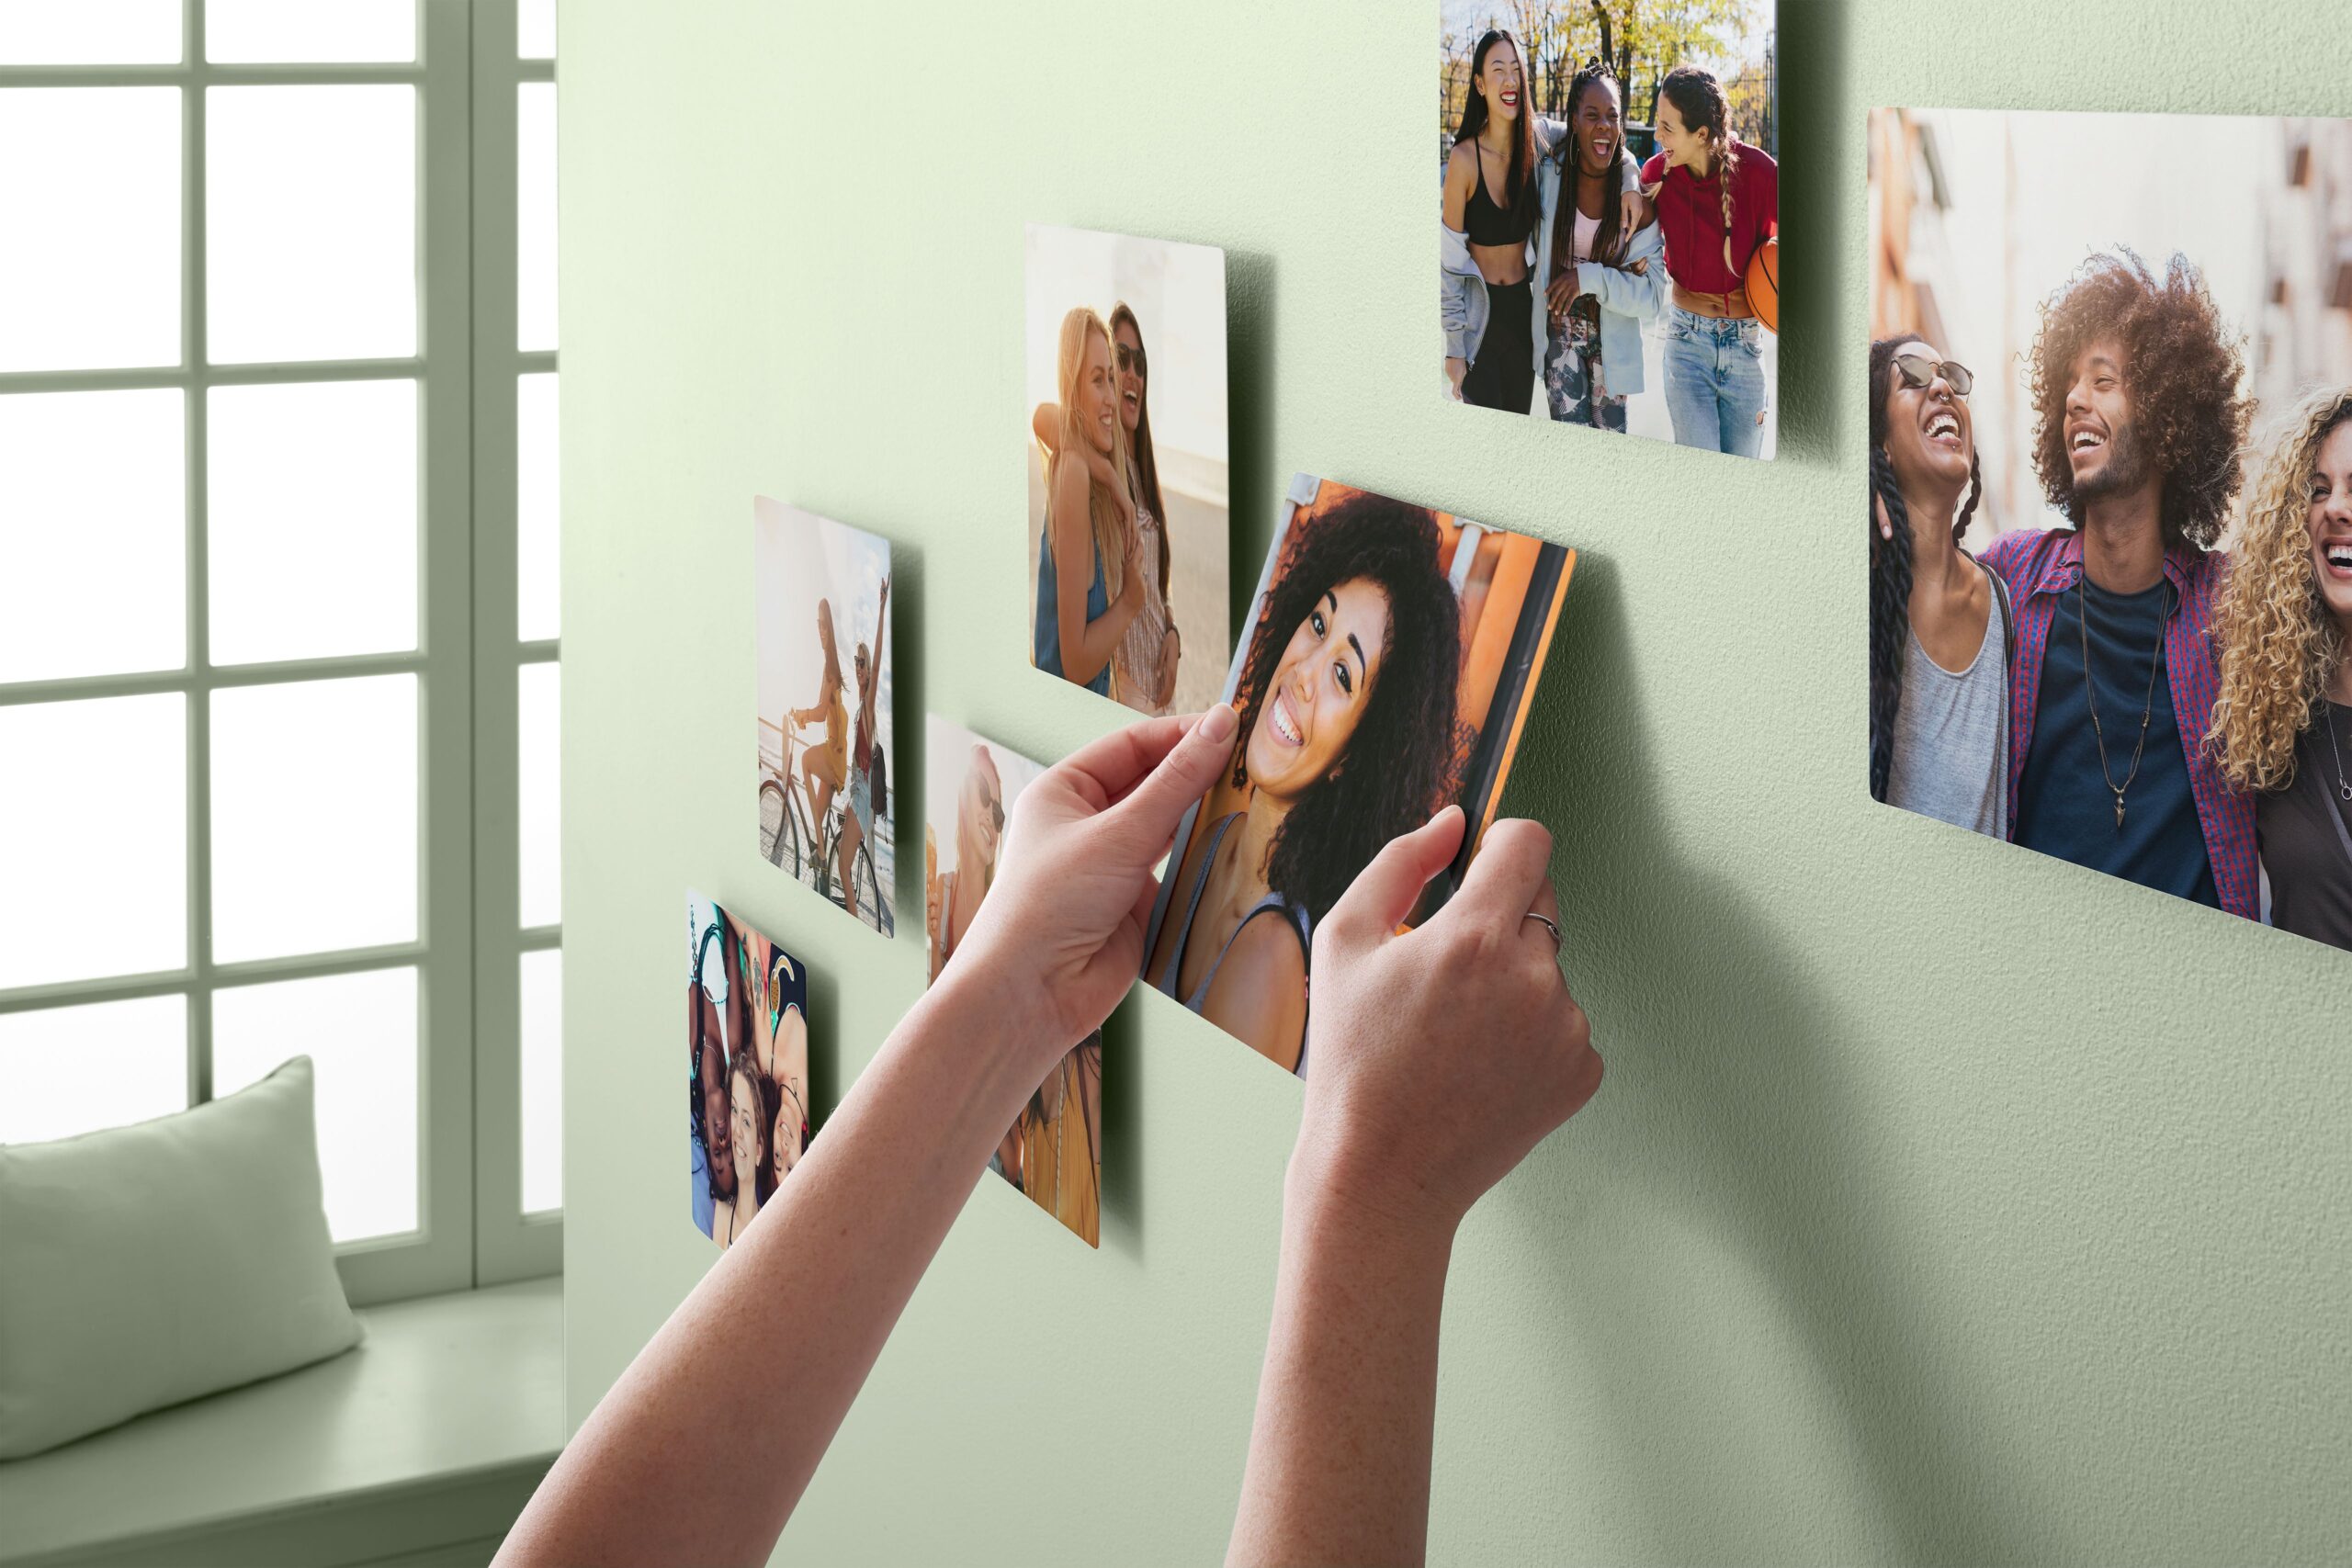
- Use paper templates: Cut out paper templates in the sizes of your frames and tape them to the wall to experiment with different arrangements before hanging your frames.
- Consider spacing: Keep the spacing between frames consistent for a clean, professional look.
- Mix and match: Don’t be afraid to combine different styles and sizes, but aim for balance in your overall layout.
Make Your Gallery Wall Unique with Shutterfly
At Shutterfly, we offer a wide range of customizable framed and unframed wall art to help you create a gallery wall that reflects your personal style. Whether you prefer a sleek, modern look or a cozy, rustic feel, we have options to suit every taste. Plus, our easy-to-use design tools make it simple to turn your favorite photos into beautiful wall art.
Ready to create your gallery wall? Explore our selection of framed prints, canvas prints, framed art prints, photo tiles, and more to bring your vision to life.
Gallery Picture Wall FAQ
Whether you’re new to decorating or just looking for inspiration, creating a photo wall can feel like a big task. To help you design a beautiful, cohesive look, we’ve answered some common questions about gallery wall layouts and provided helpful tips for pulling it all together.
What is the rule for gallery walls?
The general rule for gallery walls is to plan your layout in advance. Arrange your frames on the floor before hanging them to visualize spacing and balance. Aim for a cohesive look by choosing a theme—such as similar color tones or art styles—and mixing frame sizes for variety.
Is there a wrong way to do a gallery wall?
There’s no strict “wrong” way to create a gallery wall, but it can appear cluttered or uneven if you don’t plan the layout carefully. Avoid crowding frames too close or using mismatched styles that clash. As long as it reflects your style and fits the space, your gallery wall will look great!
What is the 2/3 rule for wall art?
The 2/3 rule suggests that your gallery wall or artwork should cover about two-thirds of the space above furniture, like a couch or bed. This ensures the scale of the wall art complements the furniture, creating balance and preventing the wall from looking too empty or too crowded.
How many inches should be between pictures on a gallery wall?
For a well-spaced gallery wall, aim for 2 to 3 inches of space between each picture. This keeps the arrangement looking neat and balanced without being too cramped or too spread out.
What are some popular gallery wall layout ideas?
Popular gallery wall layouts include the grid layout, where frames are evenly spaced in a uniform pattern, and the eclectic layout, which features a mix of different frame sizes and orientations. You can also try a floor-to-ceiling vertical layout or arrange your gallery around a focal point like a large center piece.
Do gallery walls need to be symmetrical?
No, gallery walls don’t need to be symmetrical. While symmetrical layouts offer a clean, organized look, asymmetrical layouts can add a more creative, dynamic feel to your space. Just ensure there’s balance in the arrangement, even with varied sizes and shapes.
Can I mix different frame styles in a gallery wall?
Absolutely! Mixing different frame styles can add depth and interest to your gallery wall. Just make sure that the frames complement each other in terms of color, material, or design style to maintain a cohesive look.
Related Resources on Photo Wall Ideas
By incorporating these gallery wall ideas, you can transform any space into a reflection of your personality and style. Whether you’re decorating a new home or refreshing an existing room, a well-curated gallery wall is a perfect way to make a statement. Happy decorating!
Additional Resources: