


Creating a school yearbook can feel like a big project, and in many cases, it is. It often falls on a small group of people, or even just one person, to gather photos, organize everything, and turn it into something the whole class will hold onto for years.
Because of that, yearbooks sometimes never get made. Not because they are not meaningful, but because the process feels too time-consuming or overwhelming to start.
The good news is that it does not have to be that way. With a clear plan and the right tools, creating a school yearbook is more manageable than it seems. You can bring it together in a way that feels organized, achievable, and worth the effort from start to finish.
How Do You Make a School Yearbook?
To make a school yearbook, you’ll need to gather photos, organize them into sections, design your pages, and order printed copies for your class or school.
Basic steps:
- Collect photos from multiple sources
- Organize images by class, grade, or event
- Choose a yearbook layout or template
- Design your pages with photos and captions
- Review and order copies
Who Typically Creates a School Yearbook?
There’s no single “right” person to take this on. In most cases, it ends up being whoever is willing to organize it.
That might be:
- A PTA or PTO member coordinating for the school
- A teacher or classroom coordinator putting something together for their class
- A school administrator or staff member
- A yearbook club or student group
- A parent stepping in to make sure it actually gets done
Some yearbooks are created at the school level, while others are smaller—focused on a single class, grade, or group. Either way, the process is largely the same.
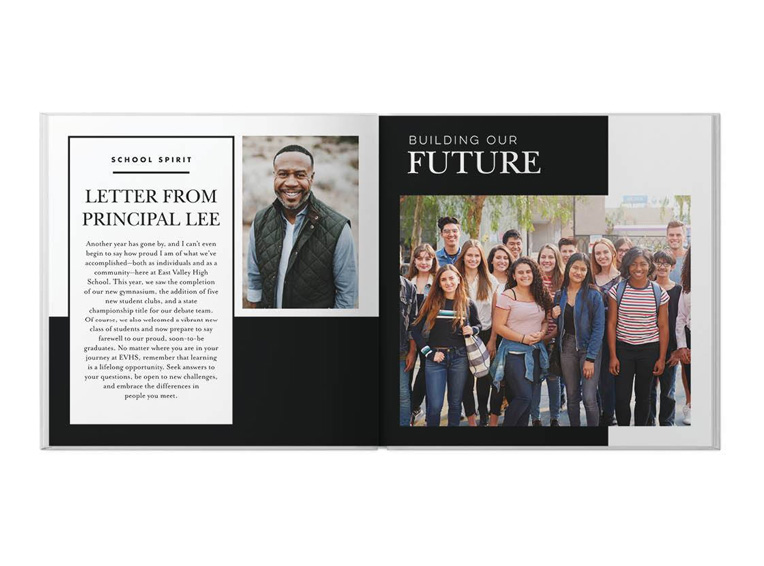
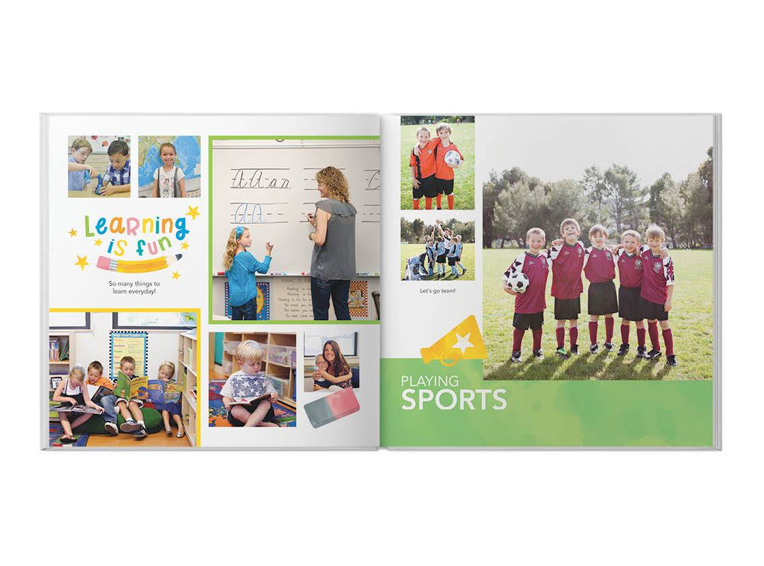
What to Include in a School Yearbook
A good yearbook isn’t just a collection of photos—it tells the story of the school year. That doesn’t mean you need everything, but you do want a mix that feels complete.
Most yearbooks include:
- Student portraits or group photos for each class or grade
- School events like field trips, assemblies, performances, or celebrations
- Candid moments from everyday classroom life
- Sports teams or extracurriculars, if applicable
- Quotes or short messages from students or teachers
- Class pages or sections that group photos by grade or activity
The goal isn’t perfection—it’s capturing what the year actually looked and felt like.
How to Make a Yearbook Step-by-Step
Breaking the process into a few clear steps makes it much easier to manage.
1. Gather photos from multiple sources
Start by collecting images from teachers, parents, and school staff. The more sources you pull from, the more complete your yearbook will feel.
2. Organize everything early
Sort photos by class, grade, or event so you’re not trying to figure it out later. Even a simple folder structure helps.
3. Choose a layout or template
Starting with a structured layout makes a big difference. It gives you a foundation so you’re not building every page from scratch.
4. Build out your pages
Add photos, write captions, and create sections that reflect the school year. This is where the book really comes together.
5. Review before finalizing
Double-check names, spelling, and photo placement. It’s much easier to catch things now than after it’s printed.
When to Start a School Yearbook
Timing is one of the biggest factors in how smooth the process feels.
Most yearbooks follow a rough timeline:
- Early planning (winter to early spring): decide who’s creating it and how it will be organized
- Photo collection (throughout the school year): gather images as events happen
- Design and layout (spring): build and finalize the book
- Ordering (late spring): place orders so books are ready before or shortly after the school year ends
Starting earlier gives you more flexibility, but even a shorter timeline can work if you stay organized.
Printing Your Yearbook (Without Overcomplicating It)
Printing is where things can start to feel overwhelming—especially if you’re expecting a complicated process.
It doesn’t have to be.
Instead of dealing with contracts or custom quotes, you can:
- Order exactly the number of books you need
- Easily scale up if more people want copies
- Take advantage of pricing that adjusts based on quantity
For schools or groups ordering multiple copies, bulk school yearbook options make it straightforward to get books for everyone without adding extra steps or approvals.
Making the Process Easier From Start to Finish
The biggest difference between a stressful yearbook project and a manageable one usually comes down to how you build it.
Using the right tools can:
- Simplify page design with ready-made layouts
- Make it easy to drag and drop photos into place
- Help you stay organized as the book grows
- Allow you to create one book or many, depending on your needs
You don’t need design experience—you just need a system that keeps everything moving.
School Yearbook FAQs
How many pages should a school yearbook have?
Most school yearbooks range from 20 to 100+ pages, depending on the size of the school and how much content you want to include. Smaller class yearbooks may only need 20–30 pages, while full school yearbooks typically include more sections for events, grades, and activities.
How many copies of a yearbook should you order?
The number of copies depends on how many students, families, or participants want one. For smaller groups, you can order only what you need, while larger schools often order in bulk to ensure every student has the option to purchase a copy.
What size is a typical school yearbook?
Common yearbook sizes include 8×8, 8×11, and 10×10 formats. Larger sizes work well for full school yearbooks with more content, while smaller sizes are often used for class memory books or group projects.
Do you need a professional designer to make a yearbook?
No, you don’t need design experience to create a yearbook. Using pre-designed templates and simple editing tools makes it easy to build pages, organize photos, and customize layouts without starting from scratch. If you want extra help, you can also use Shutterfly’s free photo book designer service to have your yearbook professionally arranged using your photos.
How do bulk yearbook orders work?
Bulk yearbook orders work the same way as creating a standard photo book—you design your book once, then choose how many copies you want to order. For larger groups (typically 10 or more), you can apply a promo code BULKBOOKS at checkout to save on each copy, without needing a quote or special setup.
Create a Yearbook That Reflects the School Year
At the end of the day, a yearbook isn’t about getting every detail perfect. It’s about creating something that reflects the year—something students, parents, and teachers will actually want to look back on.
Whether you’re putting together a full school yearbook, a class memory book, or something smaller, the process is more approachable than it seems when you break it down into simple steps.
If you’re ready to get started, you can create your yearbook using customizable photo book templates and order copies for your group with flexible bulk options when you need them.