Ideas & Inspiration
We’re here to inspire and celebrate ways to stay connected to those who matter most. Share memories on your lifetime journey. Whether you’re looking to make the perfect photo book, greeting card, or decorative wall art, we’ve got you covered. Explore our innovative home decor tips, fun family activities, and creative ways to preserve your favorite photos.
How to Make a Photo Book
Learn how to make a photo book step by step with Shutterfly. From choosing a template to customizing pages, covers, and binding, this guide shows you exactly how. 5 min read
Creative Family Tree Template Ideas You Can Display
Create a family tree template with photos you can display. Explore modern designs and turn your layout into personalized wall art or meaningful gifts. 3 min read

How to Print Photos at CVS or Walgreens in 1 Hour
Need prints fast? See how to get photo prints at CVS or Walgreens in 1 hour with Shutterfly and pick them up the same day near you. 3 min read

How to Make a School Yearbook
Create a school yearbook without the stress. Learn what to include, how to organize photos, and how to design and order copies for your class or school. 5 min read

Father’s Day Gift Ideas That Dads Will Actually Use (and Keep)
Find Father’s Day gift ideas dads will actually use, from personalized mugs and prints to keepsakes made from your favorite photos. 7 min read
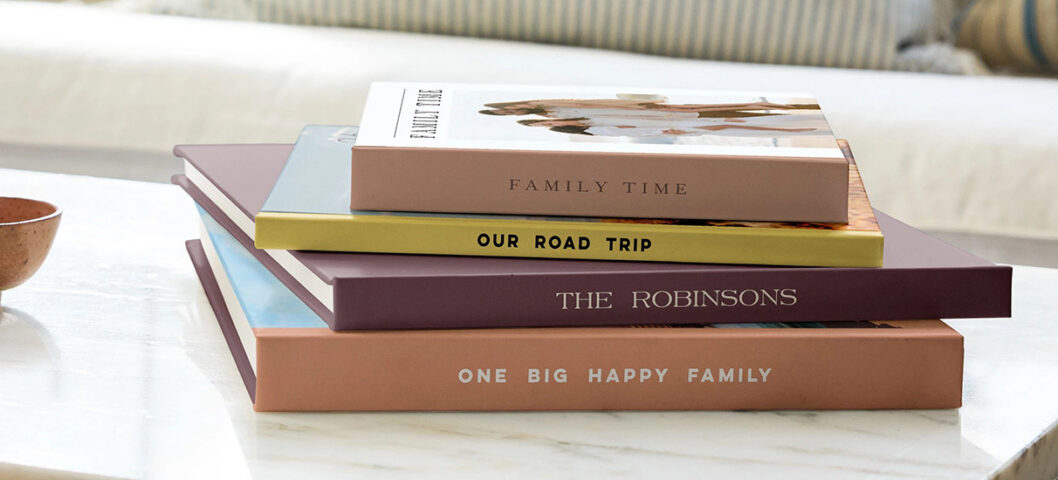
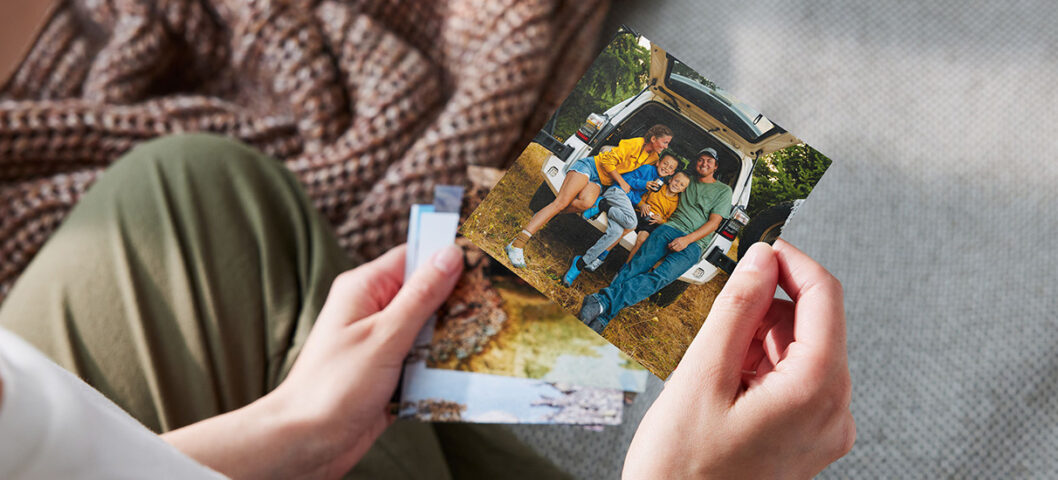
Photo Book Ideas: What to Make and When to Create One
Not sure what to put in a photo book? Explore ideas for travel, family, milestones, and more, plus when it makes sense to create one. 6 min read


What Makes Shutterfly Photo Books Different
See what makes Shutterfly photo books stand out, from easy design tools to fully customizable layouts and premium quality for every memory. 4 min read
How to Get Affordable Photo Prints From Shutterfly
Learn how to get affordable photo prints from Shutterfly using free prints, promo codes, and smart ordering—without sacrificing quality. 4 min read

Baby Photo Books: Your Questions Answered
Learn how to create a baby photo book with tips on what to include, how to organize it, and how to design a personalized baby album with Shutterfly. 6 min read

Who Gets a Plus-One at a Wedding? A Simple Etiquette Guide
Not sure who should get a plus-one at your wedding? Learn common plus-one etiquette, when to offer one, and how to decide for your guest list. 4 min read

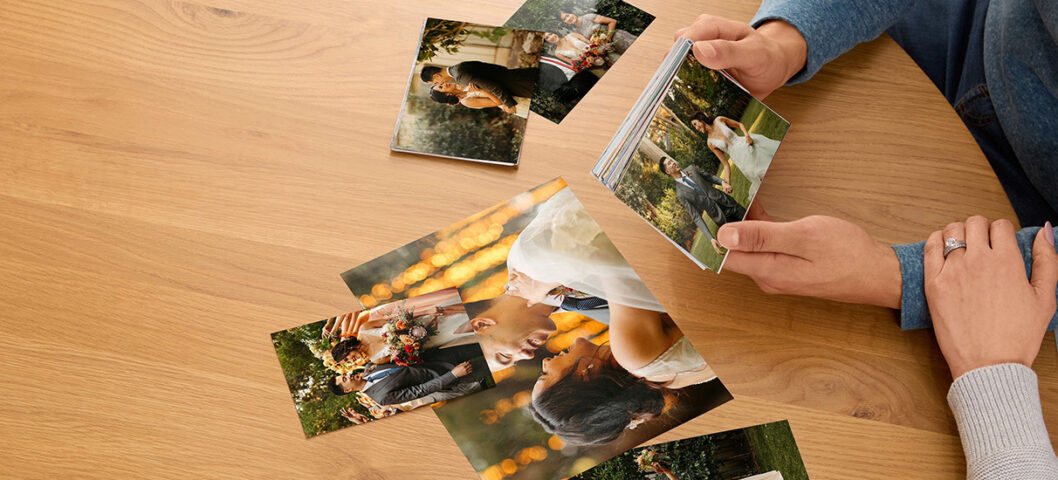
How Many Wedding Invitations Should You Order?
Wondering how many wedding invitations to order? Learn how to calculate invitations for couples, families, and extra keepsakes so you order the right amount. 4 min read