


Gallery walls are beautiful to look at. If you have large photo prints and artwork but aren’t exactly sure how to hang pictures on a wall, you’ve come to the right place. We’ll be including a step-by-step hanging method using craft paper and tape, a guide on where to hang pictures, and some fun picture wall ideas to create beautiful walls in any room.
Before hanging pictures on a wall, you’ll need to figure out a gallery wall theme for each room. Do you want family photos in the living room or do you prefer pretty scenery? Would the hallway stand out with wedding portraits or are those better suited for the bedroom? There are many styles, sizes, and layouts to consider. Once you figure out the theme for your room, the next step is to measure the wall area.
Measuring Out Your Wall Space
To hang a picture on the wall, you’ll need to measure out your space. We used a tape measure and a pencil to mark the entire approximate area where you will be placing your pictures.
If you’re wondering what the proper height is to hang pictures, a good rule to go by is to have their midpoint be:
- Between 56 and 60 inches from the floor.
- 8–10 inches above any furniture such as a sofa or bed.
Once you’ve measured from end to end and top to bottom, you can determine how many pictures you’ll want in each room. For a small space, two side by side photos will fit perfectly. For a larger space, several small, medium and a couple of large photos will decorate a wall nicely.
How To Create A Photo Wall Layout
A great method for hanging your pictures is to use craft paper as place holders. Though it’s an easy project, you’ll want to set aside 3–4 hours to get it all done.
For laying out your design, you’ll need:
- A pencil
- Large piece of craft paper
- Scissors
- Artwork in varying sizes and
- Tape
Step 1: Place each frame or canvas face down on a large sheet of craft paper and trace along the edges. Remember, different shapes and sizes create a fun and unique look, so get creative!
Step 2: Next, cut each traced craft paper one by one. It doesn’t have to be a completely straight line since it’s only a placeholder for arranging your pictures on a wall.
Step 3: Arrange your pictures on the floor. This gives you an overall idea of the sequence you’ll use on your wall. Keep in mind, you can rearrange however many times you need. You’ll want to get your layout as close to final as possible since this is the craft paper layout you’ll be using.
Step 4: Start taping the craft paper to the wall. For a clean look, we suggest leaving at least two inches of space between larger photos and about 1.5 inches between smaller ones. If you don’t have too many pictures to place, don’t worry! Just make sure all spaces are equal and cohesive. This is the step before you start placing your actual pictures on the wall, so make any necessary changes here.
Step 5: Switch out each paper with its corresponding frame and attach them to the wall until you’ve reached your desired look. Don’t forget to use a level for a straight placement.
What Tools Do You Need To Hang Pictures On A Wall?
Depending on your artwork and type of wall, whether it’s drywall, concrete, plaster or masonry, there are several methods to hang your pictures. Here are the most common:
- Nails
- Adhesive strips
- J-hooks
- Sawtooth brackets
- Eye hooks
Determine the weight of your piece before you decide which hanging tool works best. For example, if you don’t want to leave holes in your wall, adhesive wall hooks or velcros are great but they can only hold up to about seven pounds. Pro tip: placing the adhesives closer to the top of the frame allows for a sturdier hold. Nails and sawtooth brackets are the most common and can hold 20+ pounds.
5 Creative Ways To Arrange Photos
Whether you want a symmetrical, asymmetrical, diagonal or simple mismatched look, we’ve included those here. When choosing a photo wall layout, make sure the color scheme and theme are cohesive. You can pair all black and white images together for a dramatic look and combine colorful family or wedding photos with images of plants or flowers to break up the portraits.
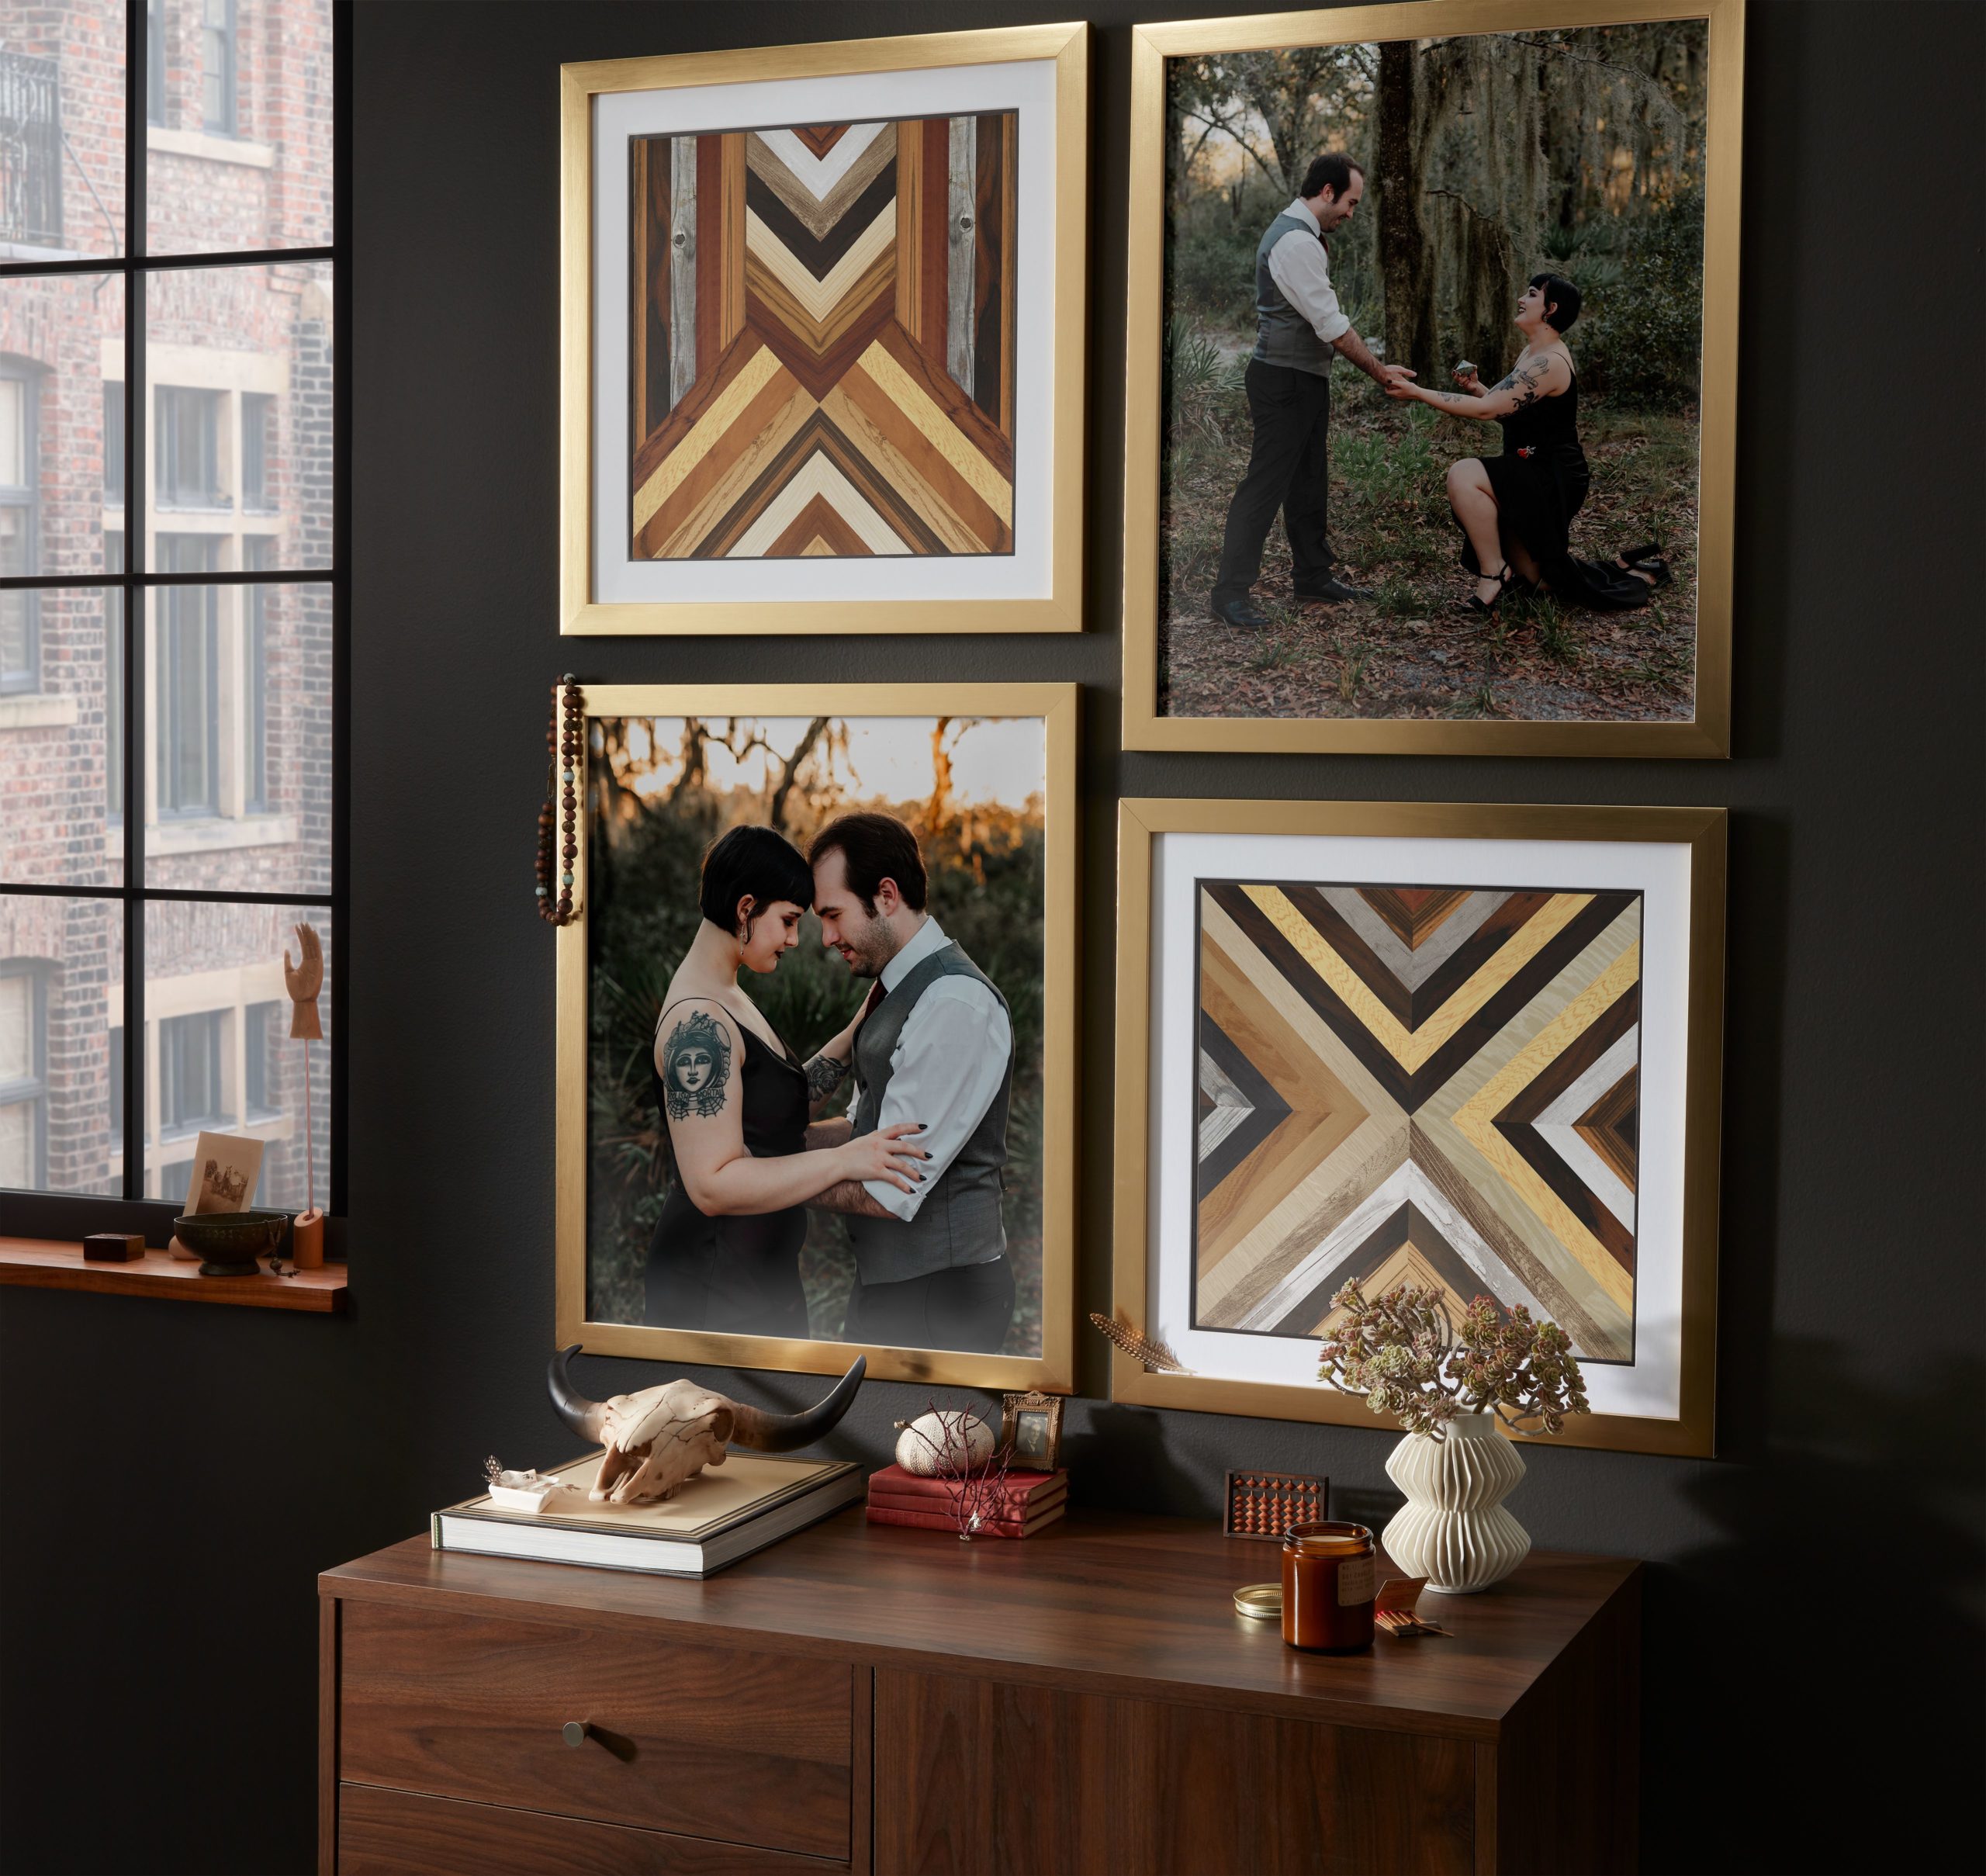
1. Asymmetrical Gallery Wall
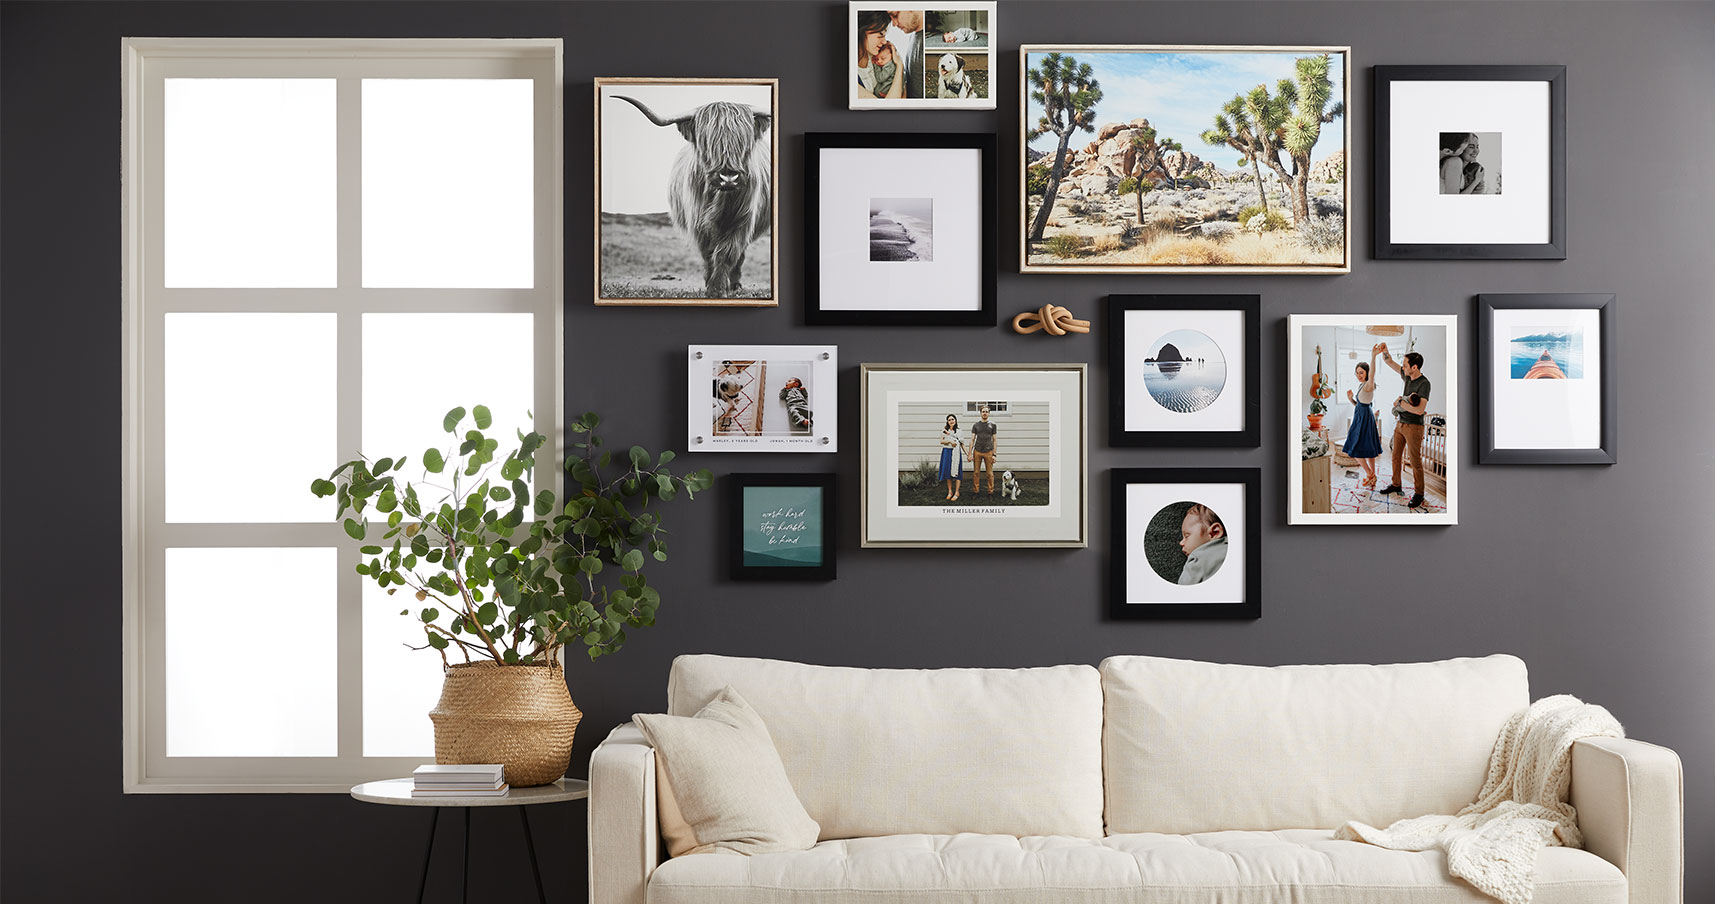
An asymmetrical gallery wall is unique and dynamic. It works for those who want to mix and match a variety of sizes and shapes. The image diversity adds depth to any room and allows for a little more creativity with bold colors and patterns.
2. Symmetrical Gallery Wall
A symmetrical gallery wall only works with equal-sized wall prints. This requires accurate measuring and at least four frames. For ours, we used nine 12×12 canvases. You can choose to go from floor to wall or only select a small space to fill. Be sure to leave approximately two inches between each frame for a structured look.
3. Diagonal Gallery Wall

Staircase gallery walls really shine as you walk up and down each day. This great space is often overlooked but it makes for a striking statement. Mix it up by using framed prints with canvases. Measuring the space here can be a little tricky because of its diagonal direction but keep in mind, balance is key and you’ll want to make sure there is a focal point, especially if you have a lot of photos.
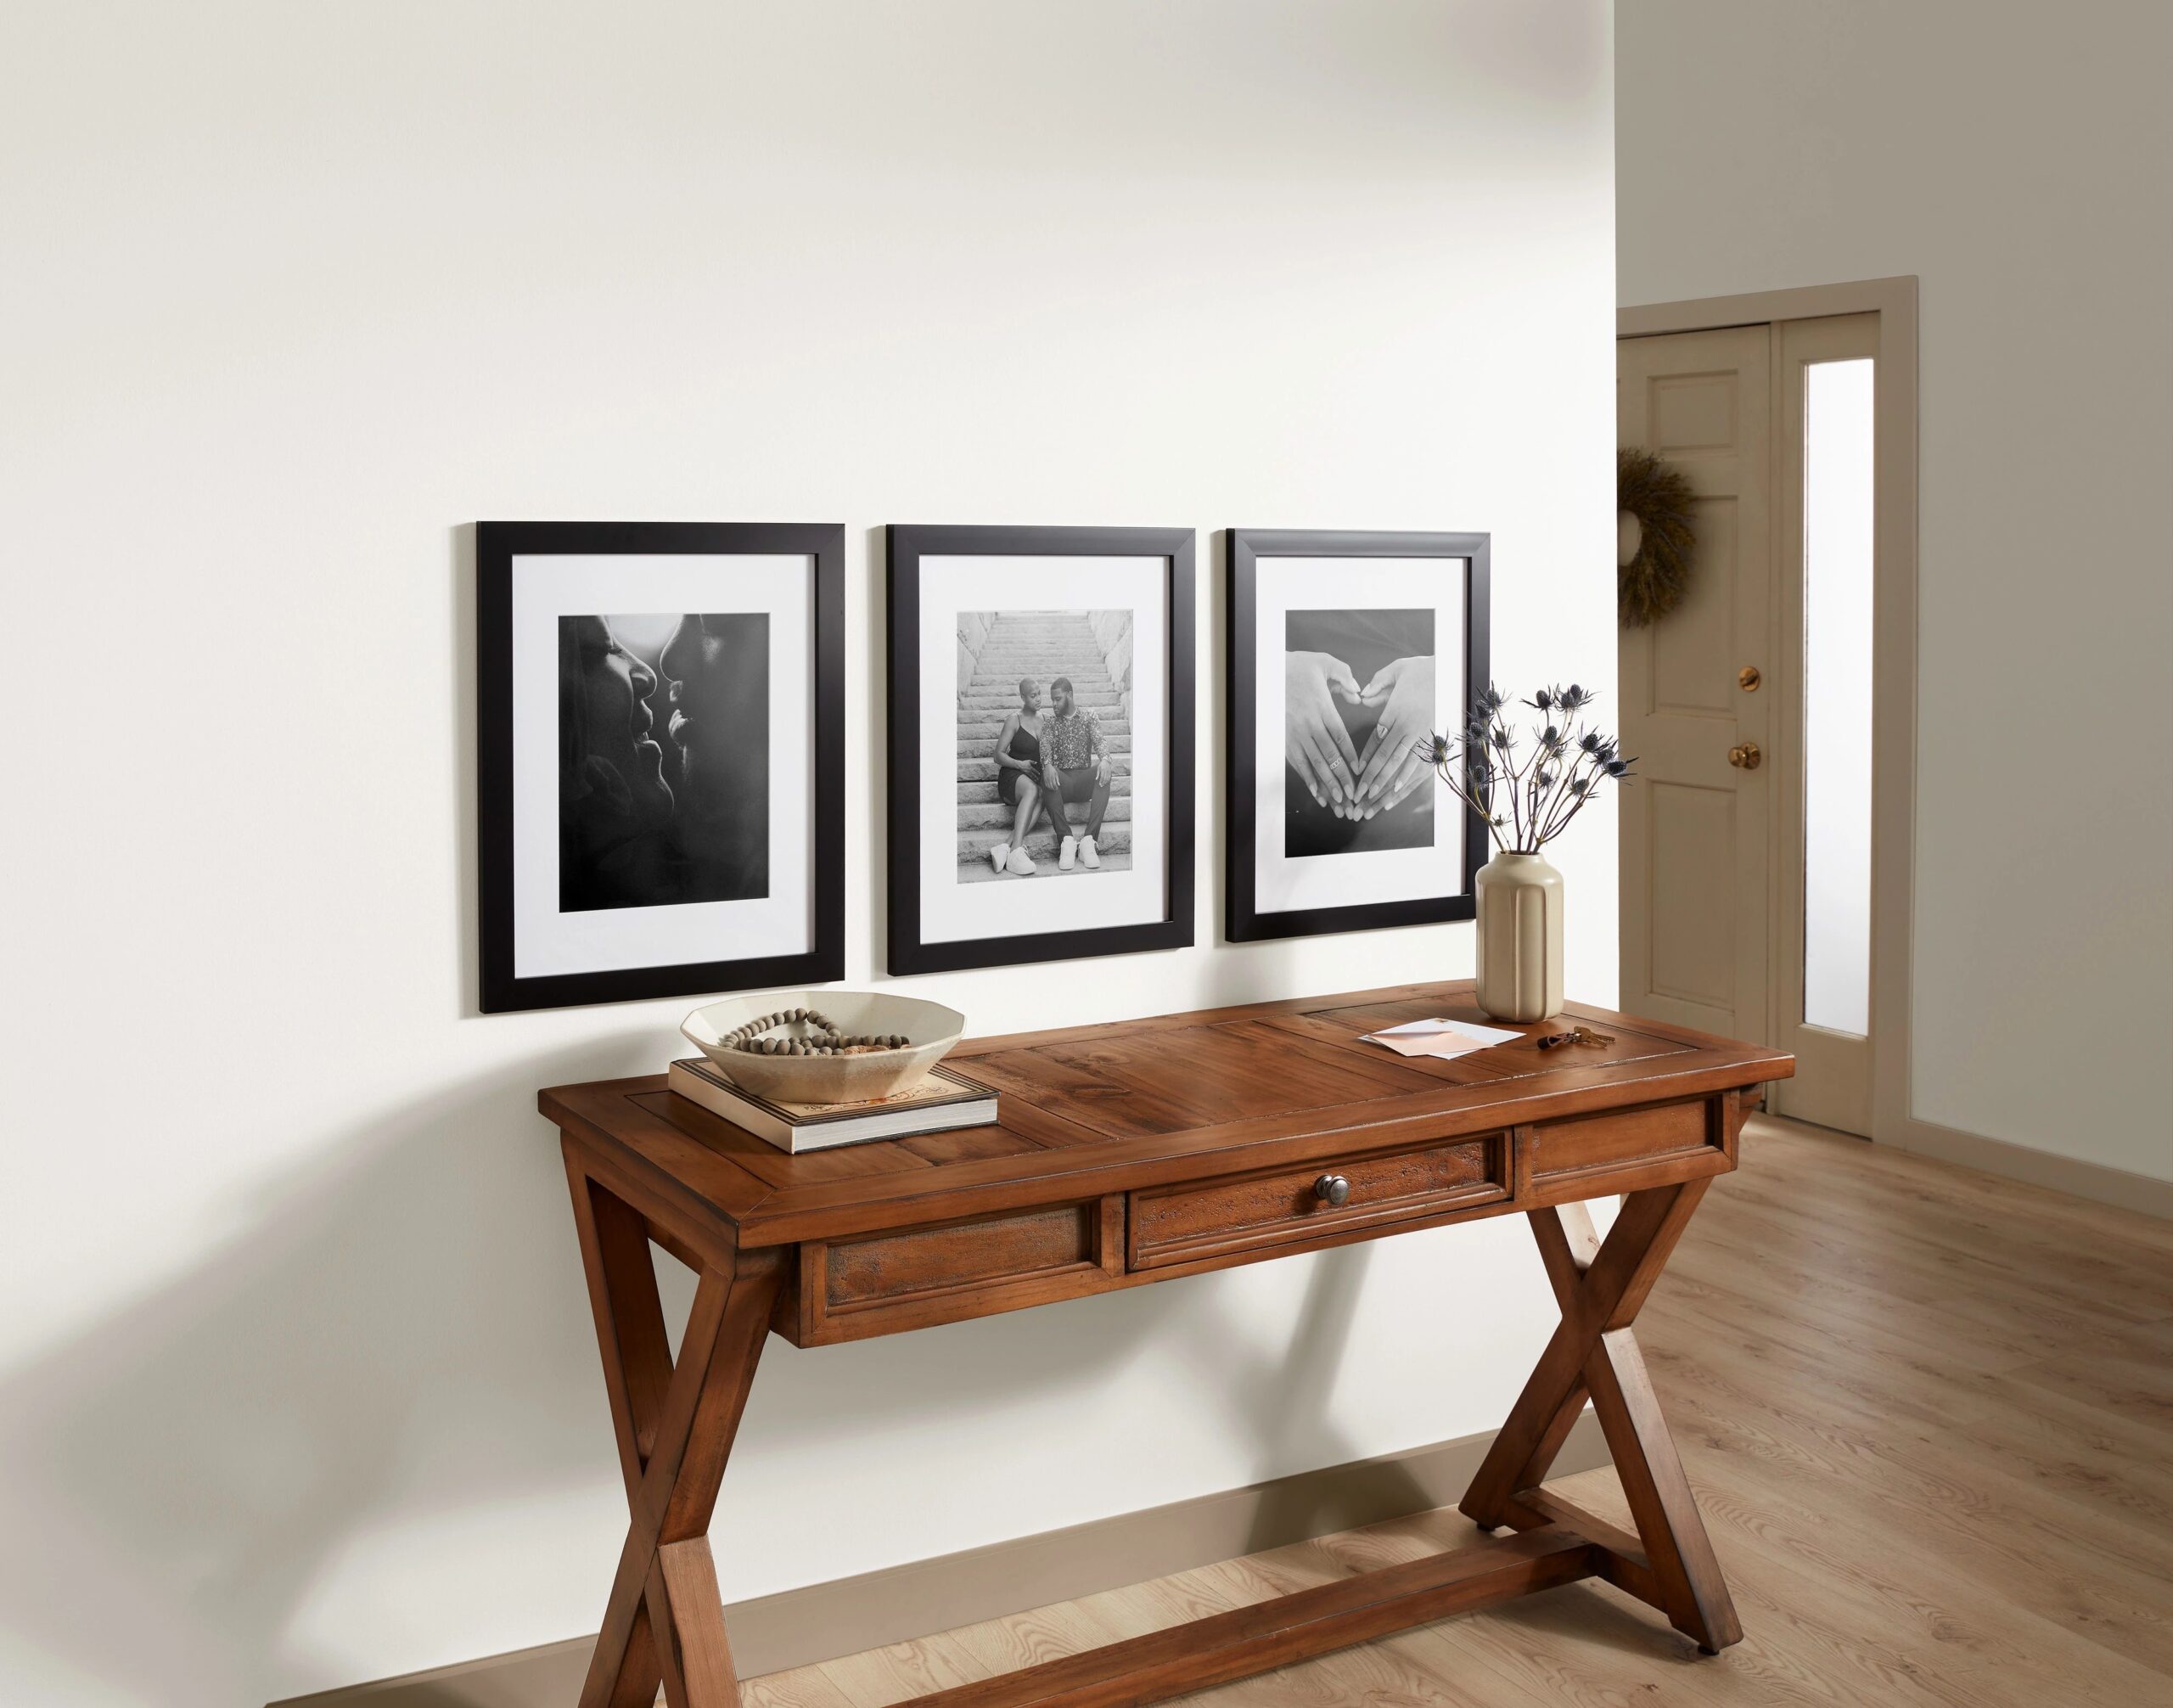
4. Simple Gallery Wall
If you have only a couple of photos, a simple gallery wall is best. Place these above your desk or bed to add the perfect amount of personalization your room needs. The best part is that it only takes about five minutes to complete.
5. Photo Wall Spread
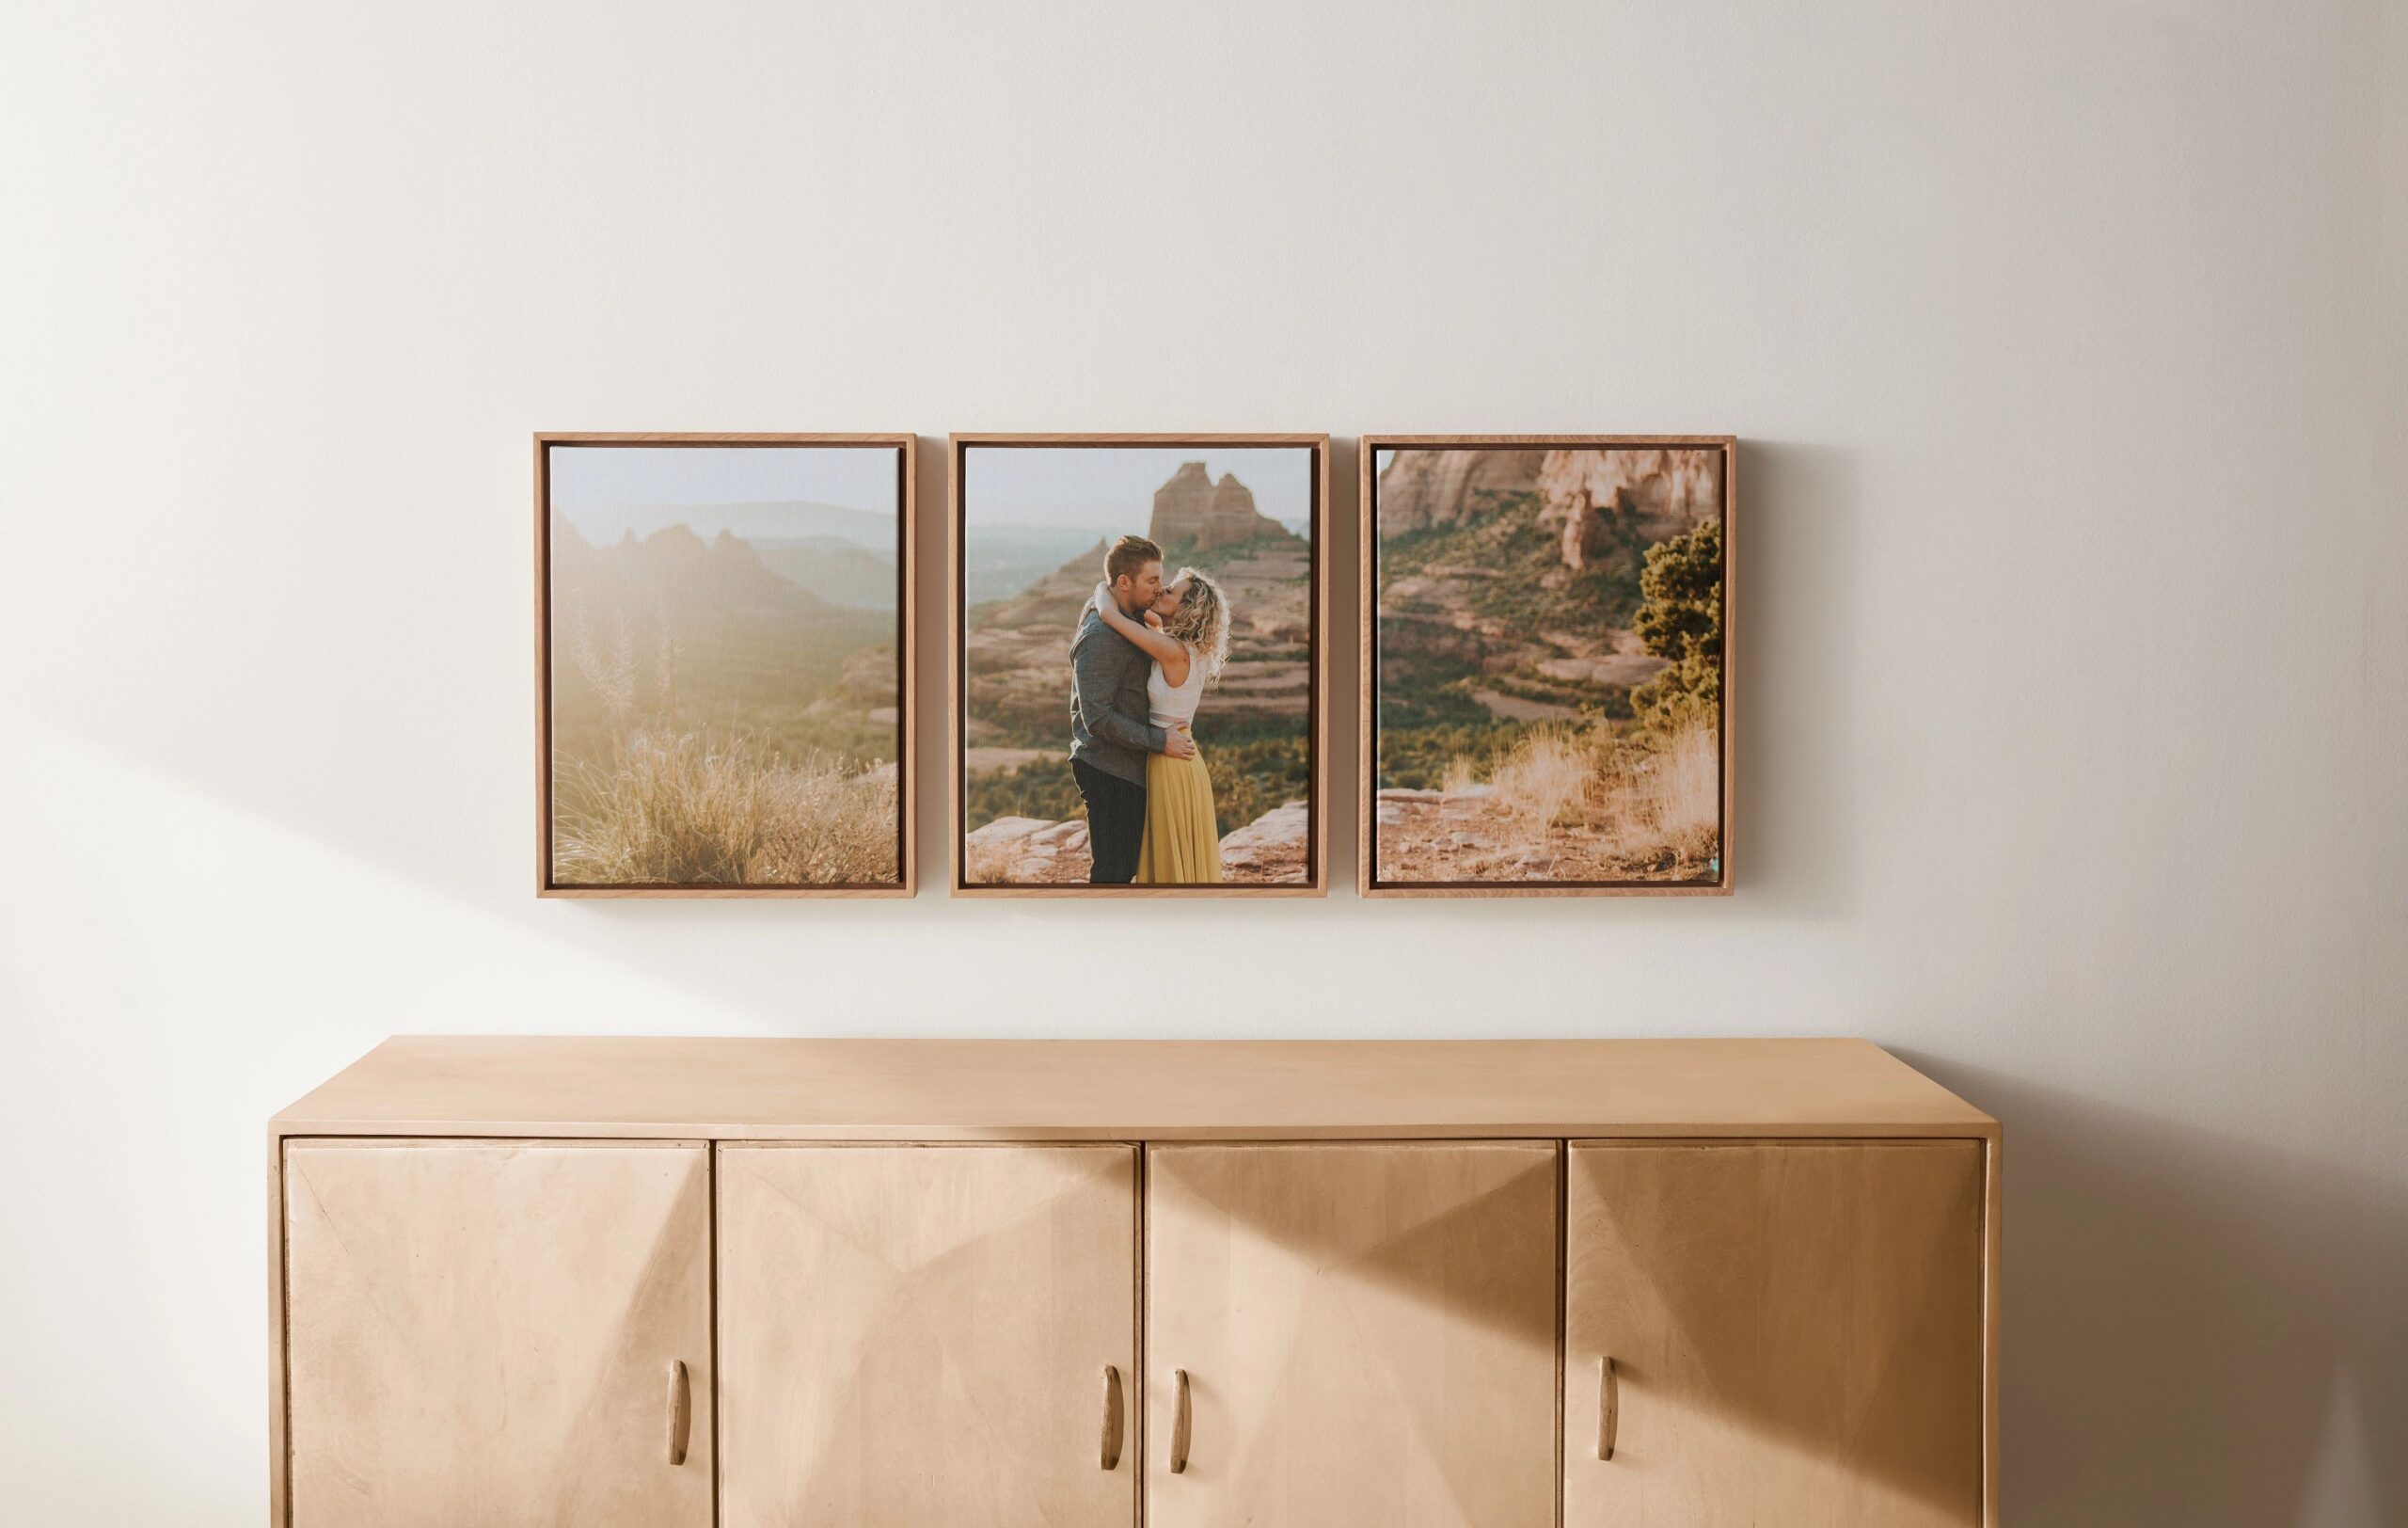
Spread canvas prints are a unique way to showcase large photos. From one photo, you can get as little as two or as many as nine individual prints to display on your wall. For this gallery wall, you’ll need to make sure all prints are aligned and in order for a beautiful display.
As you can see, choosing the right artwork and layout for each room makes all the difference. Never be afraid of mixing different types of media, sizes, and shapes to create a unique and personal touch for your home. Every gallery wall will be beautiful to look at every time you walk into the room.