
Ideas & Inspiration
We’re here to inspire and celebrate ways to stay connected to those who matter most. Share memories on your lifetime journey. Whether you’re looking to make the perfect photo book, greeting card, or decorative wall art, we’ve got you covered. Explore our innovative home decor tips, fun family activities, and creative ways to preserve your favorite photos.
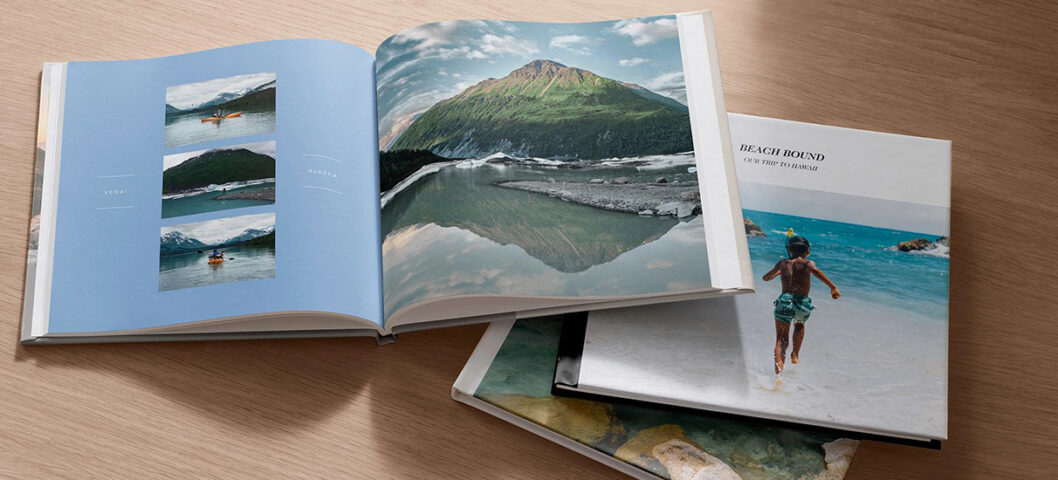
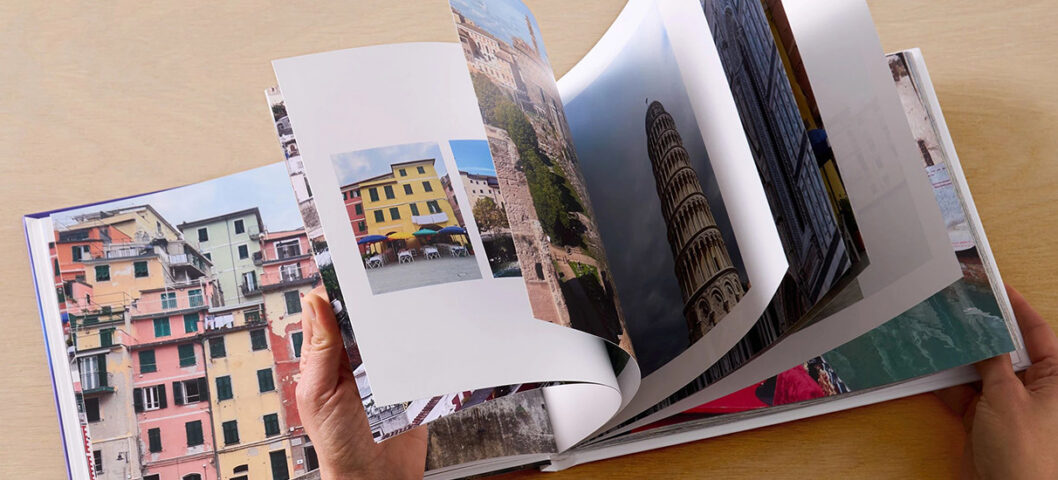
How to Make a Photo Book
Learn how to make a photo book with Shutterfly. Choose templates, customize pages, add text, and create a personalized photo book from start to finish. 4 min read
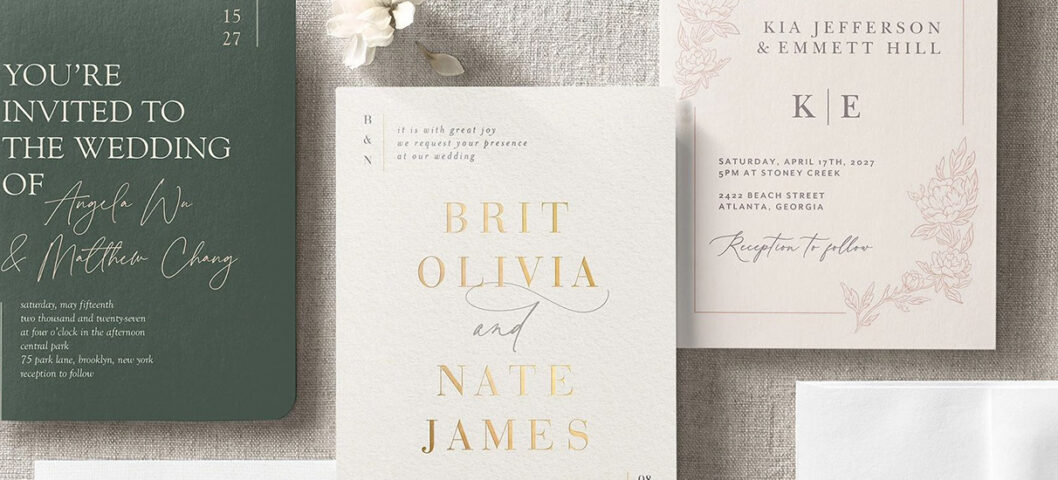
Wedding Invitations: What Redditors Say Matters
What do wedding guests really care about on an invitation? See what Redditors say about invitation design, paper, details, RSVPs, and more. 6 min read
Shutterfly Photo Books Guide: Common FAQs
Create lasting memories with Shutterfly photo books. Get answers about cost, quality, pages, sizes, and how to design the perfect photo book. 7 min read

Christmas Gift Ideas for Parents Who Have Everything, According to Reddit
Find Christmas gift ideas for parents who have everything, inspired by Reddit. Discover thoughtful, practical, and meaningful gifts for Mom and Dad. 8 min read
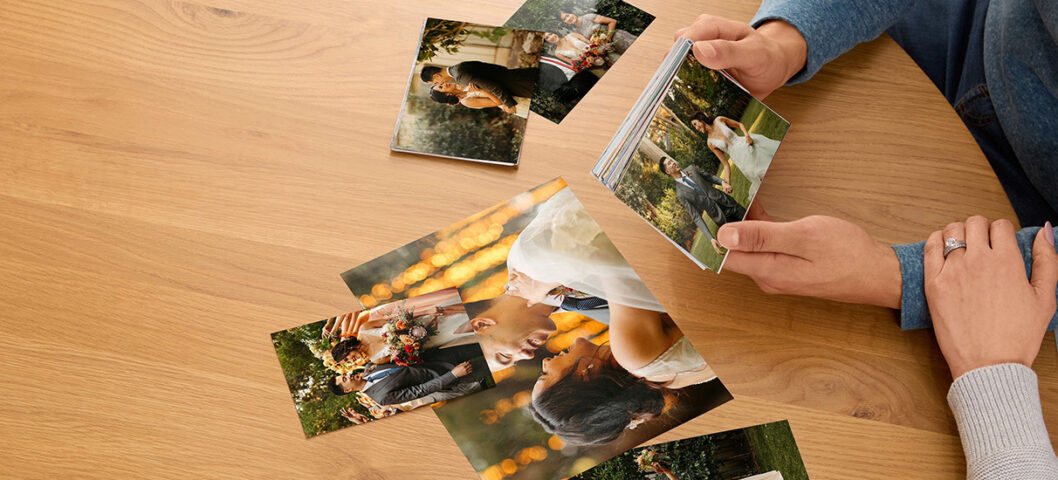
Photo Prints Guide: Sizes, Finishes, Pricing & FAQs
Get answers to common questions about photo prints, including sizes, finishes, pricing, ordering steps, and tips for getting the best print quality. 6 min read
70+ Spooky & Cute Halloween Quotes
Find the best Halloween quotes for spooky season, including funny, scary, cute, short, movie, and literary quotes for Halloween 5 min read

220+ Best Halloween Captions for Instagram 2026
Discover 150+ spooky, funny, and pun-filled Halloween captions for Instagram to make your photos frightfully fun and unforgettable! 7 min read

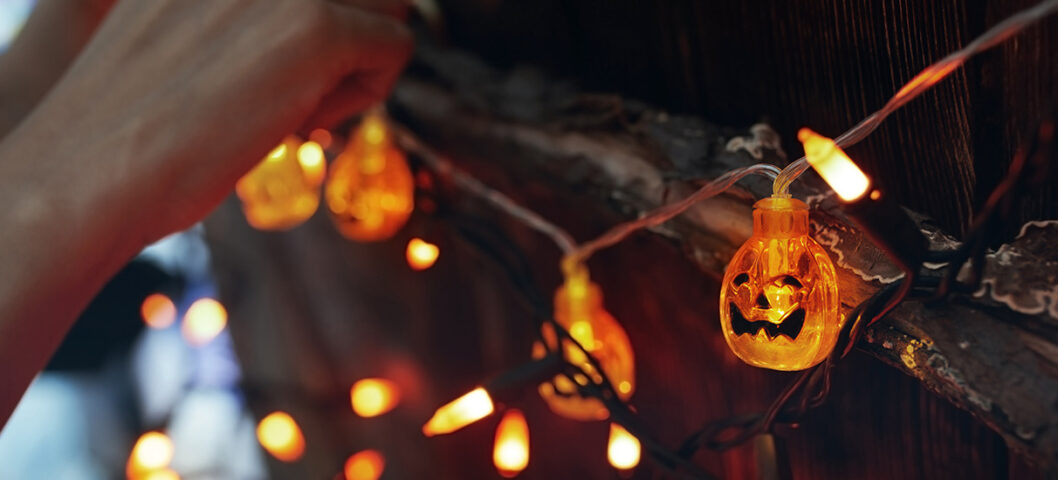
Halloween Invitation Wording Ideas for Every Party
Find spooky, fun, and creative Halloween invitation wording ideas to match any party theme. Get inspired and send the perfect invites for your celebration! 7 min read
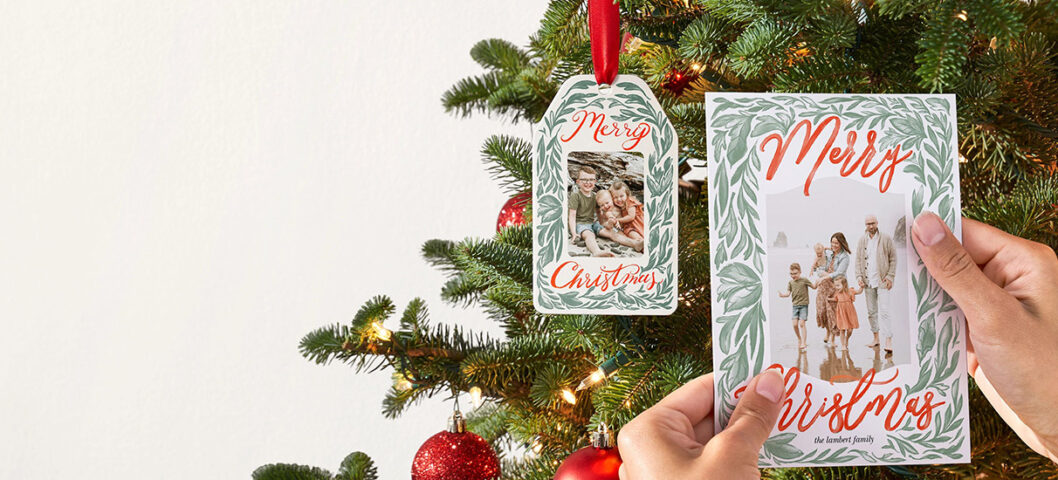
What to Do With Your Christmas Card Photos After the Holidays
Turn your Christmas card photos into personalized ornaments, photo books, wall art, gifts, and calendars you'll enjoy all year long. 4 min read
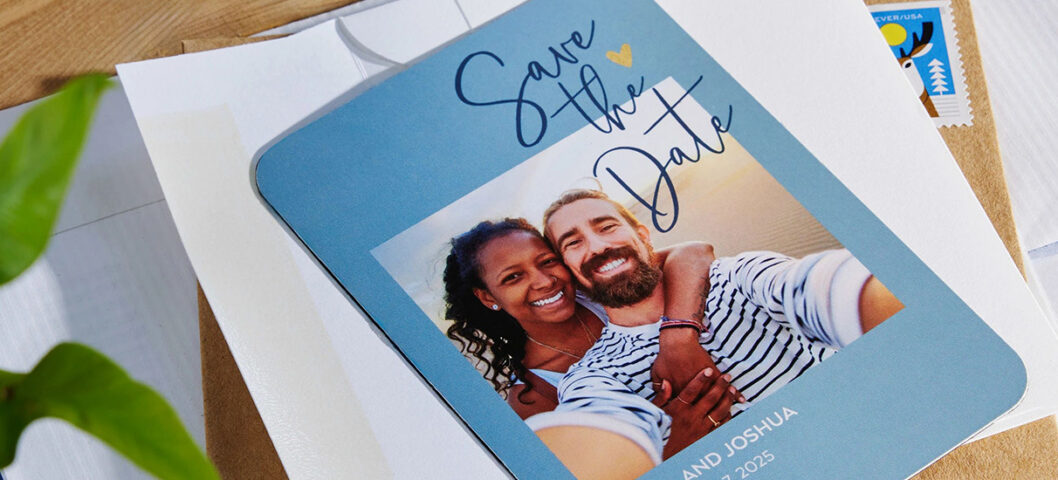
Are Save the Dates Necessary? What Redditors Say
Are save the dates necessary? See what Redditors say about when to send them, why they help guests plan, and when you may be able to skip them. 5 min read
Christmas Card Paper Types: How to Choose the Right Cardstock
Compare Christmas card paper types, including matte, shimmer, recycled, and premium cardstock options, to find the best fit for your holiday cards. 3 min read

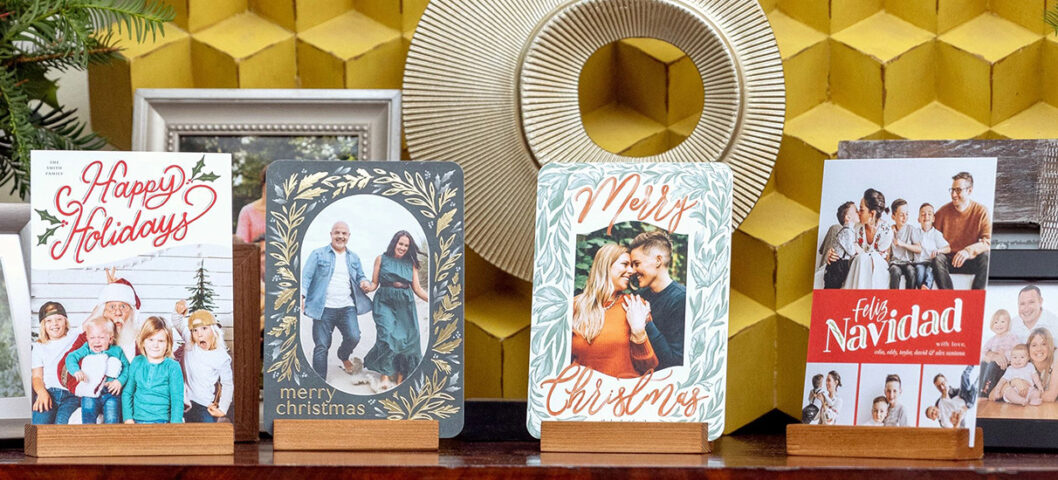
How Many Christmas Cards Should You Send?
Find out how many Christmas cards the average person sends and how many you should order, with simple tips for building your holiday card list. 5 min read
Are Photo Books Worth It? What Redditors Say
See what Redditors say about whether photo books are worth it. Explore the benefits, drawbacks, and tips for creating a photo book you'll revisit. 6 min read