


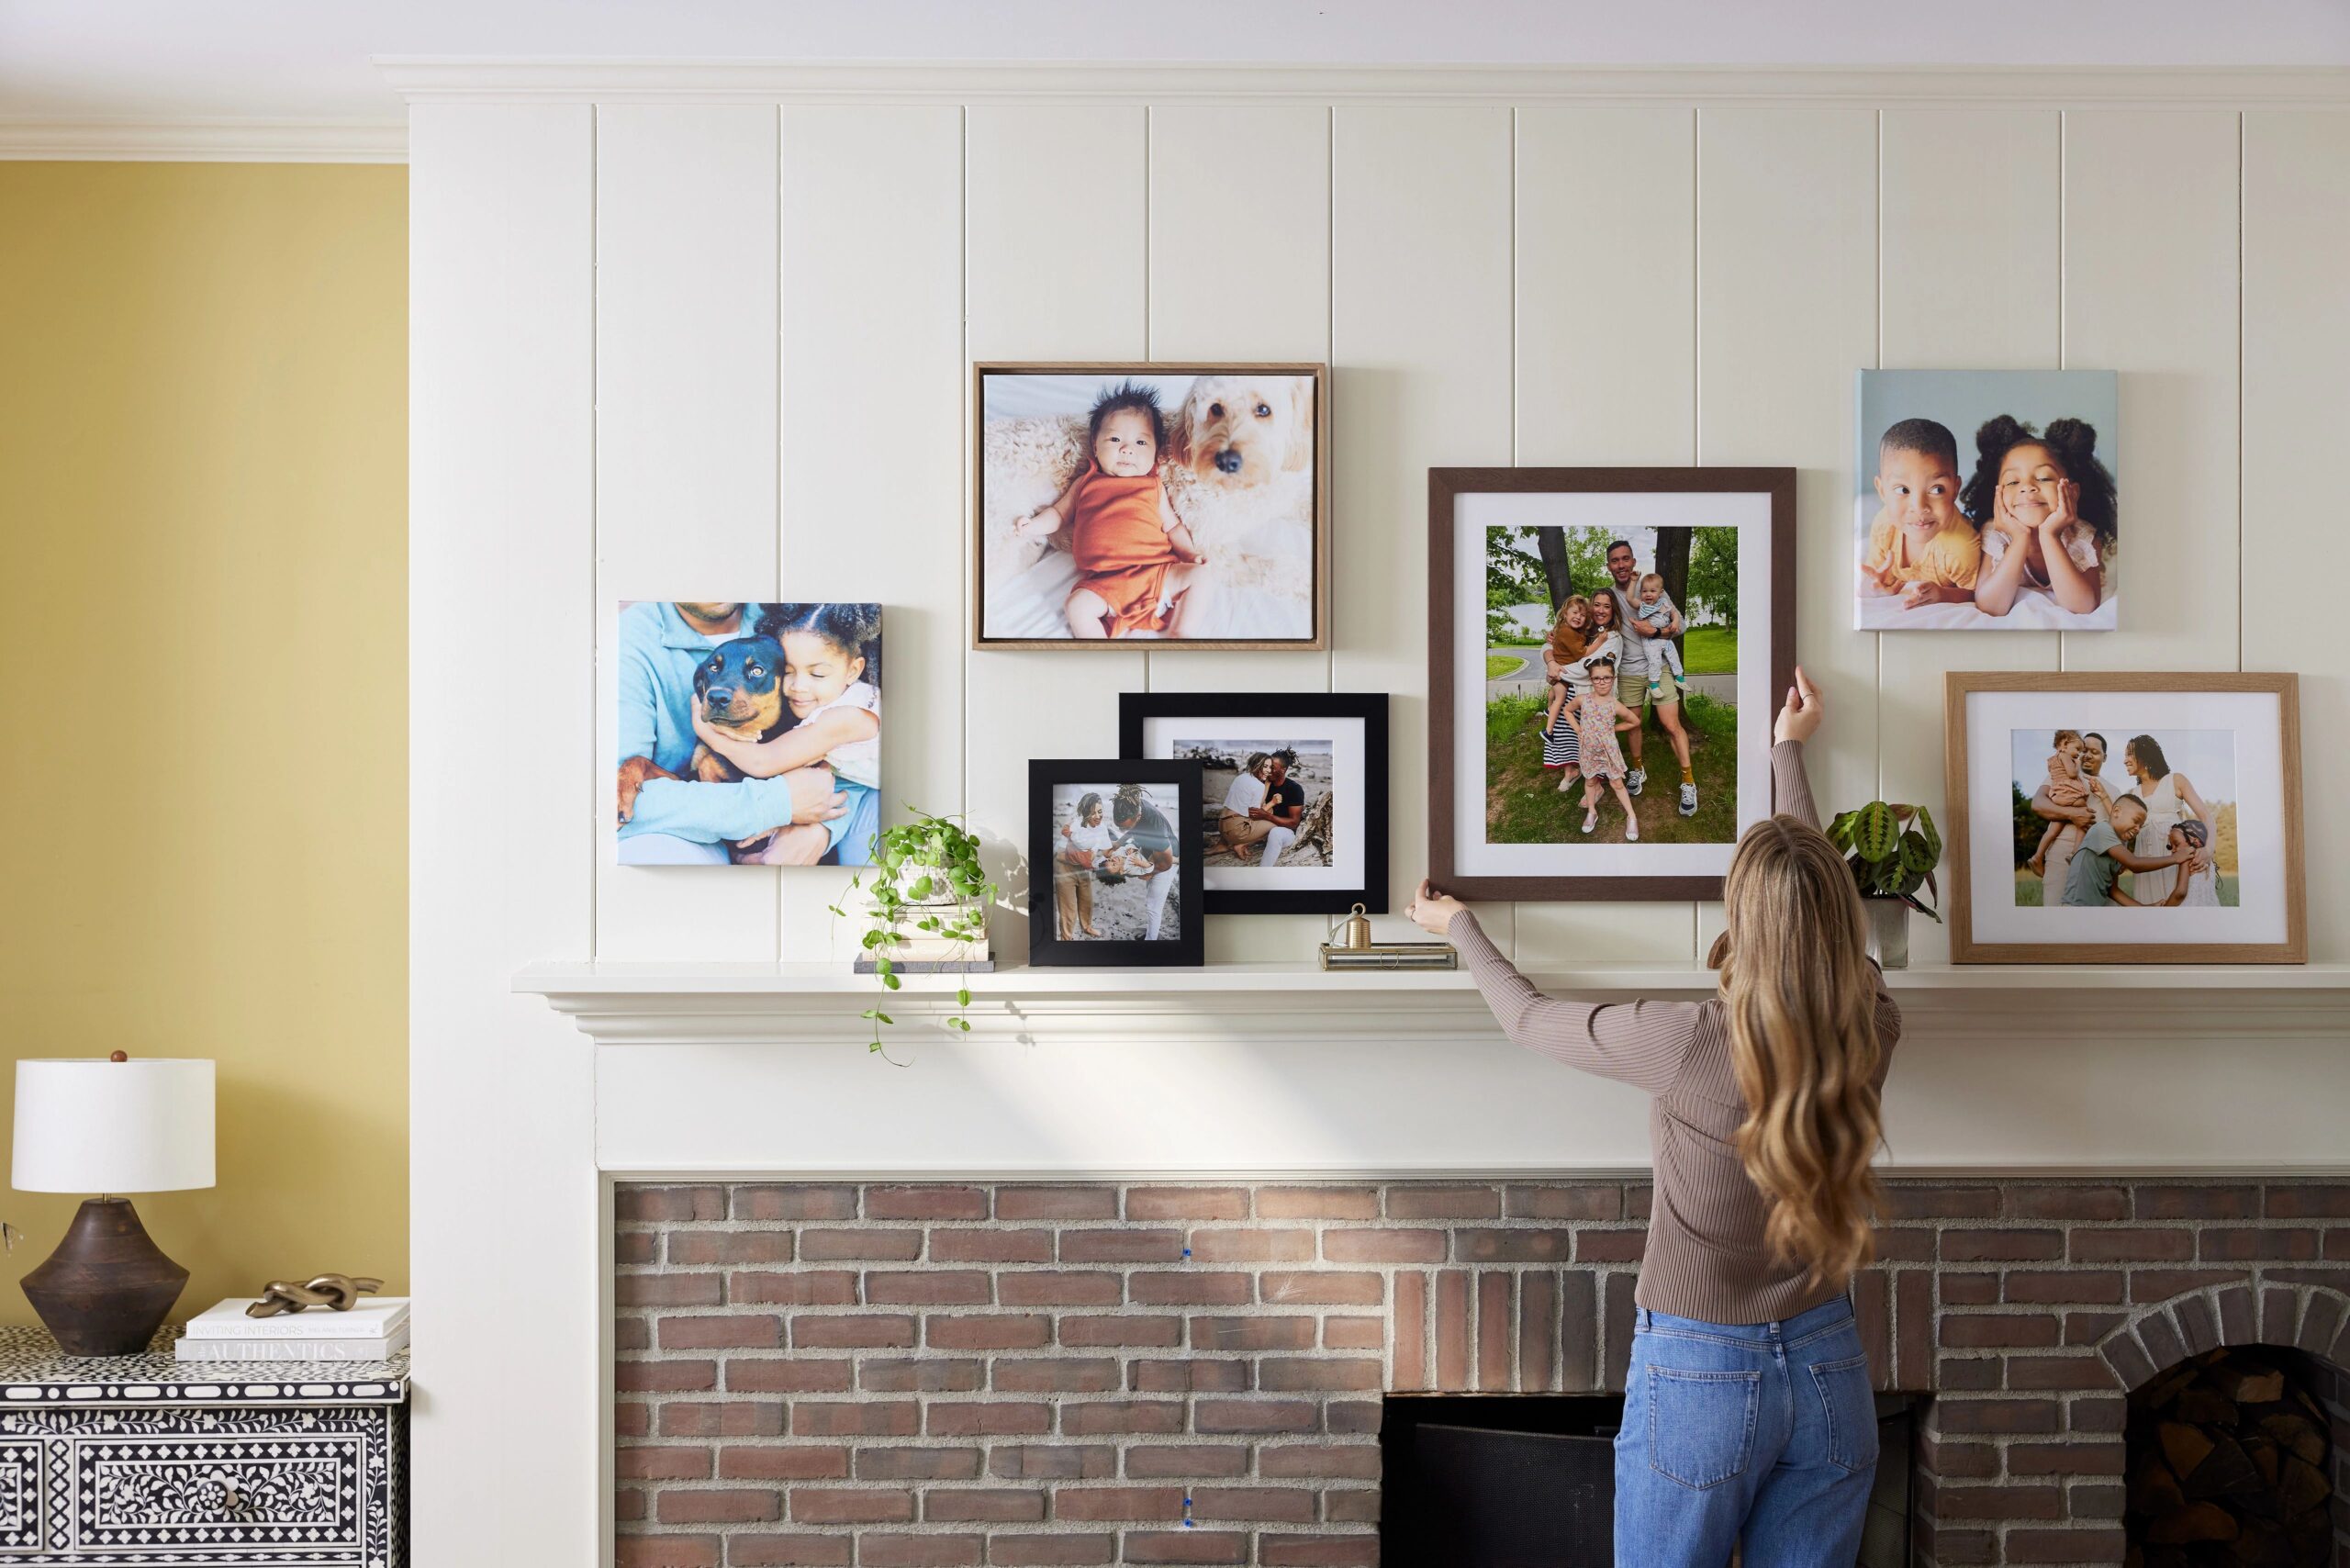
Do you find yourself with a nice collection of canvas art yet your walls are still blank? Between exciting antique store finds, online shopping deals and your personalized canvas print or art creations, the time has come for you to decide where and how to display them. A canvas can shine on its own or maybe work best grouped with other wall art in a gallery display.

Once you’ve decided on placement, the next step is to hang them on your wall. Take canvas size into consideration first. The great thing about prints on canvas is that they tend to be rather light, regardless of their size.
How To Hang Canvas Art
Consider the type of wall you are working with. If your walls are brick or concrete you may need to consider alternative methods for hanging wall art. If you have mostly drywall, then follow our list of the most popular ways to easily hang canvas wall art.
Basic Tools For Hanging A Canvas
You’ll need basic tools for all of the methods listed below. You may already have some of these at home but you can otherwise find them at your local hardware store.
- Pencil
- Screwdriver
- Spirit level
- Hammer
- Wall protector pads
- Tape measure
Basic Tips For Hanging A Canvas
Here are nine tips that will make the process even easier from beginning to end and can be applied to all methods:
- Always clean the wall with a damp cloth before hanging.
- Know the measurements of your canvas, especially the center points.
- Take measurements of where you would like the canvas to be displayed.
- Measure your desired distance from the ceiling, floor and side objects. We recommend hanging the canvas with its midpoint between 56 and 60 inches from the floor and eight to 10 inches above a piece of furniture.
- Mark an ‘x’ in pencil on the center spot to help guide you.
- If necessary, consider moving furniture or items out of the way so you can maneuver better.
- Make sure to place stick-on wall pads on the backside of your canvas to protect the paint and avoid scratches on the wall.
- Hang the canvas and center it.
- Level until it’s perfectly straight.
5 Ways To Hang A Canvas
Now that we’ve covered the basics, let’s get started on the different ways you can complete the task of getting your canvas art on your walls. As mentioned above, keep all of the basic tools handy for any of these methods. They will make hanging a canvas much easier.
1. Nails
Nails will work best with small and medium canvases. Choose nails according to the size of the canvas. Small nails will work well on a small 8×10 canvas while a medium-sized nail would do a better job with sizes like 16×16 or 20×30. Brass or steel nails should go into the wall easily without chipping or damaging it.
You’ll need one or two nails depending on canvas size.
Step 1: Prepare the wall and place your mark with a pencil.
Step 2: Hammer the nail into the mark with one or two quick hits.
Step 3: Don’t hammer the nail all the way in—leave half an inch to an inch out.
Step 4: Hang the canvas on the nail.
Please note that you should avoid hammering the nail continuously as it is really not necessary for this purpose—this will ensure there is minimal damage and chipping to your drywall.
2. Sawtooth Bracket
Sawtooth brackets come in different sizes, so make sure you pick one that is appropriate for your canvas size. These brackets should always be placed in the middle of the frame.
You’ll need a sawtooth bracket, its corresponding screws and a nail.
Step 1: Hammer the nail into a hanger hook at a slight angle. The nail going in at an angle will strengthen the hanging and will assure the wall takes most of the weight.
Step 2: Measure the top of the back frame and mark its center point.
Step 3: Place the bracket at the center back of the canvas and guide yourself with the center point mark.
Step 4: Screw in one side of the bracket and then the other.
Step 5: Make sure the bracket is not loose and screws are in tight.
Sawtooth brackets offer great stability and may be a good option for small-to medium-sized canvases. This is considered one of the simplest and most popular ways to hang wall art.
3. Eye Hooks
Eye hooks are very popular at professional framing stores but you’ll be surprised how easy they are to use at home. Small eye hooks are strong enough for a canvas and don’t take up much room between the wall and frame.
You’ll need two eye hooks, wire and nails.
Step 1: Screw the eye hooks on each side of the wood frame, about five inches from the top.
Step 2: Next, string the art wire between the two eye hooks, leaving room to give way for hanging.
Step 3: Finally, where you marked the center with the pencil, hammer in a nail or use a hook if you prefer.
The nice thing about this method is that you can adjust the art wire to ensure the canvas hangs exactly how you want it to.
4. J-Hooks
J-hooks are great options when you have wide or bigger canvases. The hooks come in various sizes and with either one or two nails. A simple, smaller hook would work best for lighter, smaller canvases, while hooks that require two nails will hold up more weight.
It’s best to refer to the packaging provided by the maker to determine which option is best for you. You can place two or three hooks across the wall to ensure sturdy hanging.
You’ll need two or more hooks depending on the size of the canvas.
Step 1: Place one or several pencil markings on the wall. This will depend on how many hooks you are using.
Step 2: Position your J-hook on the wall. The nail that comes with it will go directly into the hook. Hammer it in at a slight angle.
Step 3: Make sure the hooks align perfectly on the wall to ensure the canvas does not hang crooked. This is a good option for hanging a canvas that is much wider than it is tall. The measuring tape will be your best friend for this particular method.
5. Adhesive Strips
Adhesive strips may be the easiest of all methods. Most adhesive hanging products are made to avoid any type of damage to walls. They are very easy to use and usually come with an adhesive and velcro combination. Make sure you know the weight of your canvas before getting started, since most adhesive strip products clearly state weight capacity on their packaging—typically ranging from four to 16 pounds.
You’ll need four adhesive strips for each corner or more depending on size of canvas.
Step 1: Measure and mark with a pencil to help place the canvas—you may need to add a soft straight line across to ensure it’s straight. Step 2: Next, place the adhesive strips on each corner of the wood frame (add more between each corner if you feel they’re needed).
Step 3: Press the canvas to the wall in alignment with your markings.
Whichever way you choose to hang your canvas simply depends on personal preference. The important thing is that you proudly display your precious canvas prints and works of art.
Canvas art can bring a level of sophistication to your home. Whether an inherited oil painting or custom canvas prints, the outcome once finished will create clean lines resulting in a modern enhancement to your décor. The added bonus is the joy and satisfaction you will feel when you see your favorite canvas art hanging in its ideal spot.