


Creating a photo book should feel creative and rewarding—not like you’re constantly second-guessing your choices. If you’re looking to make an affordable Shutterfly photo book, the secret isn’t limiting your creativity. It’s knowing which decisions actually affect cost and designing with intention from the very start.
Follow the steps below and you’ll end up with a photo book that feels thoughtful, polished, and personal—without unnecessary upgrades driving up the price.

1. Start With a Clear Purpose for Your Photo Book
Before choosing a size or uploading photos, take a moment to define what this book is meant to capture. A clear purpose keeps your book focused—and prevents it from growing larger (and more expensive) than planned.
Ask yourself:
- Is this book about a single trip, event, or season?
- Is it meant to be a yearly recap or an everyday memory keeper?
- Is it for yourself or as a gift?
When the story is clear, editing decisions become easier later, which helps keep page count—and cost—under control.
2. Choose a Format That Supports Your Budget From the Start
Your initial format choice sets the overall price range, so it’s one of the most important steps.
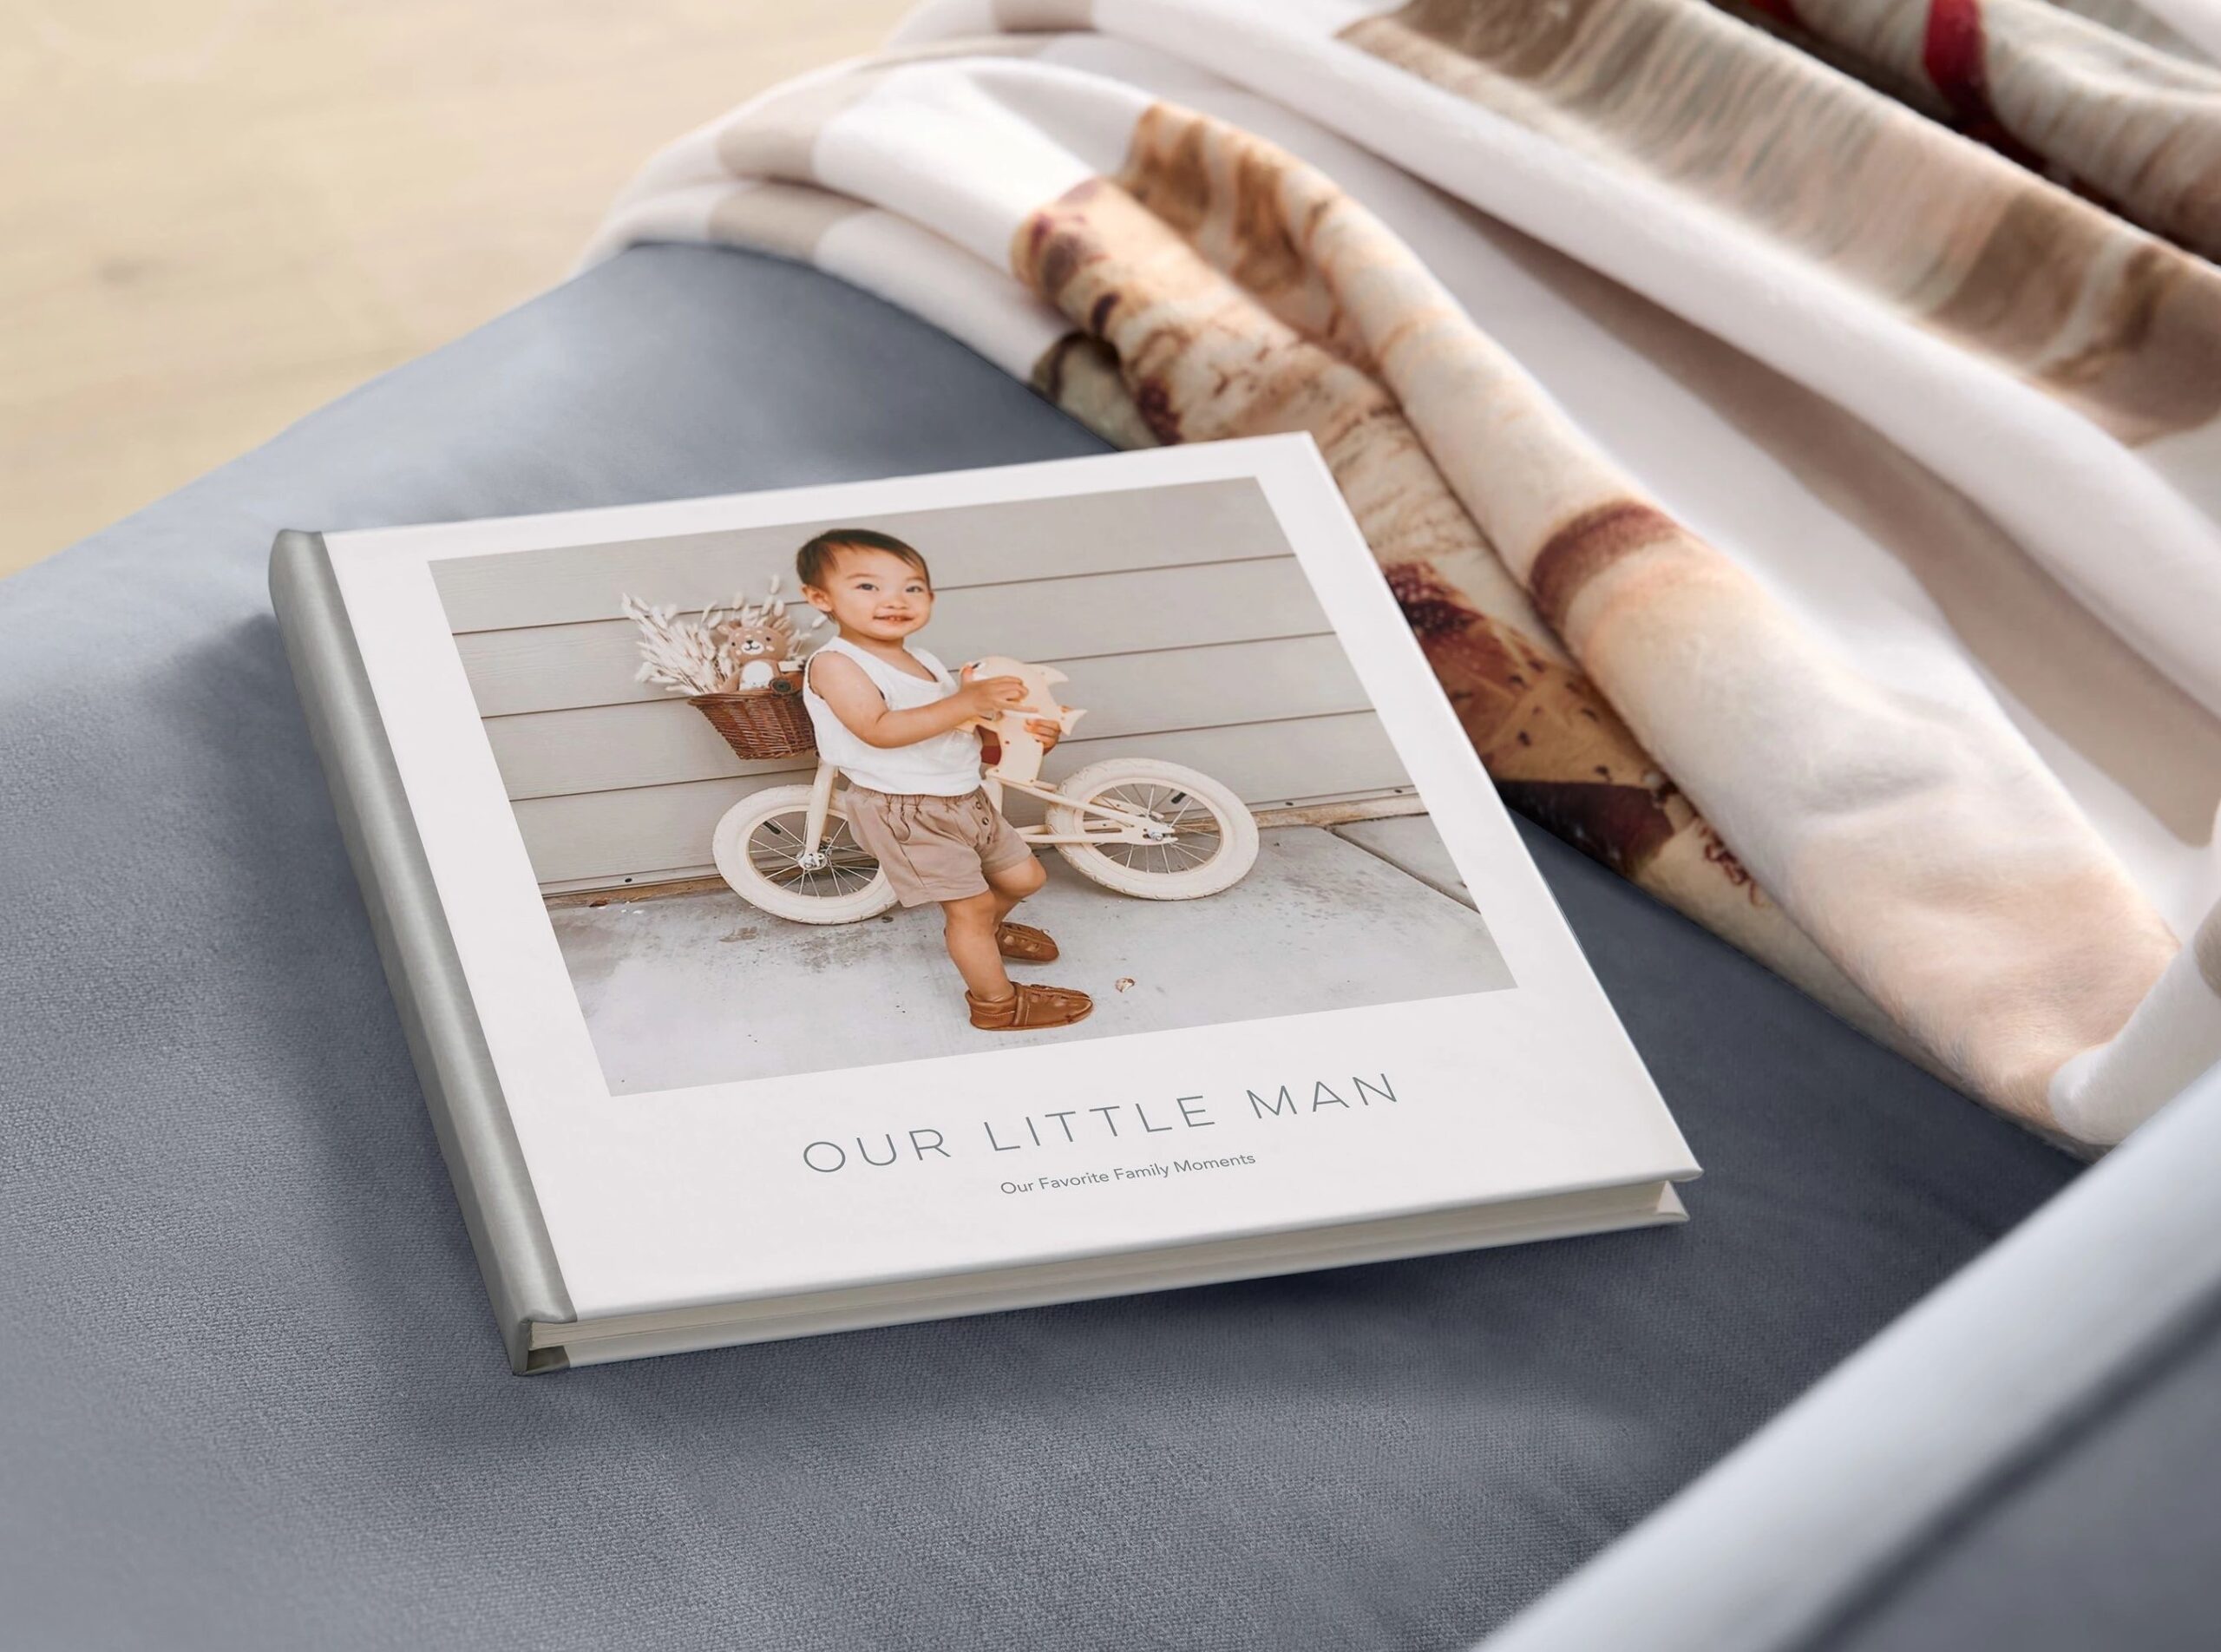
For an affordable option, many customers start with an 8×8 photo book, Shutterfly’s smallest size. It’s versatile, approachable, and encourages thoughtful storytelling without feeling cramped. From there, consider your cover:
- Softcover photo books are the most budget-friendly choice and work beautifully for casual projects or books you plan to make regularly.
- A standard hardcover photo book offers a more traditional, durable feel while still keeping costs manageable.
- Glossy hardcover finishes deliver vibrant color and polish at a lower cost than matte.
Making these decisions early helps you design confidently without revisiting pricing later.

3. Design Freely—Without Worrying About Cost
Once your format is set, you can focus on creativity.
With Shutterfly photo books, all designs within the same format are priced the same. That means you don’t need to hunt for “budget” layouts or avoid certain styles. You’re free to choose designs that fit your photos and your story.
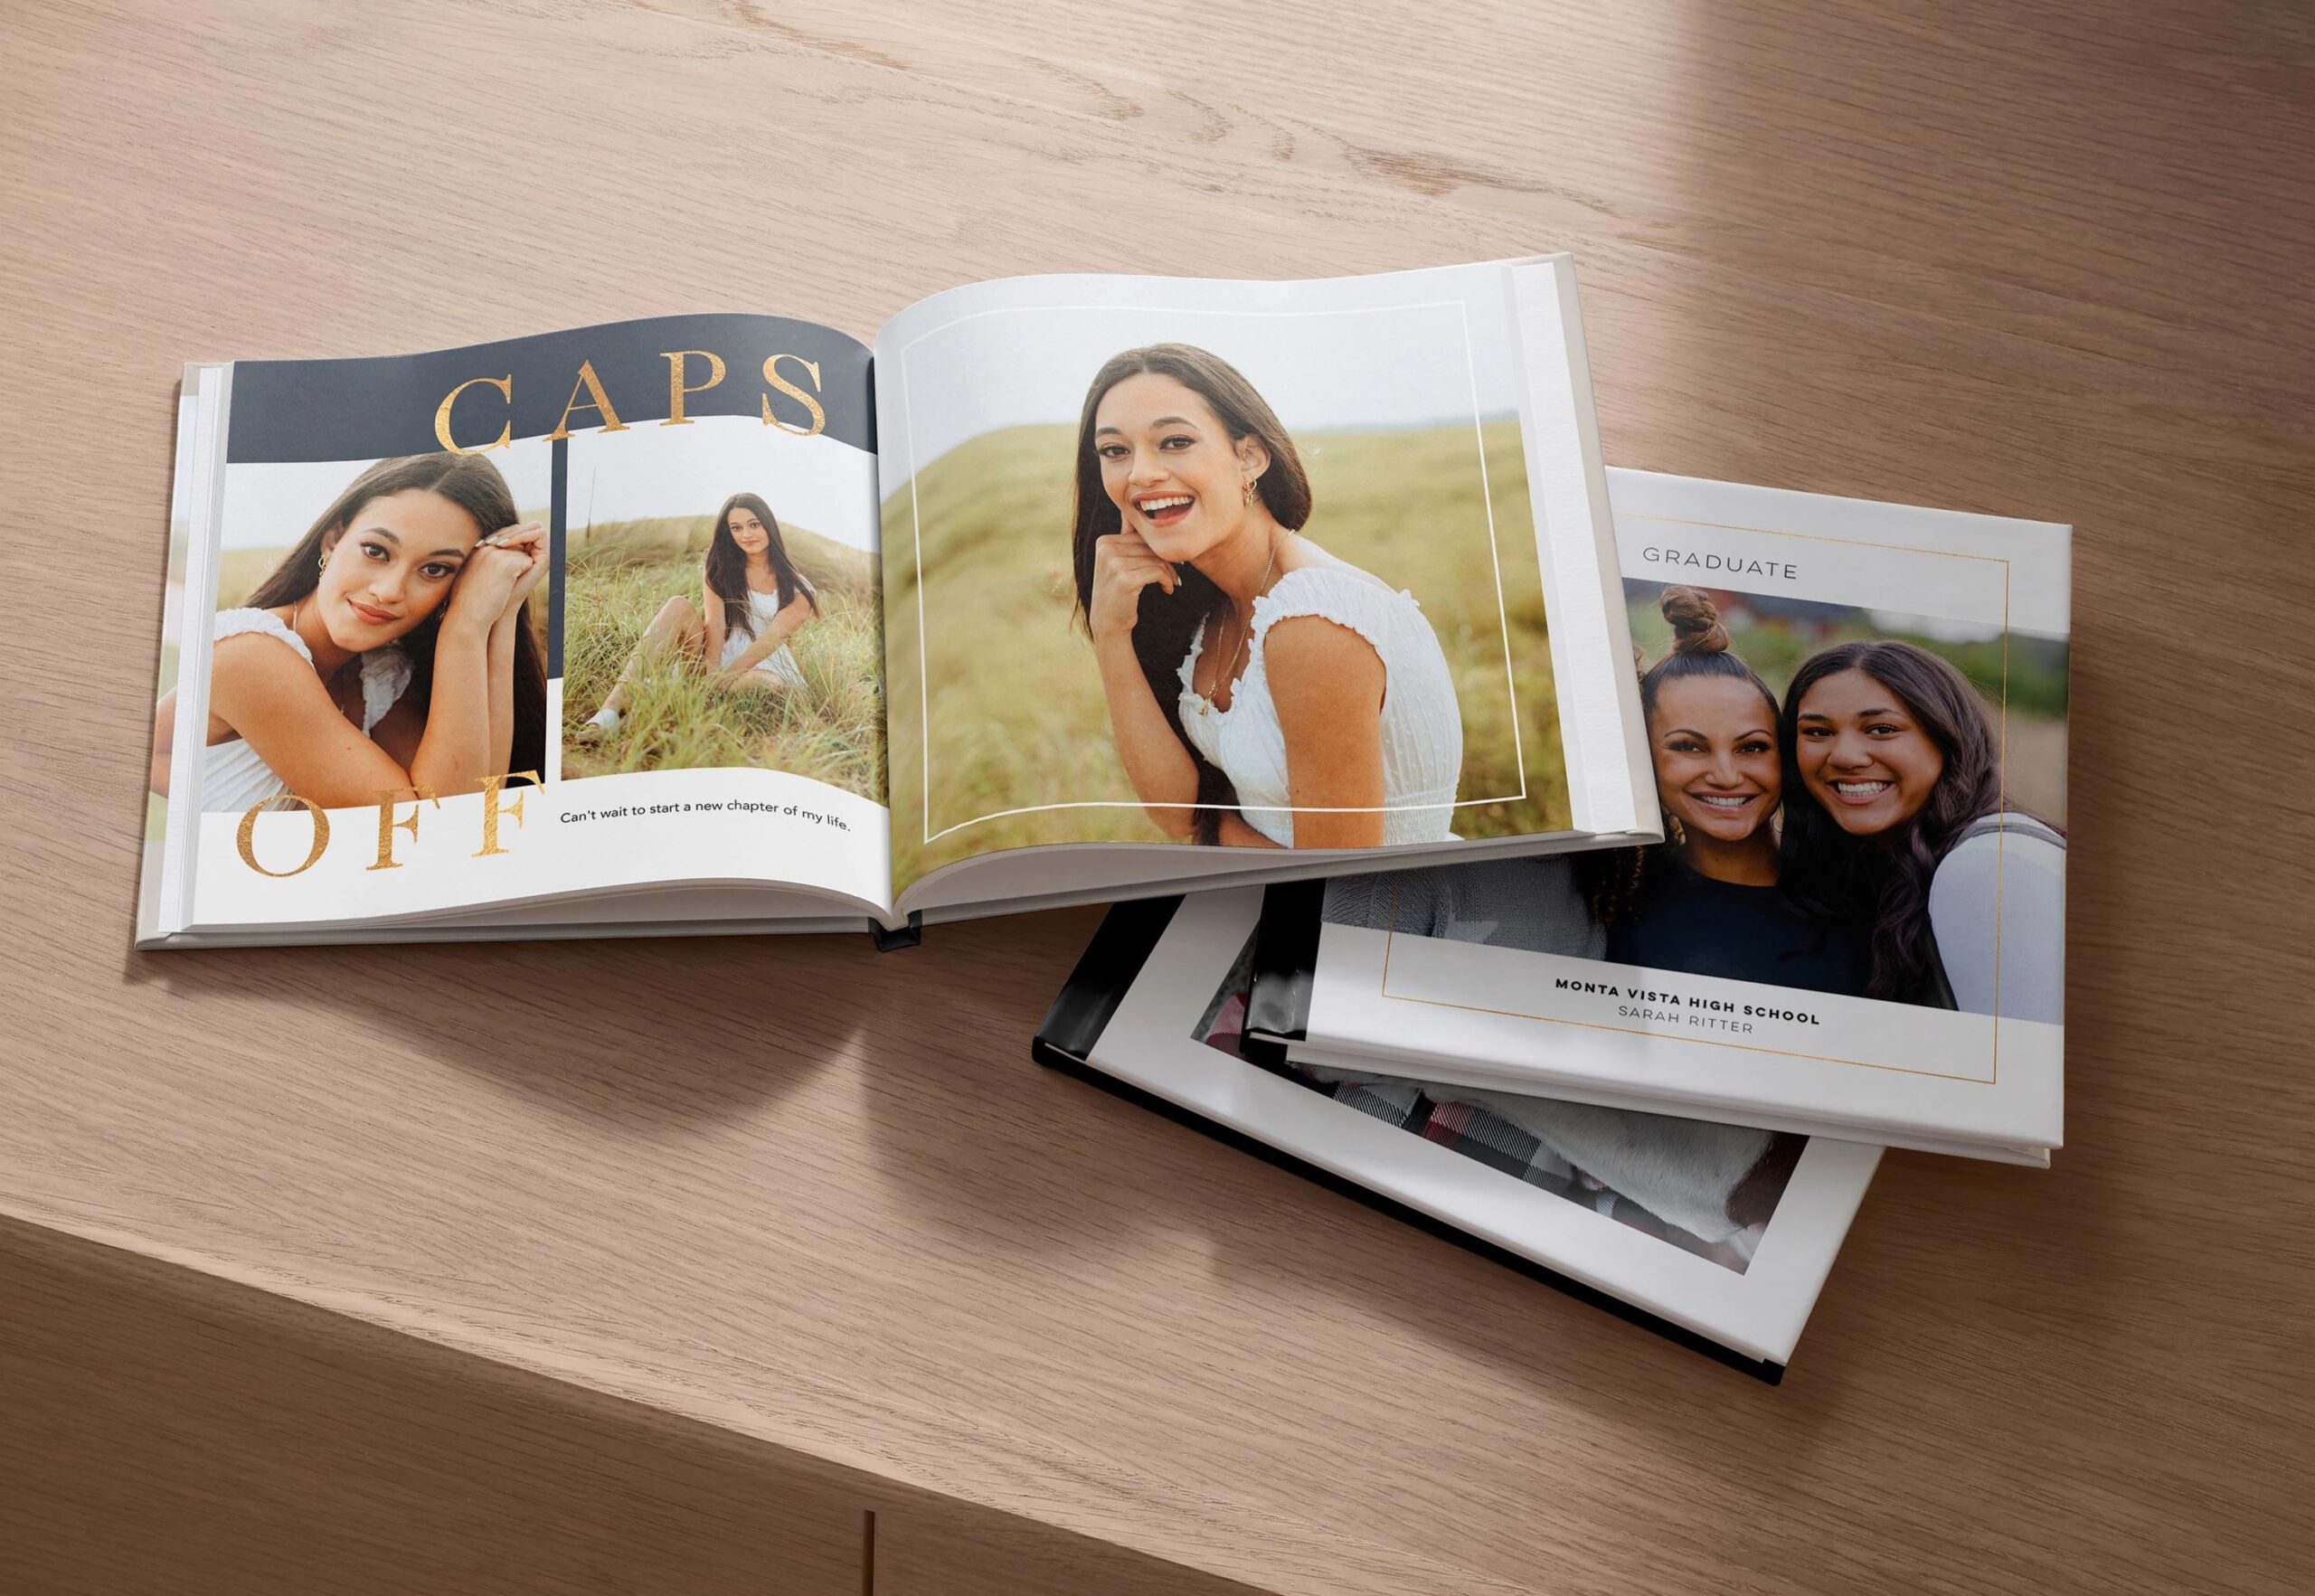
Use layouts that feel natural for your content:
- Full-page photos for standout moments
- Clean, open designs for everyday memories
- Text-forward pages for reflections, dates, or short stories
- Embellishments, stickers, and background colors or patterns to add personality to your pages
Because design choices don’t affect cost, this is the place to personalize your book with confidence. Whether your style leans minimal, playful, or expressive, you can make it feel uniquely yours without hesitation.

4. Be Intentional With Page Count as You Build
Page count is one of the easiest ways costs can increase—often without you noticing until the end.
As you design, aim to include photos that move the story forward. Instead of placing multiple similar images on one spread, choose the strongest one and let it shine. A tighter edit creates a book that’s easier to revisit and more satisfying to read.
Captions are especially helpful here. Since text doesn’t impact cost, you can add:
- Dates and locations
- Short notes or memories
- Context that explains why a moment matters
This adds depth without requiring extra pages.
5. Skip Premium Upgrades Unless They Truly Add Value
Shutterfly offers beautiful enhancements, but not every book needs them—especially if affordability is your goal.
Upgrades that typically increase cost include:
- Larger photo book sizes
- Layflat binding
- Luxe cover materials like leather
- Specialty finishes and metallic accents
- Additional printing enhancements or packaging
These features can be meaningful for milestone books, but for everyday stories, standard options often look just as polished when paired with strong photos and thoughtful design.
6. Prep Your Photos to Elevate the Final Look
A little photo prep can make a standard photo book feel anything but basic—and with Shutterfly’s free editing tools, your images can look perfect right from the design page.
Before uploading, take time to:
- Crop images intentionally to focus on the subject
- Brighten darker photos so details pop
- Straighten horizons and align faces for a polished feel
Shutterfly’s editing tools let you tweak colors, remove red eyes, and adjust lighting as you go, so even casual snapshots can look professional. Well-edited photos print more cleanly and look intentional on the page, reducing the need for premium finishes or extra embellishments to elevate your book.
7. Plan Around Promotions to Maximize Value
One of the easiest ways to save on a photo book is timing your order.
Shutterfly regularly offers promotions such as:
- Free unlimited extra pages
- Sitewide discounts
- Dollar-off deals
- Free shipping
If you know you’ll be making a book, keeping an eye on Shutterfly promotions can give you flexibility—whether that means adding pages, upgrading your cover, or simply lowering the final price.
8. Think of Affordable Photo Books as a Habit, Not a One-Time Project
Keeping your photo book affordable can make it easier to revisit the process again and again. When the cost feels manageable, you might be more inclined to create books for each year, each trip, or each milestone—rather than waiting for a “special occasion” to justify the expense.
Affordable formats let you document life in a way that feels realistic and sustainable, so your memories don’t sit on your camera roll waiting to be printed.
Related Resources on Affordable Photo Books
Making an affordable Shutterfly photo book is about starting smart, designing intentionally, and knowing where to invest—and where not to. By choosing the right format, editing with purpose, using captions thoughtfully, and taking advantage of promotions, you can create a photo book that feels meaningful and finished without stretching your budget.
The result isn’t just a cheaper book—it’s one you’ll actually print, share, and revisit for years to come.
Additional Resources: