


Step into the world of convenience and creativity with online photo printing at Shutterfly. Say goodbye to the hassle of traditional printing and hello to a seamless process that brings your digital memories to life in stunning print form. Whether you’re framing cherished moments for your home or creating a collection of prints to share with loved ones, ordering photo prints online has never been easier or more rewarding. Join us as we explore the simple steps to transform your favorite memories into beautiful prints with Shutterfly’s intuitive online ordering process.
Step-By-Step Guide to Order Prints Online
Unlock the power of digital memories with our guide on how to order photo prints online. With just a few clicks, you can transform your favorite snapshots into tangible keepsakes to treasure for years to come.
1. Select Your Photos
Begin by logging into your Shutterfly account or creating one if you’re new to the platform. Once logged in, navigate to the “Prints” section and choose the photos you’d like to print from your online albums or upload new ones from your device or your Facebook, Instagram, and Google Photos accounts.
2. Choose Print Sizes
With Shutterfly’s wide range of print sizes, select the dimensions that best suit your needs. Whether you’re printing standard 4×6 prints for an album, square prints for a modern display, or large format prints for a statement piece, Shutterfly has options to fit every frame and occasion.
3. Customize Your Prints
Personalize your prints by adding optional enhancements such as borders or filters.
4. Select Pickup Option
If you’re opting for 1-hour print pickup, choose this option at checkout and select the nearest participating location for convenient pickup. If you prefer home delivery, simply enter your shipping address, and your prints will be delivered to your doorstep.
5. Review and Place Your Order
Take a moment to review your order details, including print sizes, quantities, and pickup or delivery options. Once you’re satisfied, proceed to checkout and complete your purchase securely through Shutterfly’s intuitive ordering system.
6. Track Your Order
After placing your order, keep an eye on your email inbox for order confirmation and tracking information. You can also track your order status by logging into your Shutterfly account and navigating to the “Order History” section.
7. Enjoy Your Prints
Once your prints are ready, either pick them up from the designated location or await their arrival at your doorstep. Unwrap your prints and relish in the joy of holding your cherished memories in tangible form, ready to be displayed, shared, and enjoyed for years to come.
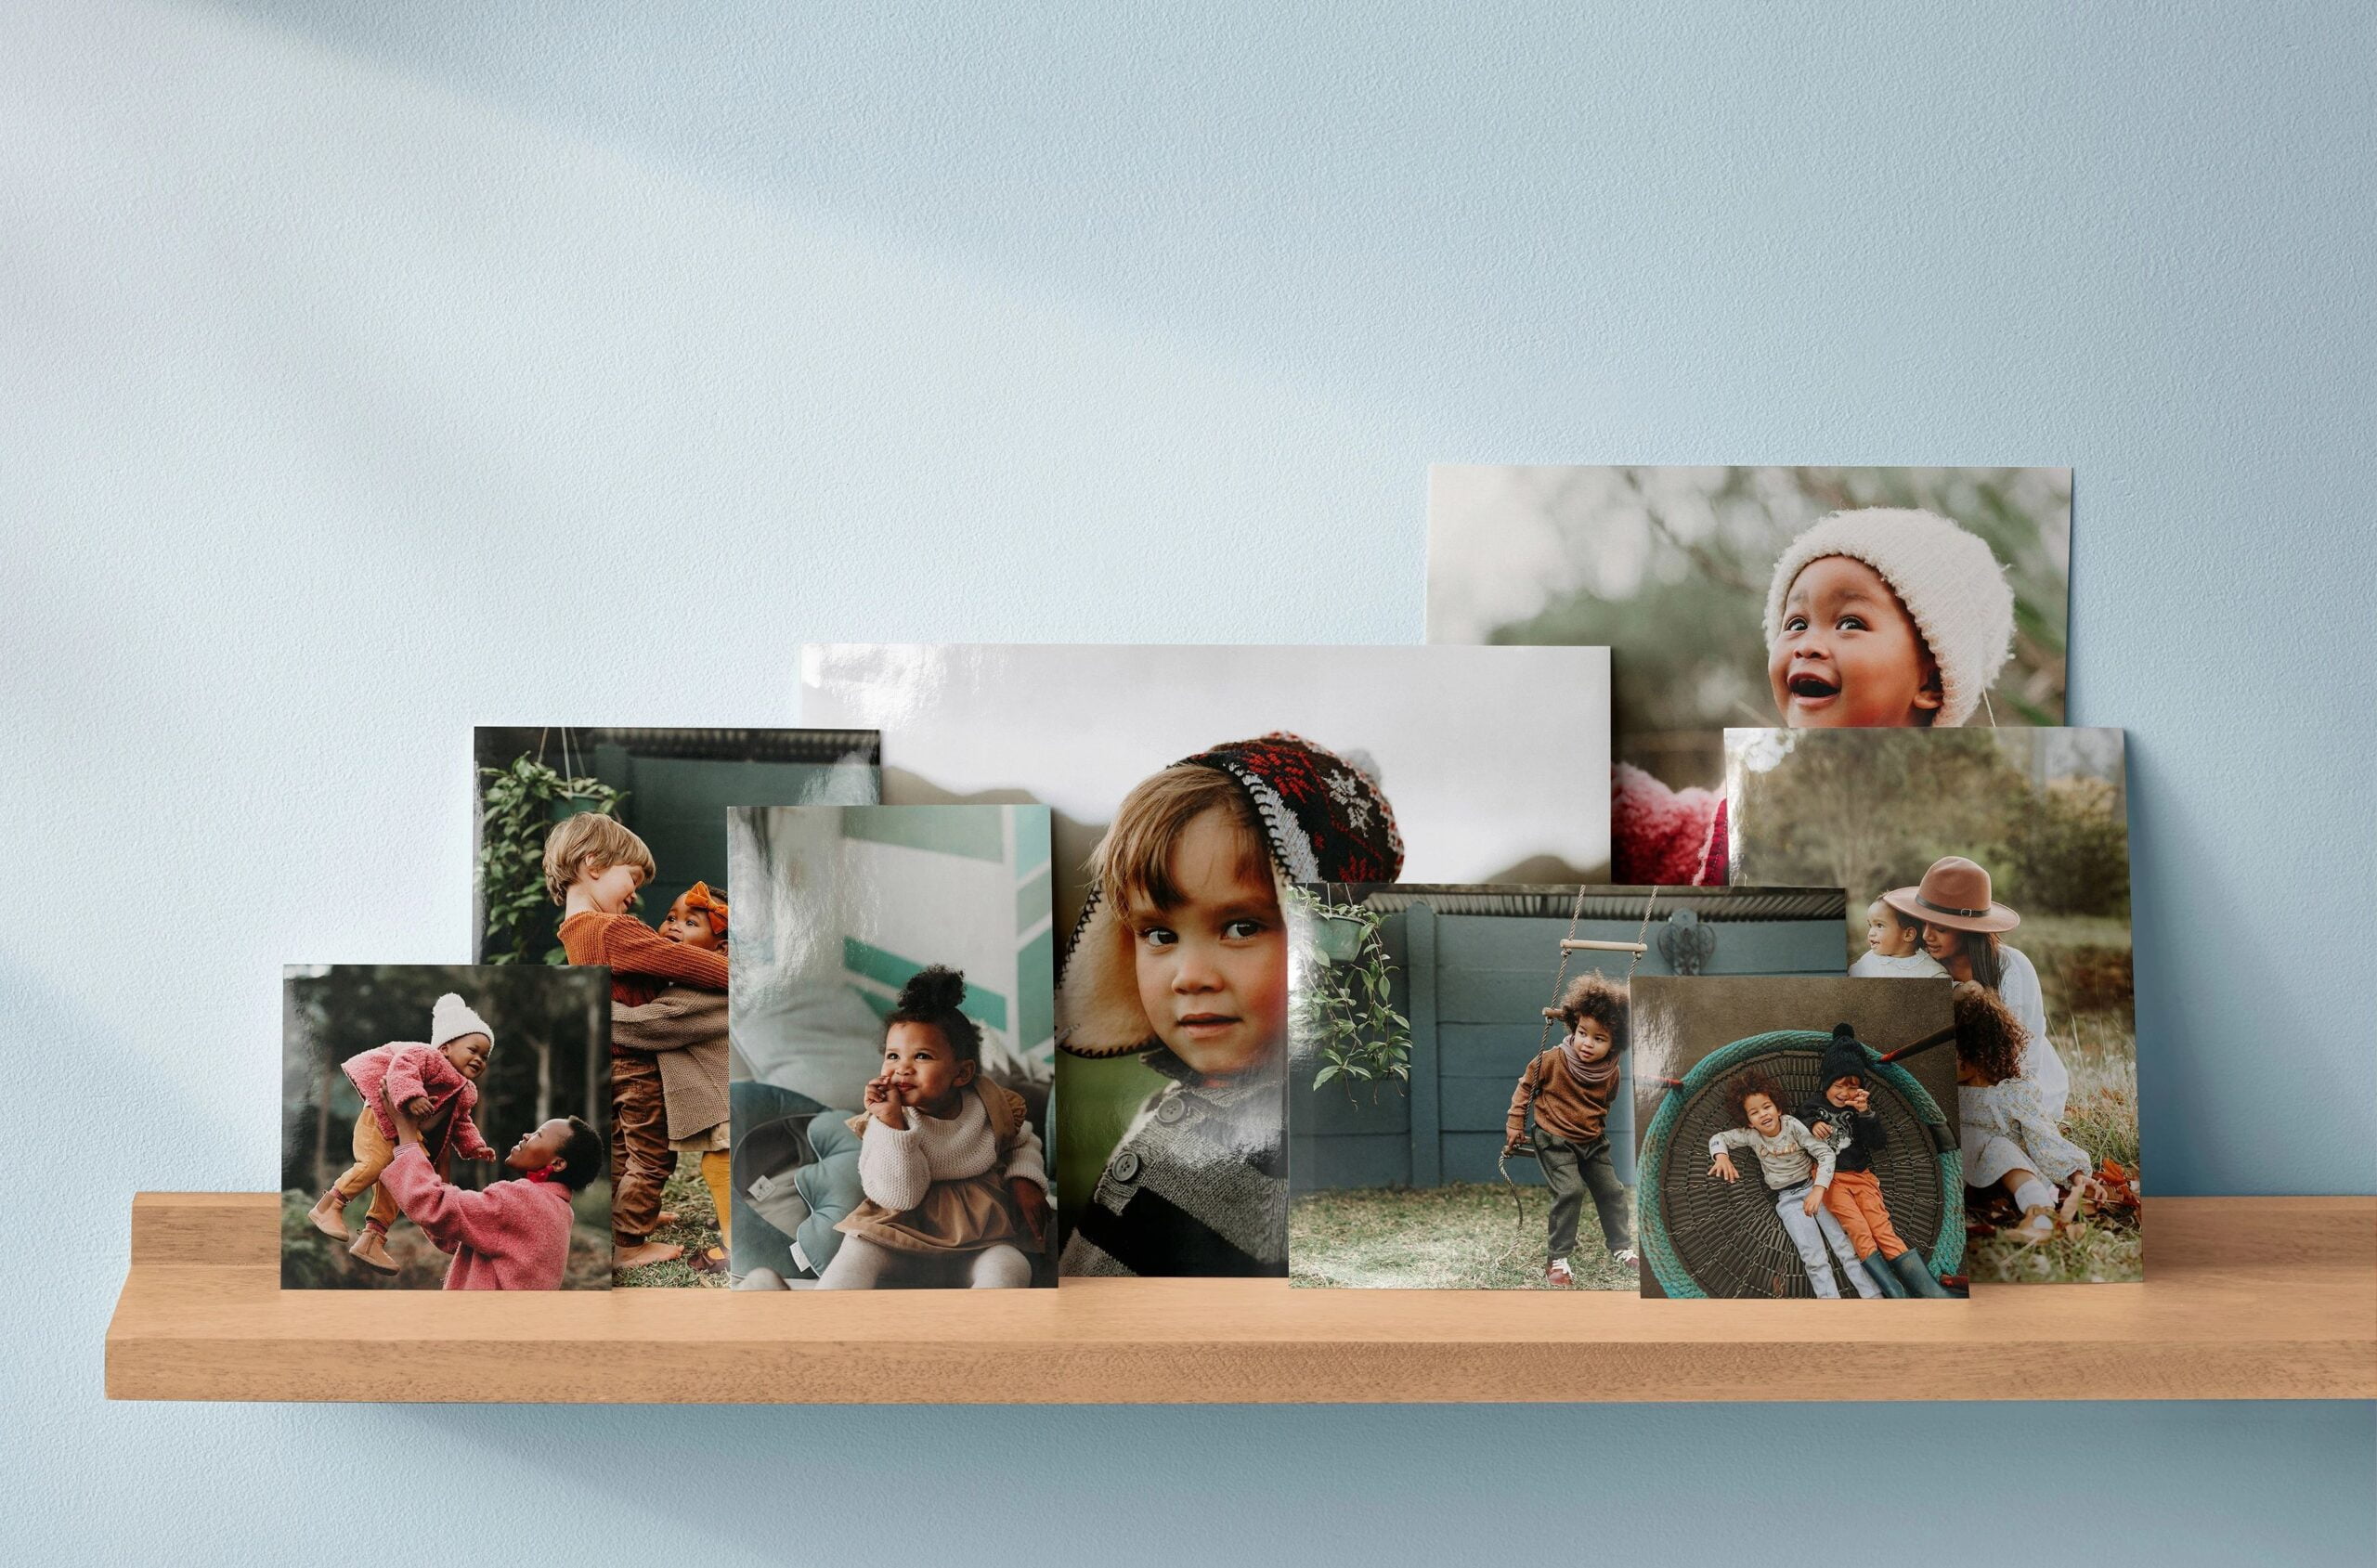
Picture Print Sizes for Every Occasion

Shutterfly offers a diverse range of photo print sizes to suit any need or preference. From standard prints like 4×6 and 5×7 to square prints that add a modern touch to your memories, we have options to fit every frame and album. Looking for something larger? Our large format prints, including sizes like 11×14 and 16×20, are perfect for creating statement pieces that demand attention.
1-Hour Print Pickup
Need your prints in a hurry? With Shutterfly’s 1-hour print pickup option, you can have your memories in hand in no time. Simply select the photos you want to print, choose the 1-hour pickup option at checkout, and head to your nearest participating location to collect your 4×6 prints. It’s fast, convenient, and perfect for those last-minute gift ideas or spontaneous photo printing needs.

Free Photo Prints in the App
Did you know that you can get free photo prints right from your smartphone with the Shutterfly app? Download the app, upload your favorite photos, and enjoy up to unlimited free 4×6 prints every month. It’s a convenient way to print and preserve your memories on the go, with no subscription or commitment required.
Turn Photos into Wall Art
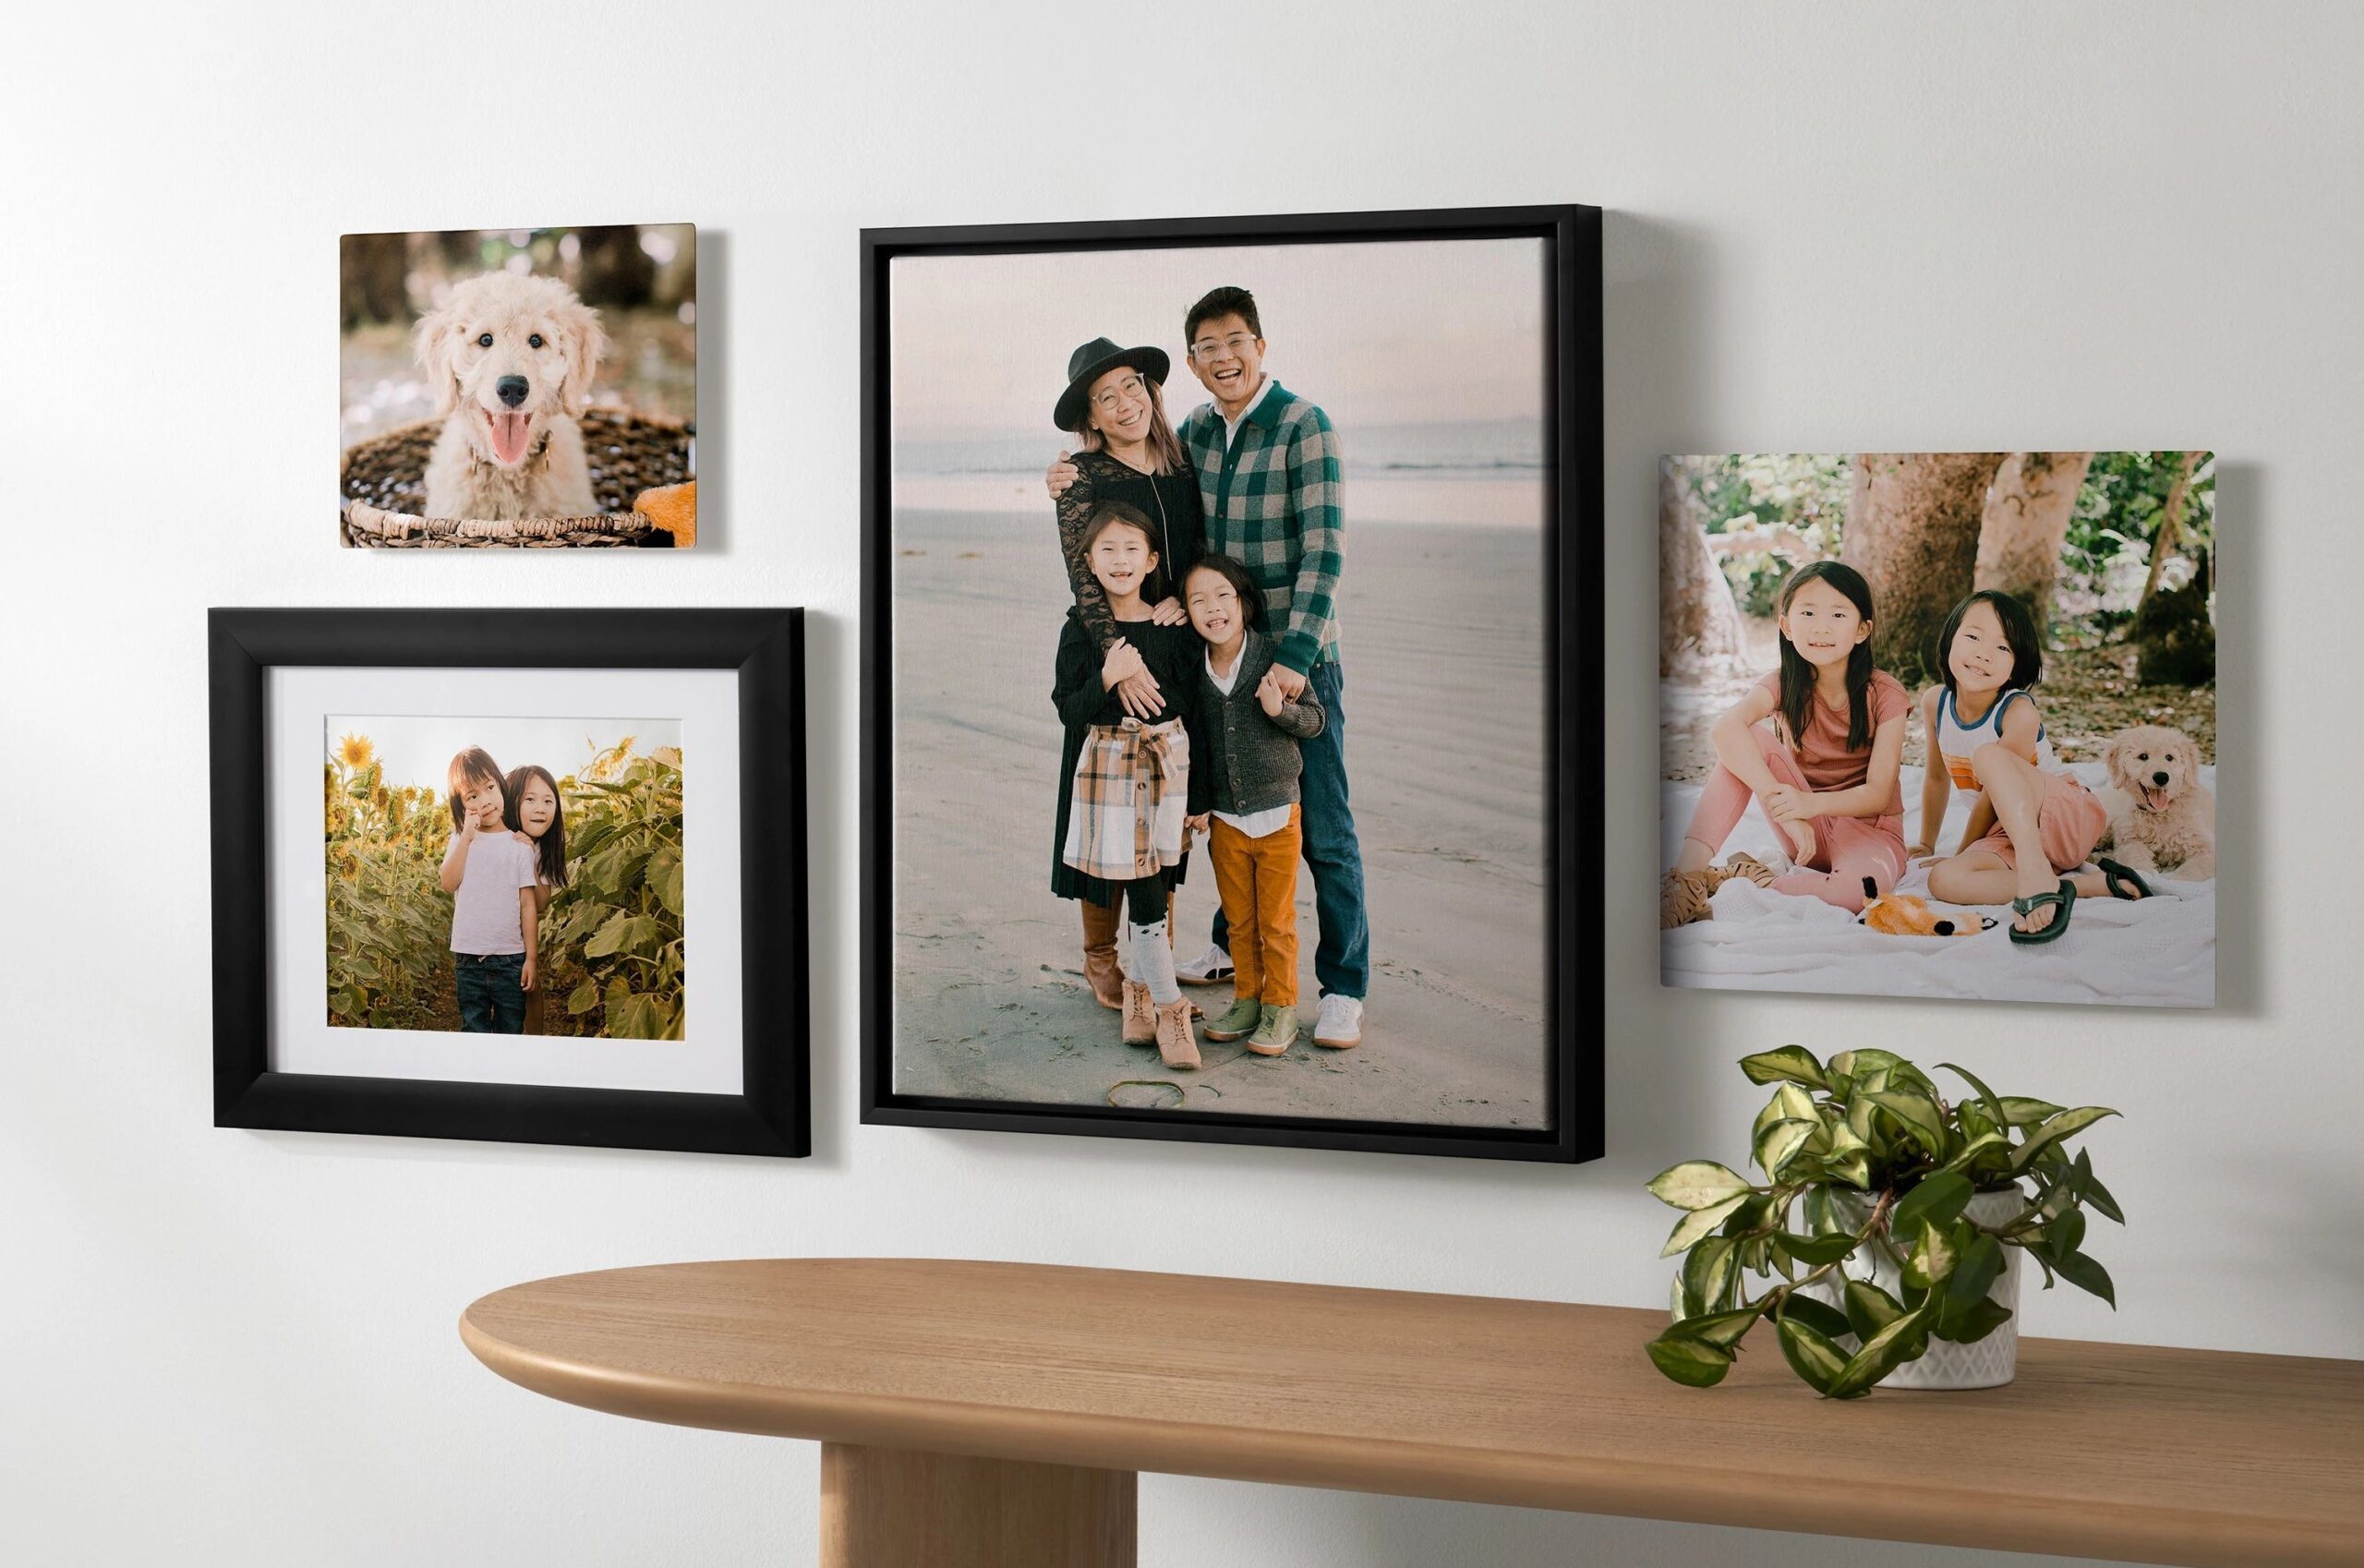
Looking to add a personal touch to your home decor? Turn your favorite photos into stunning wall art with Shutterfly’s easy-to-use design tools. Choose from a variety of formats, including canvas prints, metal prints, and framed prints, to create a custom piece that reflects your unique style and personality. With Shutterfly, transforming your photos into beautiful works of art has never been easier.
Related Resources on Printing Photos Online
With Shutterfly’s user-friendly platform and wide range of printing options, ordering pictures online is a breeze. Whether you’re printing photos for your home, creating gifts for loved ones, or preserving memories for a lifetime, Shutterfly has everything you need to bring your digital memories to life in print. Start exploring our selection of print sizes, pickup options, and wall art designs today, and make every moment count with Shutterfly.
Additional Prints Resources: