


There’s nothing quite like a fresh cup of coffee to start your day. Whether you prefer a quick espresso or a large latte, the size of your mug can make a difference in how you enjoy your drink. Coffee mugs come in a range of sizes, each designed for different beverages and routines.
This guide breaks down common coffee mug sizes and how they’re typically used, so you can choose the right option for your drink of choice while understanding what to expect across different styles.
Shutterfly Mug Sizes at a Glance

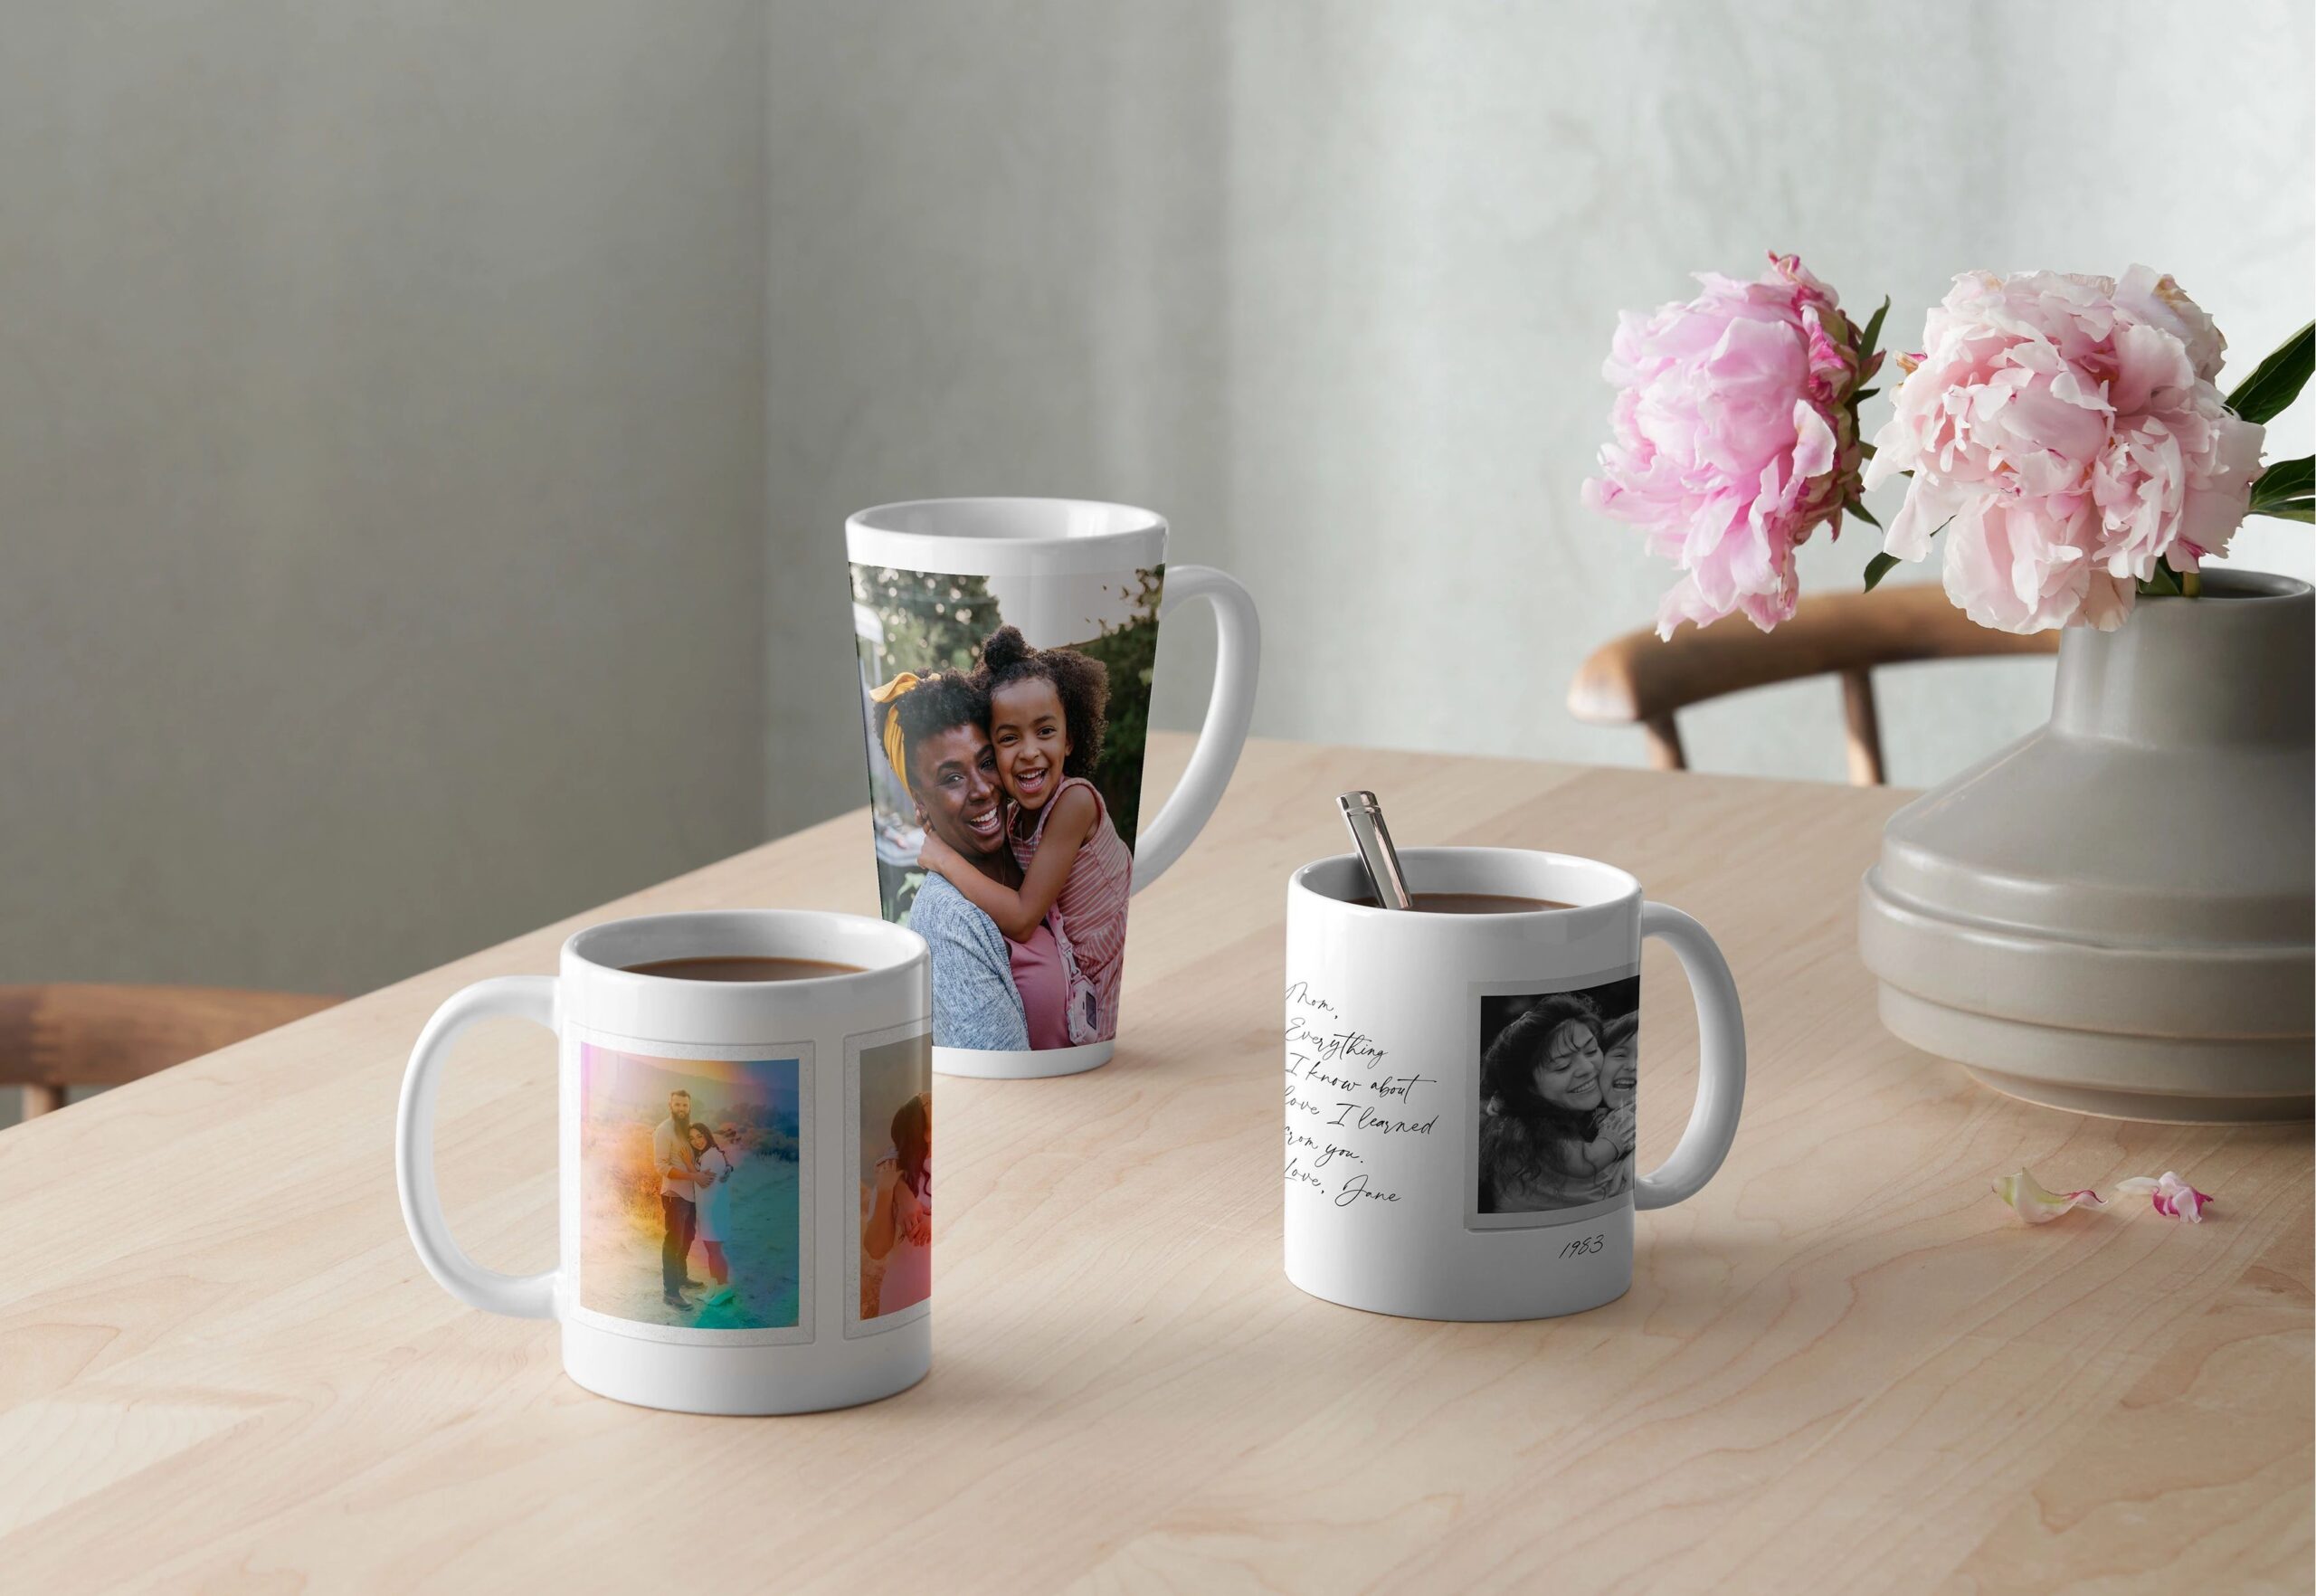
At Shutterfly, you can create custom photo mugs in a few core sizes designed for everyday coffee, tea, or whatever you’re drinking. Whether you want a standard mug or a larger one that holds more, these are the available options:
- 11 oz
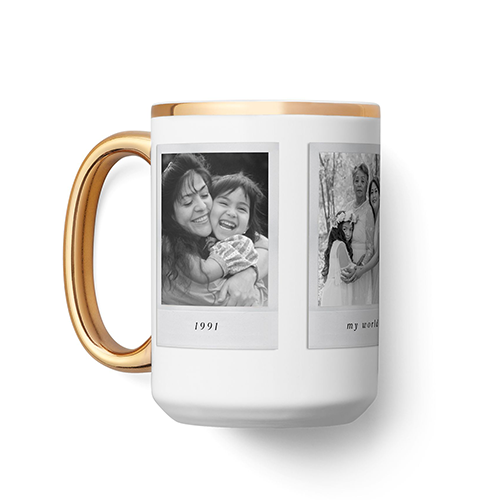
- 15 oz
- 14 oz stackable
- 17 oz tall latte
Coffee Mug Size Guide
To choose the right mug size, start with what you like to drink most. Smaller cups are designed for concentrated coffee, while larger mugs leave room for milk, foam, or simply more coffee.
| Mug Type | Size (Ounces) |
|---|---|
| Espresso | 2–3 oz |
| Cappuccino | 5–6 oz |
| Standard Coffee Mug | 8–12 oz |
| Large Coffee Mug | 12–15 oz |
| Latte Mug | 16–20 oz |
| Oversized Mug | 20–25 oz |
| Travel Mug / Tumbler | 15–20 oz |
Coffee Mug Sizes
Coffee mug sizes generally follow a simple pattern. Smaller cups are used for concentrated drinks, while larger mugs are meant for longer, more casual drinking. As the size increases, so does flexibility, with larger mugs often used for more than just coffee.
Espresso Cups
Espresso cups are the smallest option, typically holding 2 to 3 ounces. They’re designed for short, concentrated shots and help retain heat due to their compact size.
They’re not used for everyday coffee, but they’re the base for drinks like cappuccinos and lattes.
Best for: Espresso shots
Cappuccino Cups
Cappuccino cups usually hold between 5 and 6 ounces, giving enough space for espresso and a small amount of milk and foam. The size keeps the drink balanced without turning it into a full-sized coffee.
Best for: Cappuccinos
Standard Coffee Mugs

Standard coffee mugs range from 8 to 12 ounces and are the most common choice for everyday coffee or tea. This size is practical, easy to handle, and works for a single serving without needing a refill right away.
An 11 oz mug fits into this category and is one of the most widely used sizes.
Best for: Drip coffee, tea, or everyday use
Large Coffee Mugs
Large mugs typically hold between 12 and 15 ounces and give you a bit more room than a standard cup. They’re a natural step up if you want more coffee in one serving without switching to something oversized.
15 oz mugs fall into this range and are a common upgrade from standard sizes.
Best for: Larger servings of coffee or tea
Latte Mug
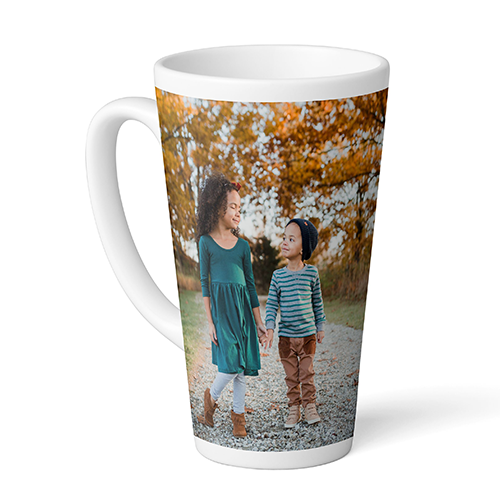
Latte mugs generally range from 16 to 20 ounces and are designed for drinks that take up more space. They’re often taller or wider, giving you more room in a single cup.
A 17 oz mug fits into this range and works well if you want a larger drink without going all the way to an oversized mug.
Best for: Lattes or larger drinks
Oversized Mugs
Oversized mugs hold between 20 and 25 ounces and are meant for people who want a much larger serving. They’re also commonly used for things like soup, oatmeal, or snacks.
Best for: Extra-large servings or multi-purpose use
Travel Mugs and Tumblers
Travel mugs and tumblers typically hold between 15 and 30 ounces and are designed for portability. They’re made to fit in cup holders and help keep drinks at temperature while you’re on the go.
Best for: Coffee on the go
Choosing the Right Coffee Mug Size
The right mug size depends on how much you want to drink at once and how you usually drink it. Smaller cups are better for quick, concentrated coffee, while standard and larger mugs are better for everyday use.
For most people, standard and large mugs cover the majority of use cases, with larger options coming in when you want more in a single cup.
Additional Resources: