


Designing your wedding invitations is one of the most exciting parts of planning your day. This is the first piece of your celebration your guests will actually hold in their hands. It sets the tone, shares the details, and gives everyone a glimpse of what’s to come.
With hundreds of professionally designed templates, multiple paper options, trim shapes, photo layouts, and finishing details, you have real flexibility to create something that feels like you. The process is simple when you move through it in the right order — start with the design, choose how it will feel in hand, then personalize the details.
Here’s how to design wedding invitations step by step.

Step 1: Start With a Template That Matches Your Wedding Style
Every great wedding invitation starts with the right foundation.
Begin by browsing templates and paying attention to the designs that immediately feel like your wedding. Is your celebration classic and formal? Modern and minimal? Romantic and floral? Clean and typography-focused? The template you choose sets the tone for everything that follows.
If you’d like to include an engagement photo, select a photo invitation template from the start. These layouts are designed to showcase an image beautifully while keeping your details clear and balanced. If you prefer something more traditional, a text-forward design keeps the focus on your names and wedding information.
The closer the template feels to your vision upfront, the easier the rest of the process becomes.
Popular styles include:
- Foil Wedding Invitations
- Elegant Wedding Invitations
- Simple Wedding Invitations
- Modern Wedding Invitations
- Floral Wedding Invitations
- Rustic Wedding Invitations
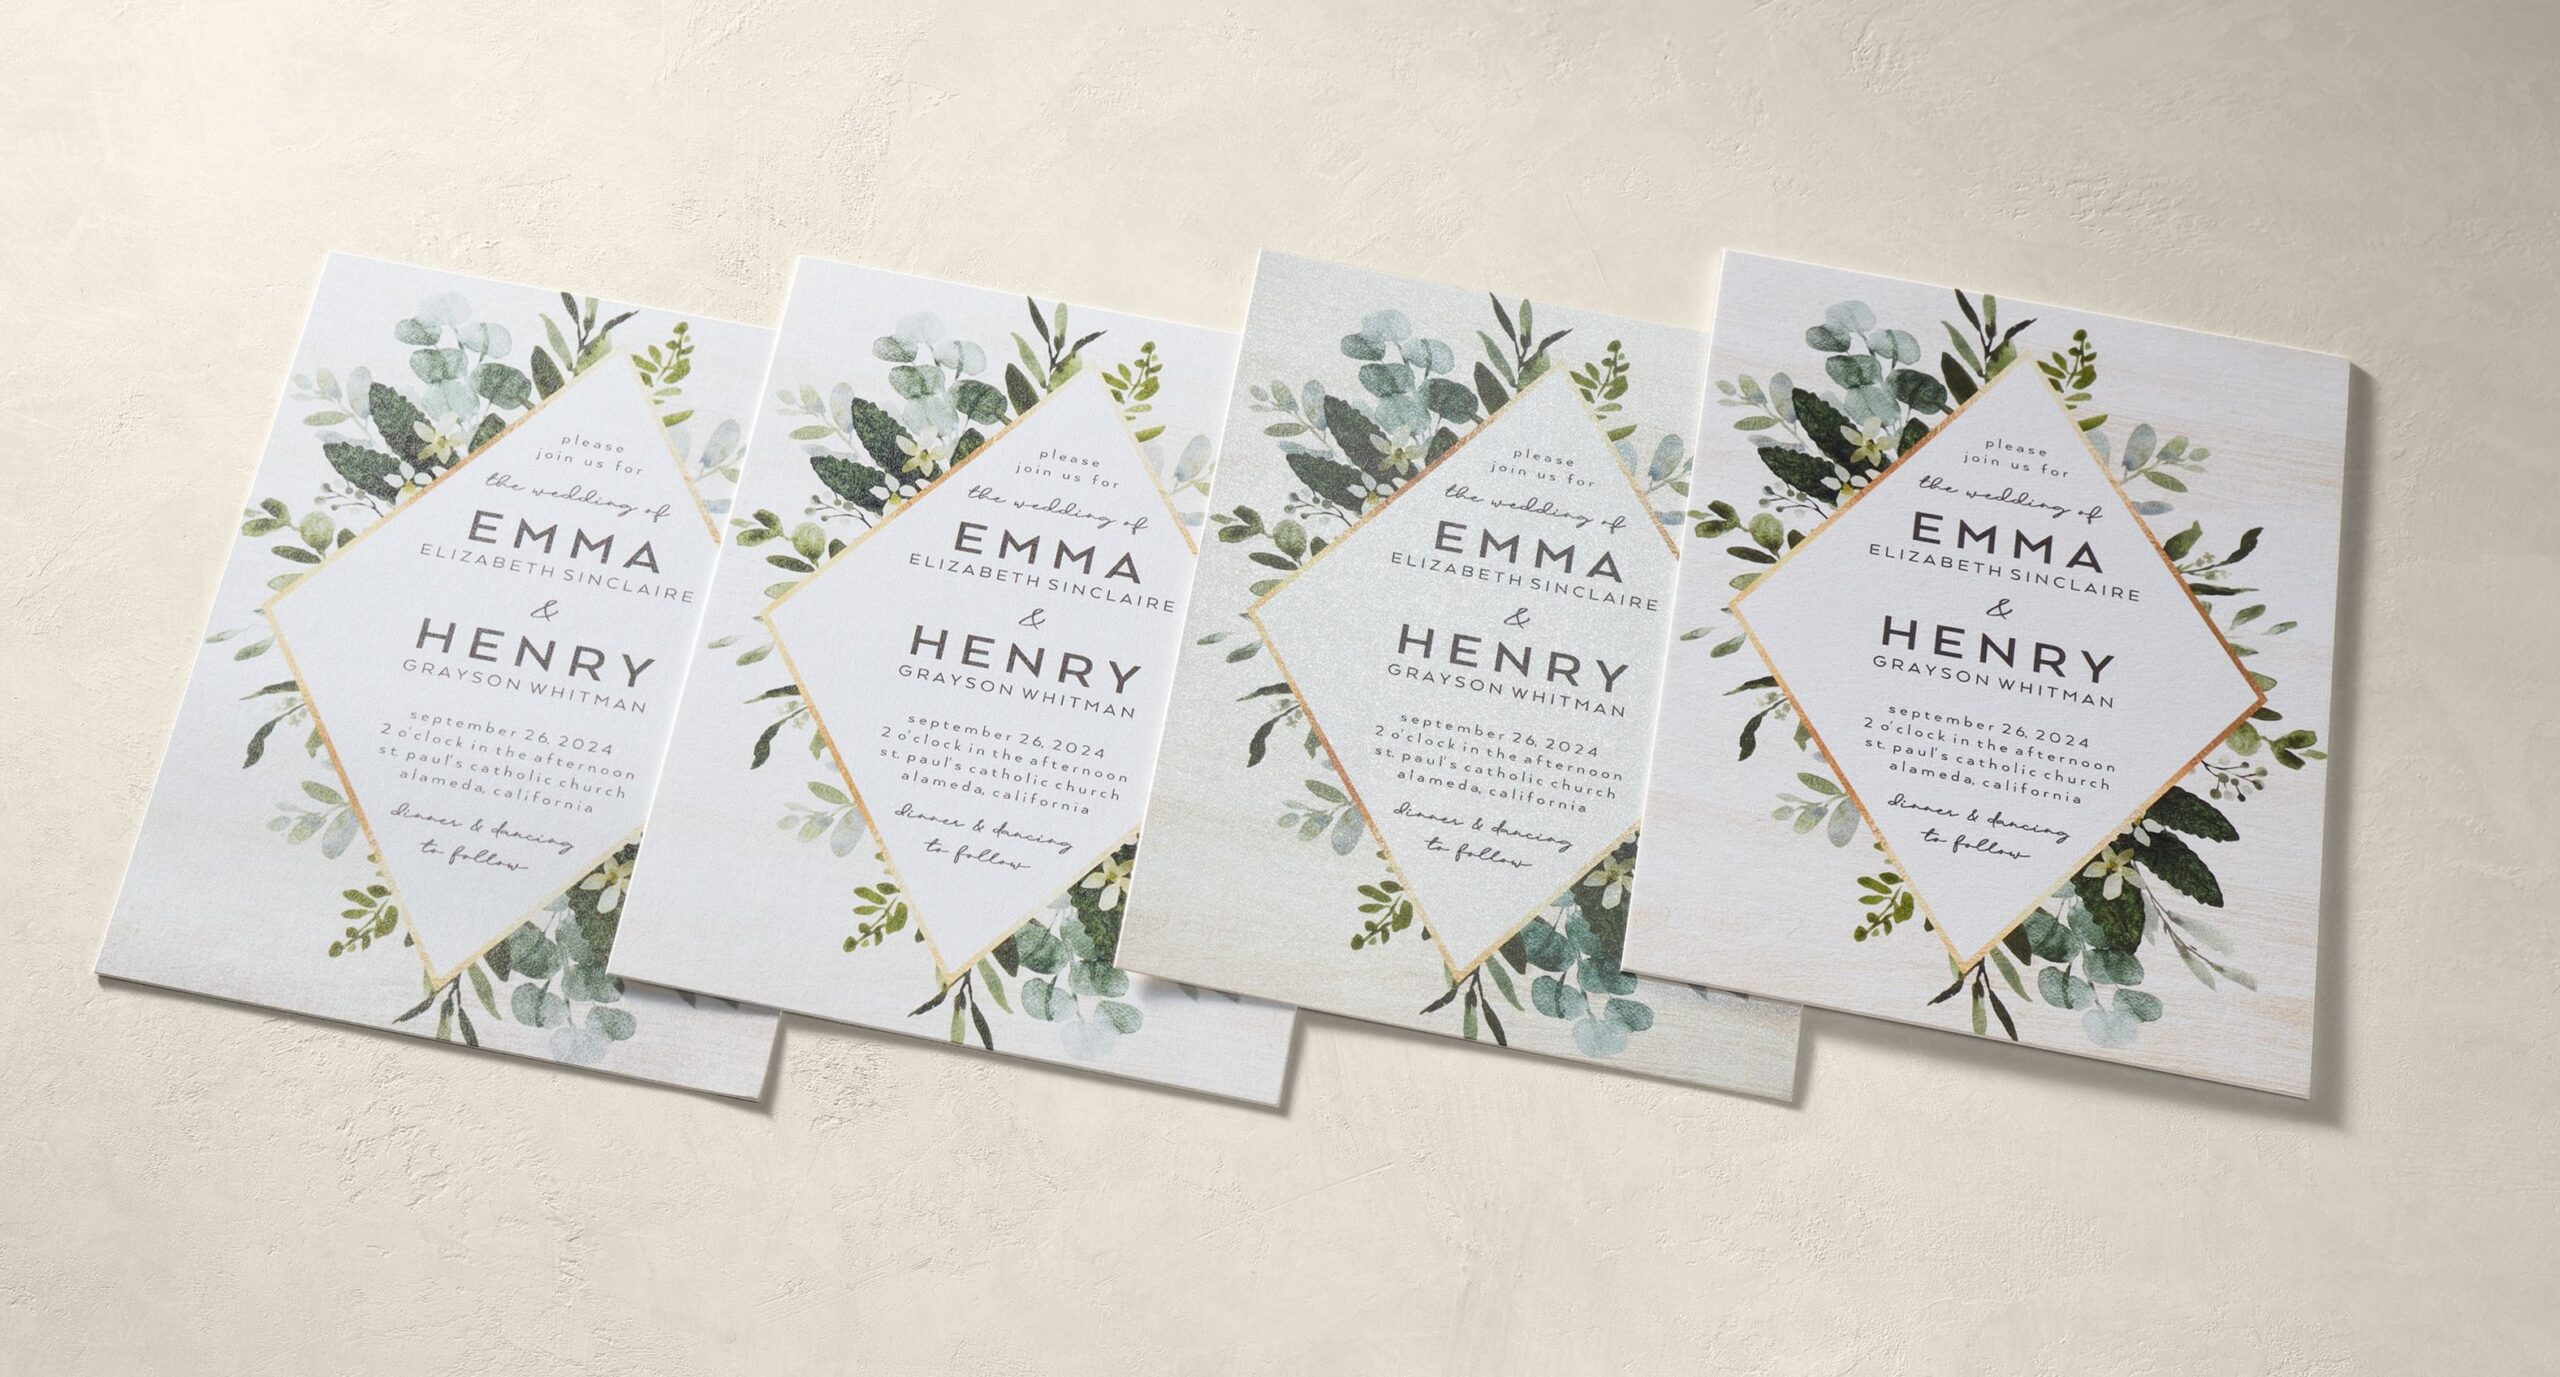
Step 2: Select Your Format, Trim, and Paper
Before entering the customization tool, you’ll choose the physical details that shape how your wedding invitation looks and feels.
Format
The card format affects how your invitation is presented. A flat invitation feels timeless and refined. Folded styles create a layered presentation and can feel especially elegant for formal celebrations. Choose the one that matches the atmosphere you’re creating.
Trim
Trim shapes subtly change the personality of the design.
- Square edges feel classic and polished.
- Rounded corners soften the look.
- Bracket, ticket, or scallop trims add character without overwhelming the layout.
It’s a small detail that can make the invitation feel more custom.
Paper
Paper affects the first impression in a big way.
- Smooth matte cardstock creates a clean, versatile finish.
- Thicker signature options add weight and presence.
- Shimmer finishes introduce a soft glow.
- Luxe double-thick paper delivers a substantial, keepsake feel.
- Recycled cardstock offers a refined option with sustainable materials.
If you’re torn between options, ordering a sample is the easiest way to decide with confidence, or check out our guide on Wedding Invitations Paper Types & Finishes Explained.
Step 3: Add Your Wedding Details
Now you move into the designer and make it yours. Start by entering your actual wedding information:
- Names
- Wedding date
- Ceremony time
- Venue name and location
- RSVP details and deadline
- Wedding website (if applicable)
Seeing your real details in place helps you understand how the layout flows. As you add information, keep readability front and center. If something feels crowded, simplify the wording or move extra details to a separate enclosure card instead of shrinking the text too small.
Before moving on, read the entire invitation out loud once. It’s one of the simplest ways to catch missing words or awkward phrasing.
Step 3: Customize the Design
With your wording in place, you can personalize the design further if you’d like.
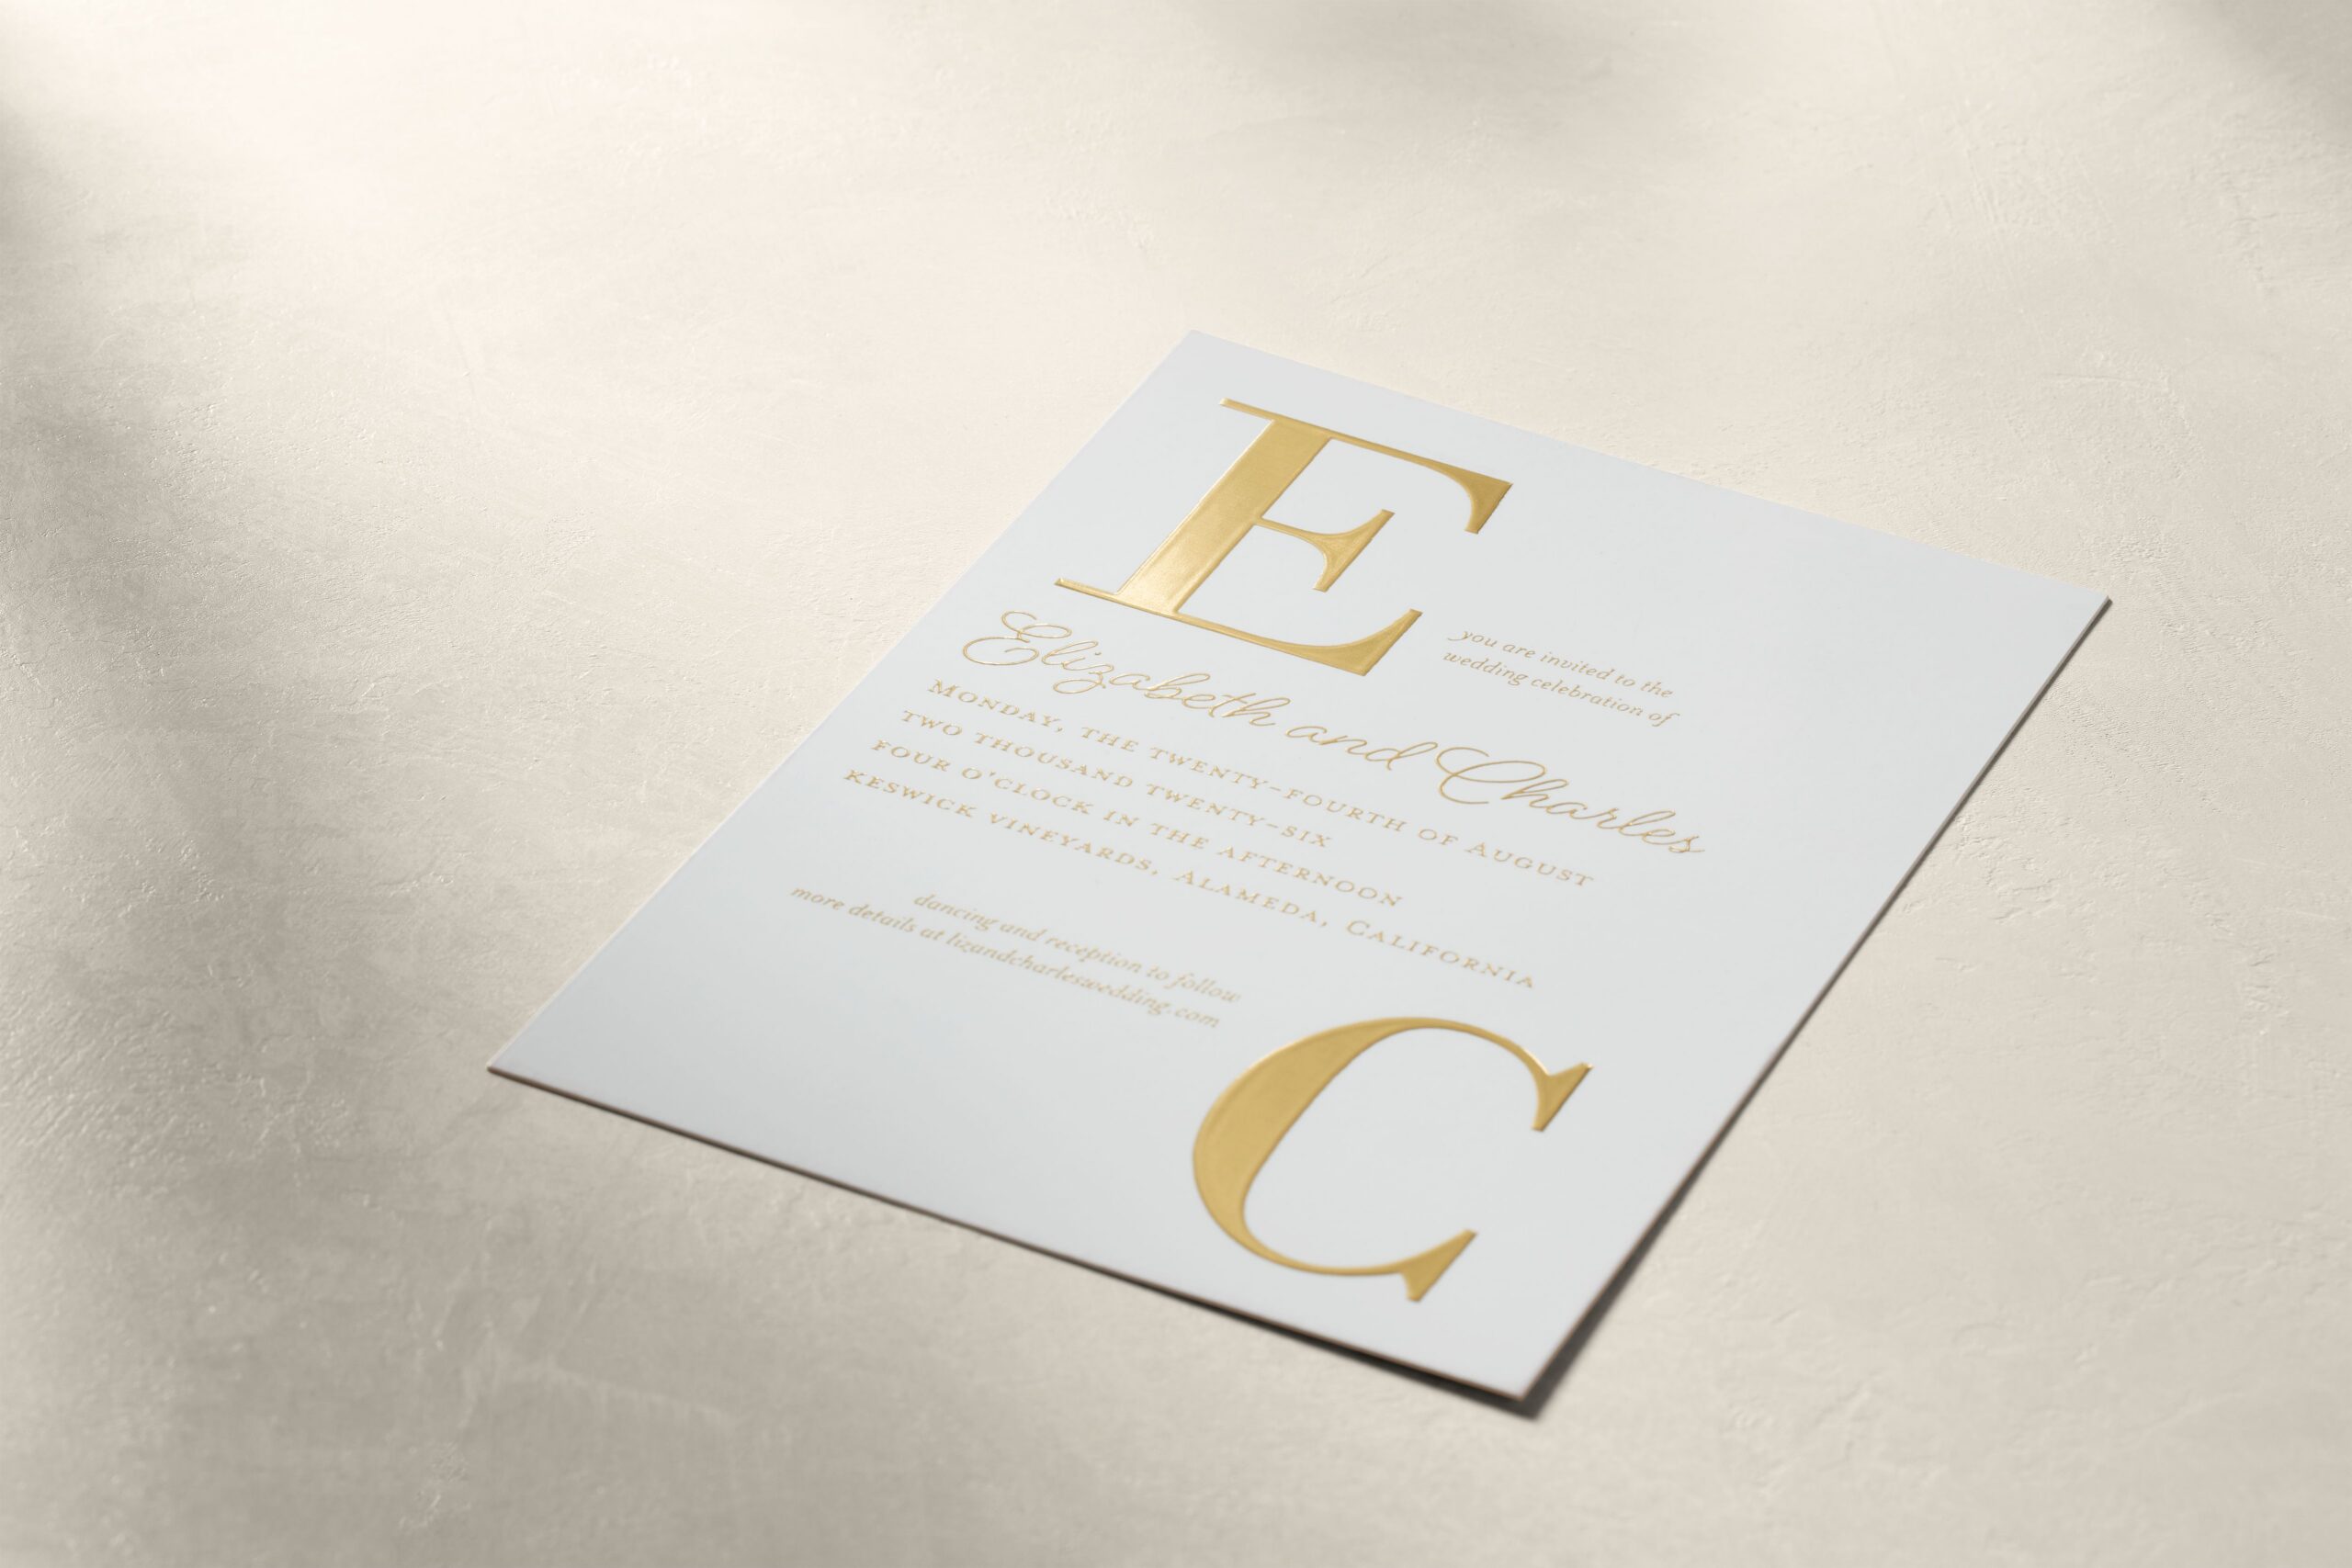
Fonts
Templates are designed with typography that already fits the layout. If you explore other font options, aim for consistency — most invitations look best when they use just one or two complementary styles.
Color
Text colors can be updated to coordinate with your wedding palette. Whatever you choose, make sure key details — especially names and dates — stand out clearly.
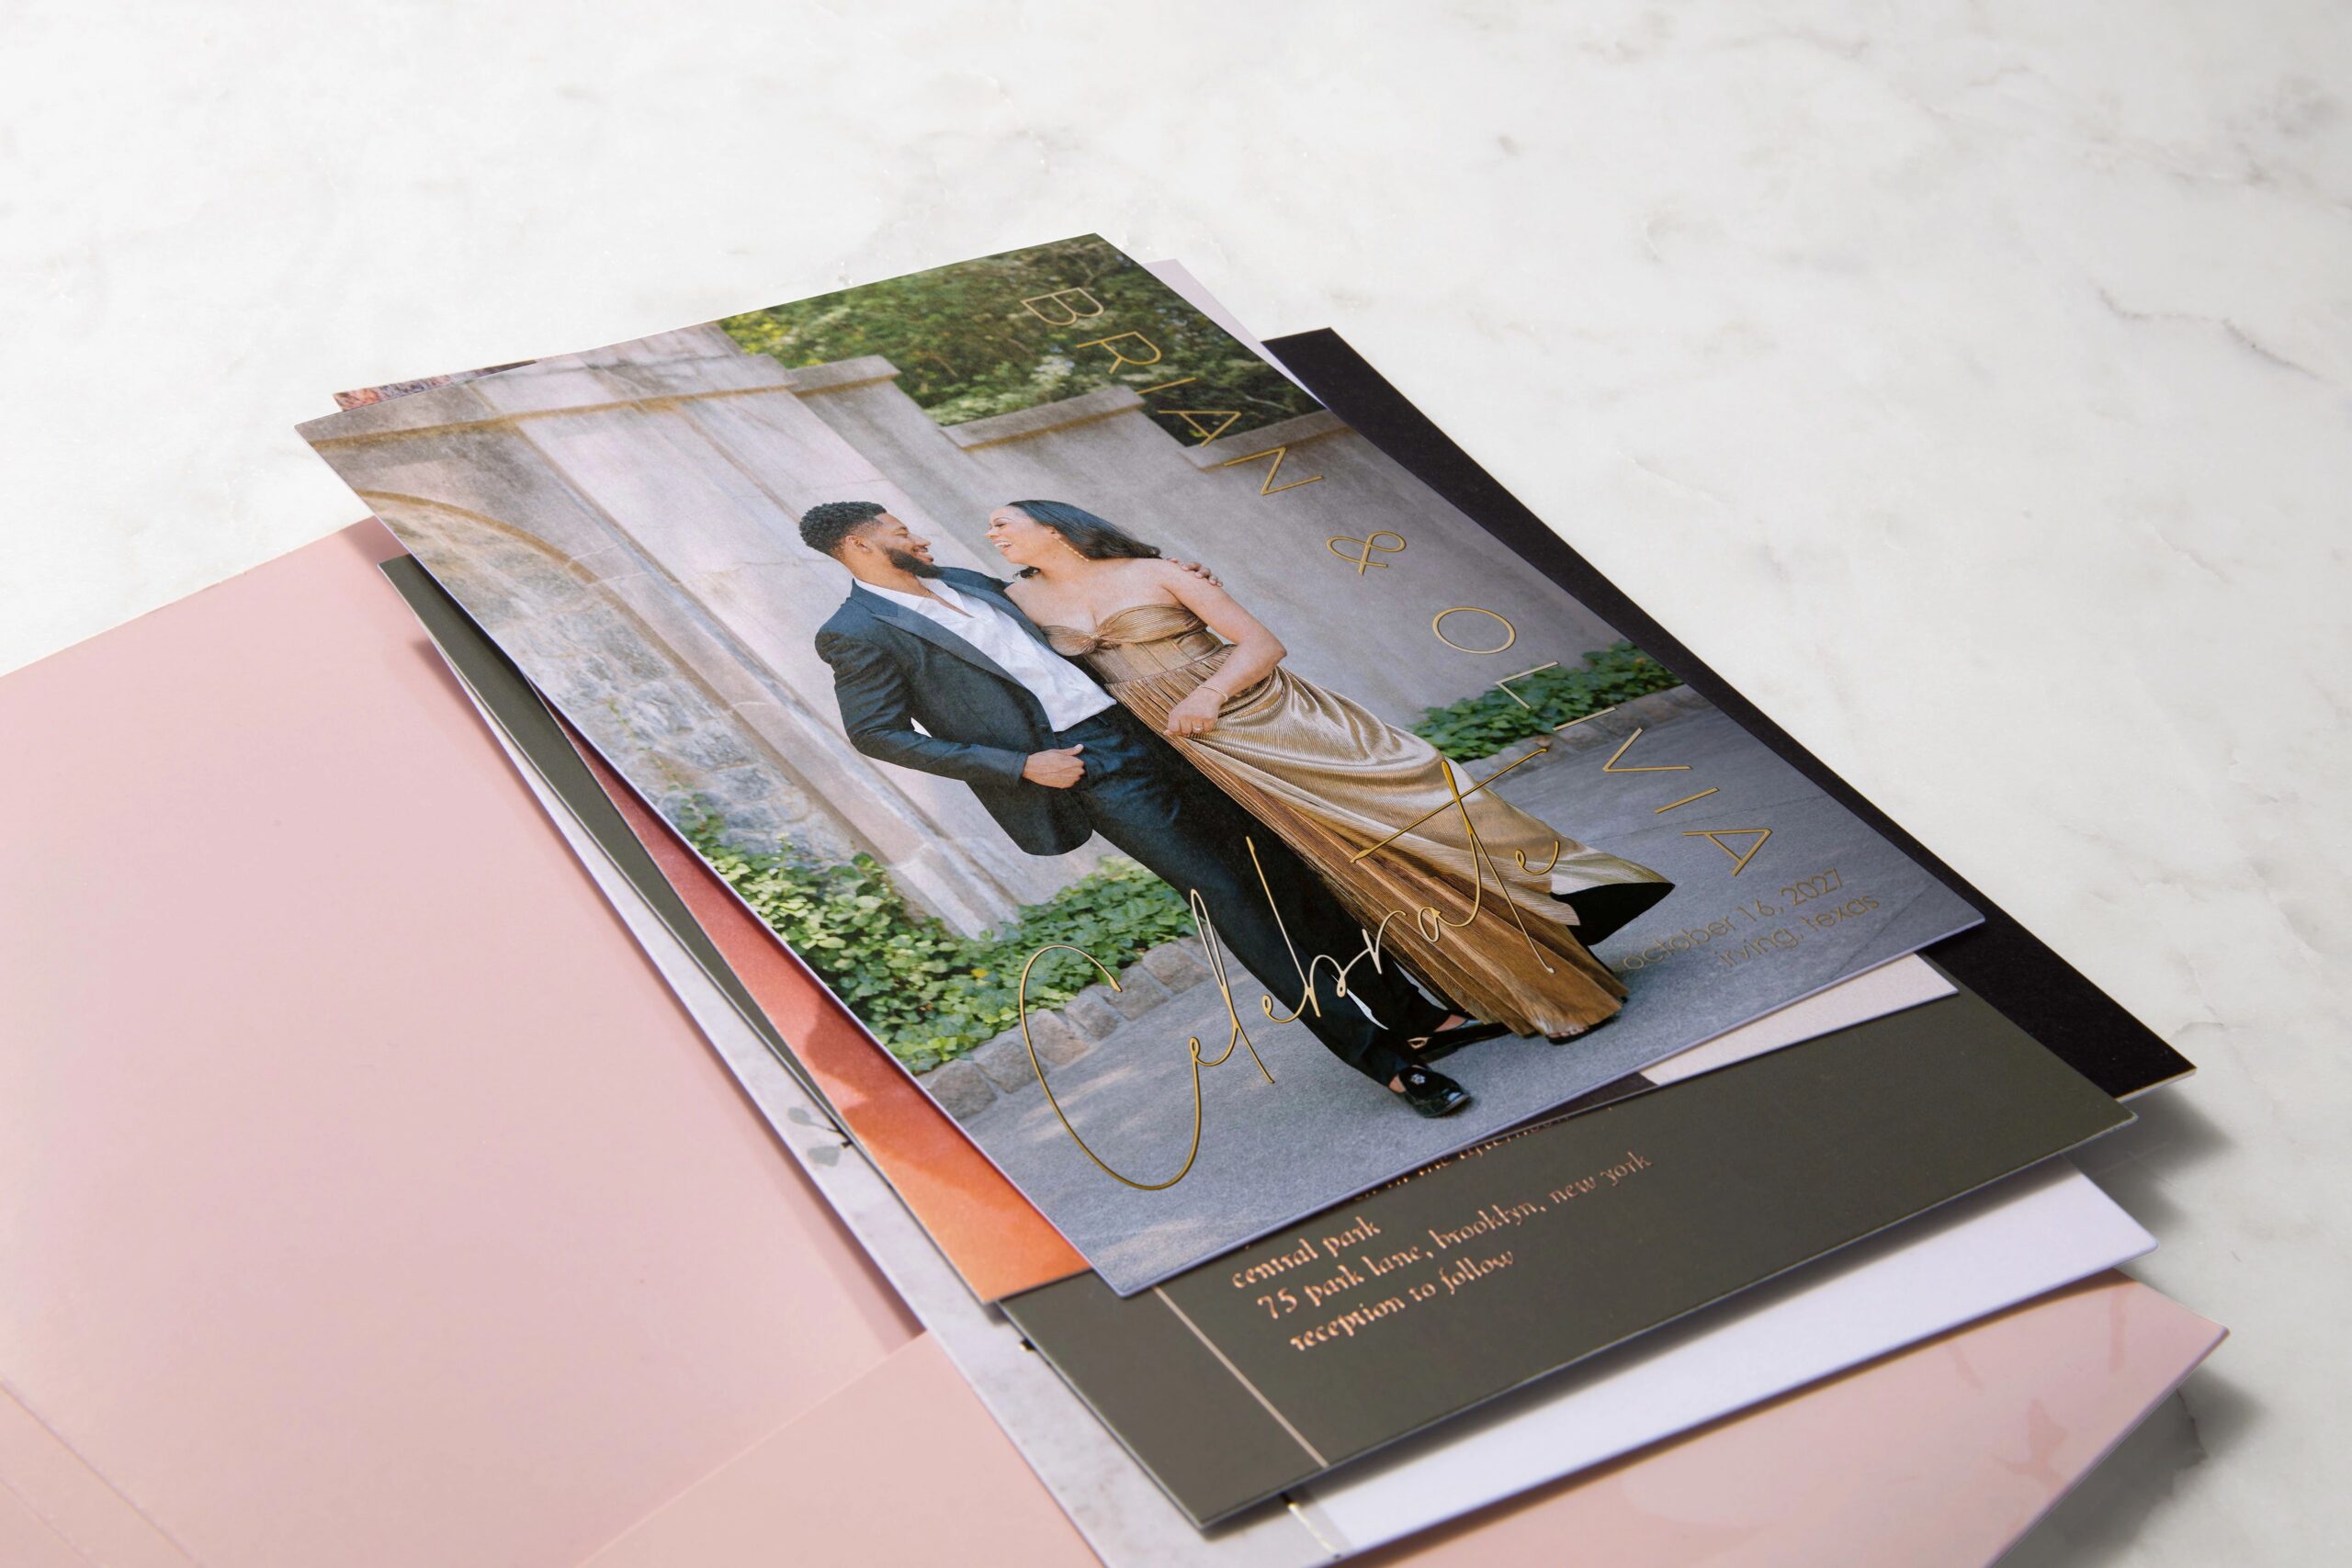
Photo (For Photo Templates)
If you selected a photo invitation template, upload your image here. Choose a clear, high-resolution photo and check the placement carefully. Faces should be centered and text should remain easy to read over the image.
Small adjustments can help the entire layout feel balanced.
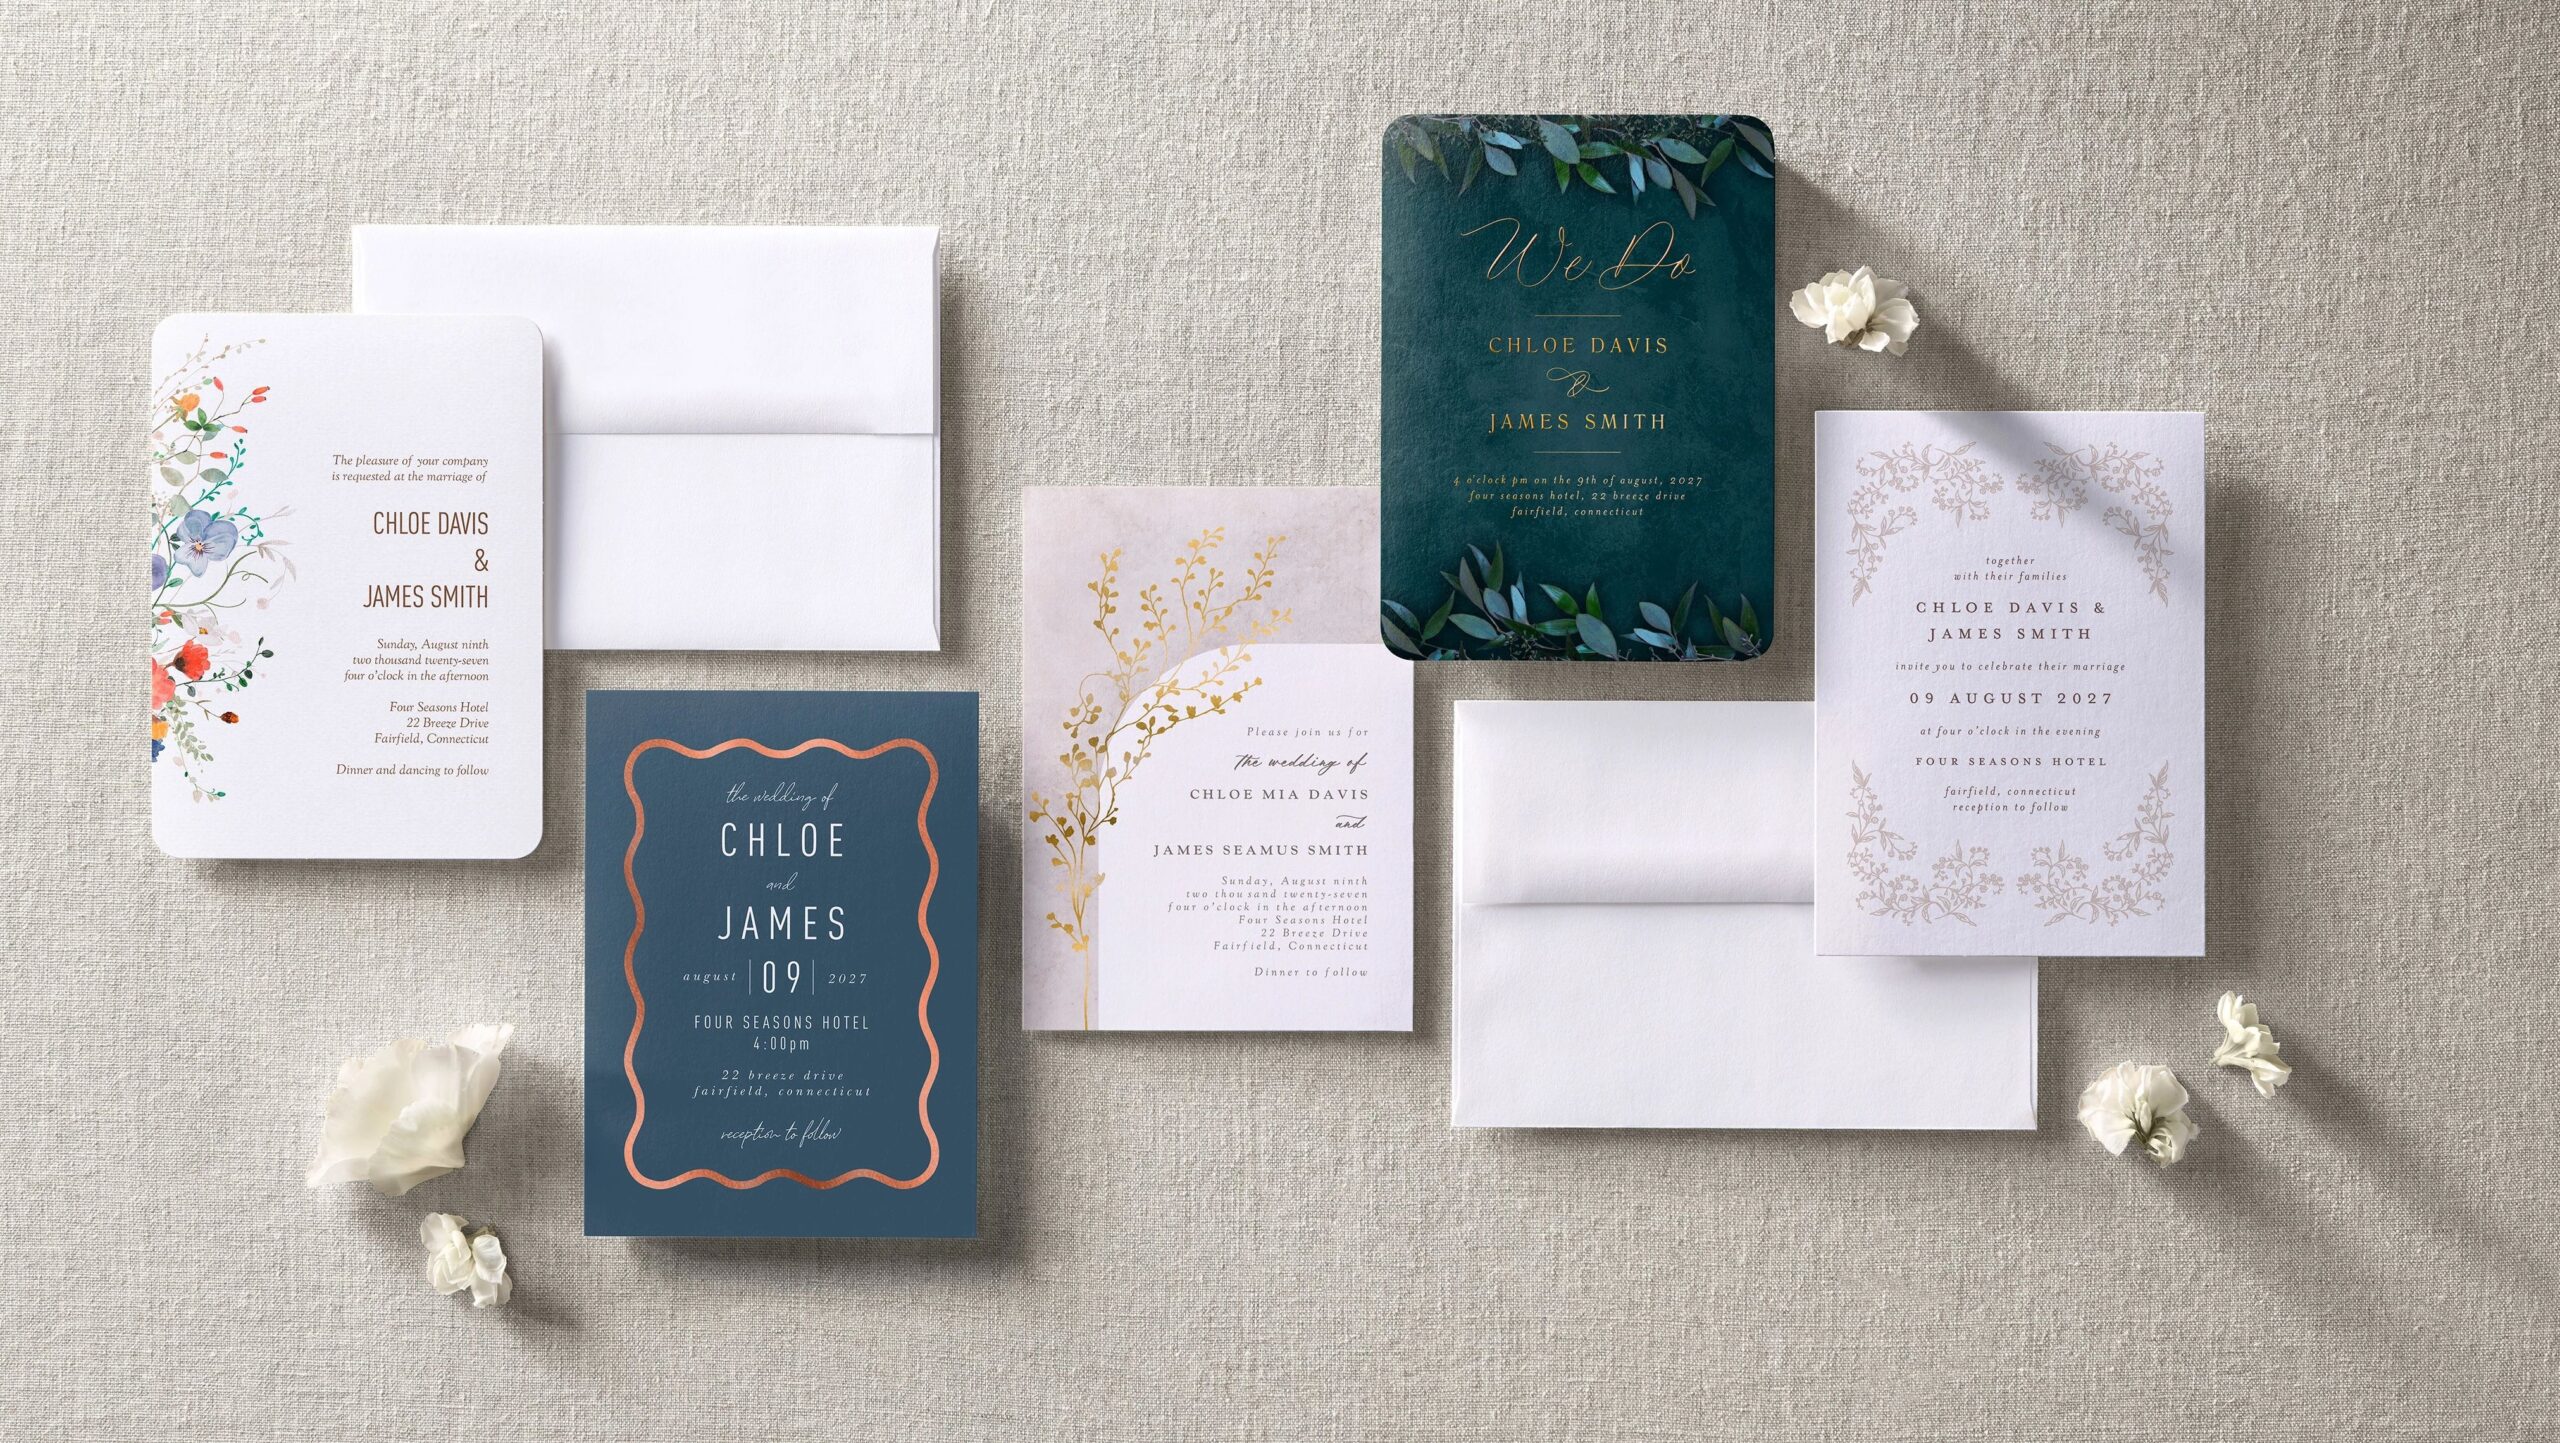
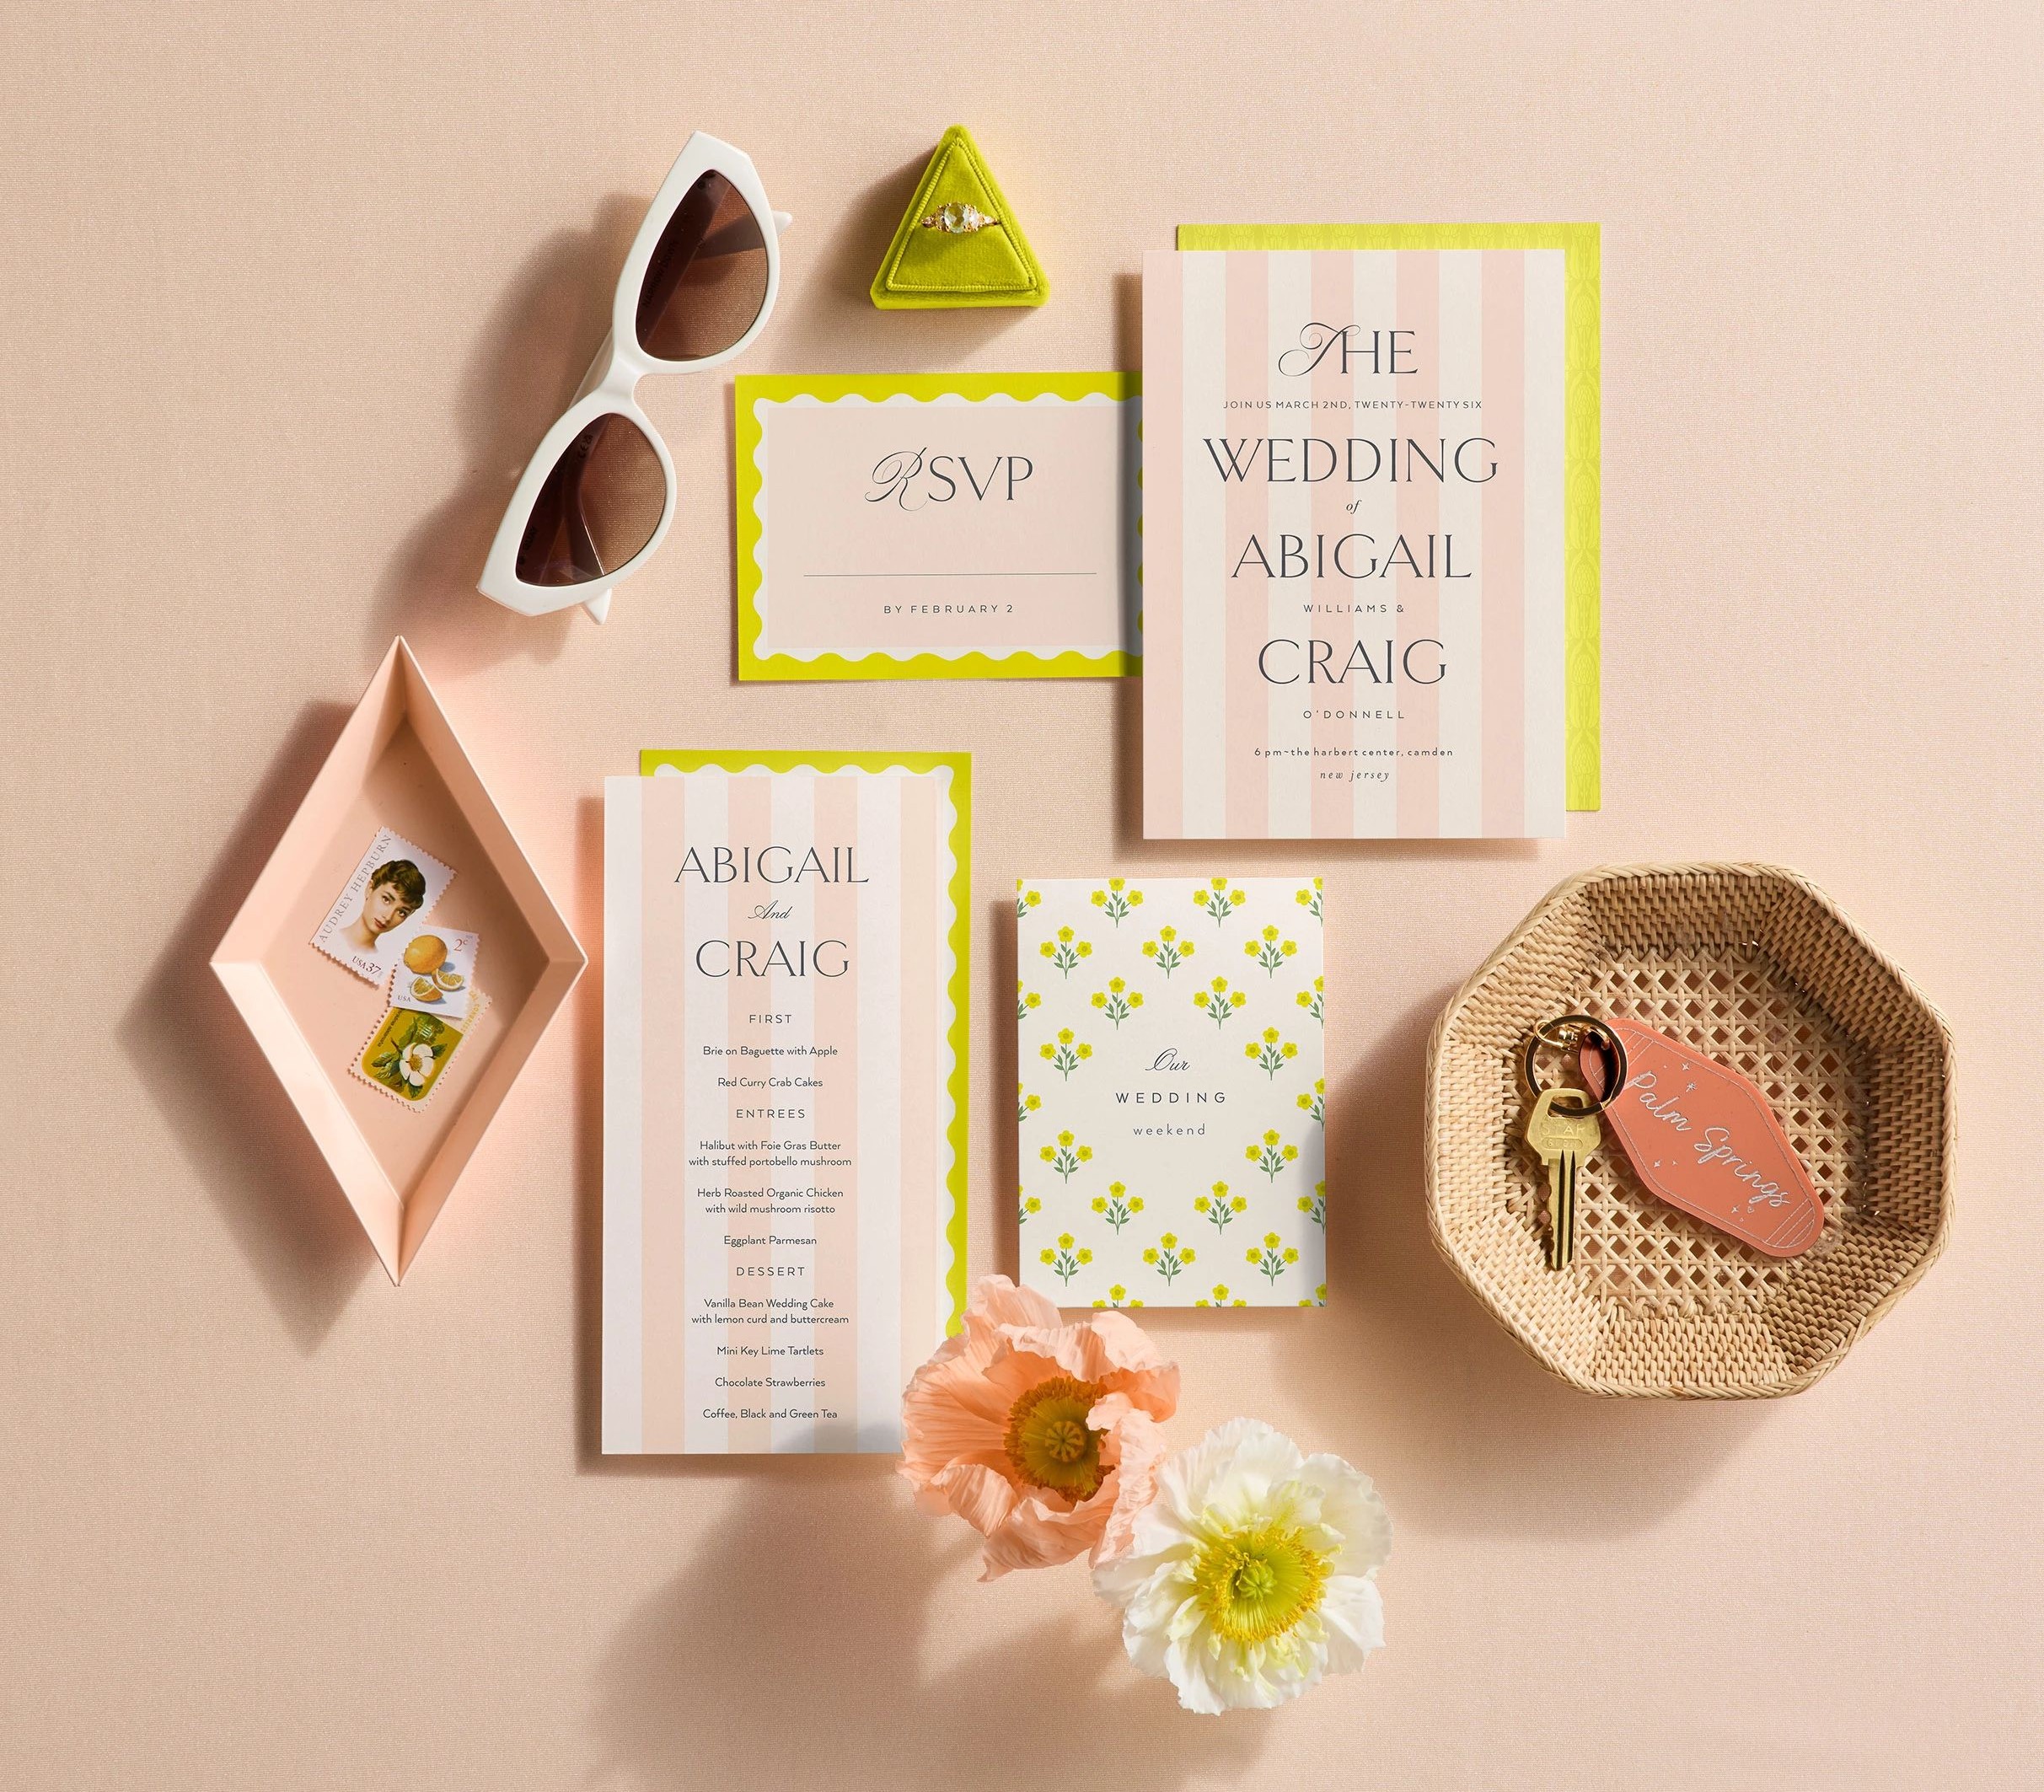
Step 5: Add Coordinating Pieces
If you have additional information to share, consider building a complete wedding invitation suite.
Common enclosure cards include:
- Details card (for dress code, accommodations, parking, or weekend events)
- RSVP card
- Directions or reception information
Keeping each piece focused makes the entire suite feel organized and intentional.
Step 6: Review, Preview, and Order
Before placing your final order, review everything carefully.
- Double-check spelling of names and venues
- Confirm dates and times
- Verify RSVP deadlines
- Review spacing and margins in the preview
If you’d like to see your card in person before committing, take advantage of the available free wedding invitation samples. Seeing the paper and finish firsthand can make your final decision feel confident and easy.
Plan to order 10–15% more invitations than your guest count to allow for last-minute additions and keepsakes.
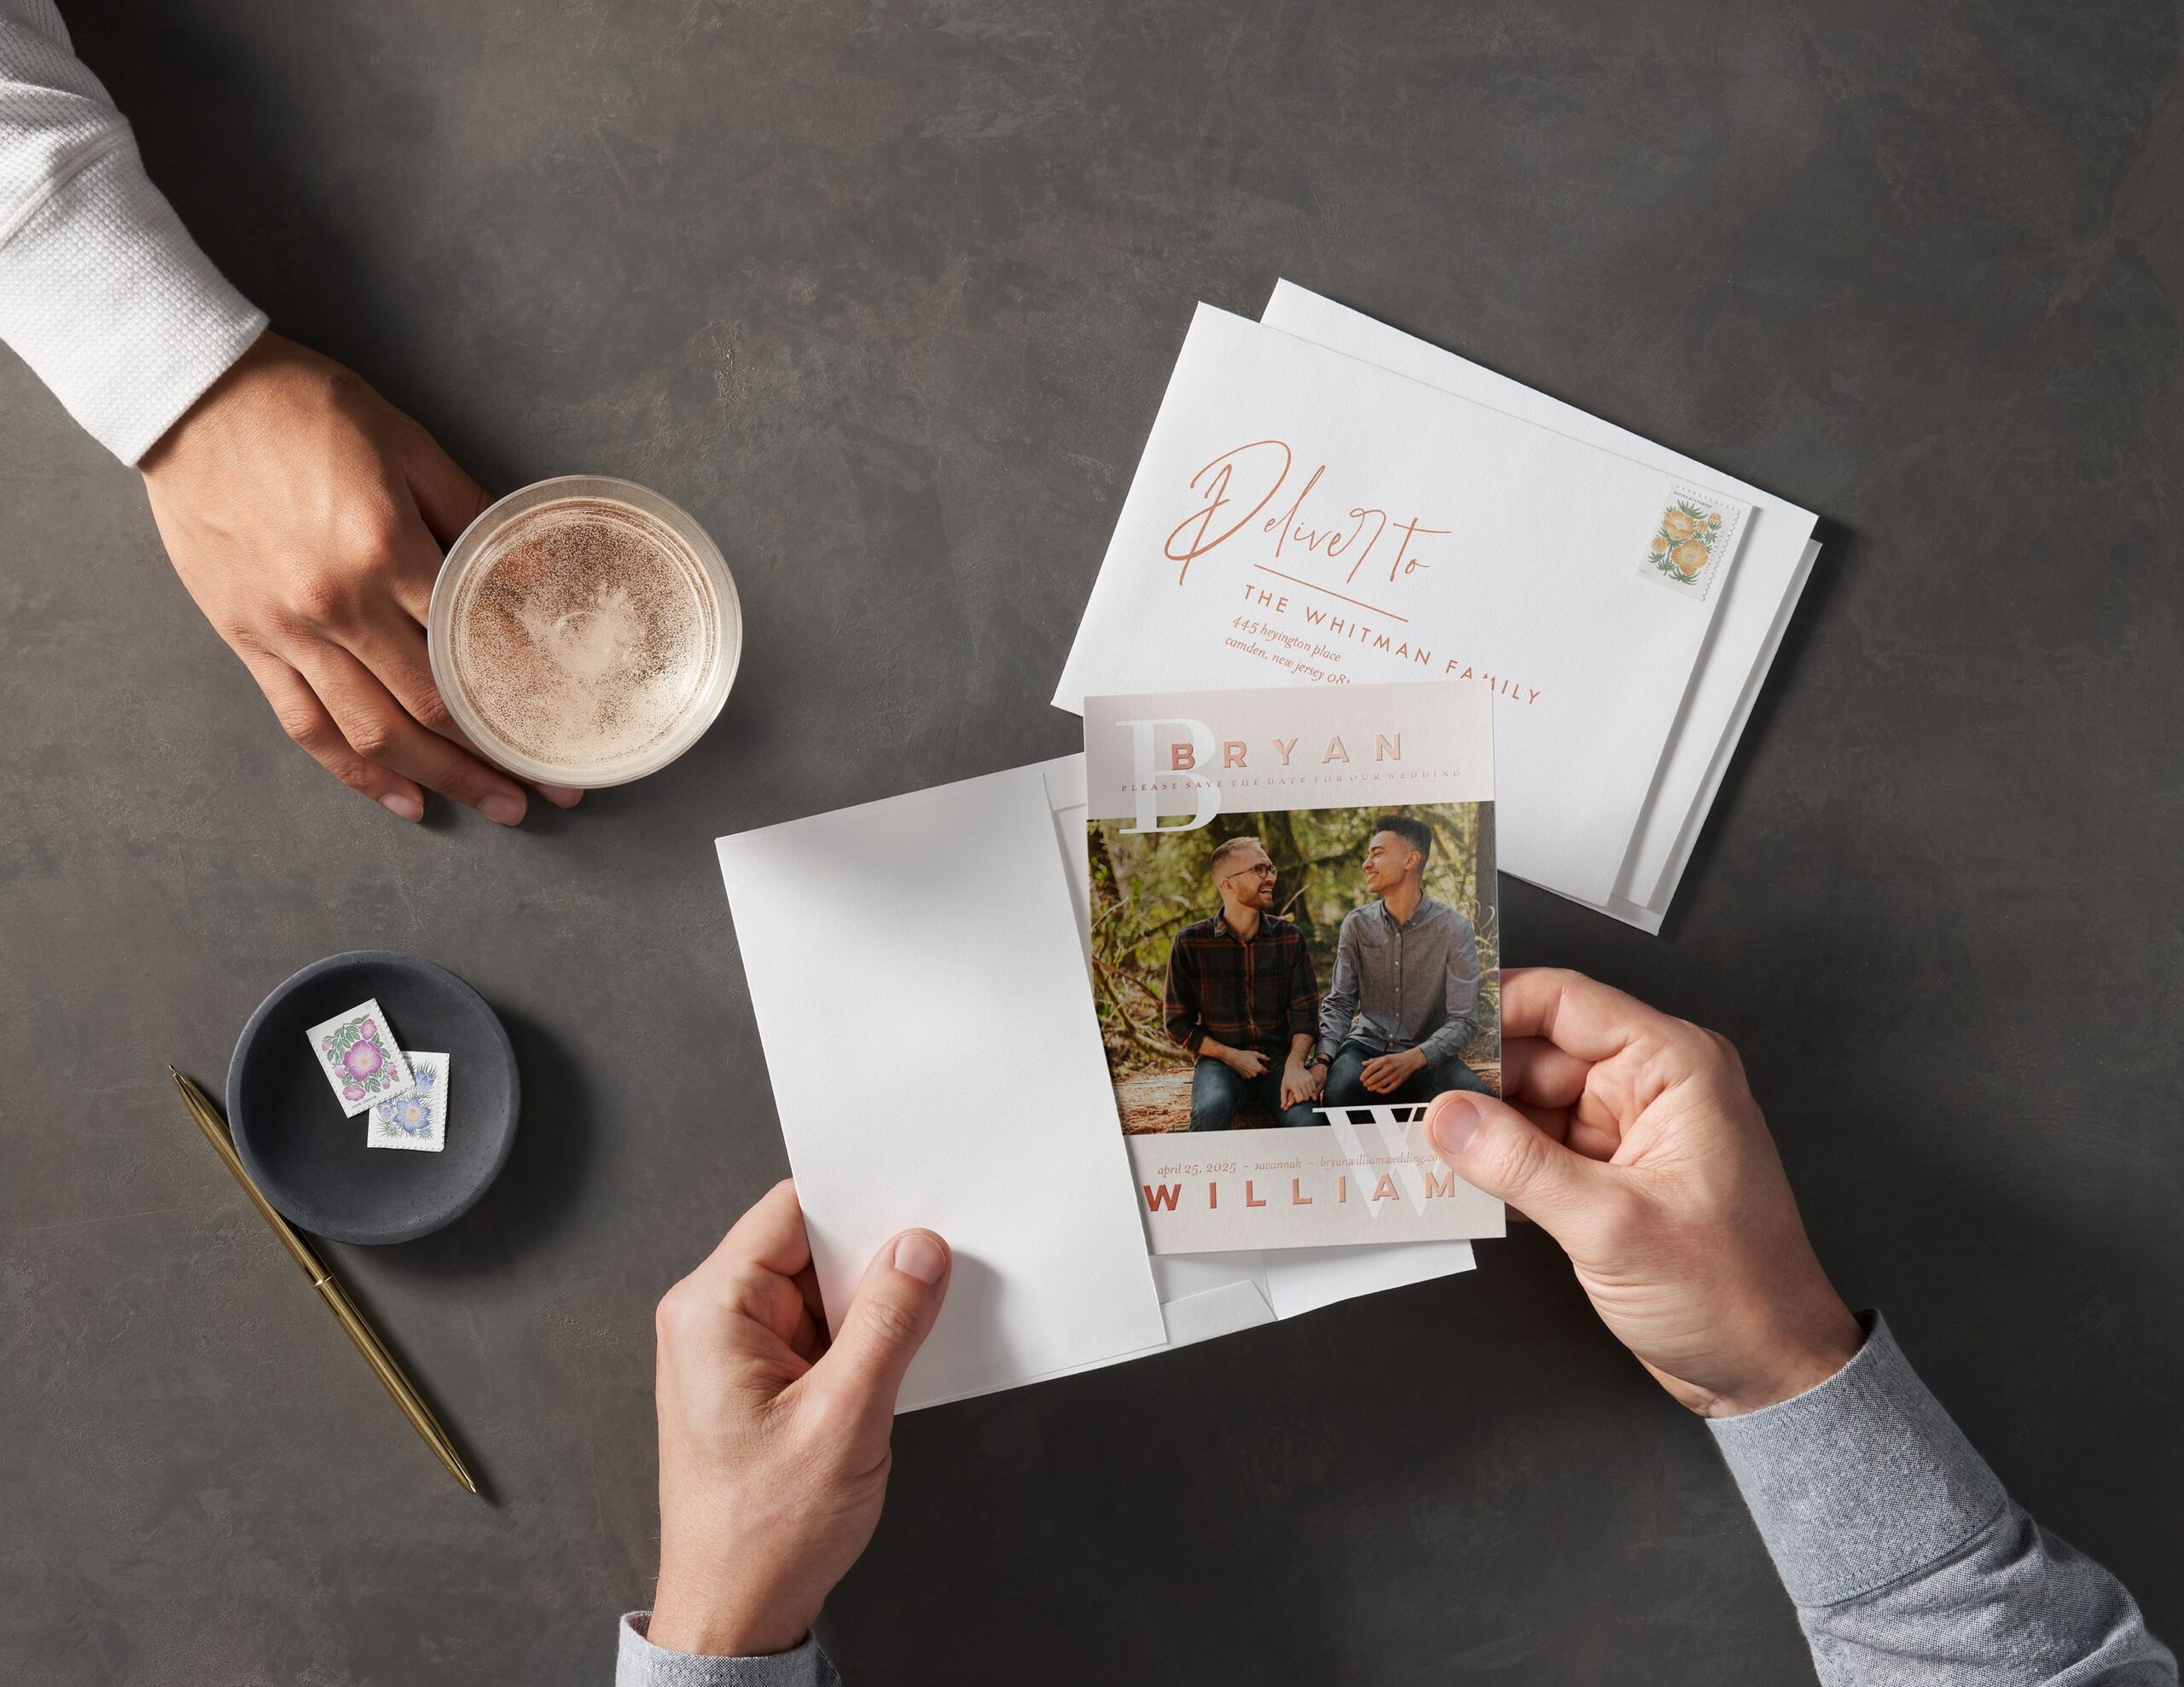
Step 7: Choose Envelopes and Addressing
Envelopes are part of the presentation.
Select an envelope color that complements your design. You can also add liners for an extra finishing touch. Printed recipient addressing creates a clean, cohesive look and saves time when preparing to mail.
When everything works together — invitation, paper, envelope — the entire experience feels complete from the moment it arrives.
Related Resources on How to Create Wedding Invitations
Your wedding invitations aren’t just a checklist item — they’re the first real glimpse of your celebration. Long before guests see the flowers or hear the music, they’ll open that envelope and get a sense of what your day feels like.
When you start with a design you genuinely love and move through each decision thoughtfully, the process becomes less about perfecting every detail and more about choosing what feels right. The result isn’t just a piece of stationery — it’s something that introduces your story in a way that feels clear, beautiful, and unmistakably yours.
Additional Resources:
- Save the Dates vs Wedding Invitations
- What to Include in a Wedding Invitation Suite
- New Wedding Invitation Designs
- 7 Modern Wedding Invitation Trends for 2026
- Your Complete Wedding Stationery Checklist
- Wedding Thank You Card Wording
- Top 12 Wedding Invitation Mistakes to Avoid
- Complete Guide to Wedding Envelopes
- How to Address Wedding Invitations