


Wedding stationery includes all the printed pieces you’ll use before, during, and after your wedding, from save the dates and invitations to programs, menus, seating charts, and thank-you cards. Each piece plays a role in helping guests celebrate with you, stay informed, and remember your day long after it’s over.
Knowing exactly which pieces you need, when to send them, and how many to order can feel overwhelming without a clear plan. That’s where this guide comes in.
This guide walks you through every piece of wedding stationery you’ll need, organized into three simple phases: pre-wedding planning, ceremony and reception, and post-wedding. For each item, you’ll find what it is, when to send or display it, and how many to order. Whether you’re planning an intimate backyard gathering or a 300-guest ballroom celebration, think of this as your go-to wedding stationery checklist from your first save the date to your final thank-you card.
Your Wedding Stationery Timeline at a Glance
| Phase | What Happens | When |
|---|---|---|
| Pre-Wedding Planning | Save the dates go out | 12 to 8 months before |
| Pre-Wedding Planning | Invitations, RSVP cards, and enclosure cards go out | 8 to 6 weeks before |
| Pre-Wedding Planning | Rehearsal dinner invitations go out | 6 to 4 weeks before |
| Ceremony & Reception | Programs, menus, place cards, table numbers, and seating charts are finalized and printed | 2 to 4 weeks before |
| Ceremony & Reception | Everything is displayed for your guests | Wedding day |
| Post-Wedding | Thank you cards and wedding announcements go out | Within 3 months after |
Pre-Wedding Planning Stationery
This is everything your guests receive in the mail before your wedding day. These pieces help guests stay informed, organized, and excited for your celebration.
Save the Dates
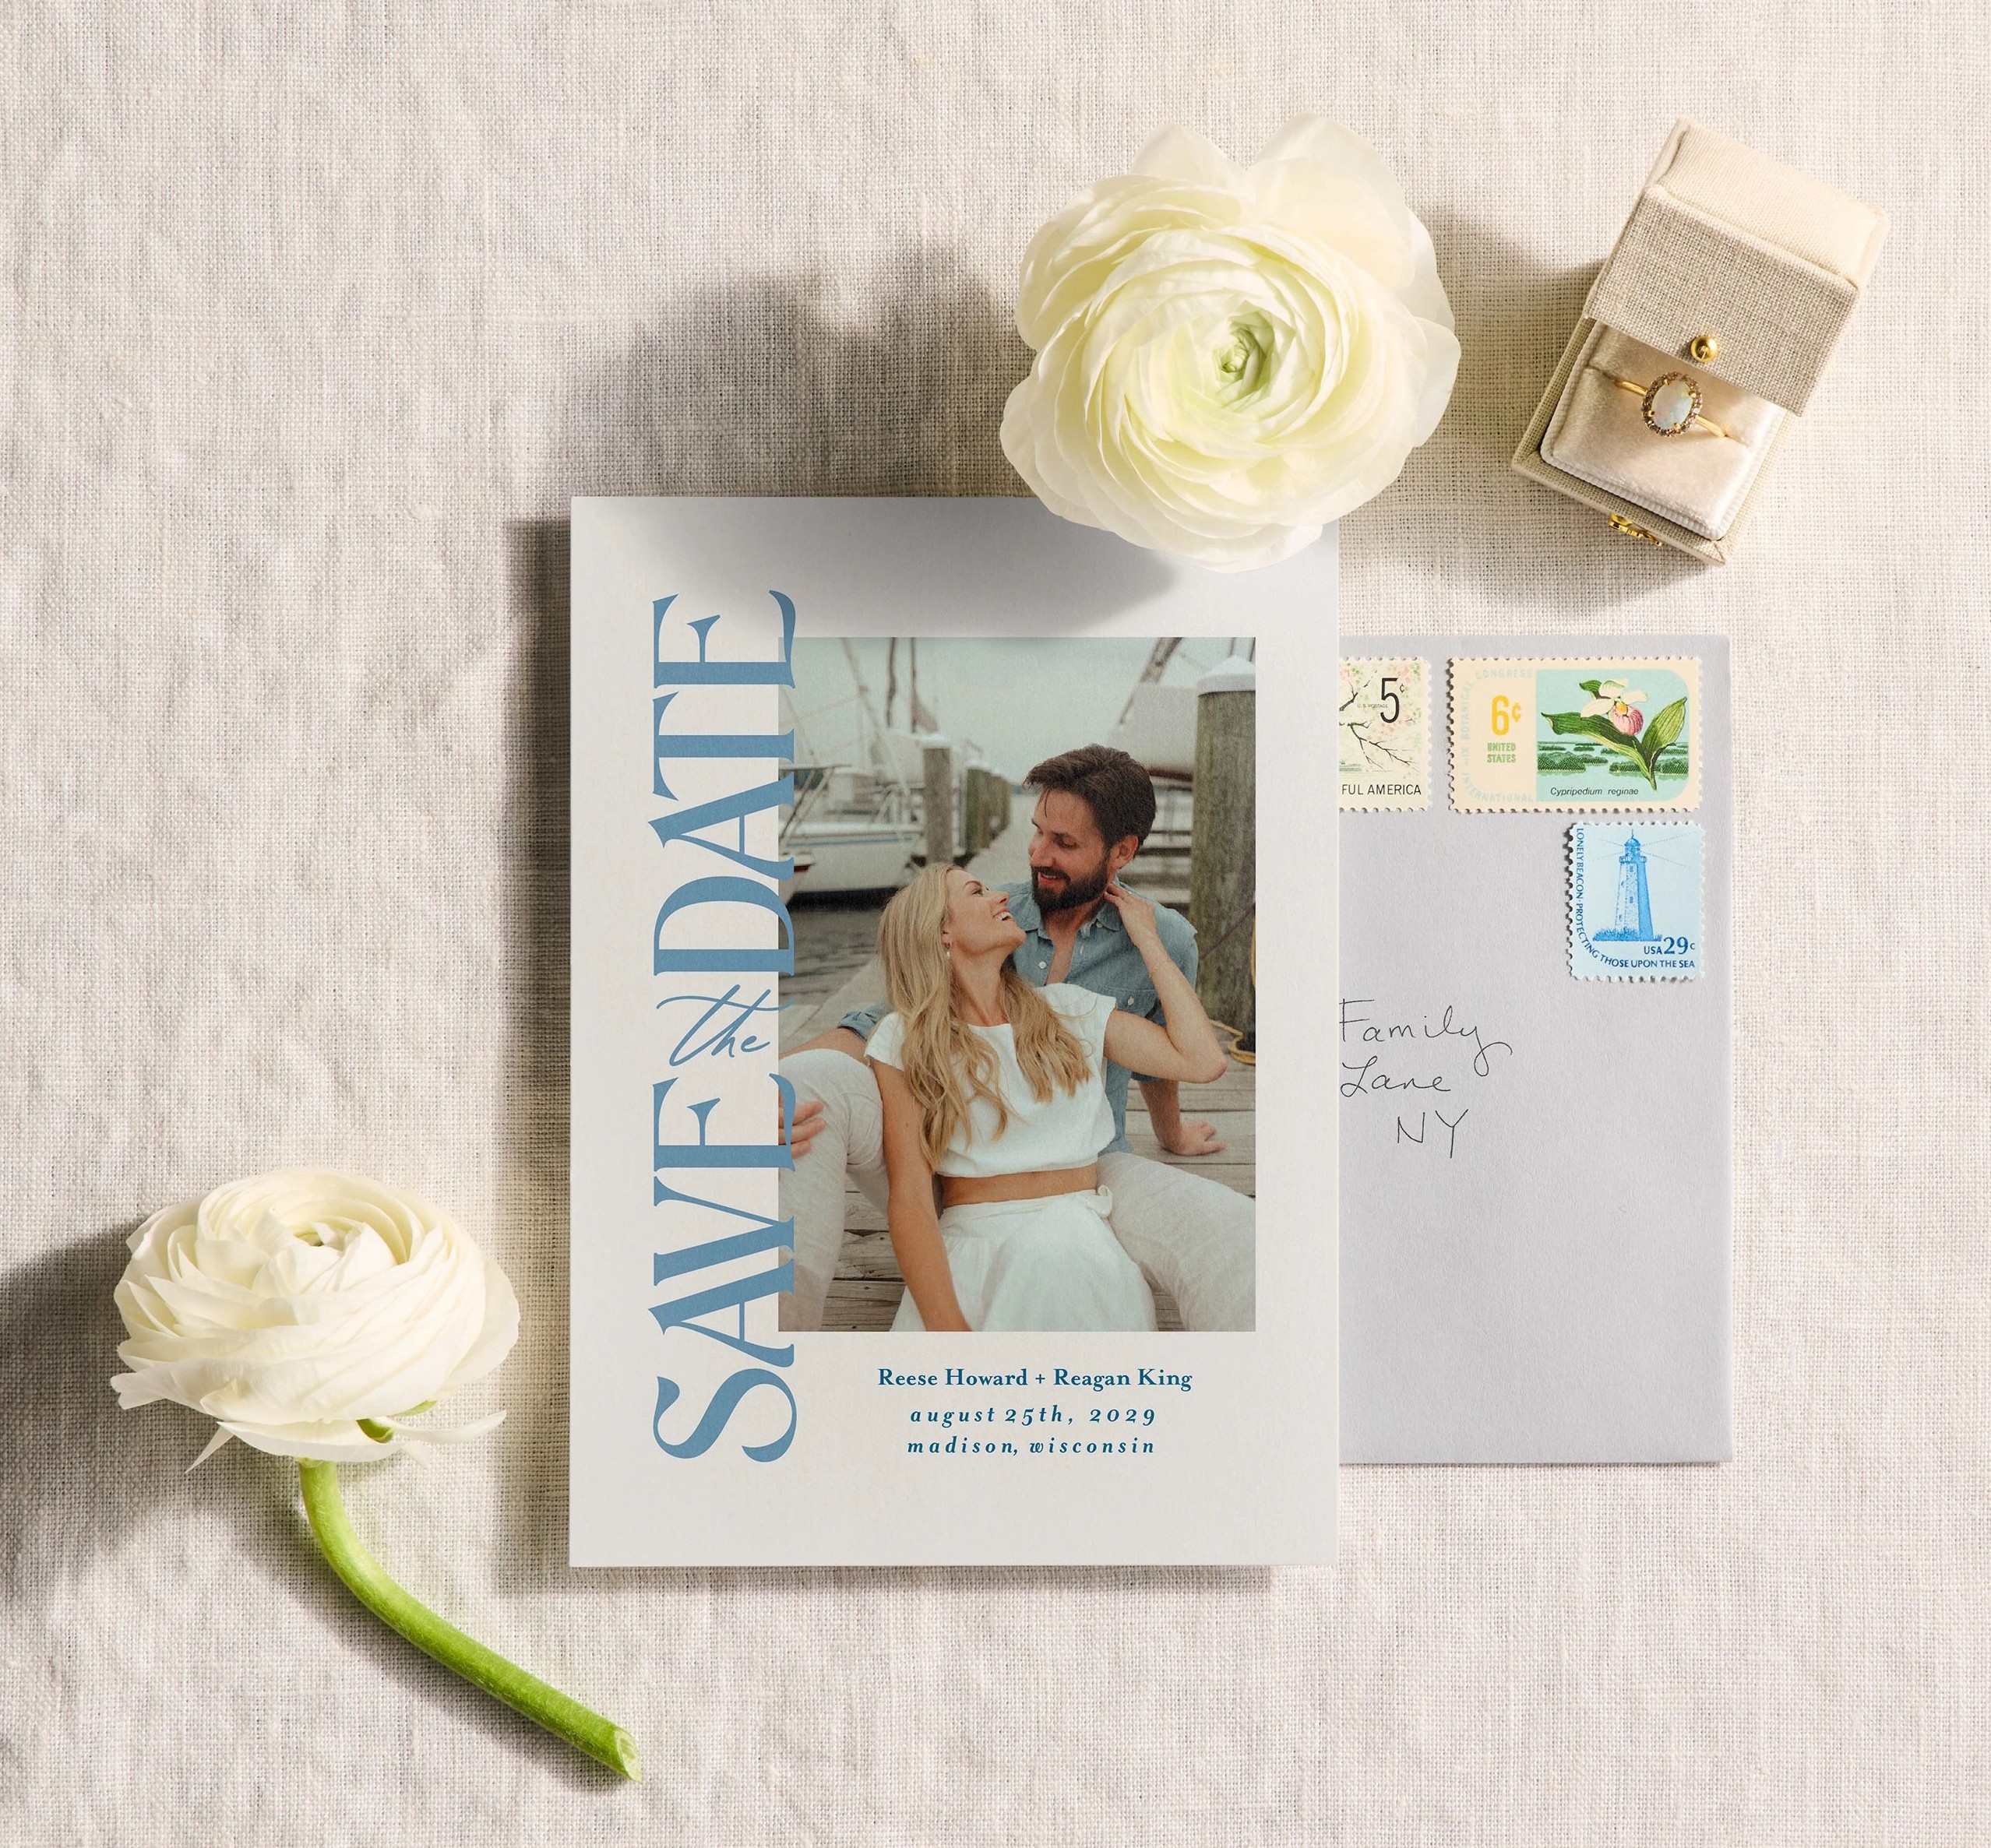
A save the date is your earliest formal heads-up, giving guests advance notice to hold your wedding date on their calendars. This matters most for destination weddings or celebrations during busy travel seasons, when guests need extra lead time to book flights and lock in accommodations.
When to send: 12 to 8 months before your wedding. For destination weddings, aim for 12 months out, or even a bit earlier if you can.
How many to order: One per household, not per guest. A couple living together only needs one. Count the households on your guest list and add a 10 to 15 percent buffer for extras (keepsakes for yourselves, last-minute additions, and the occasional one that gets lost in the mail). For a 150-guest wedding with roughly 90 households, plan on ordering about 100 to 105 save the dates.
Many couples use an engagement photo as the centerpiece of their save the date and carry that style through the rest of their wedding stationery. Browse Shutterfly’s Save the Date collection to get started.
Additional Information:
- Save the Date Wording + Examples
- When to Send Save the Dates
- How to Make a Save the Date
- How to Make Affordable Save the Dates
- Save the Date Ideas for Every Style
- What to Include on a Save the Date
- Wedding Save the Date Magnets vs. Cards
- Save the Dates vs Wedding Invitations
Wedding Invitations
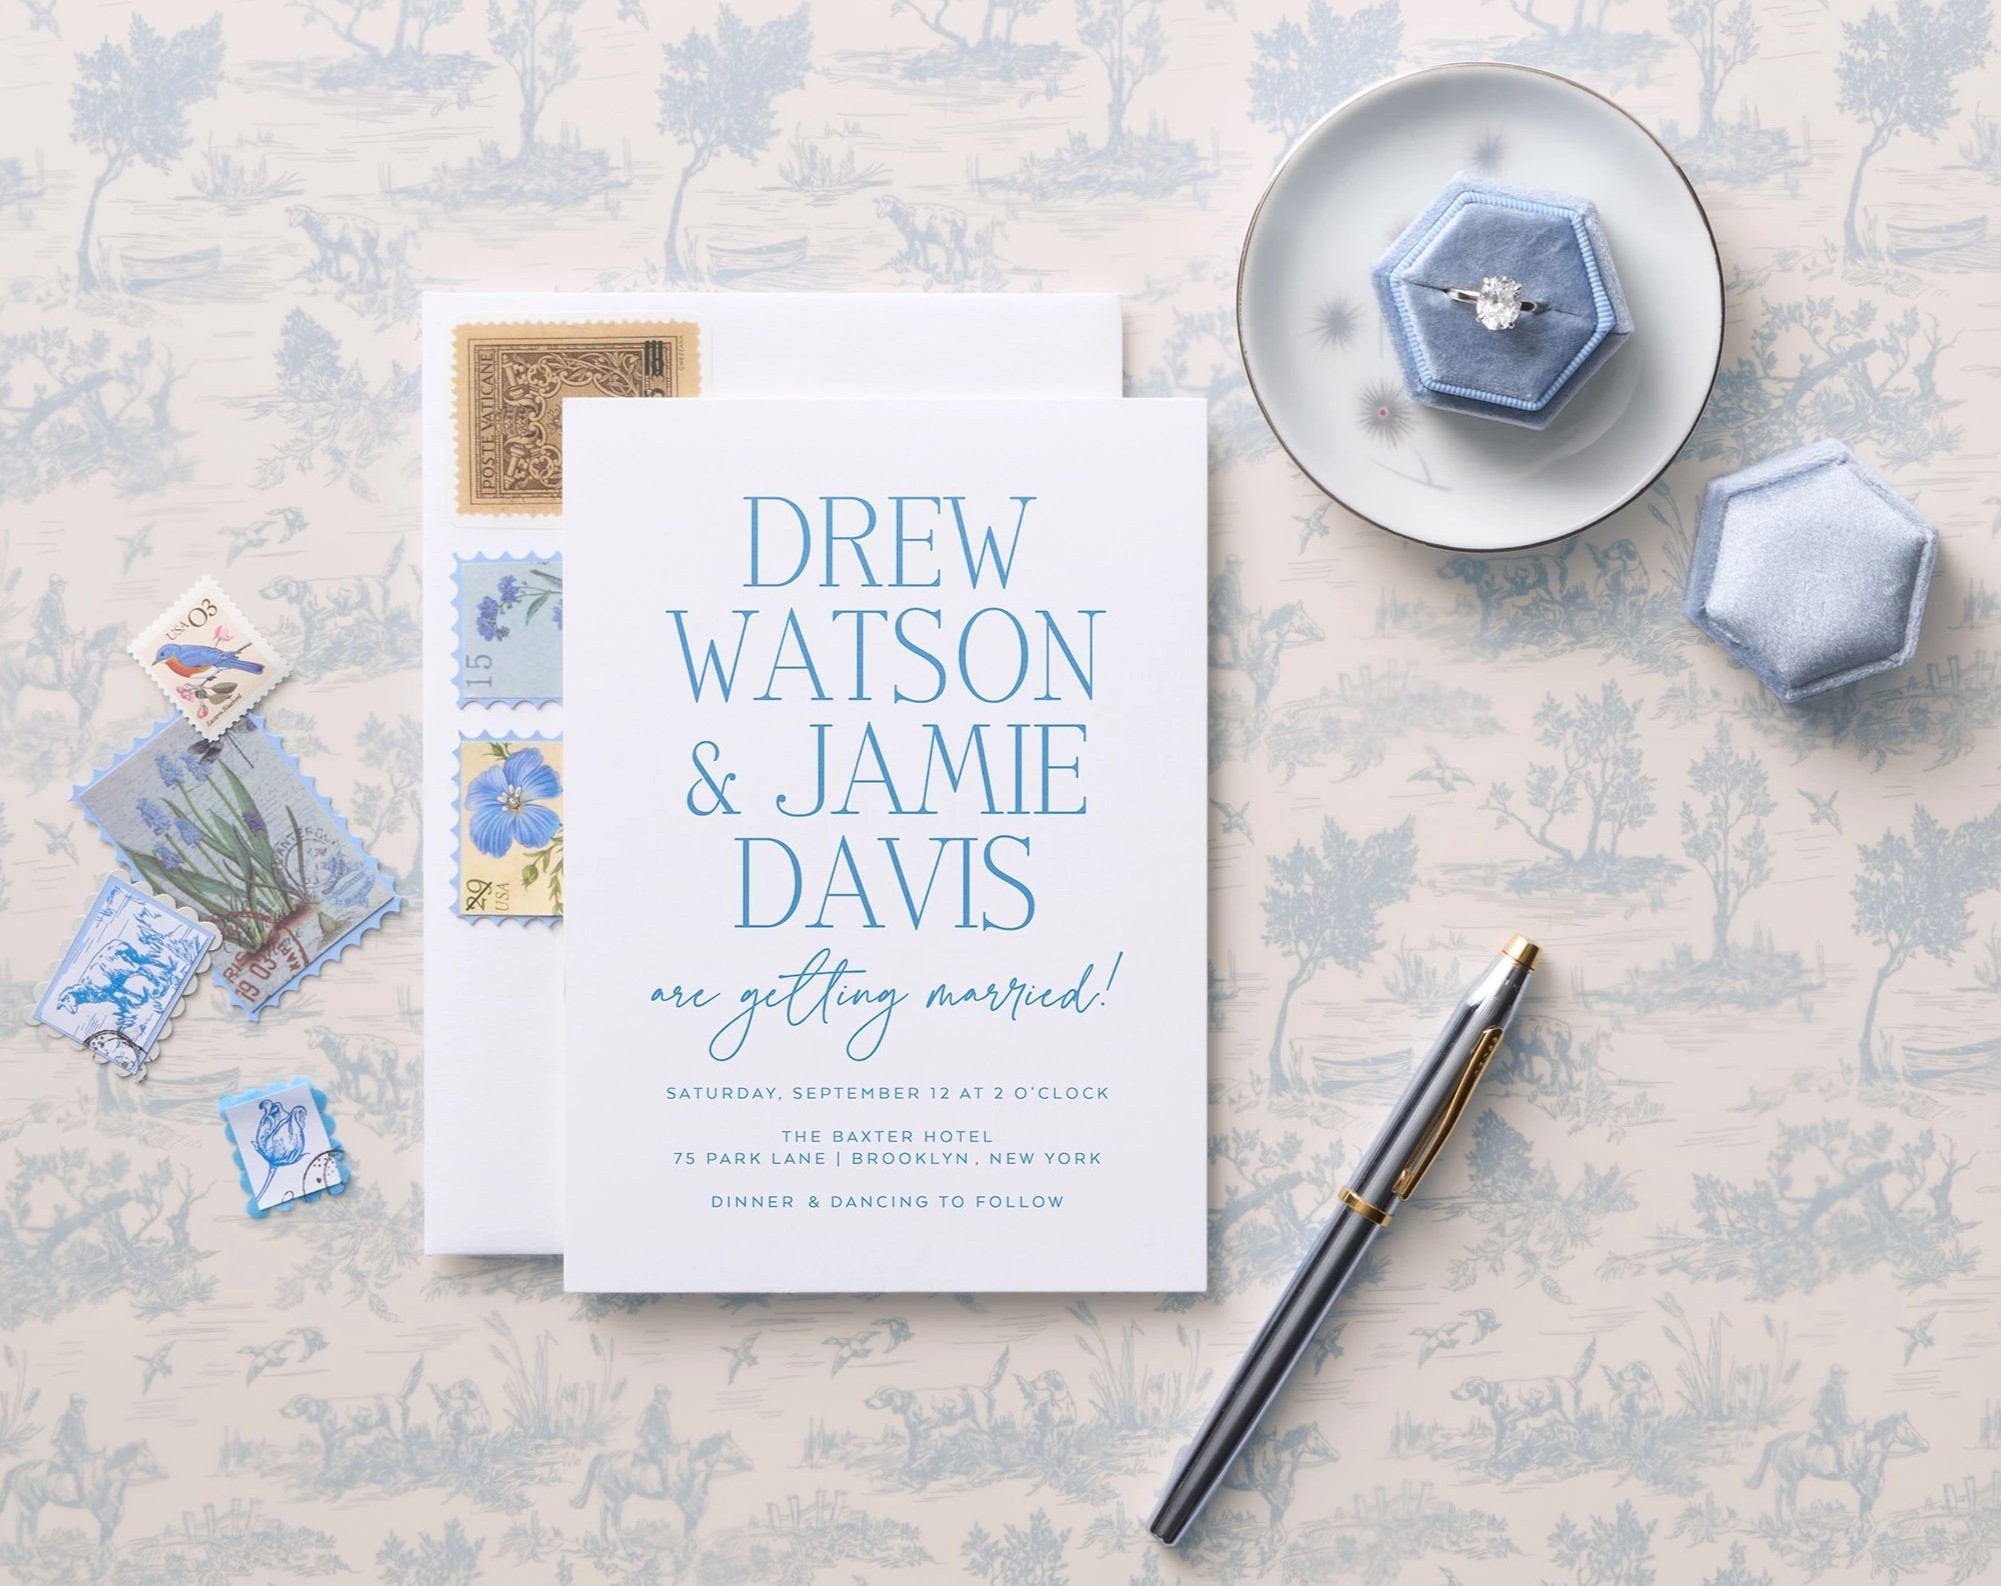
The wedding invitation is your formal request for guests to join you. It communicates the who, what, when, and where, and it sets the aesthetic tone for everything that follows. Your invitation suite typically includes the invitation itself, an RSVP card, and any enclosure cards, all bundled together in an inner and outer envelope.
When to send: 8 to 6 weeks before your wedding. For destination weddings, send 10 to 12 weeks ahead so guests have time to arrange travel.
How many to order: One suite per household. Use the same household count as your save the dates, but add a 15 to 20 percent buffer this time, since invitation suites are more involved and you’ll want extras for keepsakes, calligraphy errors, and any guests added late. For a 150-guest wedding (roughly 90 households), order 105 to 110 invitation suites.
Browse Shutterfly’s Wedding Invitations collection to create invitation suites that coordinate with the rest of your wedding stationery.
Additional Information:
- How to Customize Wedding Invitations
- Wedding Invitation Wording
- How to Address Wedding Invitations
- How to Make Affordable Wedding Invitations
RSVP Cards
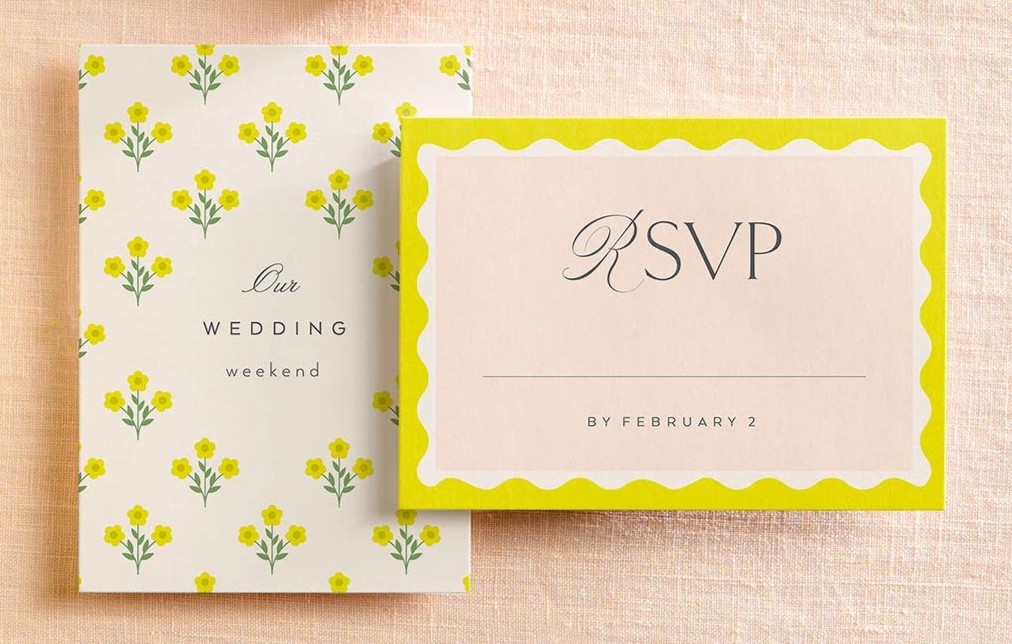
The RSVP card is how guests formally accept or decline your invitation. It’s a small card tucked inside the invitation suite, usually paired with a pre-addressed, stamped return envelope so responding is as easy as possible for your guests.
When to set the reply-by date: Three to four weeks before your wedding. This gives you enough breathing room to finalize your headcount, seating chart, and catering numbers.
How many to order: Order one RSVP card for every invitation suite. Your RSVP card quantity should match your wedding invitation quantity.
A well-designed RSVP card asks for exactly what you need: guest names, number attending, and, if you’re offering choices, a meal selection. Shutterfly’s RSVP Cards collection includes layouts built to make this easy to fill out and easy for you to track.
Additional Information:
Enclosure Cards
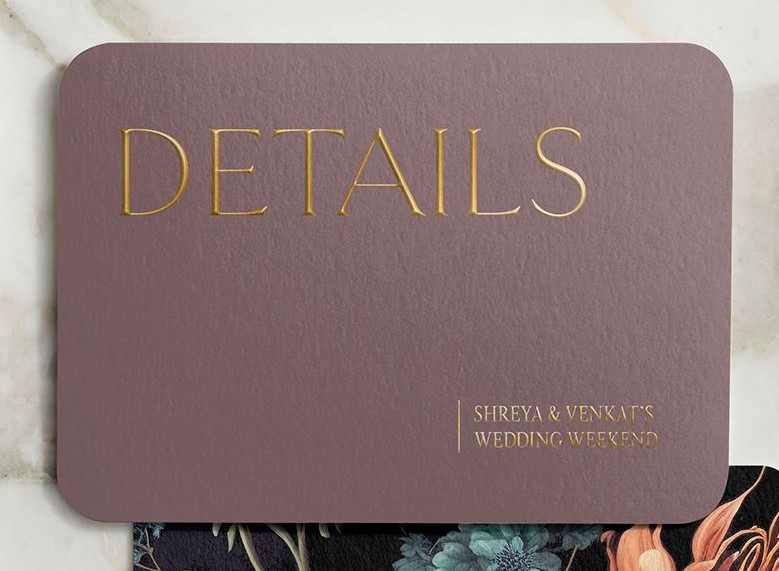
Enclosure cards give you extra space for details that don’t belong on the invitation itself, such as reception information, accommodations, directions, registry details, or your wedding website.
The good news is that you don’t need every type. If you’re celebrating at one venue close to home, a simple reception card might be all you need. Planning a destination wedding? Guests will be glad to have accommodation details, travel info, and a weekend itinerary tucked right in with their invitation.
Quantity tip: Include one set of enclosure cards with each invitation suite, plus a few extras for last-minute guest additions.
Ready to find the right fit? Browse Shutterfly’s Enclosure Cards collection to see styles and formats that match the rest of your suite.
Additional Information:
Rehearsal Dinner Invitations
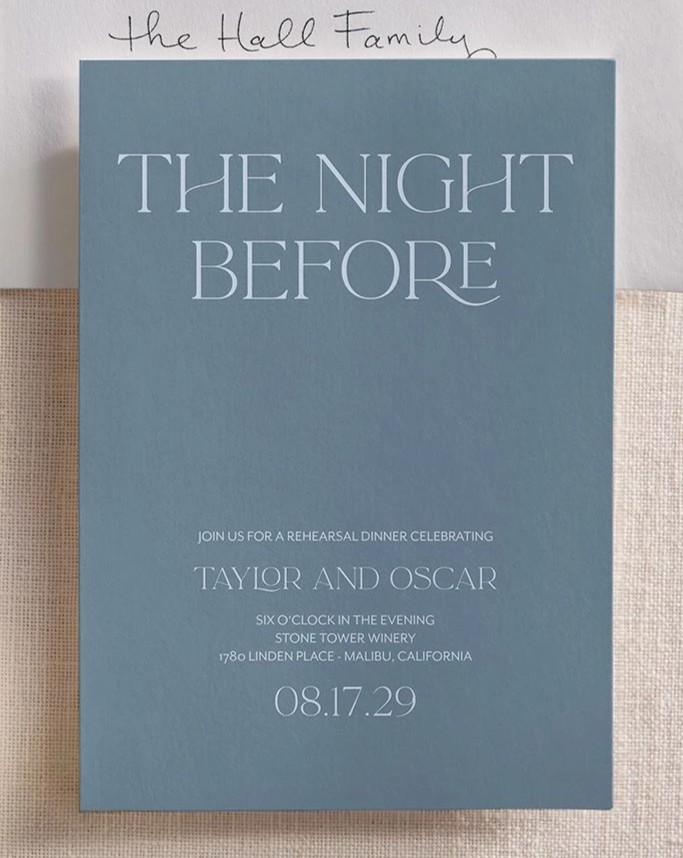
The rehearsal dinner invitation goes to a smaller group: typically your wedding party, immediate family, out-of-town guests, and their partners. It shares the details of the evening-before gathering and is usually a bit less formal than your wedding invitation.
When to send: 6 to 4 weeks before the wedding, ideally after your wedding invitations have already landed in mailboxes.
How many to order: Order one invitation per household on your rehearsal dinner guest list, plus a few extras for last-minute additions.
Because your design theme can carry across products, your rehearsal dinner invitations can echo your wedding invitation suite without being identical, creating a coordinated look across your wedding events. Shutterfly’s Rehearsal Dinner Invitations collection makes it easy to find that complementary style.
Additional Information:
Ceremony and Reception Stationery
Once your guests arrive on the wedding day, a different set of stationery takes over. These pieces guide the experience in real time, helping guests follow the ceremony, find their seats, and know what’s on the menu.
Programs
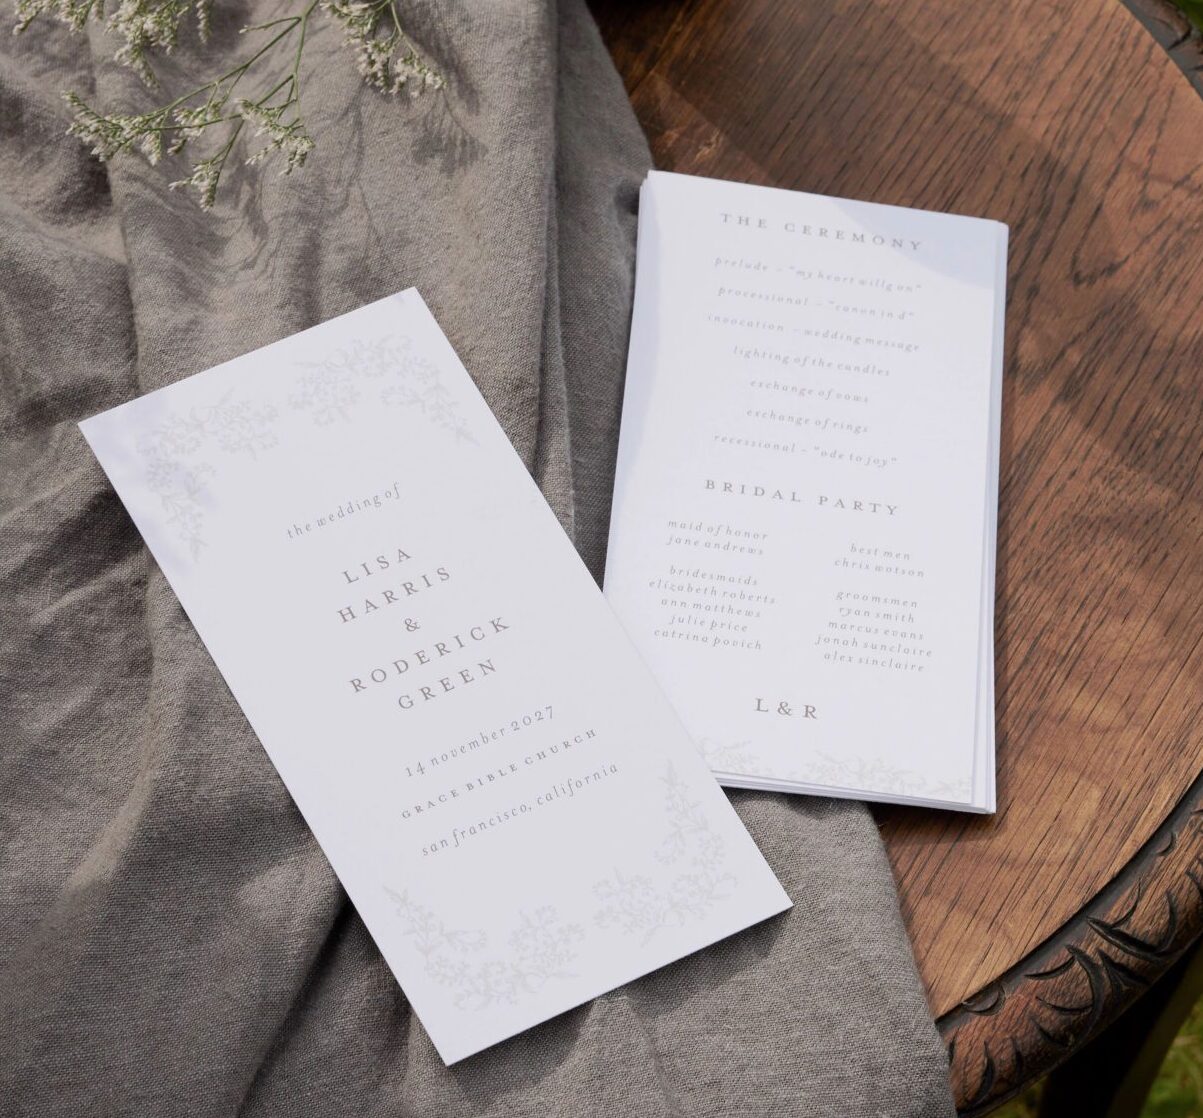
A ceremony program lays out the order of events, introduces your wedding party, and gives you a chance to acknowledge anyone special. It isn’t required, but it’s a thoughtful touch that helps guests follow along, especially during religious or cultural ceremonies with traditions some attendees may not be familiar with.
How many to order: One per guest is the general rule, though couples sharing a pew or row often share a program, too. Ordering for 75 to 85 percent of your guest count is standard practice. For a 150-guest wedding, that’s 115 to 130 programs.
When and how to display them: Programs are typically placed on each chair or pew before guests arrive, handed out by ushers at the entrance, or set in a basket for guests to grab as they’re seated.
Shutterfly’s Wedding Programs collection offers designs that can match your invitation suite from cover to back page.
Additional Information:
Menus
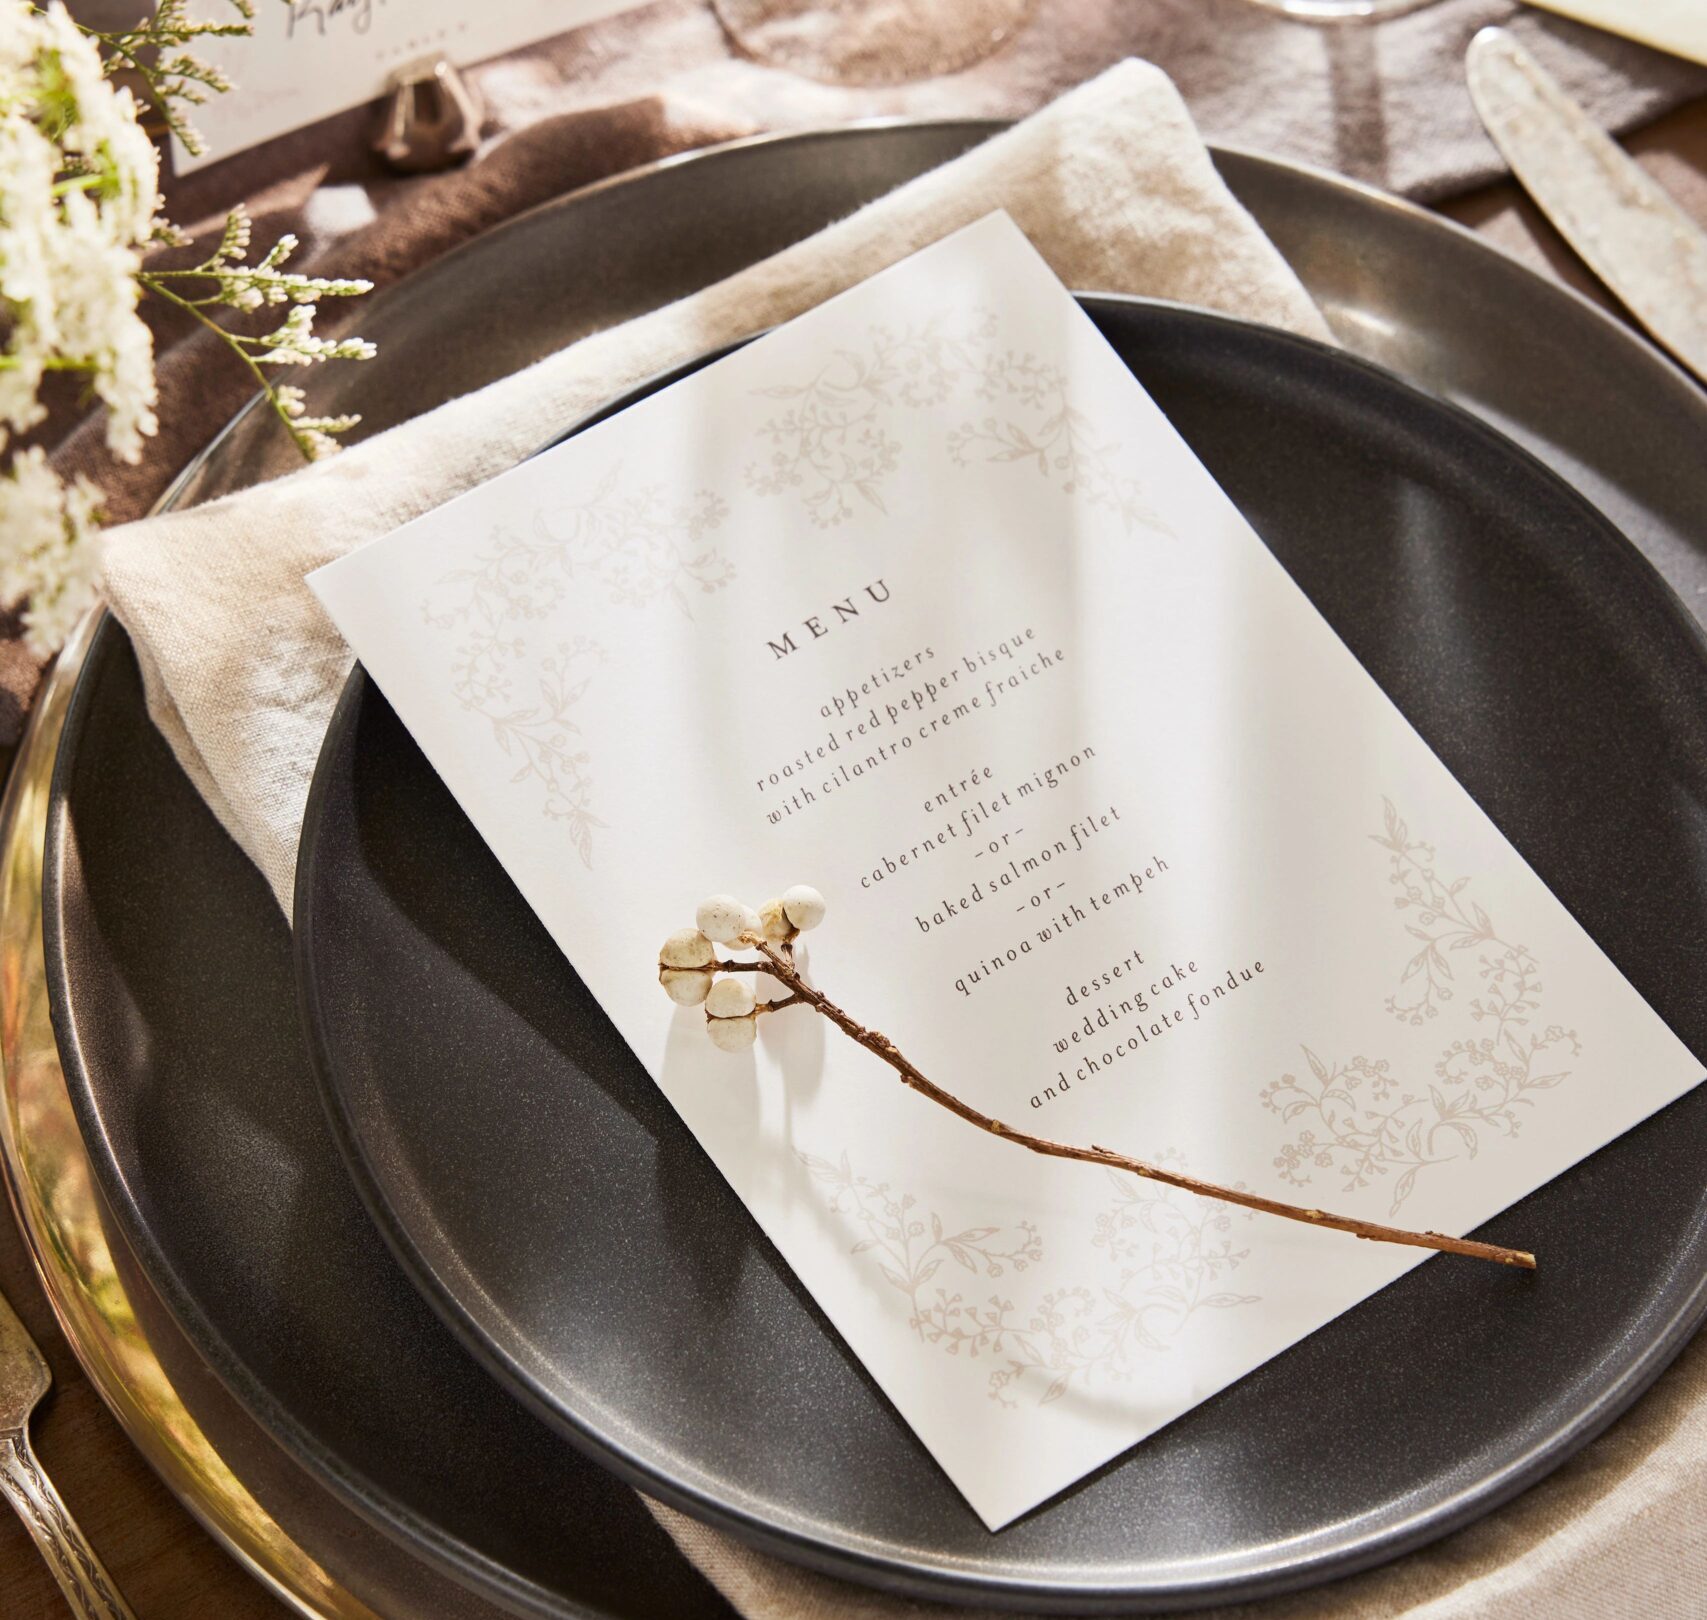
A printed menu card lets guests know what they’ll be eating and turns the dining experience from purely functional into something a little more special. Menus are especially nice for plated dinners with multiple courses, but they work beautifully for buffet-style receptions too, where you can describe the dishes and note any dietary accommodations.
How many to order: If you’re using individual menus, order one per guest. For a more streamlined approach, many couples choose one menu per table instead.
When and how to display them: Individual menus are placed on top of the charger plate or napkin at each place setting before guests are seated. Table menus stand upright at the center of the table, often in a small stand or frame.
Shutterfly’s Wedding Menu Cards collection has options for both individual place settings and table-style displays.
Place Cards
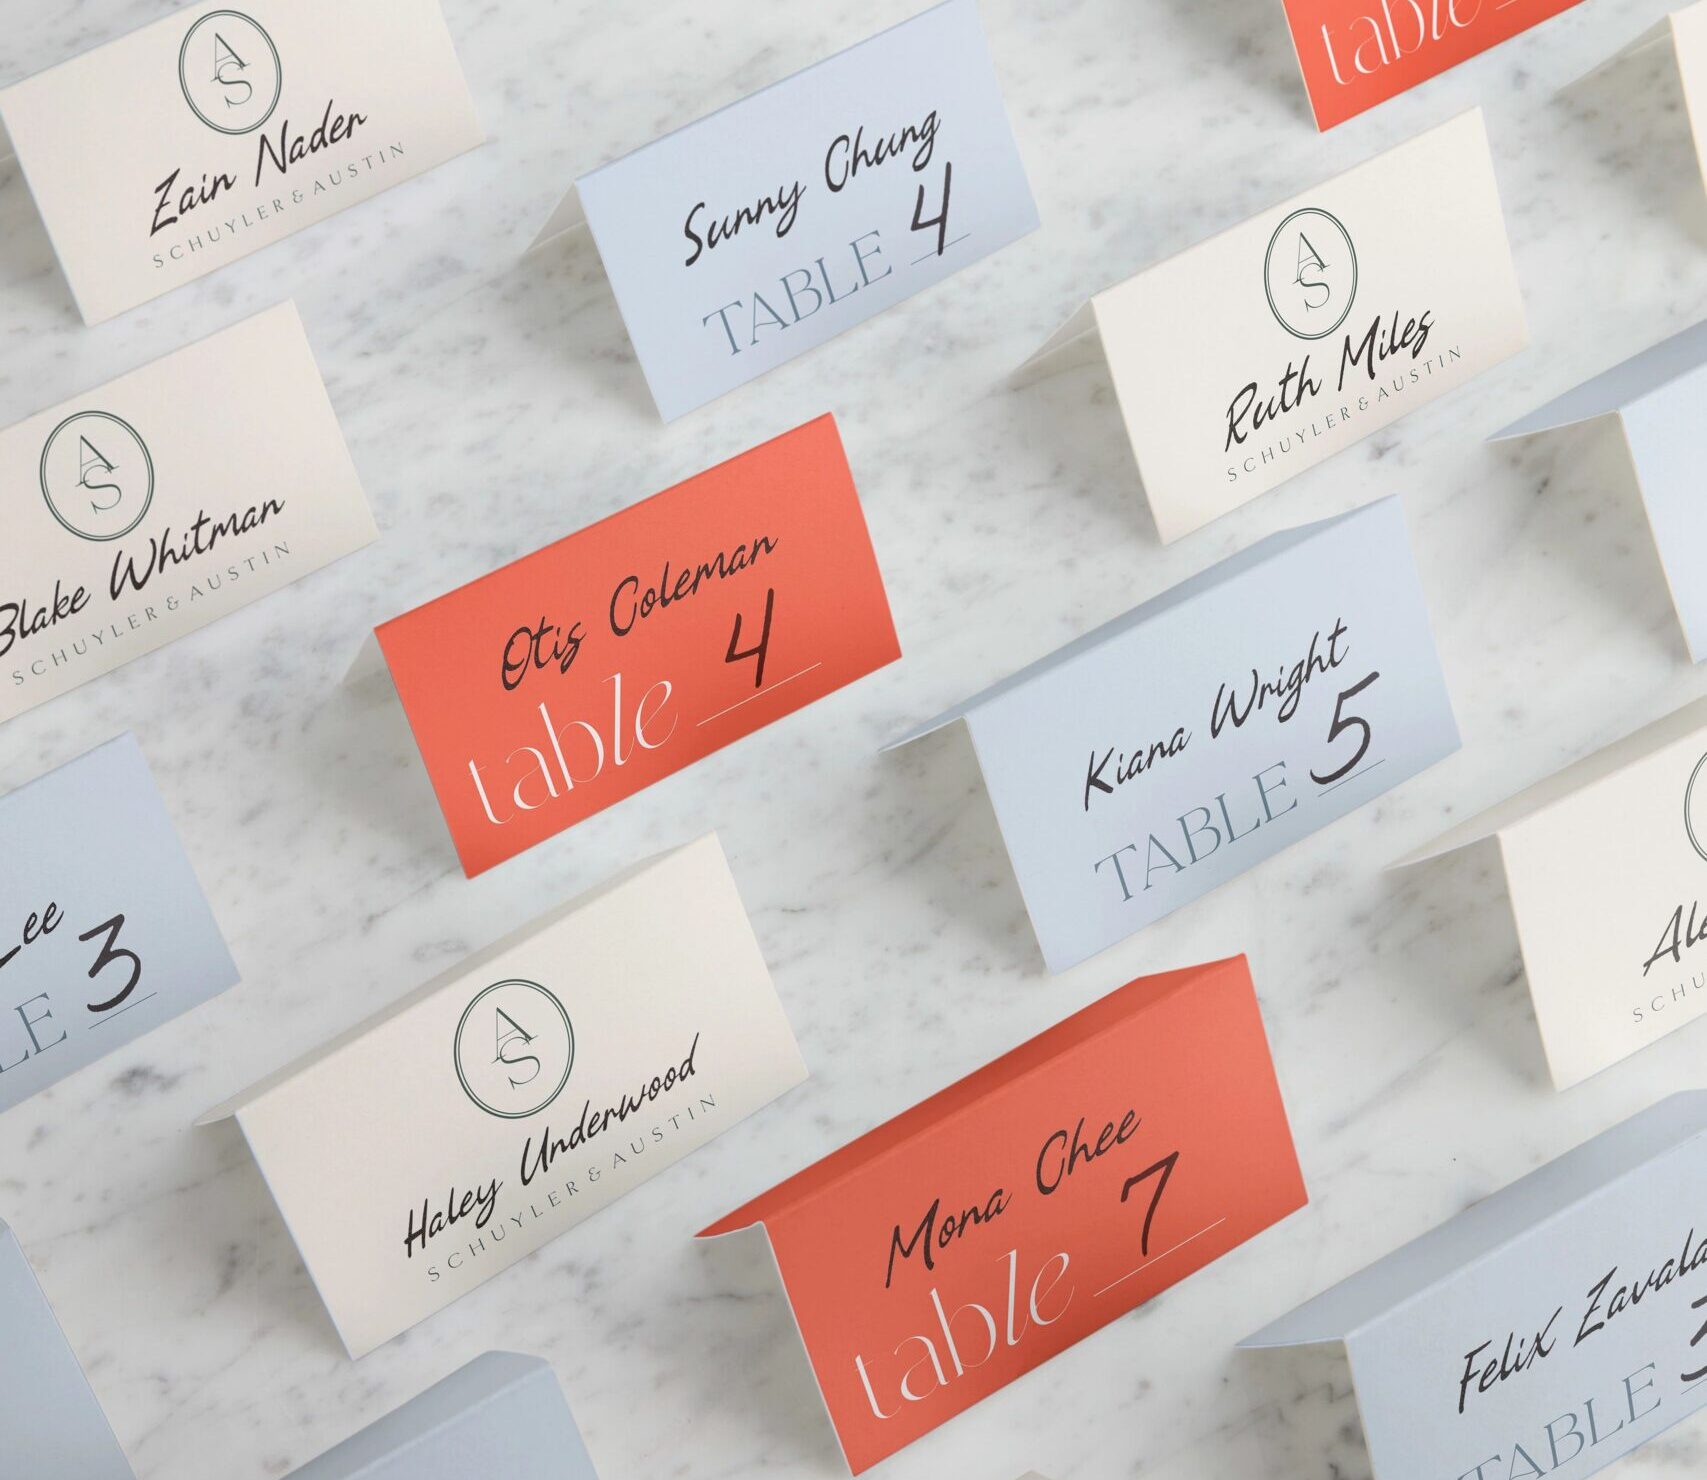
A place card tells each guest exactly which seat is theirs at their assigned table. Some couples pair place cards with a seating chart or escort display, and some use place cards on their own for a smaller, more intimate reception.
How many to order: Order one place card for each guest attending your reception.
When and how to display them: Place cards are set directly at each seat, on top of the charger plate or beside the napkin, before guests enter the reception.
Shutterfly’s Wedding Place Cards collection includes formats that pair naturally with your menu and table number designs.
Additional Information:
Table Numbers
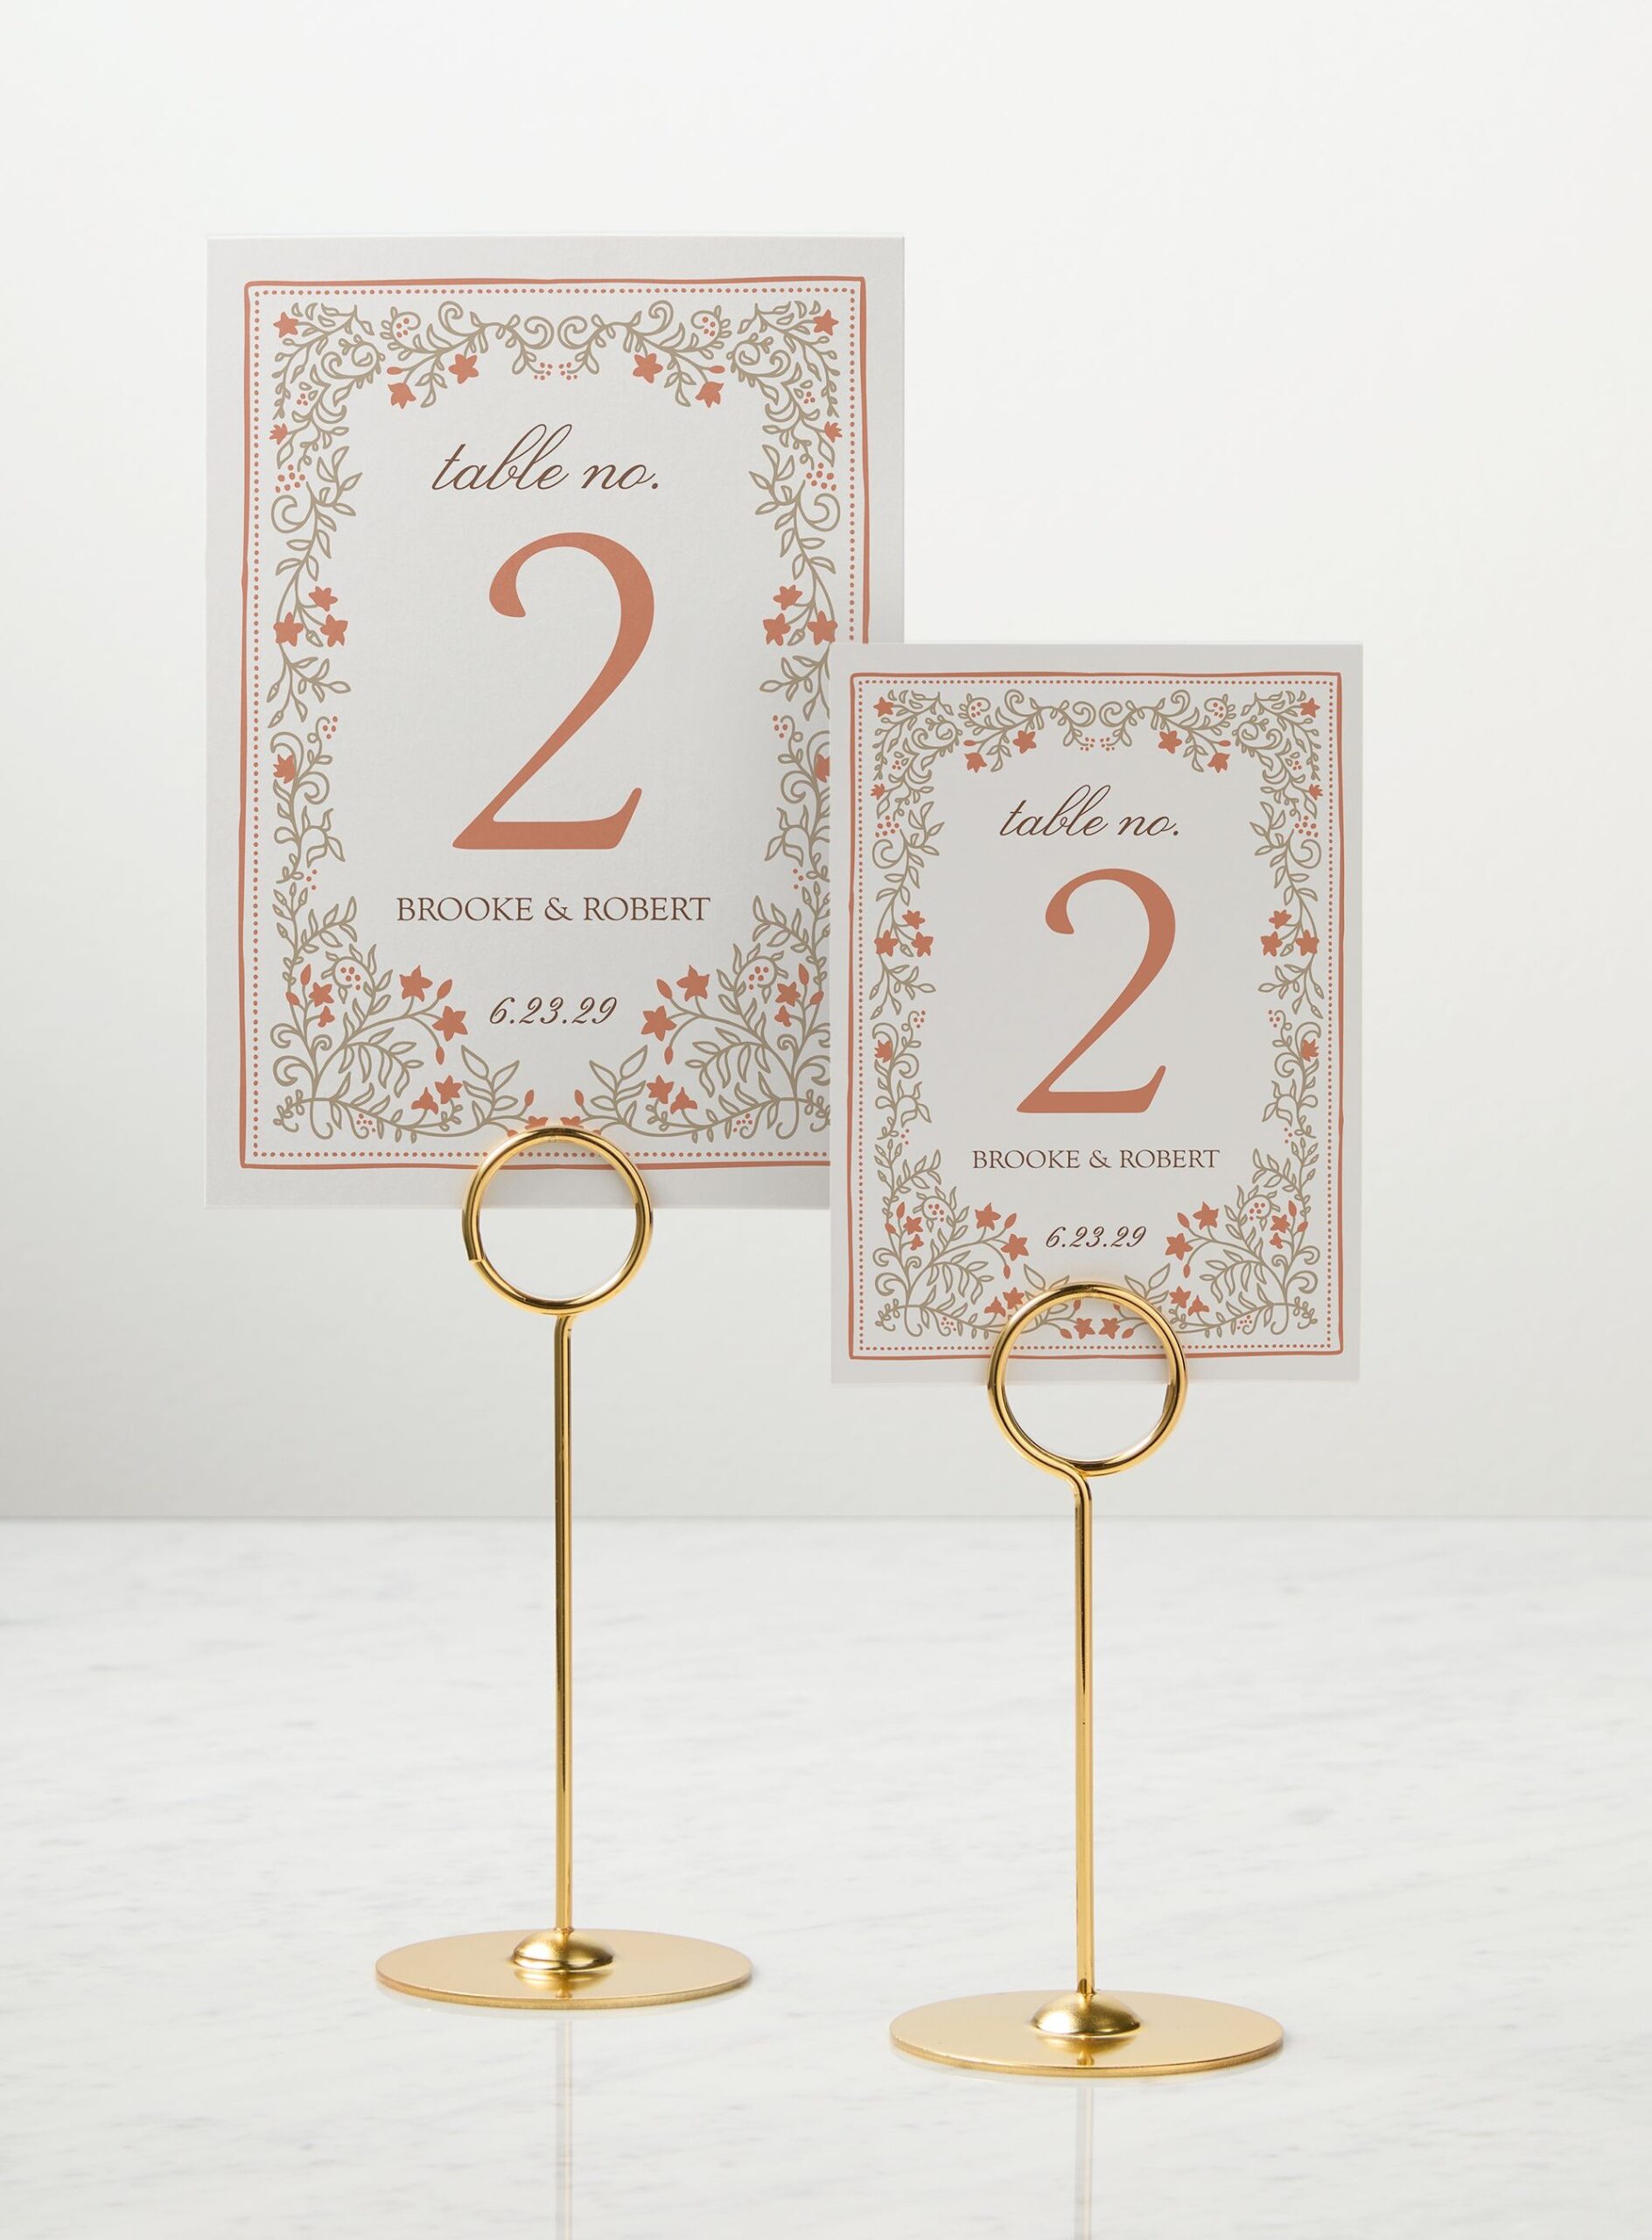
Table numbers identify each table so guests can find their assigned seats after checking the seating chart or their place card. They’re simple, but essential. Without them, even the best seating chart is hard to act on.
How many to order: Order one table number for each reception table.
When and how to display them: Set at the center of each table in a holder or stand, positioned at a height guests can spot easily as they scan the room.
Ready to find the right fit? Browse Shutterfly’s Wedding Table Numbers collection to see styles that match the rest of your suite.
Additional Information:
Seating Charts
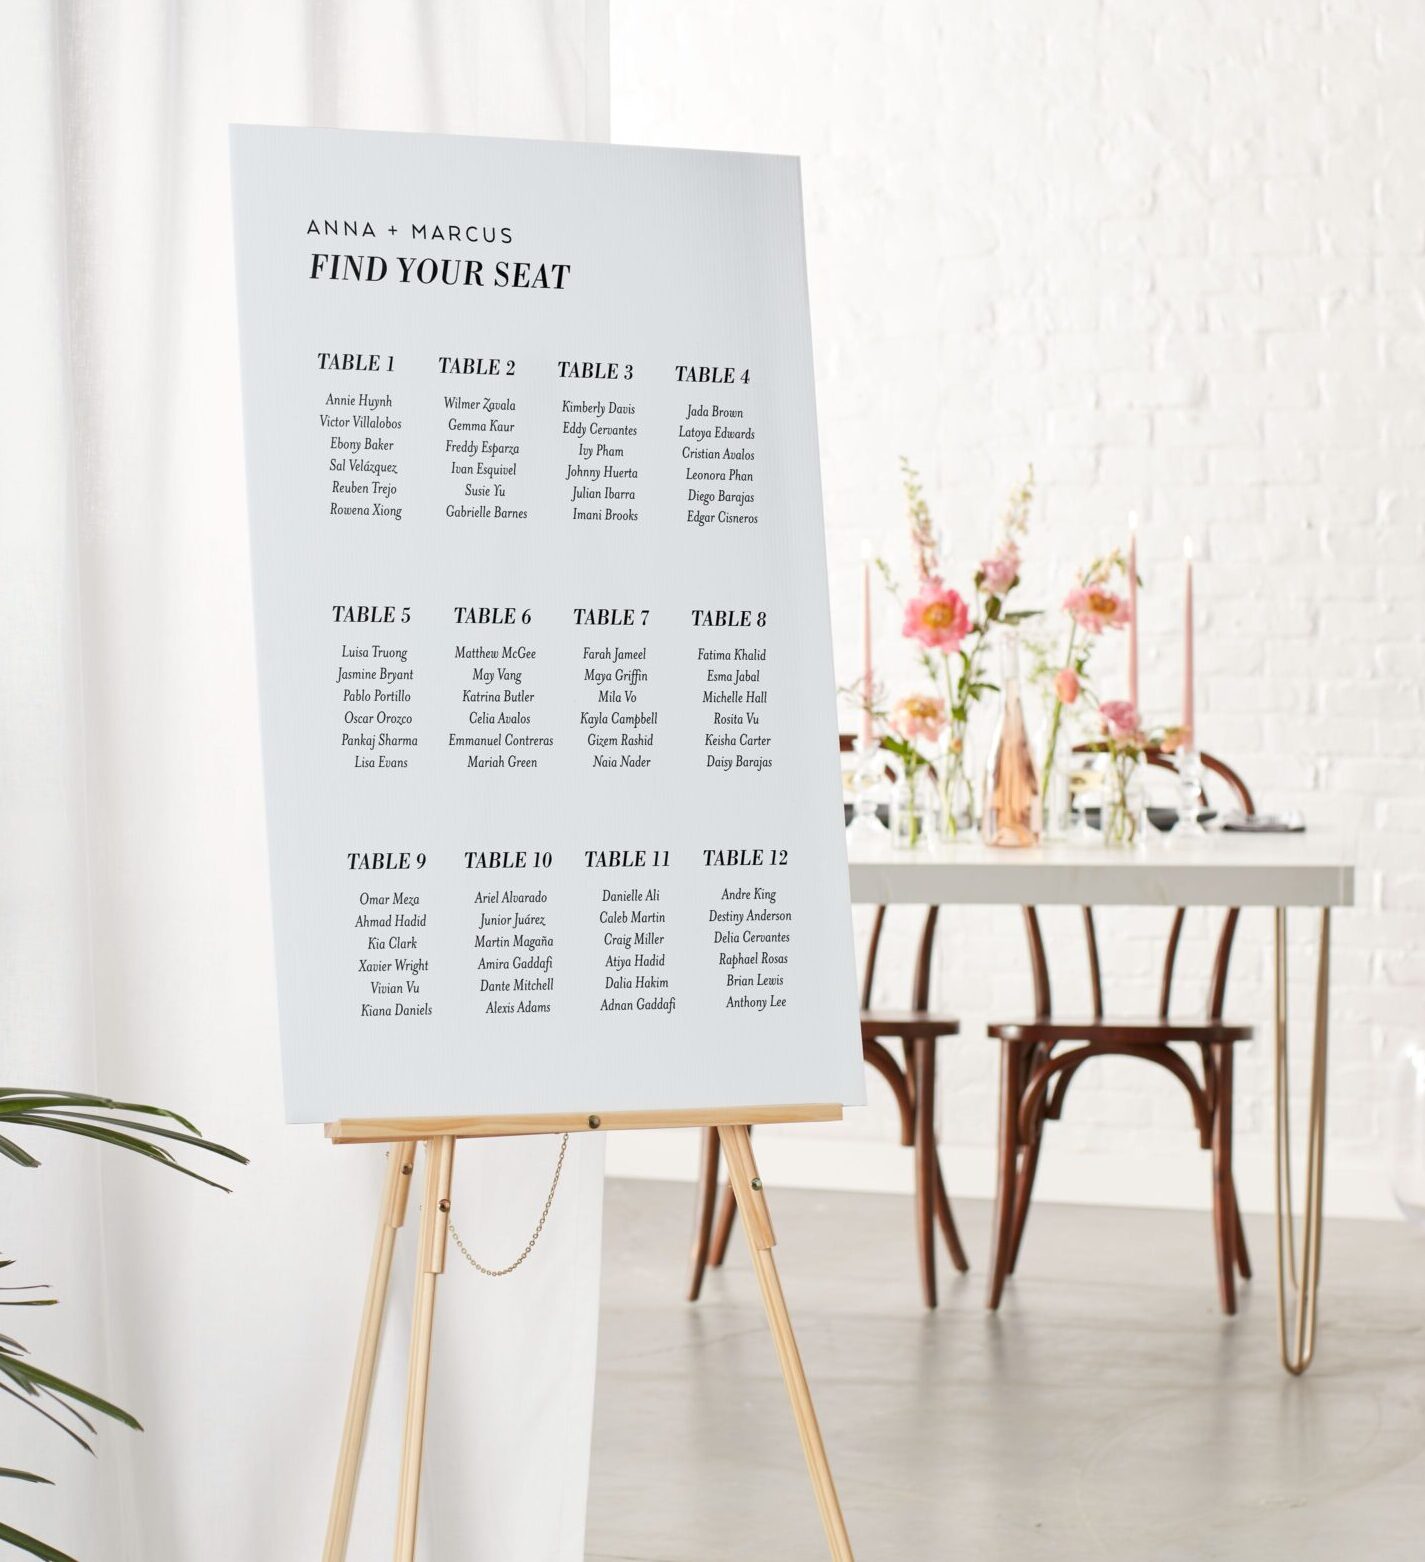
A seating chart is a single, large-format display showing every guest which table they’ve been assigned. It’s usually the first thing guests look for when they walk into the reception, and tt helps guests quickly find their table assignment as they enter the reception.
How many to order: One seating chart is typically all you need. Most couples display it near the reception entrance so guests can quickly find their table assignment.
When and how to display it: Set it up at the entrance to the reception space, somewhere guests naturally pass through before finding their seats. Have it ready as soon as your reception doors open, since guests will look for it right away.
Ready to help guests find their seats? Create your Wedding Seating Chart with Shutterfly, styled to go with your invitations and table numbers.
Post-Wedding Stationery
After the wedding, a few final pieces of stationery help you share the news and thank the people who celebrated with you.
Thank You Cards
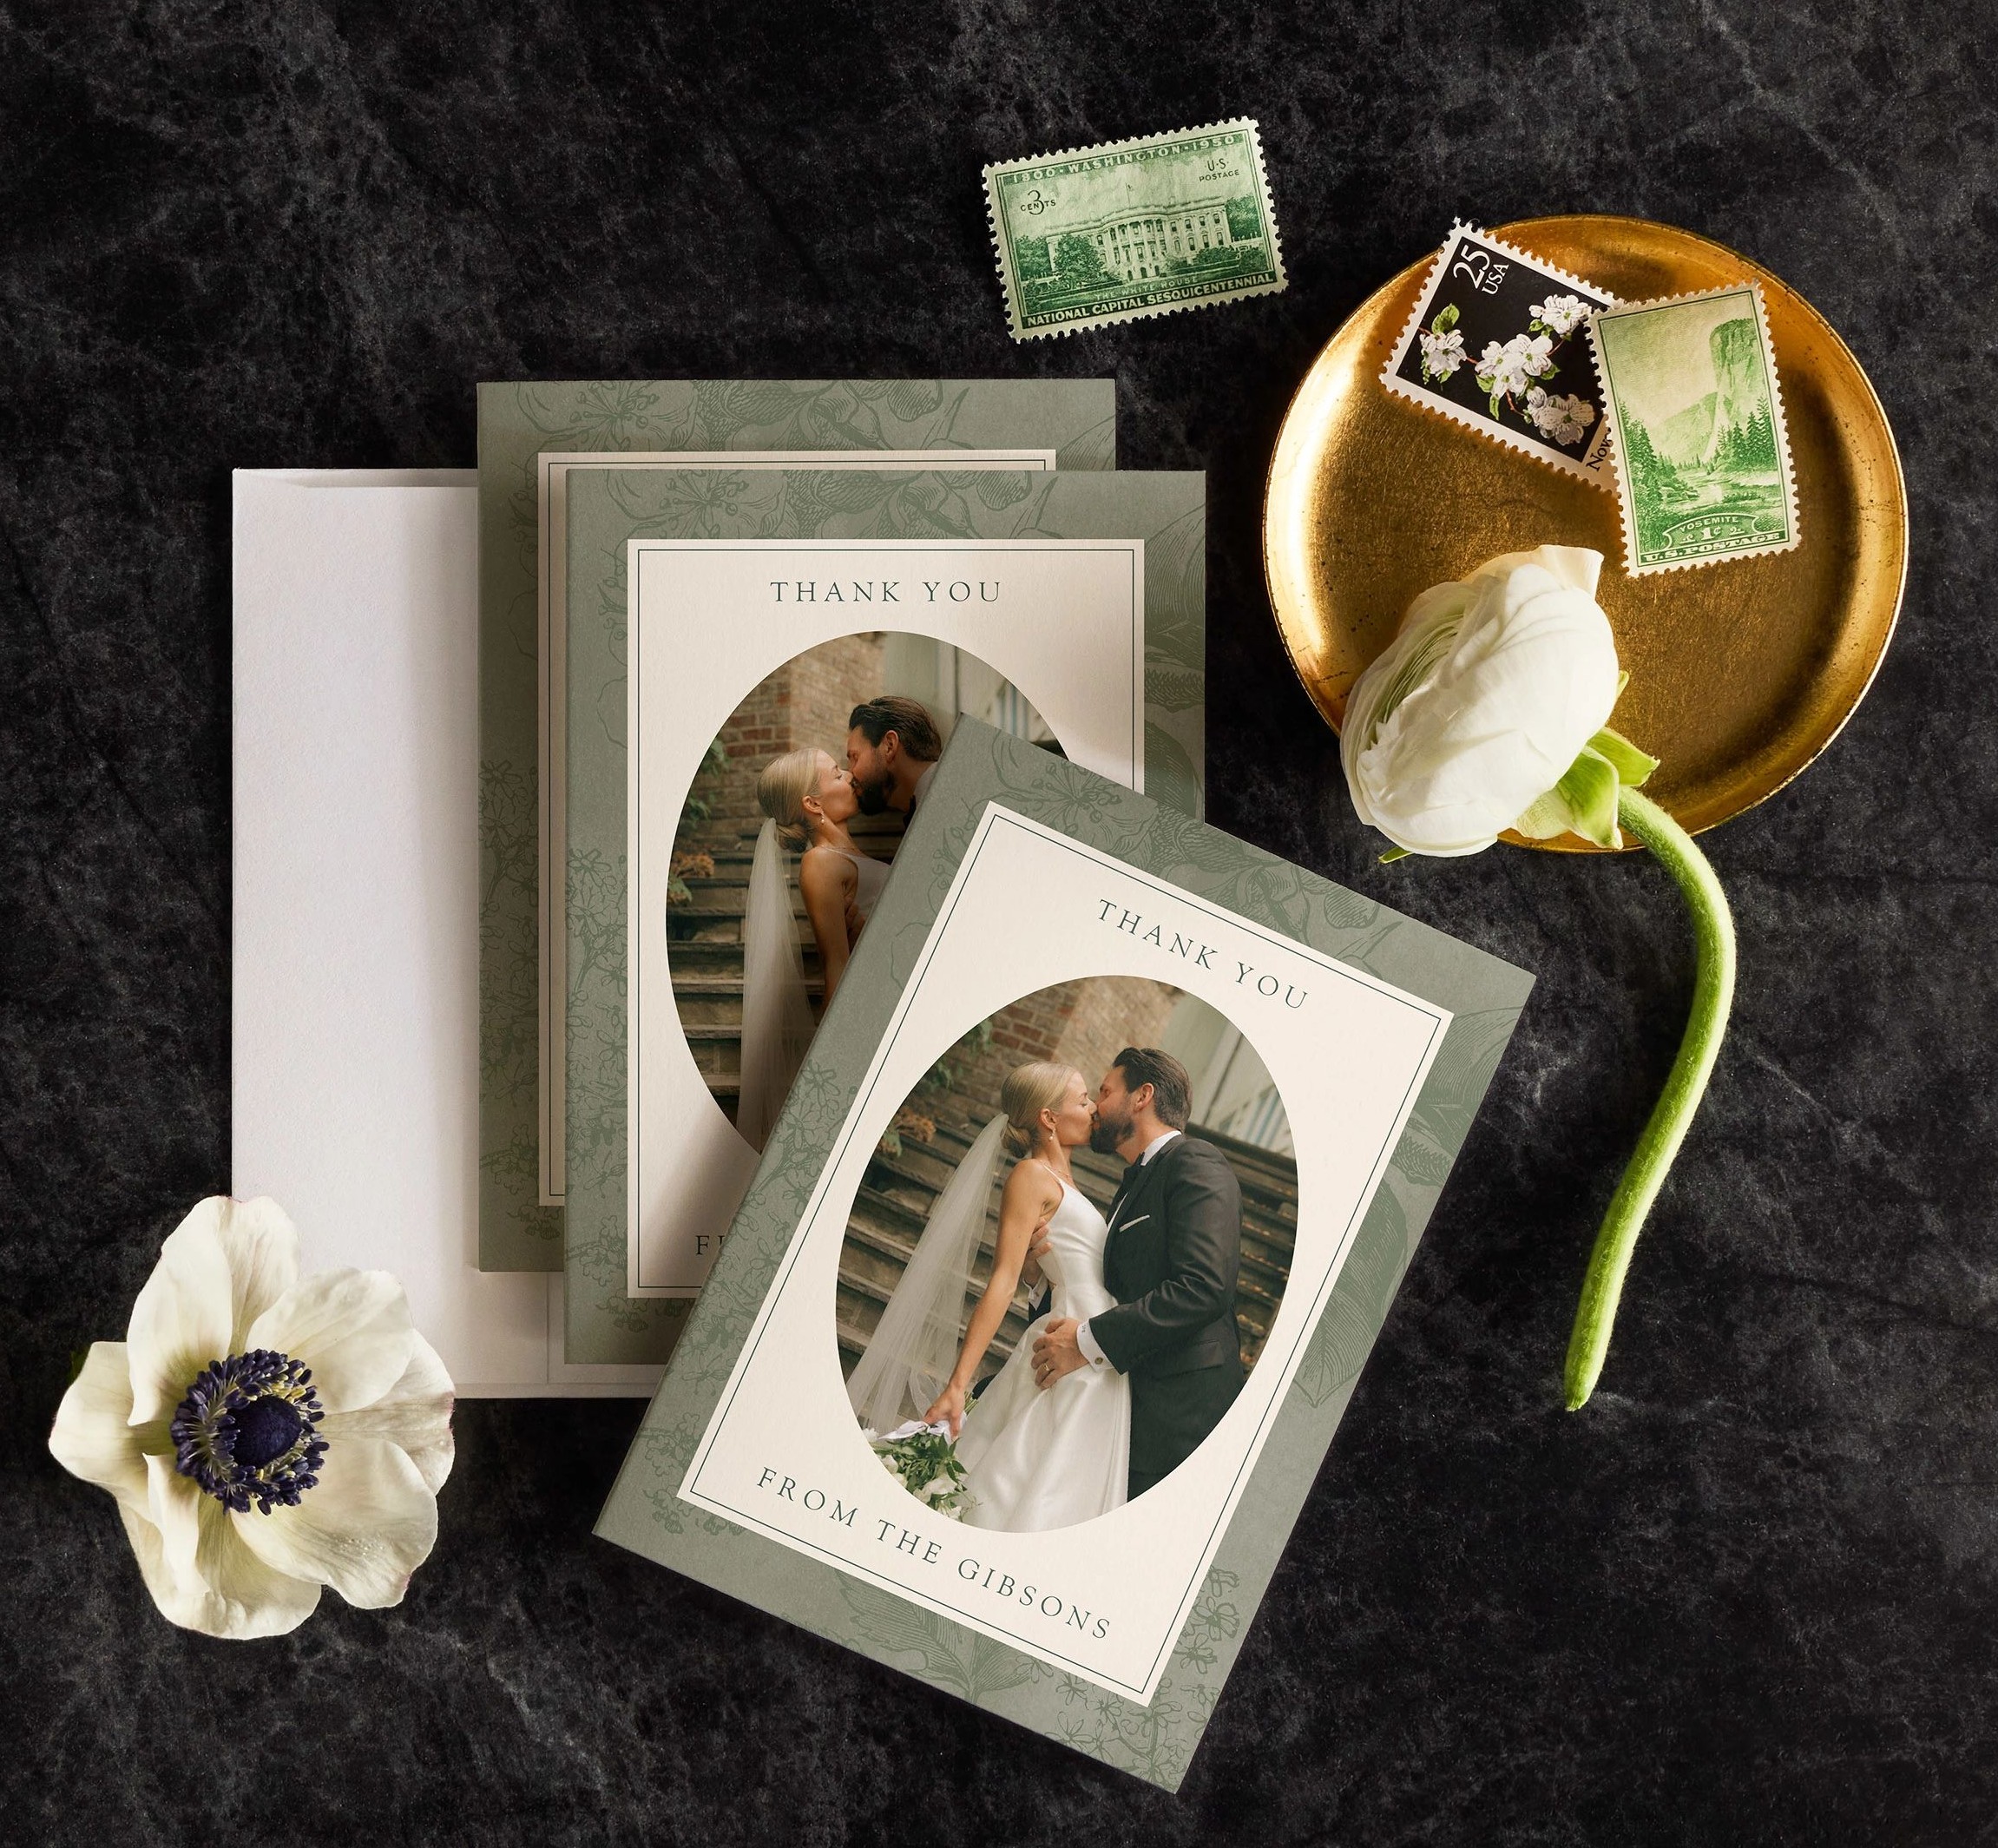
A handwritten thank you card is one of the most meaningful things you can send after your wedding. Every guest who gave a gift, showed up to celebrate with you, or contributed to your day in a meaningful way deserves a personal note of thanks.
When to send: Within three months of your wedding, though the etiquette experts at the Emily Post Institute recommend sending them as gifts arrive, even before the wedding, to stay ahead of the pile.
How many to order: Plan on roughly one per gift received, plus extras. Most couples find they need about as many thank you cards as invitation suites they sent, since most households either attend or send a gift. Order your household count plus a 15 to 20 percent buffer. For a 150-guest wedding with 90 households, that’s 100 to 110 thank you cards.
Many couples use a favorite wedding photo on their thank you cards to share a memory from the day while expressing their gratitude. Find a design you love in Shutterfly’s Wedding Thank You Cards collection.
Additional Information:
Wedding Announcements
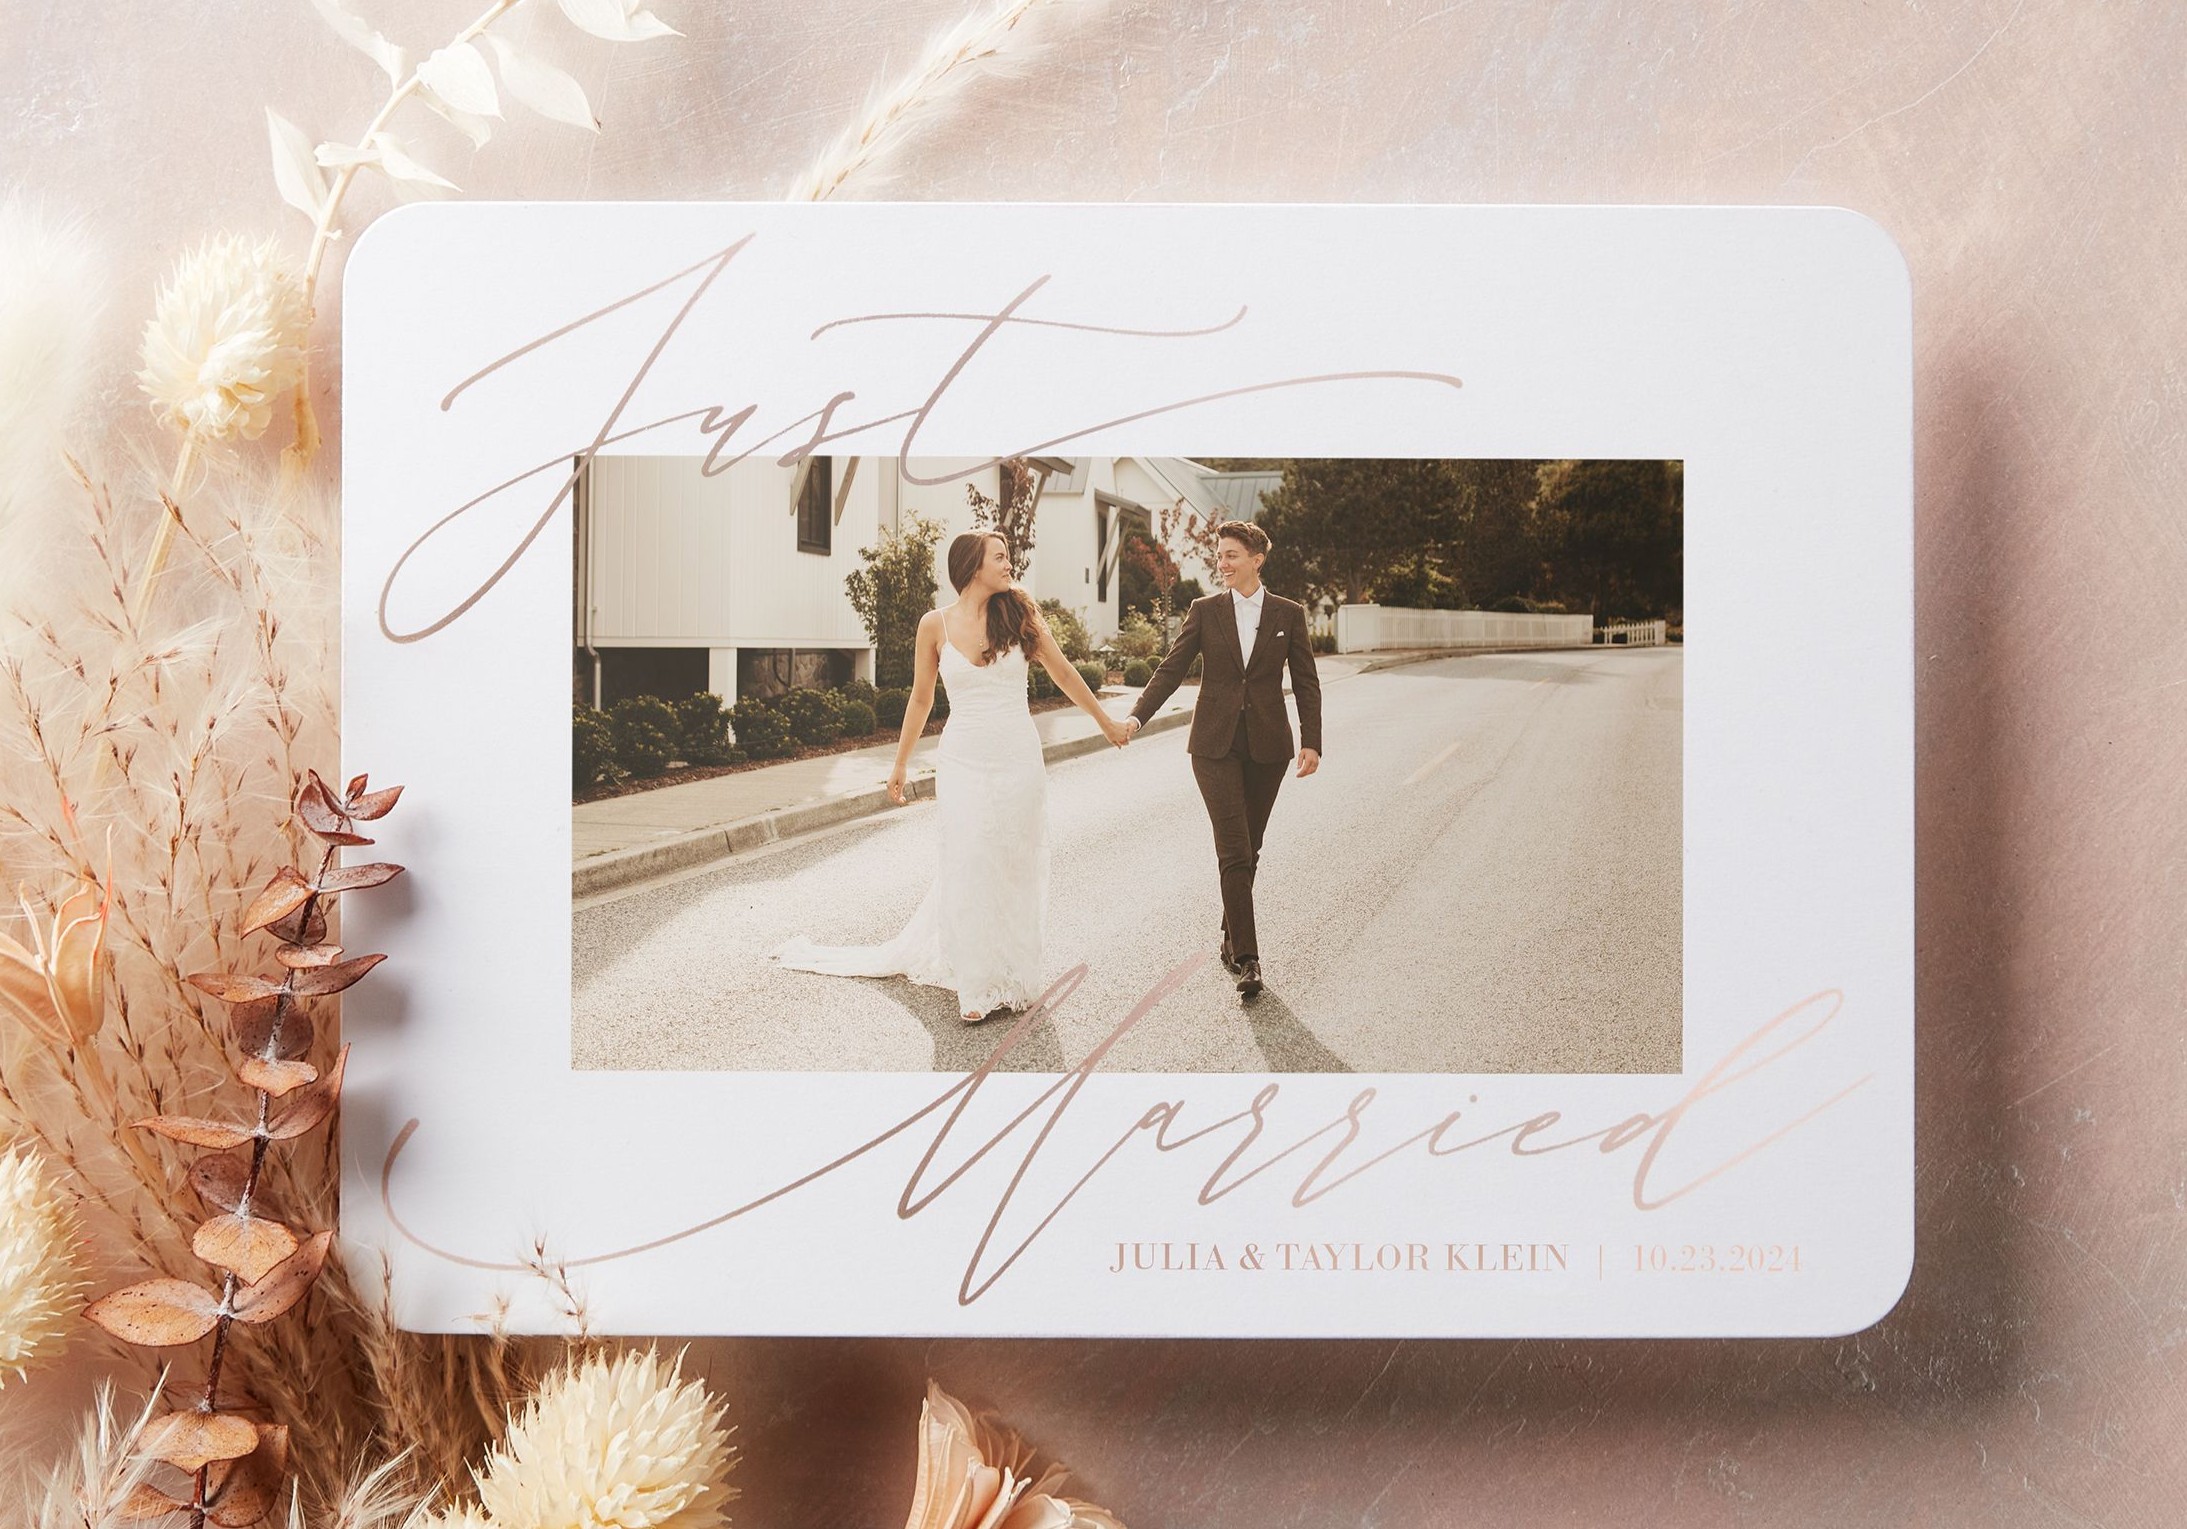
A wedding announcement is a formal notice sent to people who weren’t invited to the wedding but whom you’d still like to tell about your marriage. Think distant relatives, professional contacts, former colleagues, or friends you’ve lost touch with. Importantly, a wedding announcement carries no gift obligation. It’s purely a “we got married” note.
When to send: Within three months of your wedding, ideally within the first few weeks.
How many to order: Order based on the number of people you’d like to notify about your marriage, plus a few extras for keepsakes and additional recipients.
Share the happy news with a design from Shutterfly’s Wedding Announcements collection.
Additional Information:
Why a Coordinated Suite Makes Everything Easier
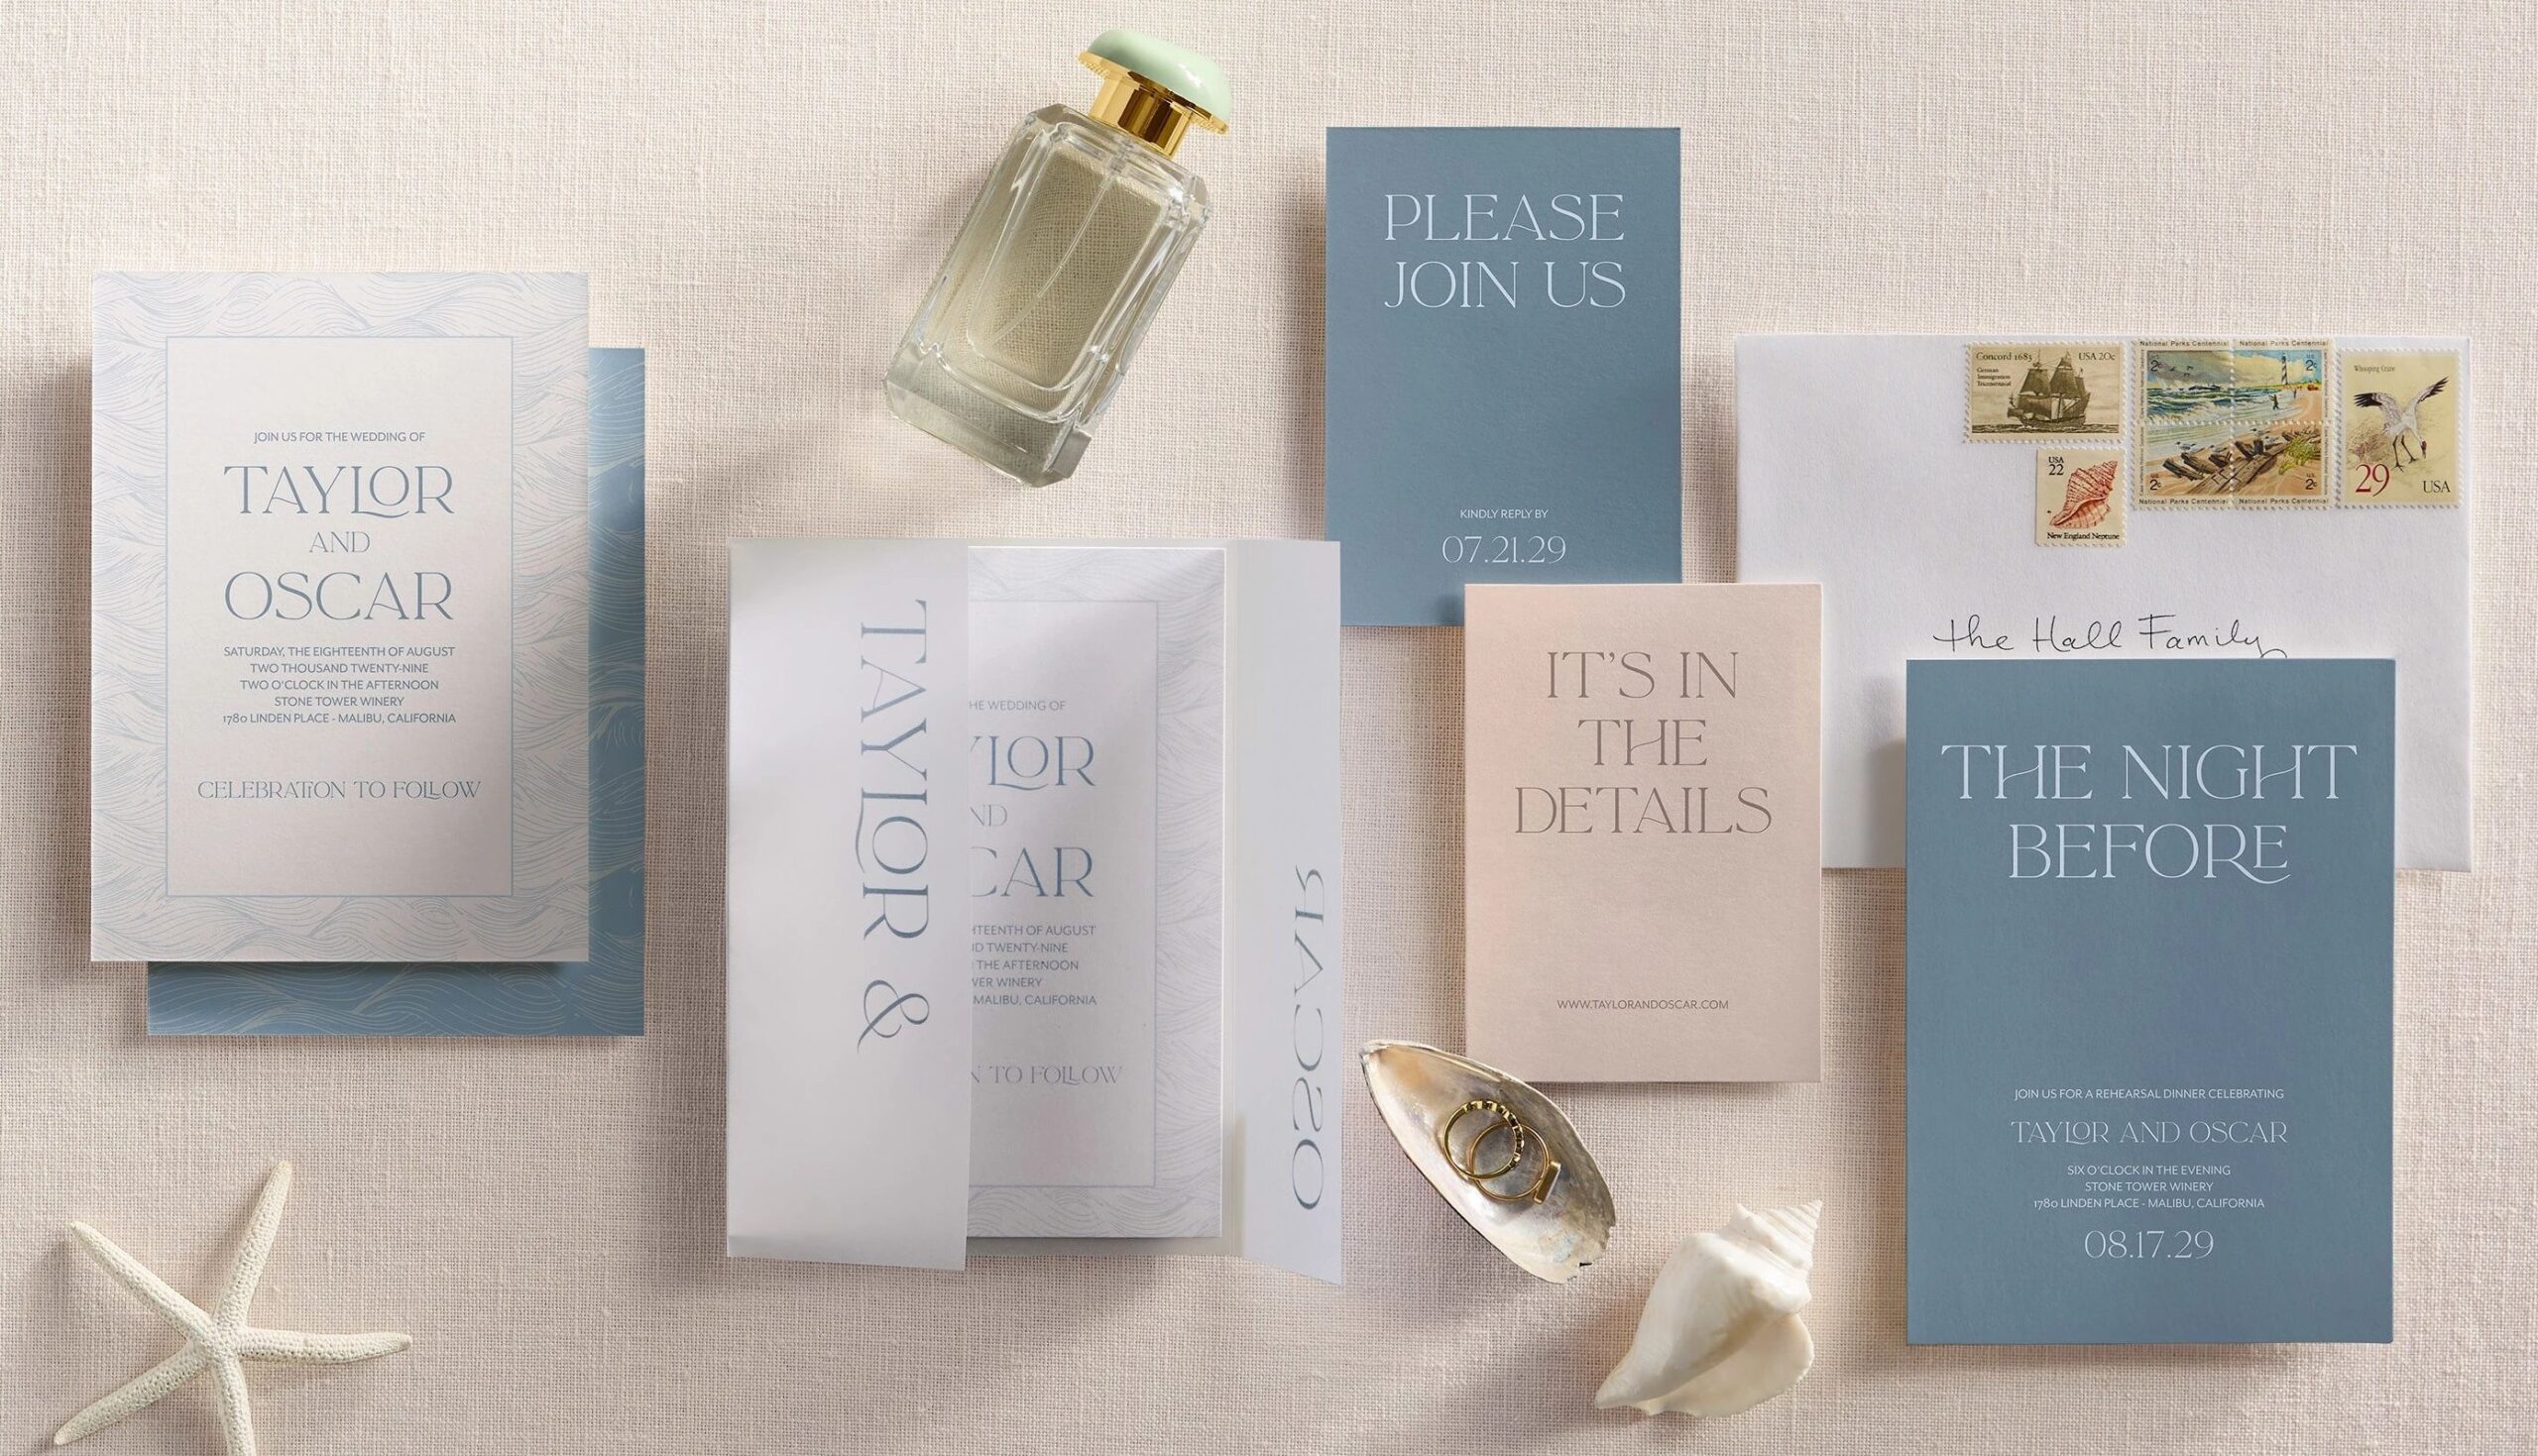
Wedding stationery includes a lot of moving pieces, from save the dates and invitations to programs, menus, and thank-you cards. When they’re created separately, it can be difficult to keep colors, fonts, and design details consistent across every item.
With Shutterfly, you can pick a design you love and carry it through your whole suite, from wedding invitations to thank you cards. Your colors, fonts, and layouts stay consistent, so every piece feels coordinated from the first save the date to the final thank you card. You can add your favorite photos along the way to make it feel even more like you.
Already have a design in mind? Maybe you created it yourself or had one made by a graphic designer or calligrapher. With Upload Your Own Design, you can bring your artwork to Shutterfly and use it across your suite. Your invitation design can extend to your programs, menus, and thank you cards, so you don’t have to start over for each piece.
Paper & Finish Guide
Once you’ve decided which pieces you need, it’s time to think about how they’ll look and feel. Paper is the part of your stationery your guests actually hold, so it’s worth a closer look before you order. Weight is how thick and sturdy a card feels, and texture is how it feels under your fingertips, whether that’s smooth, shimmery, or somewhere in between. Here’s how Shutterfly’s five cardstock options compare, so you can find the one that fits your wedding and your budget.
| Cardstock | Weight | Texture | Best For | Price Tier |
|---|---|---|---|---|
| Standard Smooth | Lightweight | Smooth, clean finish | Save the dates, casual invitations, programs, enclosure cards | $ |
| Signature Smooth | Mid-weight | Smooth with a substantial hand-feel | Invitations, RSVP cards, thank you cards, menus | $$ |
| Pearl Shimmer | Mid-weight | Subtle pearlescent sheen | Formal and evening weddings, glamorous invitation suites | $$$ |
| Luxe Double-Thick | Heavyweight | Ultra-thick, rigid, premium feel | Black-tie invitations, place cards, keepsake-quality pieces | $$$$ |
| 100% Recycled | Mid-weight | Natural, slightly textured | Eco-conscious couples, rustic and garden weddings | $$ |
Foil, Trim, and Format Options
Beyond cardstock, a few finishing touches let you shape the look of each piece.
Foil: Add a metallic shine to your text or design elements in gold, silver, or rose gold. It looks especially good on formal invitations and save the dates.
Glitter: Get all the sparkle with none of the mess. Our real glitter is no-mess, so it stays on your card and off your hands, your envelopes, and your guests.
Trim: Choose a classic straight edge, or go with rounded or scalloped corners for a shape that stands out.
Format: Pick the size, orientation, and flat or folded style that suits each piece.
With the right stationery pieces, paper options, and finishing touches, you can create a coordinated suite that carries your wedding style from your first save the date to your final thank you card.
