





Creating something special on Shutterfly doesn’t always have to be a one-person project. Maybe you’re making a family photo book and want your siblings to add their own touches, putting together a team gift with a group, or creating something another family member would love to order for themselves.
With Shutterfly, you can share a saved project using a link. Once someone saves the project to their own Shutterfly account, they can edit their copy without changing yours. That means you can share what you’ve created while keeping your original project exactly the way you made it.
Here’s how to share a Shutterfly project, plus a few ways to make project sharing part of creating gifts, keepsakes, and photo projects together.
How to Share a Shutterfly Project
You can share a saved project directly from the Projects section of your Shutterfly account. Shutterfly Support provides the following steps:
1. Sign in to your Shutterfly account and select Projects.
2. Find the project you want to share and hover over it.
3. Select Share.
4. Select Create Link.
5. Select Copy to copy your project link.
6. Paste the link into a text, email, group chat, or wherever you’d like to share it.
The person receiving the link will need to sign in to Shutterfly or create an account to view the entire project. A shared link can display the project thumbnail without signing in, while projects with multiple surfaces require sign-in to see the complete project.
Why Share a Shutterfly Project?
Sharing comes in handy anytime more than one person wants to use, personalize, or order something you’ve created.
Create a photo book together
If you’re putting together a family yearbook, vacation album, memorial photo book, wedding keepsake, or another group photo book, sharing the project lets someone else save a copy and continue working with the design. Because your original stays intact, you don’t have to worry about someone accidentally changing the version you want to keep.
Let family members order their own copy
Sometimes you finish a photo book and immediately hear, “Can I get one?”
Instead of starting over, share the project so family members can save it to their own Shutterfly account. They can keep your design as you created it or personalize their copy before ordering.
This could be especially useful after making a family-history album, wedding book, memorial book, vacation album, or year-in-review book that several people would like to have.
Make different versions of the same project
A shared project can also be a useful starting point when everyone wants something slightly different.
For example, share a family photo book with siblings and let each person personalize a copy with additional photos, captions, or pages. Or create the starting design for a group project and let someone else adapt it for a different recipient.
Your finished version stays yours while everyone else can make the project their own.
Create a group or team gift
Sharing can make it easier to create something from a whole group. Start a photo book, calendar, or other personalized project for a teacher, coach, coworker, friend, or family member, then share the project when someone else needs to review or build from what you’ve created.
For a team photo book, for example, you might start with the season’s photos and layouts, then share the project with another parent who wants to personalize a copy for their own family.
Share a design someone else loves
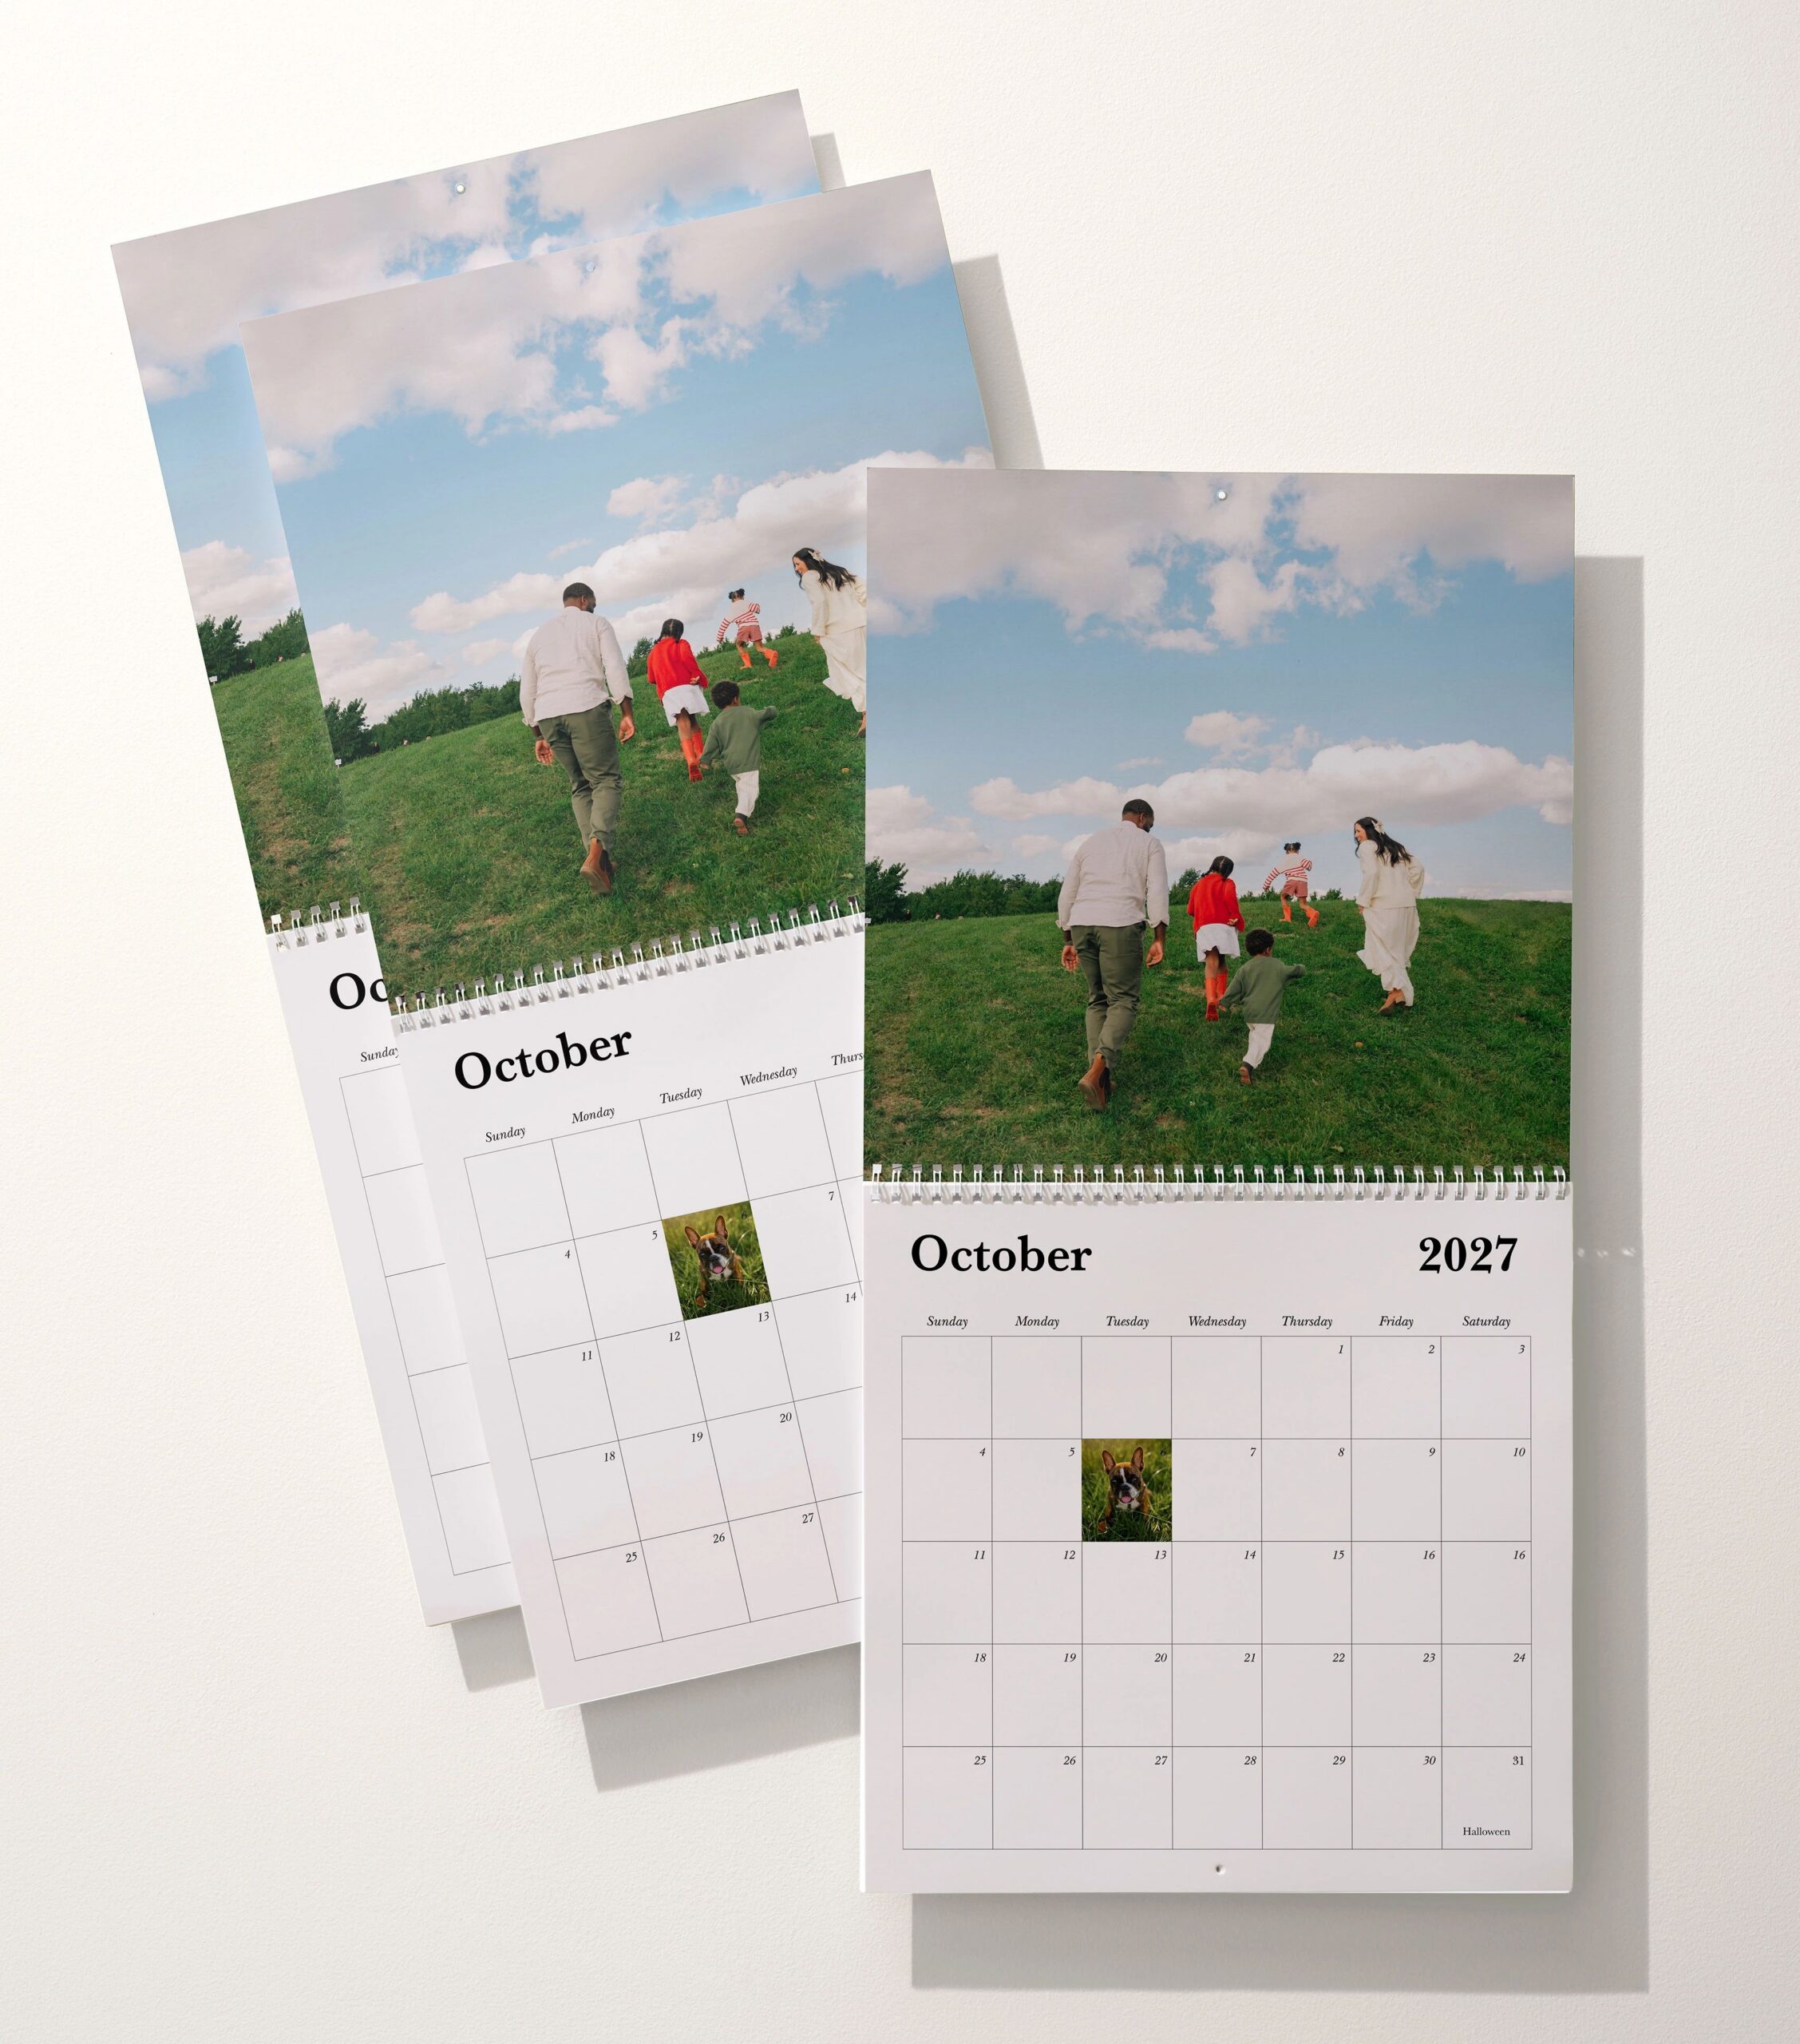
Project sharing doesn’t have to be collaborative at all. Maybe you made a photo calendar for your parents and your sibling wants the same one. Or a relative sees the family photo book you created and wants a copy.
Sharing the project gives them an easy starting point without requiring you to recreate or order the project on their behalf.
Your Original Project Stays the Same
When someone saves and edits a project you’ve shared, their changes do not affect the original project in your account.
That gives everyone room to personalize their own version. Change photos, update text, or make other edits without worrying about altering the project that was originally shared.
Sharing a Shutterfly Project From the App
You can create and work on projects in the Shutterfly app, but project sharing itself isn’t available directly in the app. To share a project, open Shutterfly in your web browser, go to Projects, find the project you want to share, and use Share to create and copy a link.
If the Share button appears unavailable on the website, open the project in a mobile browser and use the three-dot menu to share it.
Save a Copy Before Making Changes
Shutterfly also lets you create a copy of one of your own saved projects. From Projects, hover over the project, choose Copy, give the new version a name, and save it as a separate project.
This can be helpful when you want to experiment with another version while preserving the finished design. For example, keep your original family photo book and make another copy before changing the cover, swapping photos, or personalizing the book for someone else.
FAQs About Sharing Shutterfly Projects
Does someone need a Shutterfly account to see a shared project?
People can view the project thumbnail from a shared link without signing in. To view the complete project and work with it, the recipient will need to sign in or create a Shutterfly account. Projects with multiple surfaces also require sign-in to use the magnification tool and view the entire project.
Can someone order a Shutterfly project I share with them?
Yes. Once someone saves the shared project to their Shutterfly account, they’ll have their own copy to work with. They can keep the design as you created it, make their own changes, and order their version when they’re ready. Your original project stays unchanged.
How many Shutterfly projects can I share?
You can share up to 20 projects within a 24-hour period. After 24 hours, you can share an additional 20 projects.
