


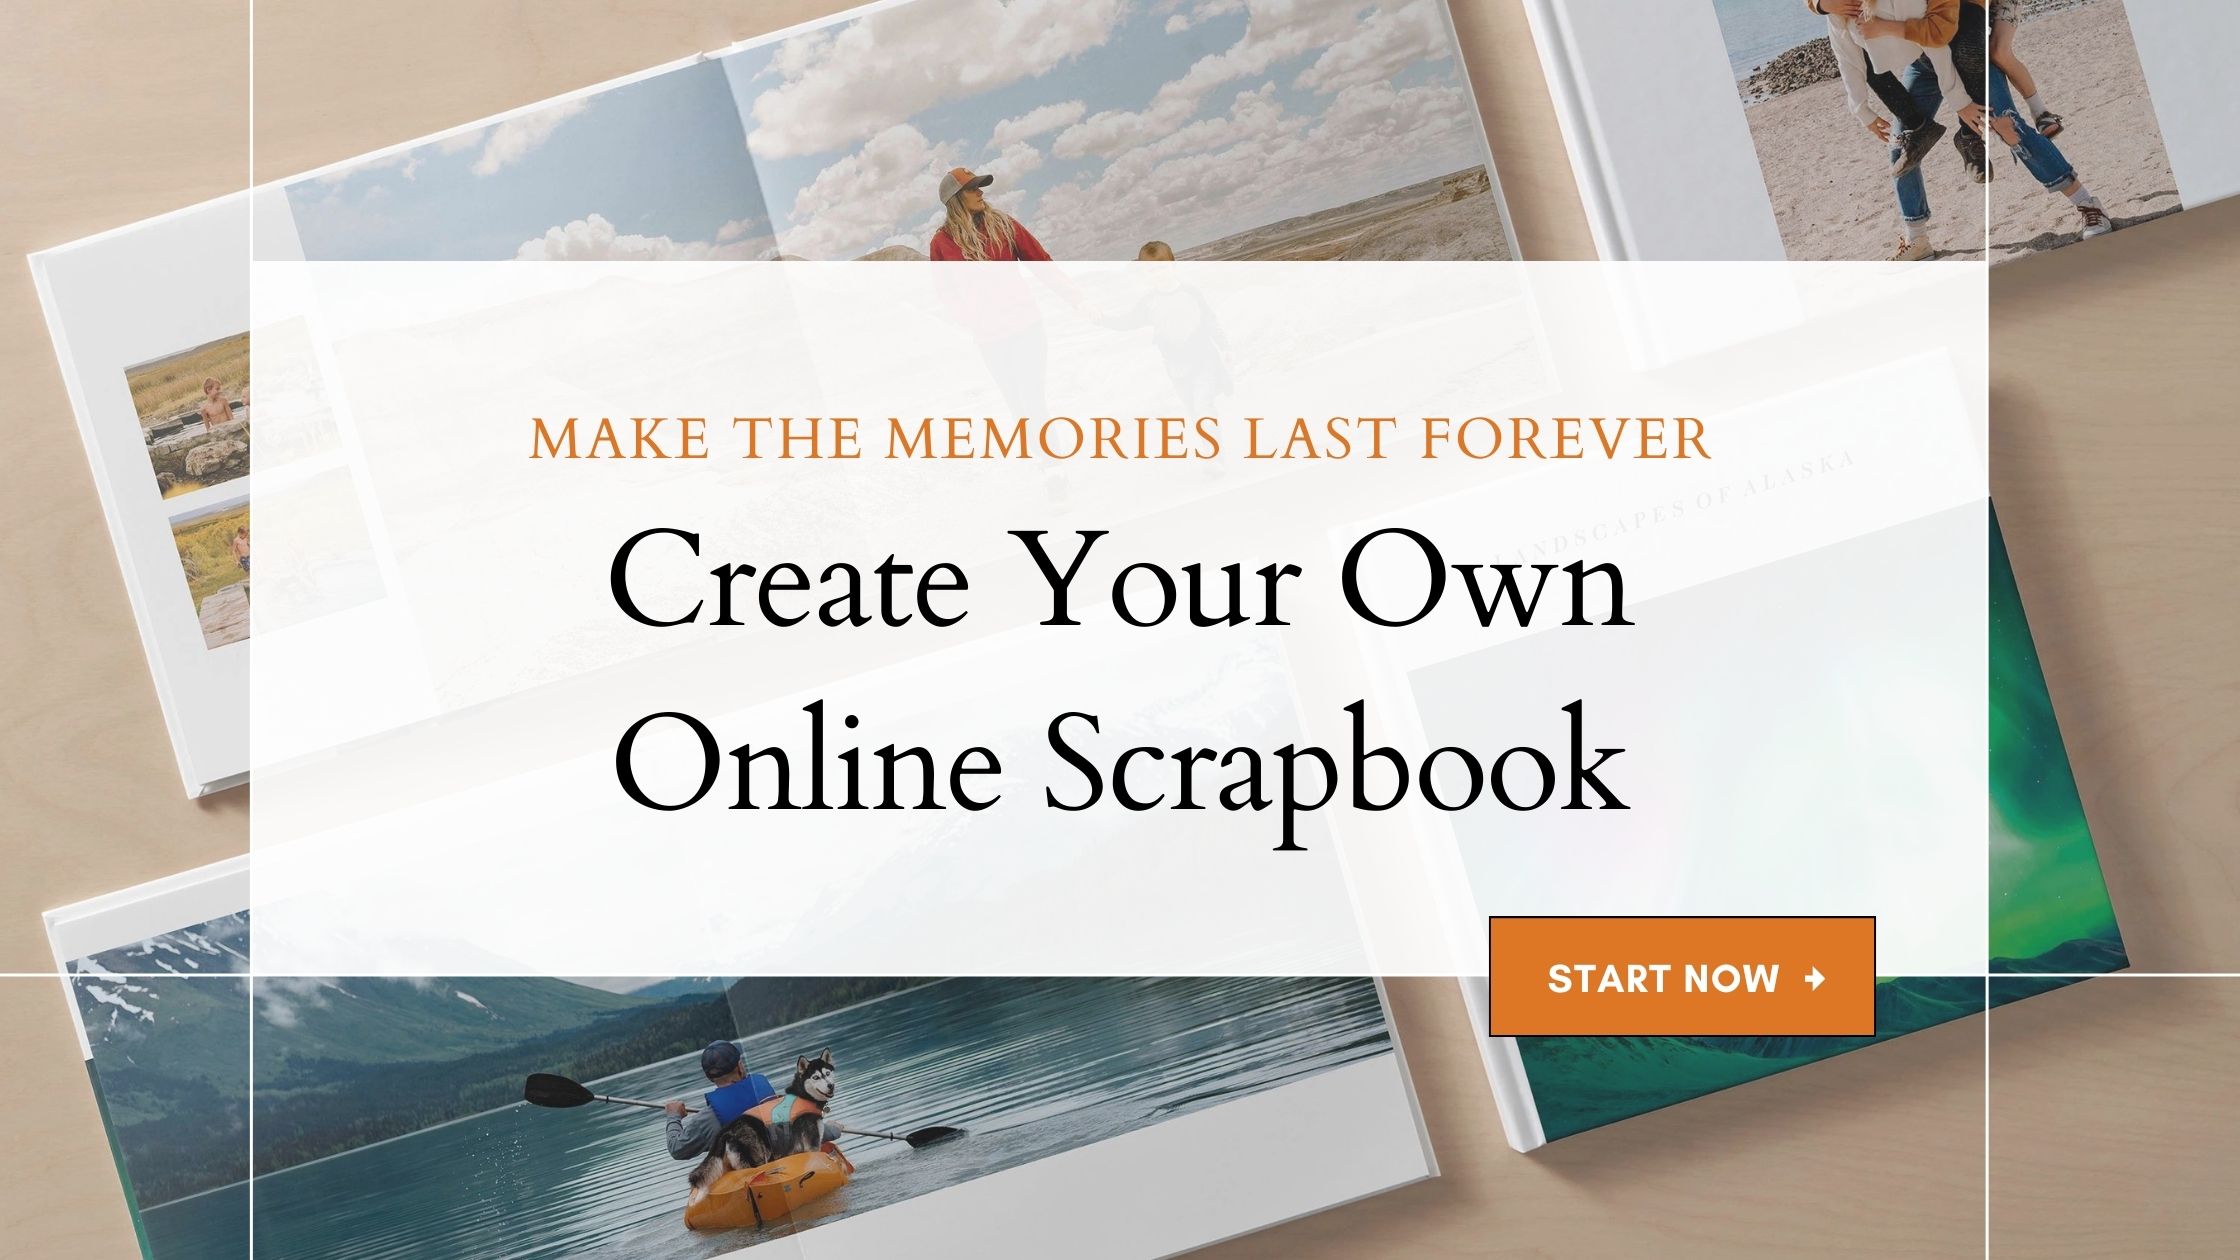
Digital scrapbooking has revolutionized the way we capture and preserve our most cherished memories. Whether you’re a seasoned scrapbooker or just beginning, online scrapbooking offers a fun and convenient way to design beautiful, personalized keepsakes. With digital scrapbooking, you can easily craft your layouts, add photos, embellishments, and text, and then print your creations as stunning photo books. This method not only saves time and space but also ensures that your memories are professionally printed and preserved for years to come.
How to Make a Digital Scrapbook
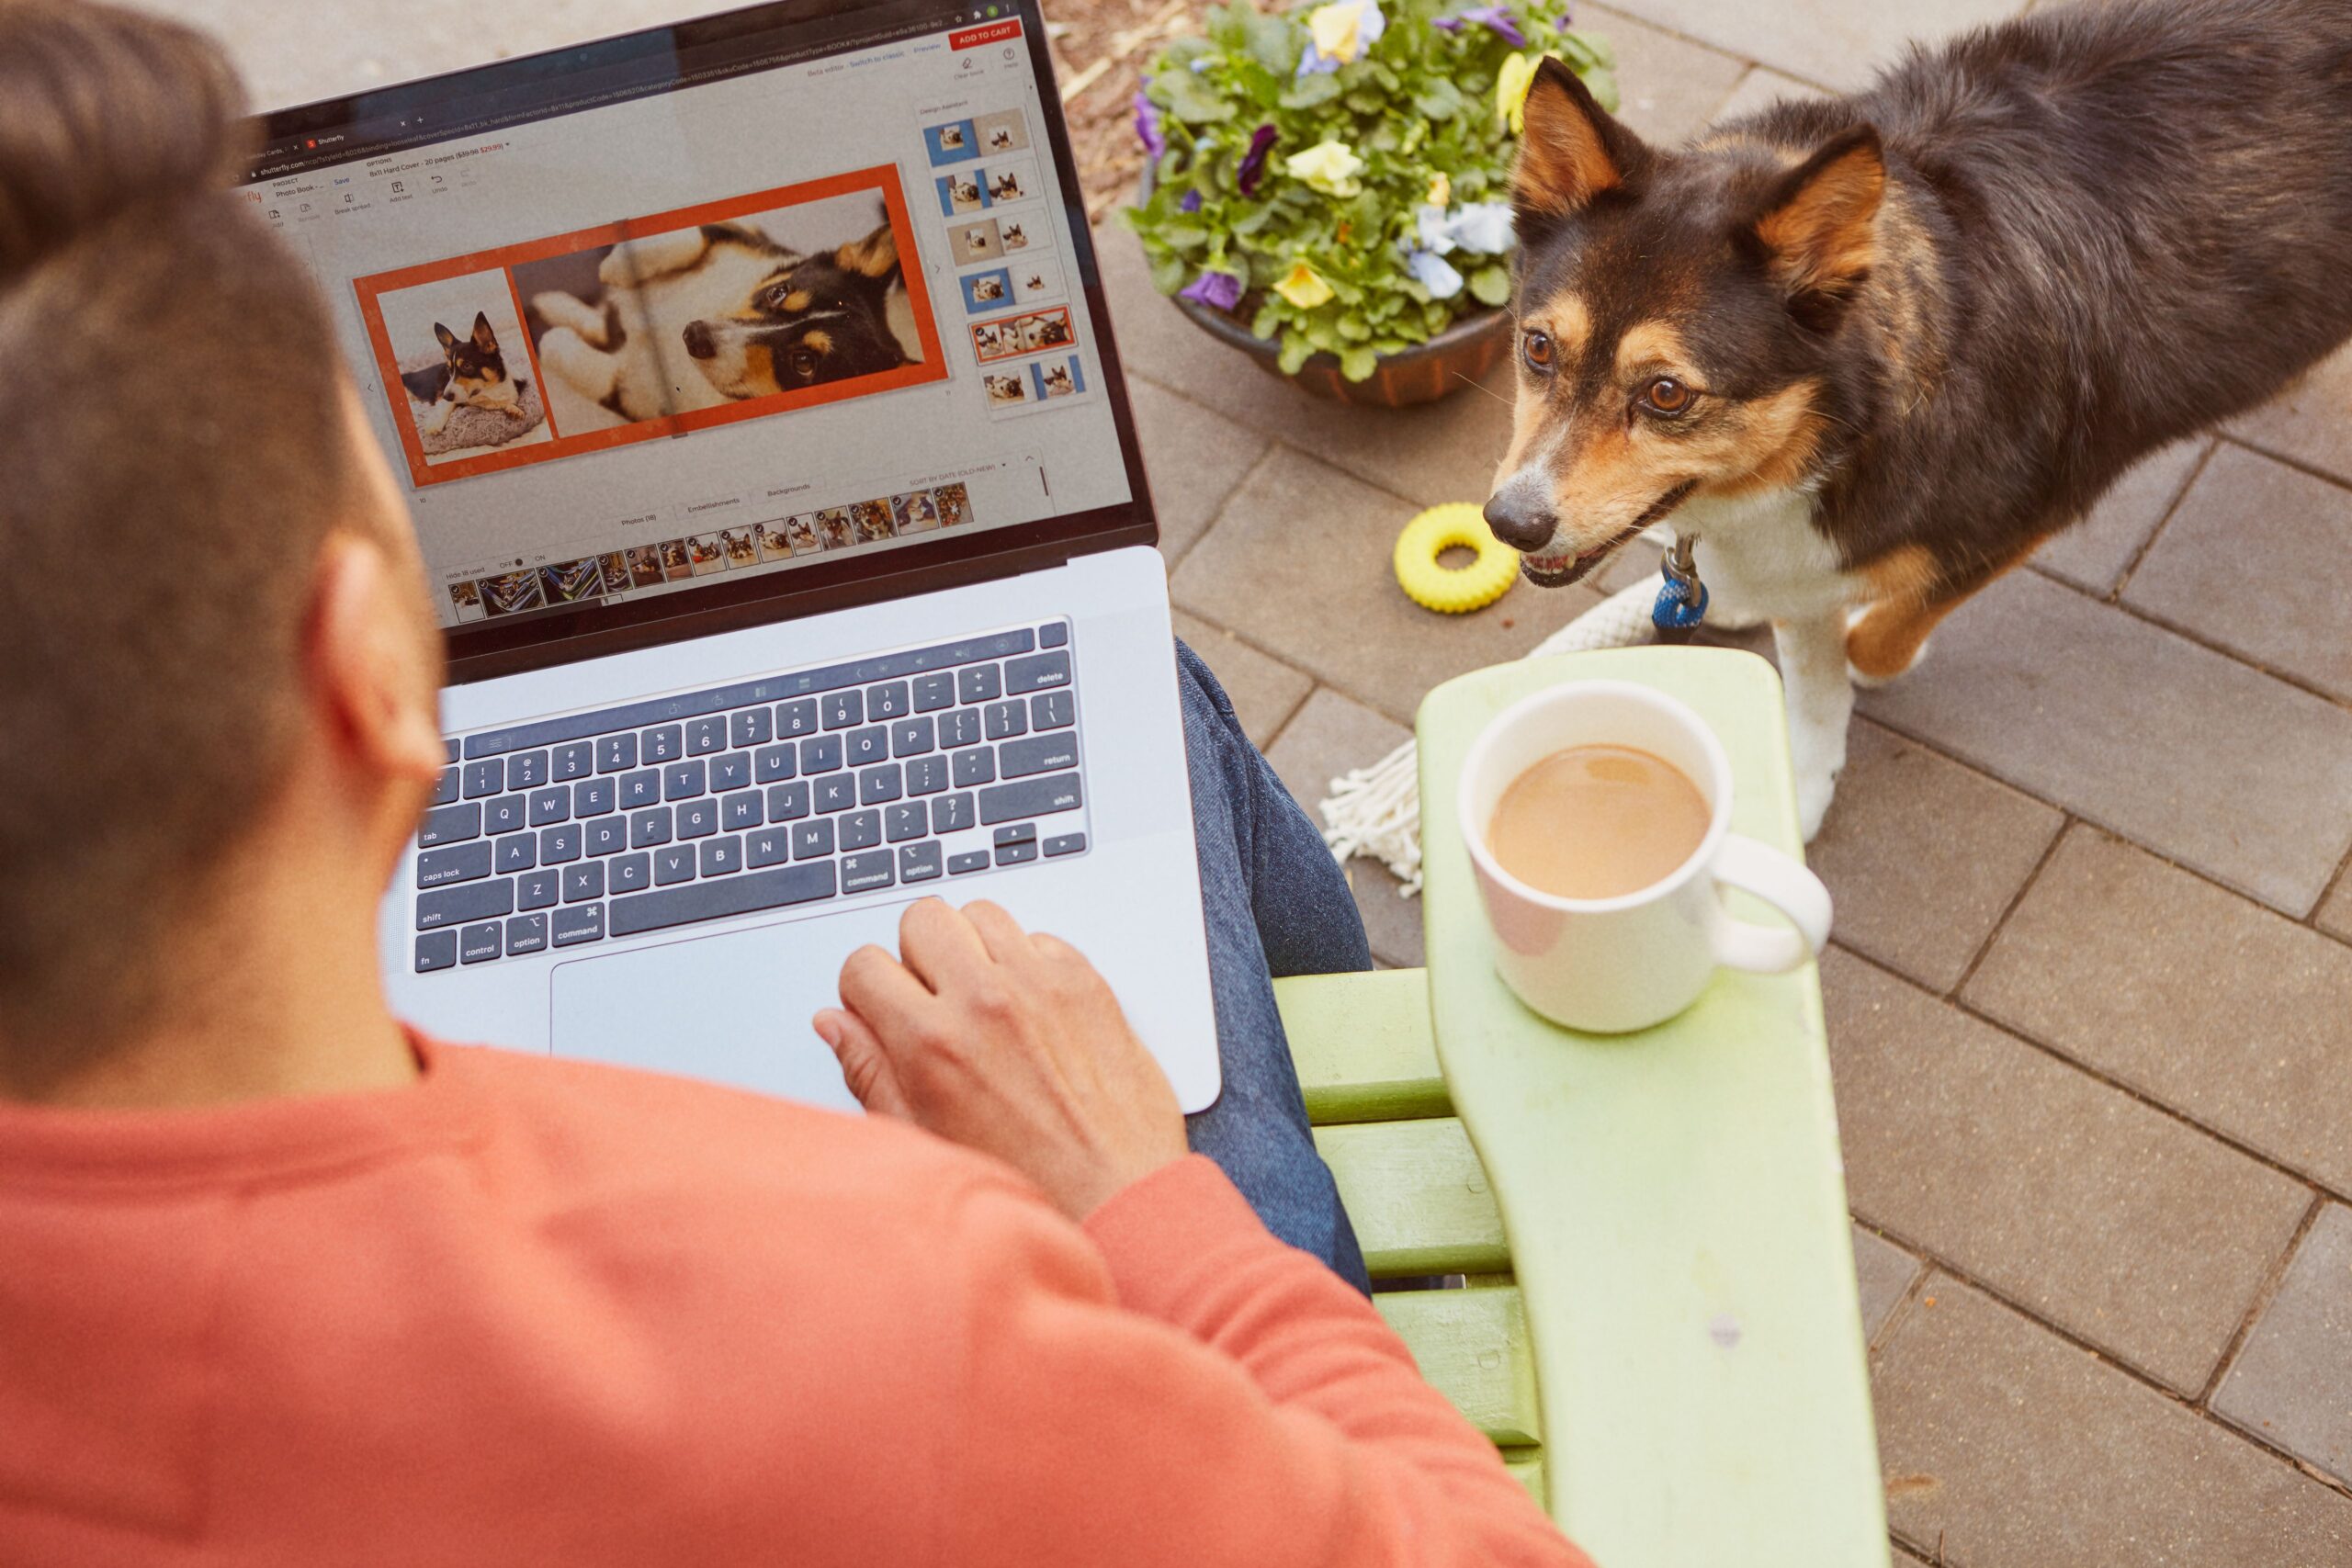
Creating a digital scrapbook is an exciting way to turn your favorite memories into a lasting keepsake. With just a few simple steps, you can design a personalized scrapbook that captures your unique style and tells your story in a beautifully crafted photo book.
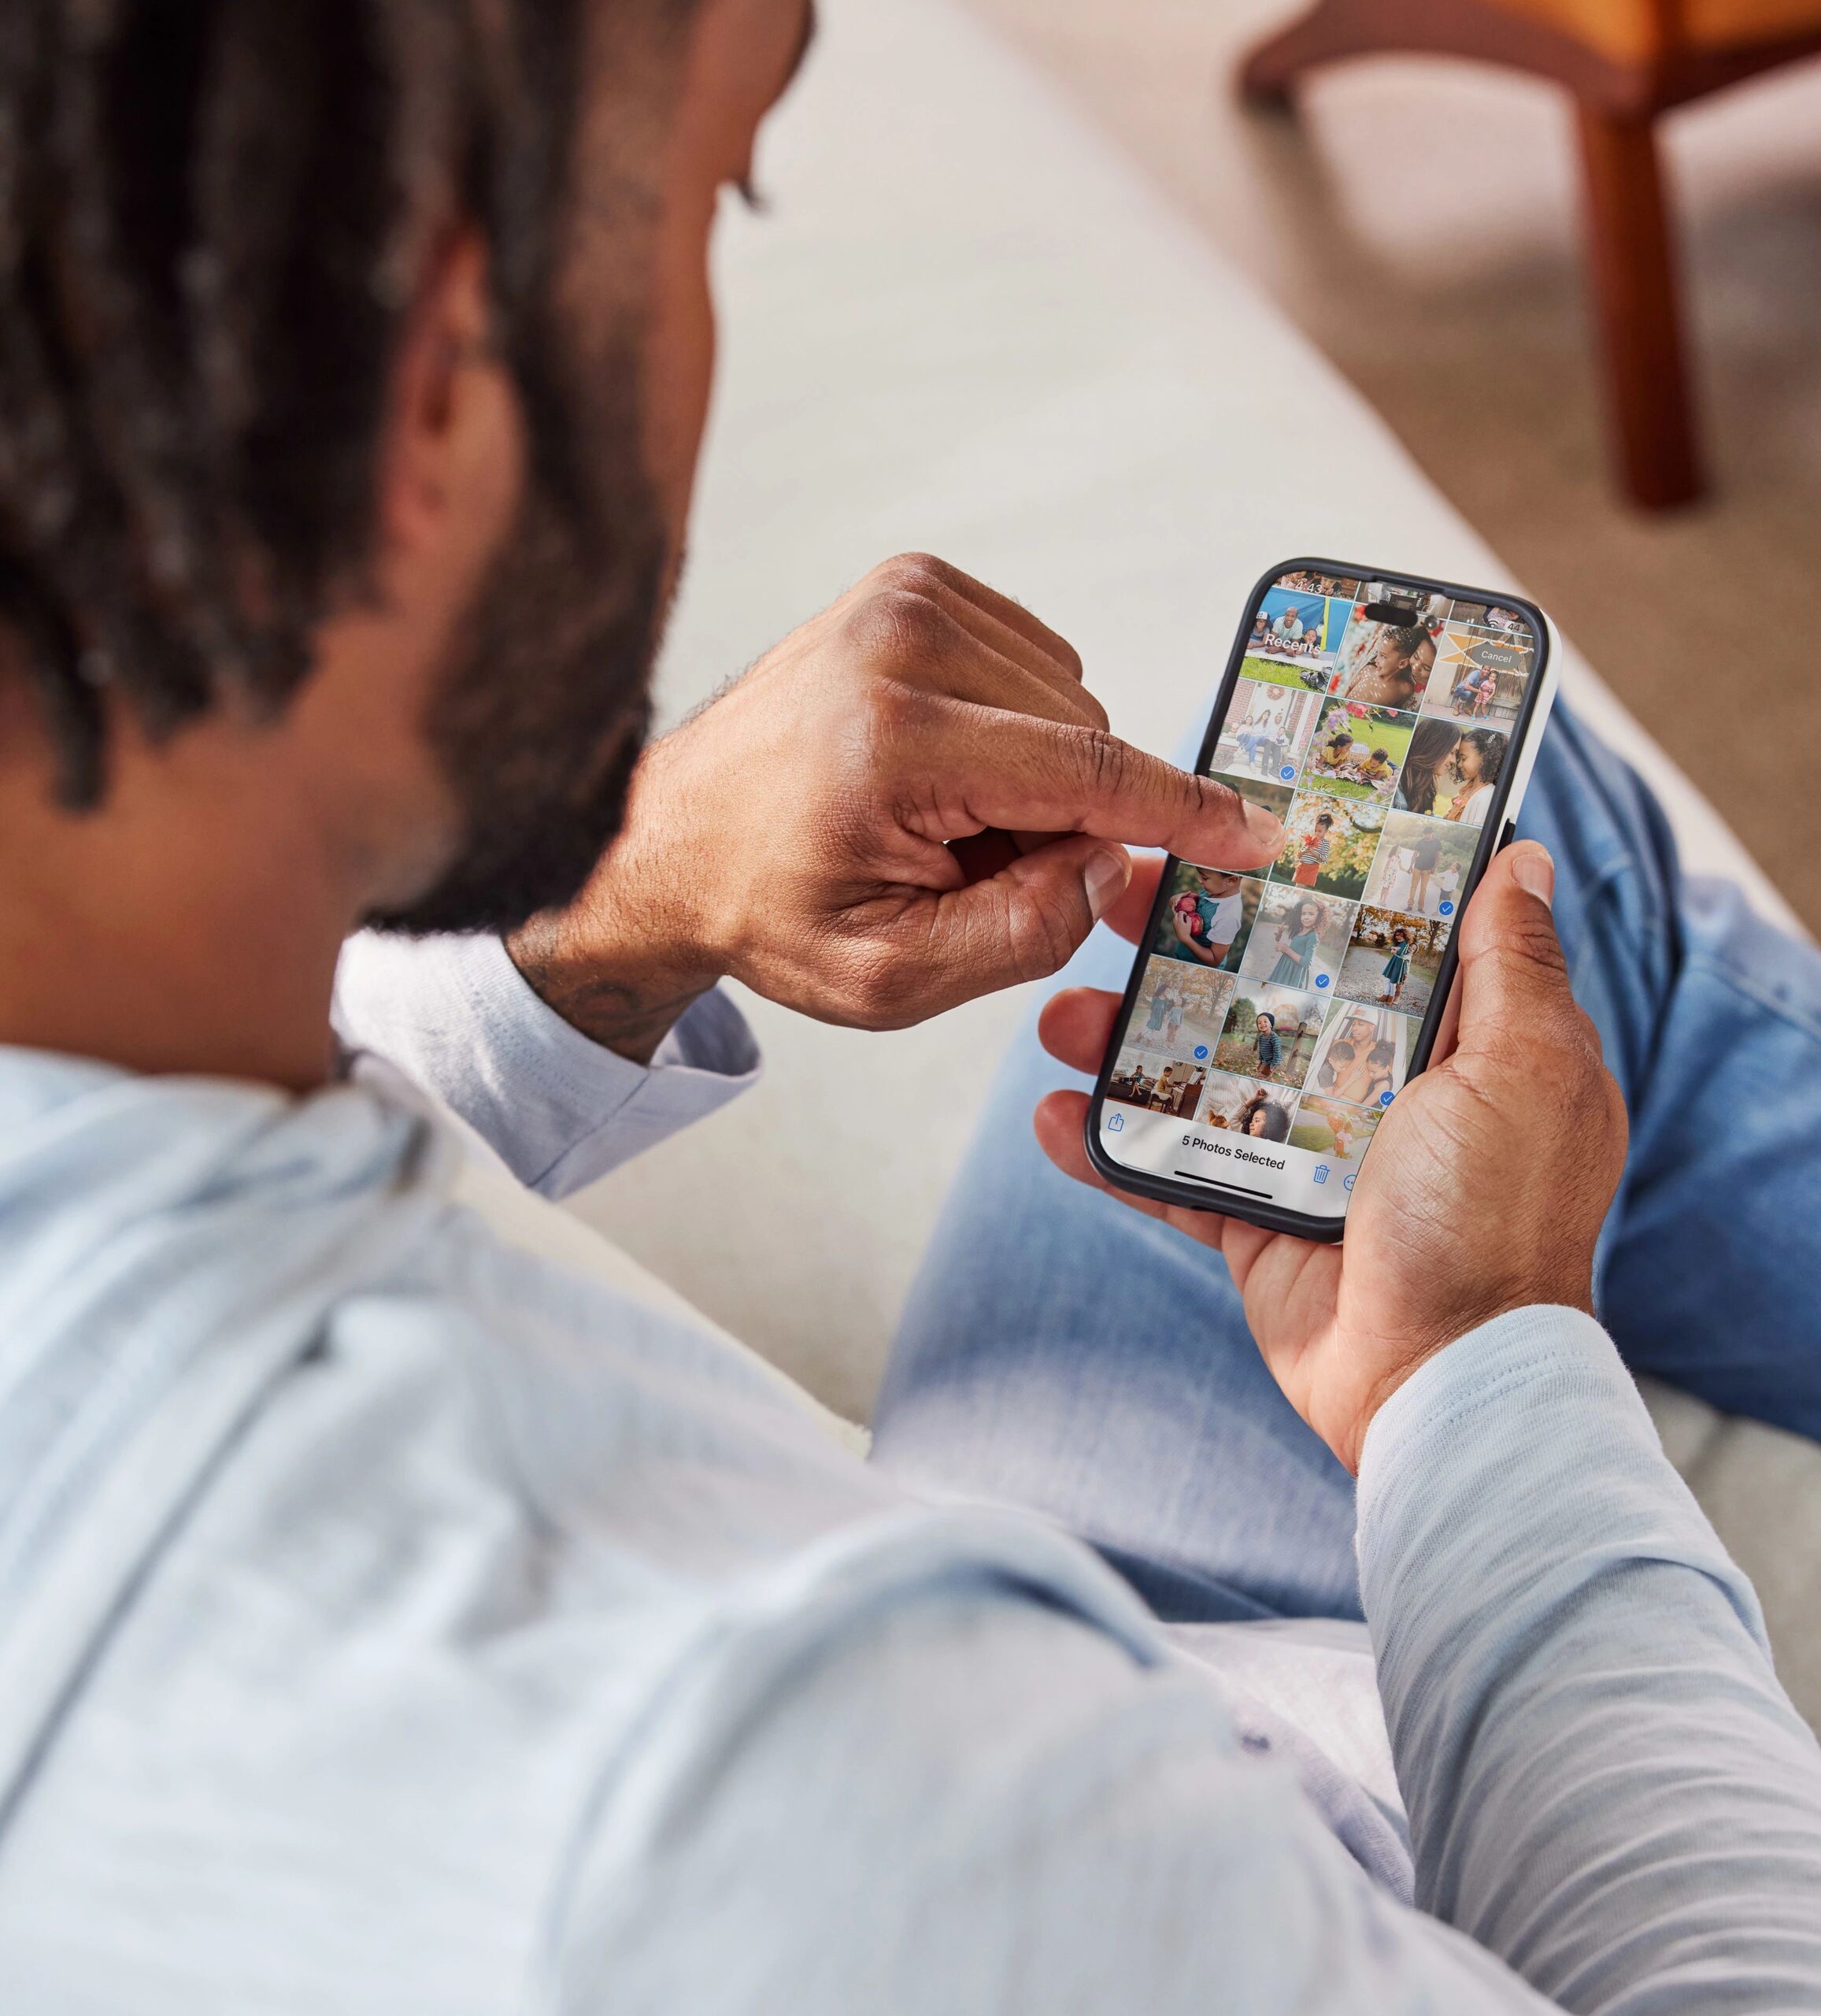
- Upload Your Photos: Start by uploading your favorite photos to Shutterfly. You can easily organize them by date, event, or theme, making it easier to create cohesive and themed pages.
- Select a Template: Choose from a variety of beautifully designed templates that match your scrapbook’s theme. Whether you’re documenting a wedding, vacation, or everyday moments, Shutterfly offers photo book templates that can be customized to suit your style.
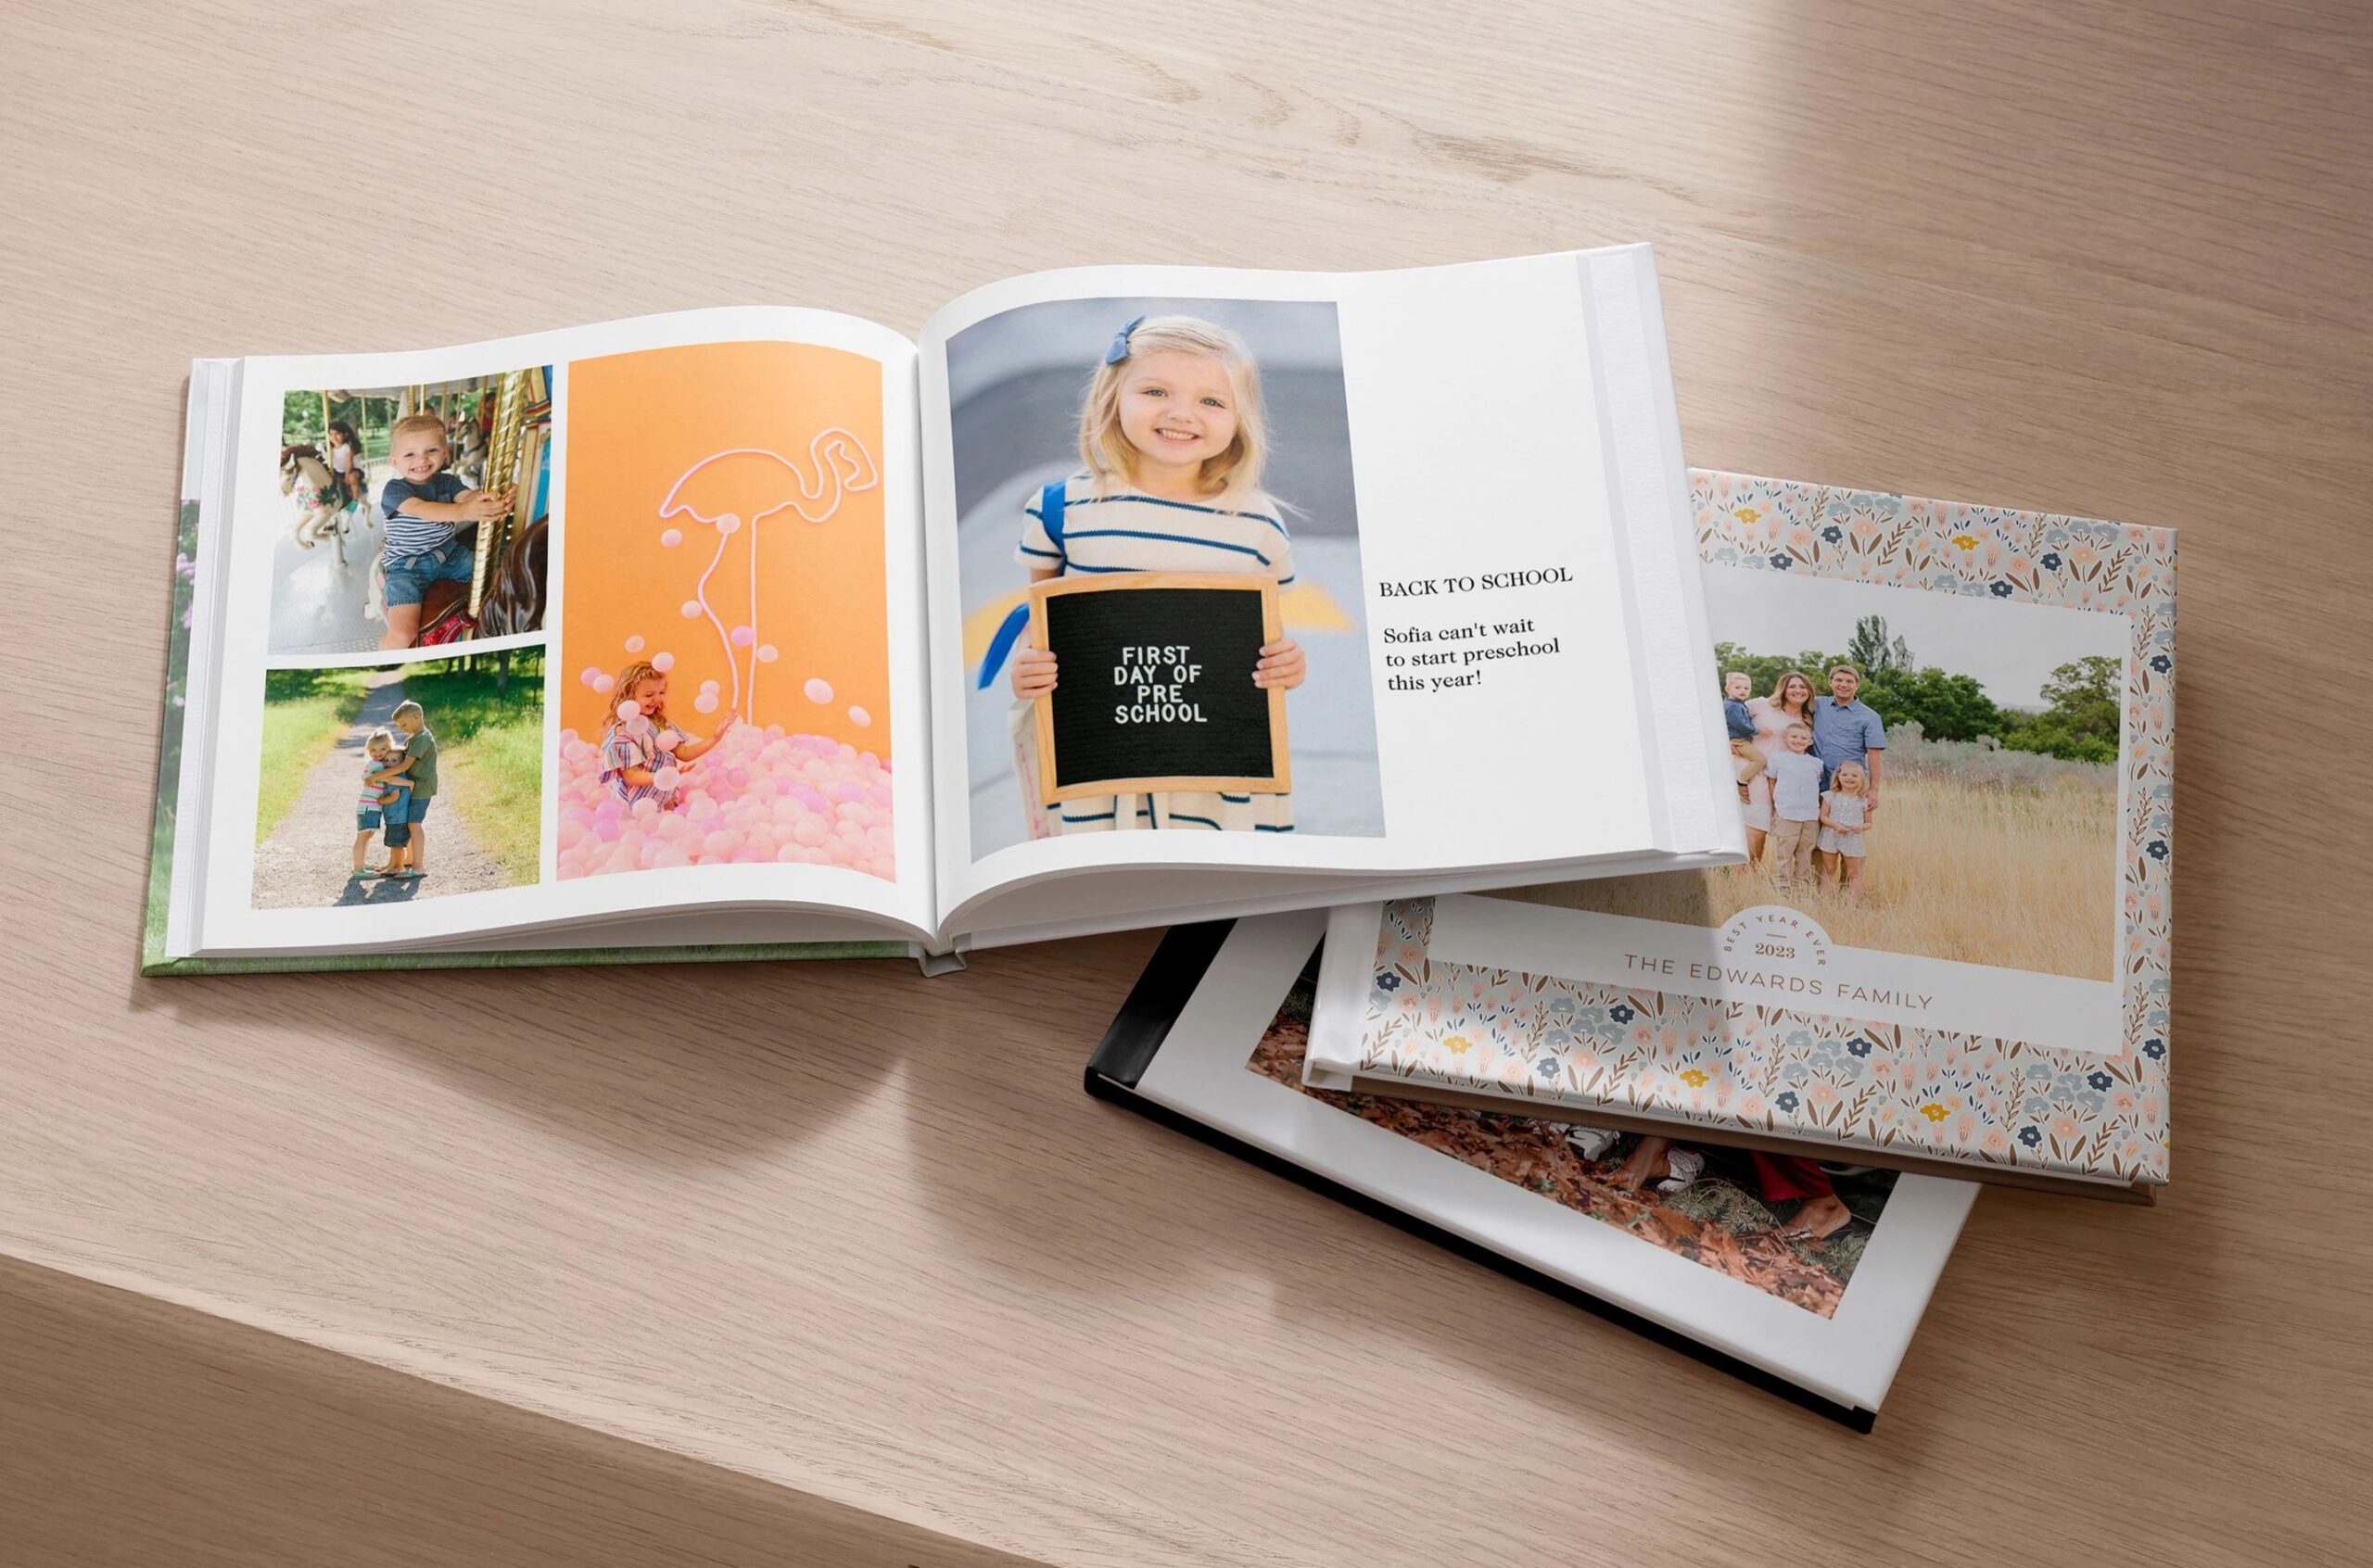
- Customize Your Pages: Personalize each page by adjusting the layout, background colors, and adding digital stickers, frames, and text. Shutterfly provides a wide range of design elements to enhance your scrapbook.
- Arrange Your Pages: Once your pages are designed, arrange them in the order you want them to appear in your printed photo book. You can easily rearrange the pages until you’re satisfied with the flow.
- Preview and Print: Before finalizing your project, preview the entire scrapbook to ensure everything looks perfect. Once you’re happy with the design, order your photo book, and Shutterfly will print and deliver your professionally crafted scrapbook to your door.
Include Mementos in Your Digital Scrapbook

Adding personal mementos to your online scrapbook is a creative way to make your memories come to life. You can easily incorporate items like ticket stubs, postcards, maps, handwritten notes, or even party decorations by scanning or photographing them. Here’s how you can do it:
- Scan or Photograph Your Mementos: Use a scanner for flat items like ticket stubs, travel maps, or invitations. If you don’t have a scanner, taking a clear, high-resolution photo with your phone or camera works just as well. Be sure to photograph in good lighting to capture details.
- Upload Your Images: Once you’ve scanned or photographed your keepsakes, upload the digital files into your photo book creation tool. You can easily mix these images with your photos to create a visually dynamic page that tells a fuller story.
- Arrange and Customize: Place your mementos in the layout alongside relevant photos. For instance, you can pair a map with vacation photos or add ticket stubs next to concert pictures. You can also add text or captions to describe the significance of each item.
By including scanned mementos in your digital scrapbook, you preserve not only the visual memories but also the physical reminders of your experiences, making your scrapbook more personal and meaningful.
Digital Scrapbook Ideas
Need a spark of creativity? Dive into these fun and inspiring digital scrapbook ideas that will help you capture every special moment, from life’s big milestones to the little everyday joys that make your story unique.
- Travel Scrapbook: Document your adventures with a travel photo book . Include photos of landmarks, scenery, and candid moments. Add maps, tickets, and little notes about your favorite experiences to give your scrapbook a personal touch.
- Wedding Scrapbook: Capture the magic of your special day by creating a wedding photo book. Include photos of the ceremony, reception, and all the little details that made your day unique. Personalize it with your vows, invitations, and quotes that mean something special to you and your partner.
- Family Yearbook: Create a family yearbook that highlights the best moments of the year. Include holidays, birthdays, vacations, and everyday moments. This is a great way to keep a yearly tradition of documenting your family’s growth and milestones.
- Baby’s First Year: Celebrate your baby’s first year by creating a custom baby album that captures all the precious moments. Include milestones like the first smile, first steps, and first words. Add in keepsakes like birth announcements and baby shower invitations.
- Graduation Scrapbook: Commemorate your academic achievements with a graduation photo album. Include photos from the ceremony, parties, and any special moments leading up to graduation. Add quotes or messages from friends and family to make it even more special.
- Pet Scrapbook: Celebrate your furry friend by creating a pet-themed scrapbook. Include photos of your pet from puppyhood or kittenhood to the present day. Add fun facts about your pet’s personality, favorite toys, and memorable moments.
Explore Digital Scrapbook Templates
Work on Your Scrapbook Anytime, Anywhere
One of the great advantages of digital scrapbooking with Shutterfly is the ability to work on your project whenever and wherever you want. Whether you’re using a desktop or smartphone, Shutterfly’s online scrapbook maker is fully accessible from any device. This means you can add photos, tweak layouts, or finish pages whenever inspiration strikes, without being tied to a specific location or time.
Related Resources on Making a Digital Scrapbook
Digital scrapbooking is a perfect blend of creativity and convenience, making it easy to create lasting memories that you can print and cherish forever. Whether you’re documenting a special occasion or preserving everyday moments, online scrapbooking is a fun and rewarding way to keep your memories alive.
Related Resources: