


Graduation cards are a chance to show more than a name, a date, and a photo. They celebrate who your grad is, what they’ve been part of, and what comes next. While the front highlights the moment, the back of your graduation card gives you space to add more personality through extra photos, meaningful details, or a message that brings everything together. With Shutterfly, free back-of-card designs are included with every graduation announcement and invitation, so you can create something that feels complete and uniquely theirs.
The back of a graduation card can include extra photos, future plans, accomplishments, or party details. Shutterfly graduation announcements and invitations include free back-of-card designs, so you can customize it with text, a single photo, or a collage to make your card feel more complete.
How Back-of-Card Design Works for Graduation Cards
After you finish customizing the front of your graduation announcement or party invitation, you’ll be able to design the back before checkout.
At that point, you can choose from a range of layouts depending on what you want your graduation card to include:
- A simple text layout for extra details or a note
- A single photo to highlight another senior portrait
- A photo + text layout to balance visuals and information
- A collage layout to include multiple graduation photos
You can also change the background to match your graduation theme—whether that’s a clean solid color, something more decorative, or a subtle pattern with graduation elements like caps or celebratory designs.
Use the back in a way that supports your announcement or invitation, not competes with it.
What to Put on the Back of a Graduation Announcement
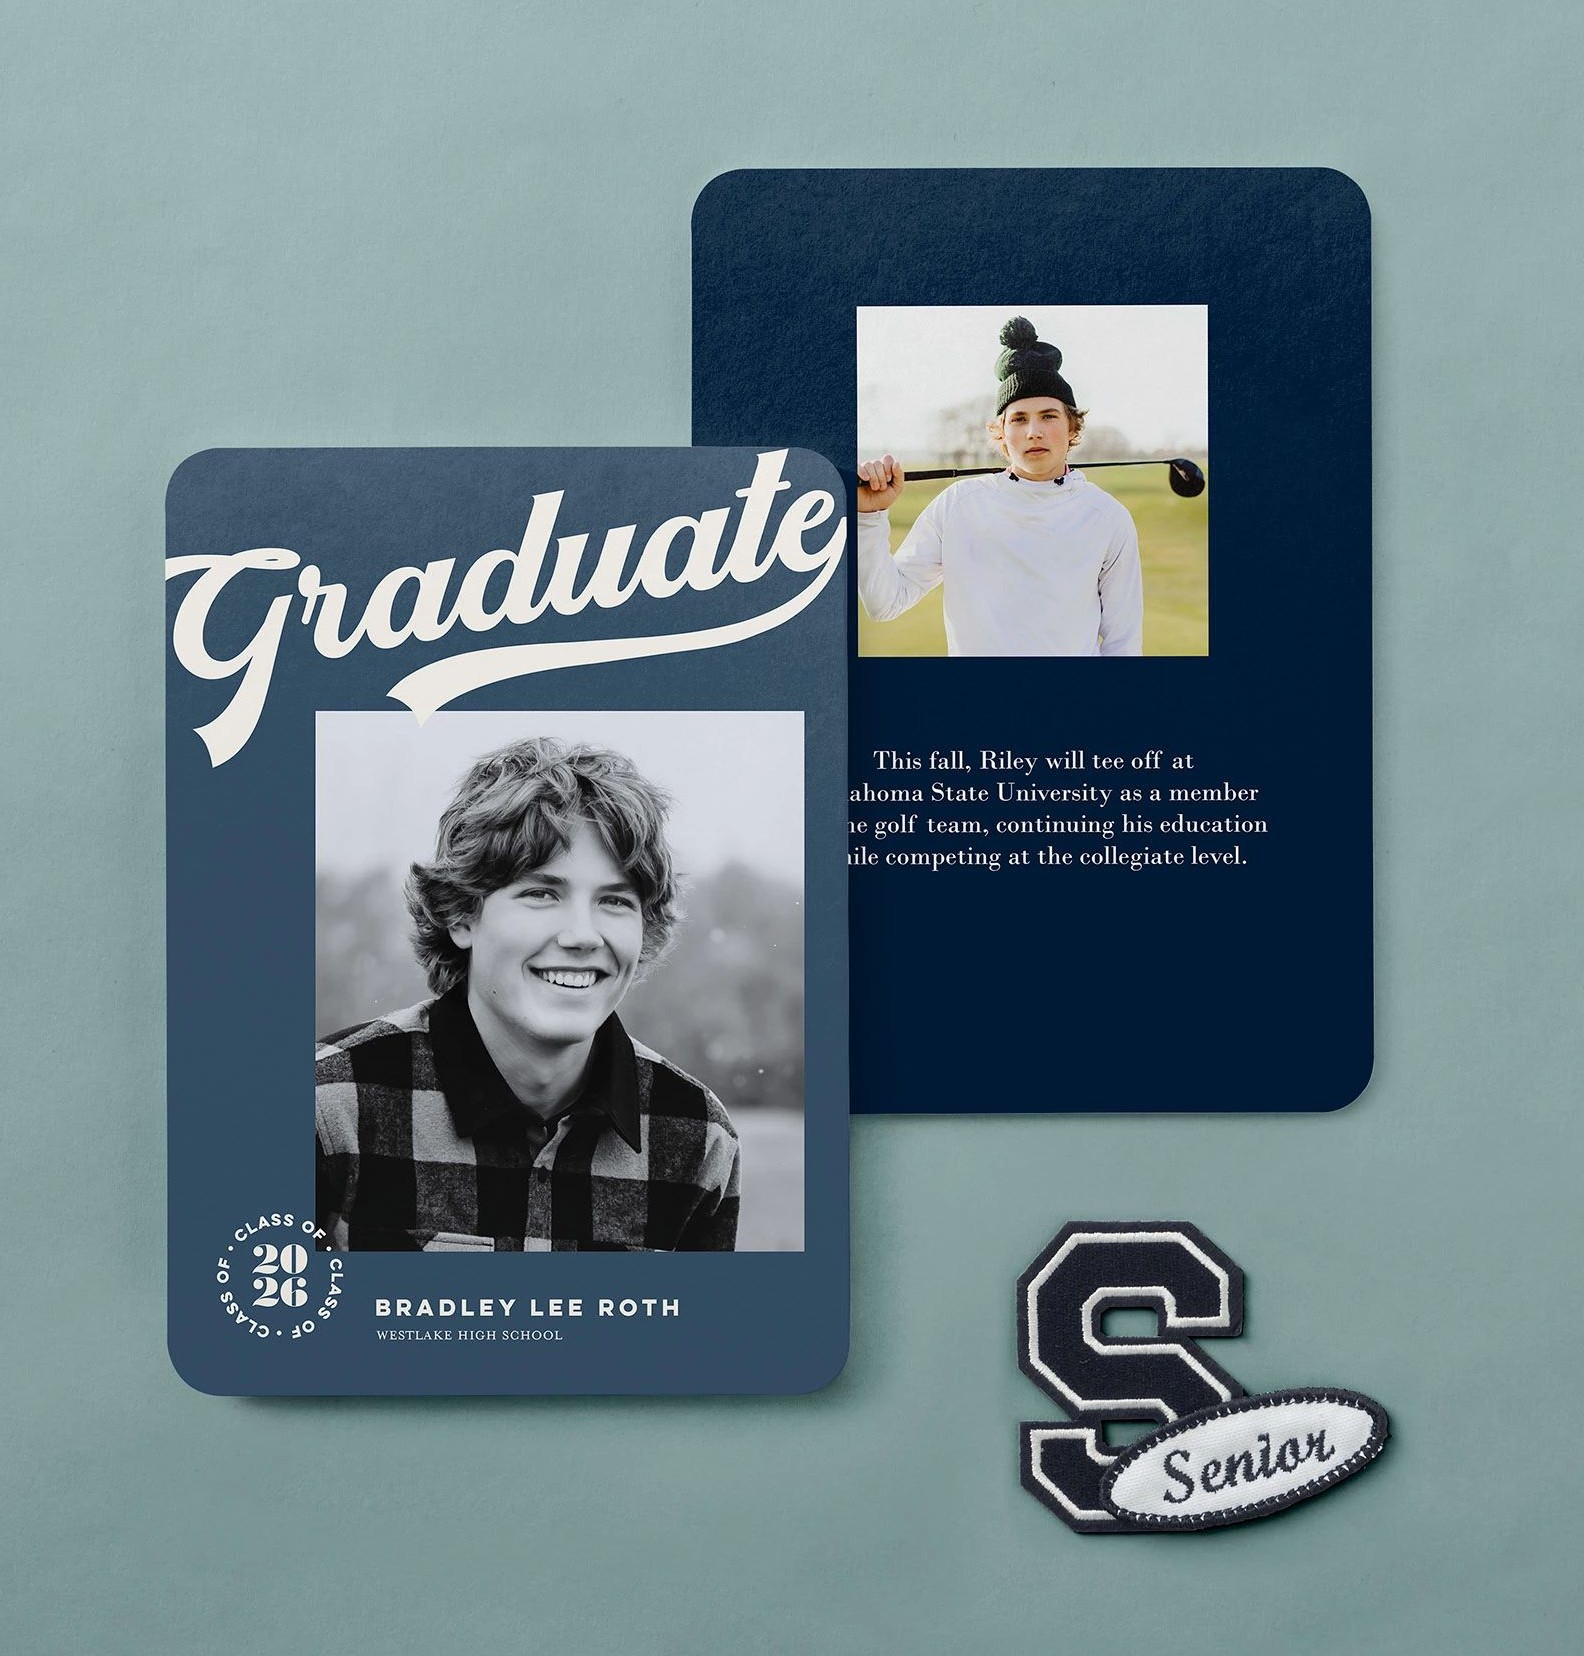
If you’re sending graduation announcements, the back is often used to share a little more about the graduate beyond the main photo and name.
Here are a few of the most useful things to include:
A few more photos that tell the story
Instead of trying to fit everything on the front, use the back for:
- A childhood photo next to a senior portrait
- A few candid shots with friends or family
- Activity photos (sports, music, clubs) that mattered during school
This is especially helpful for parents who want to show more of the journey, not just the final portrait.
Future plans
A short line about what’s next adds context and makes the announcement feel more personal:
- “Attending the University of Oregon in the fall”
- “Pursuing a degree in nursing”
- “Joining the U.S. Navy”
It answers the question everyone is already wondering when they receive the card.
A short message or thank you
You don’t need a full paragraph—just a simple note works:
- “Thank you for being part of this journey”
- “We’re so grateful for your support over the years”
- “Excited for what’s ahead”
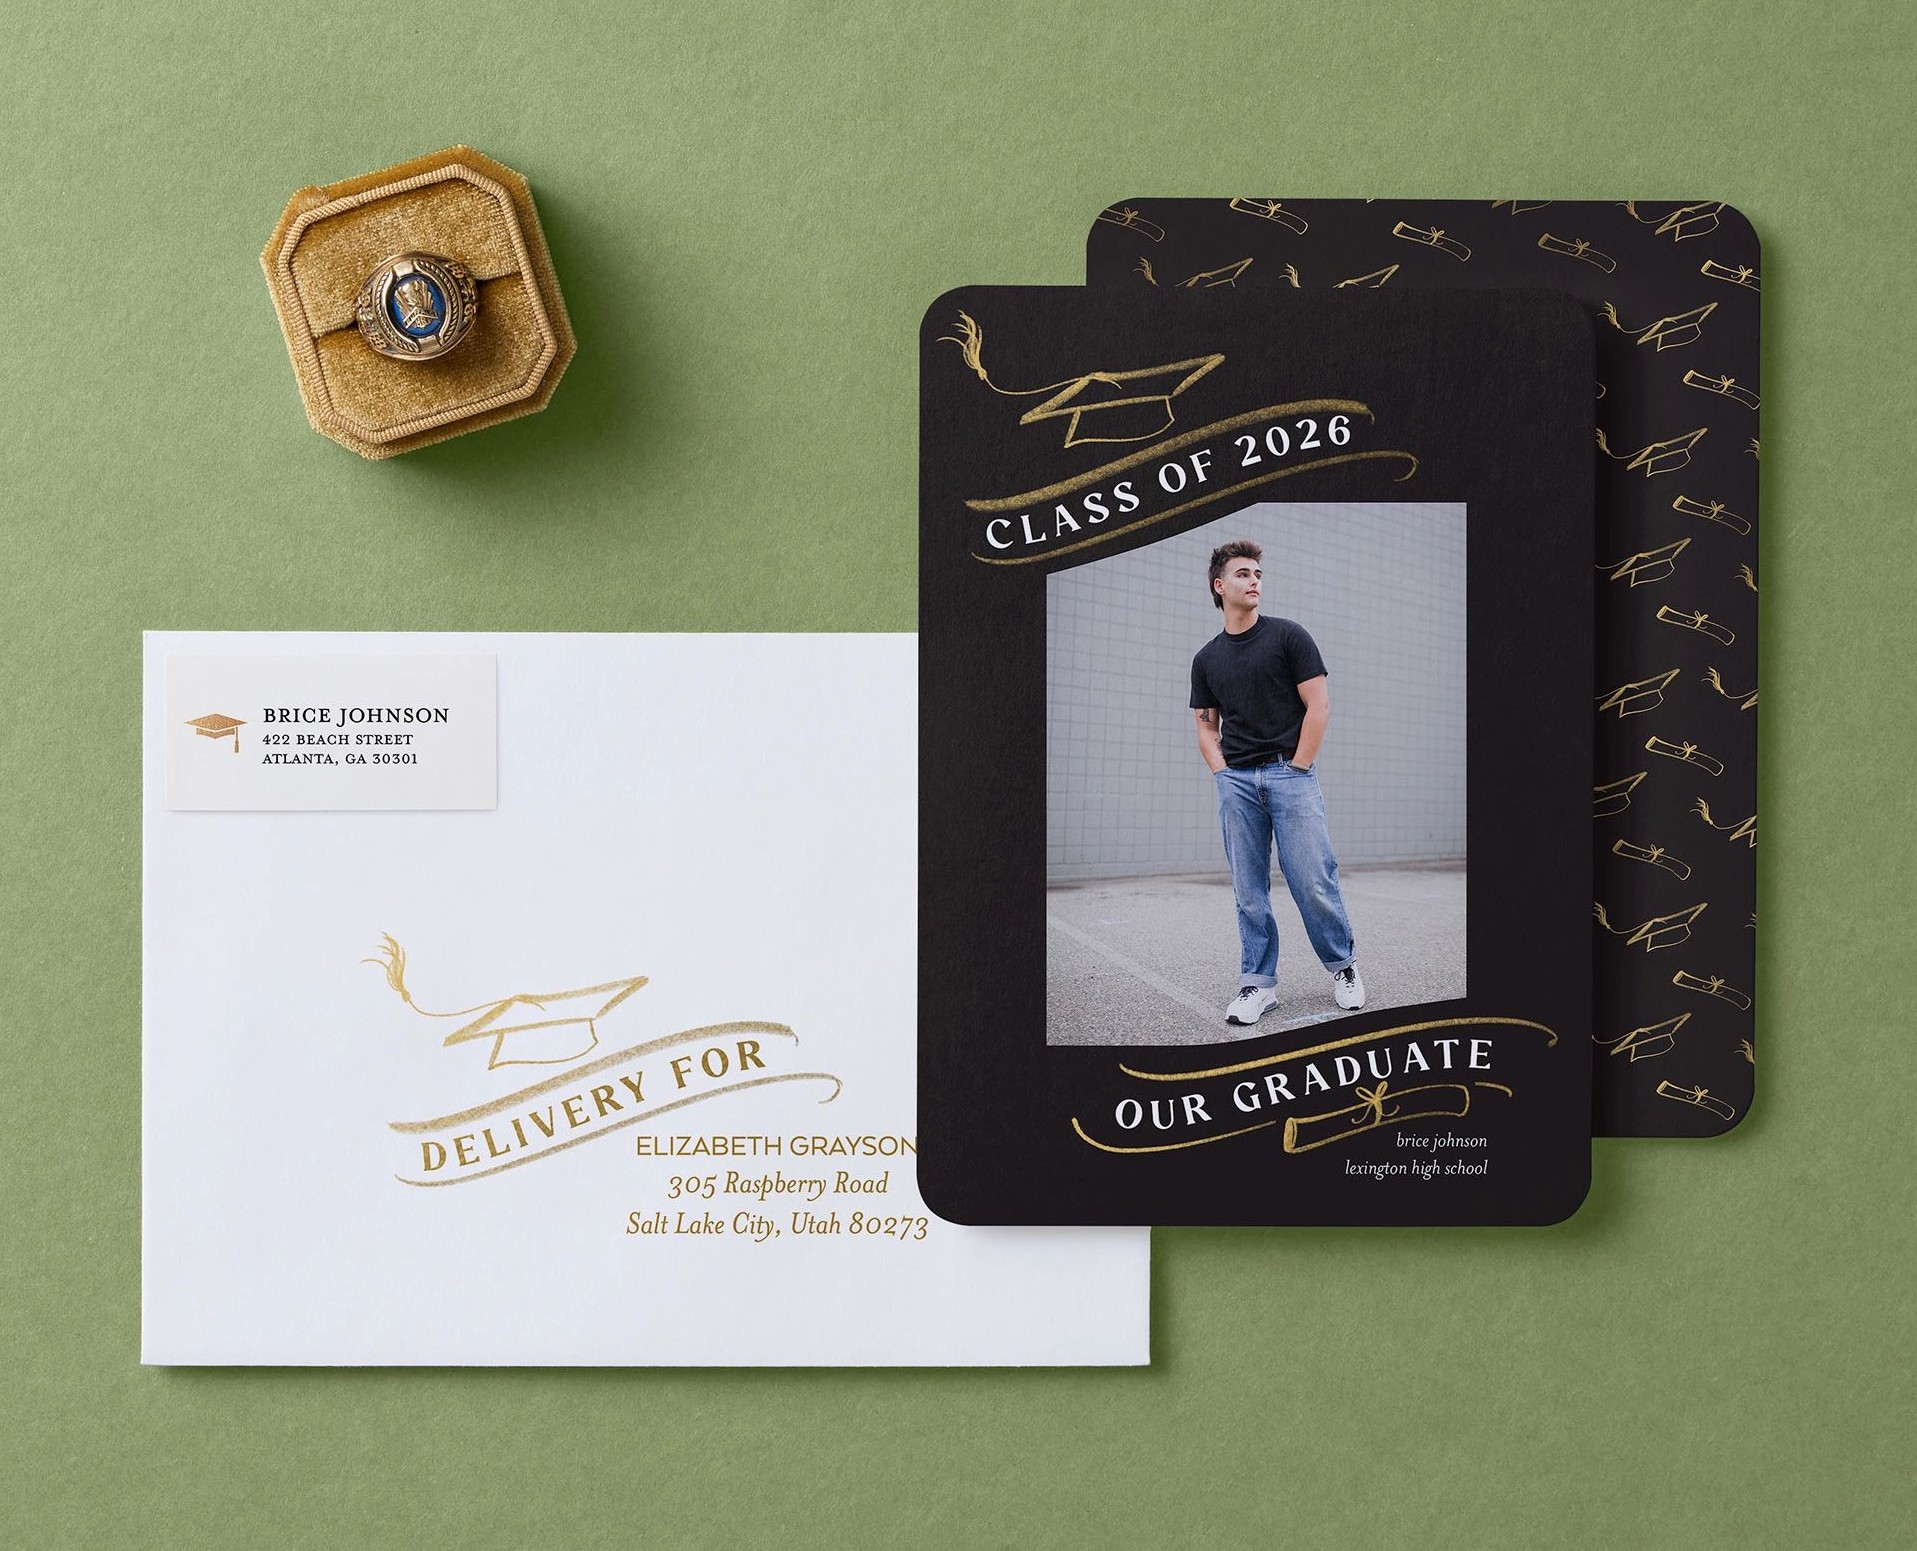
What to Put on the Back of a Graduation Invitation
For graduation invitations, the back of the card gives you flexibility. You can keep the front focused on the graduate while using the back to add details, share more about them, or include additional photos.
Here’s how people typically use it:
Party details (without cluttering the front)
Instead of squeezing everything into one layout, move the logistics to the back so the front stays clean and easy to read.
- Date and time
- Full address or directions
- RSVP details
- Notes like “open house style” or “casual attire”
This keeps the invitation organized while still giving guests everything they need.
Accomplishments and what’s next
Graduation invitations are still about celebrating the graduate, not just the event. The back is a natural place to highlight what they’ve done and where they’re headed.
- School name and graduation year (if not already featured)
- Honors, activities, or achievements
- Future plans like college, career path, or next steps
This adds context and makes the invitation feel more personal.
Extra photos
If your front design is more text-focused, the back is a great place to bring in more images.
- Additional senior portraits
- Candid photos with friends or family
- Activity or milestone photos
A single image keeps it simple, while a collage lets you include more variety.
A mix of photos and details
One of the most common approaches is combining everything in one layout. A photo + text design lets you include a few images alongside party details or future plans, so nothing feels left out.
Choosing the Right Back-of-Card Style
Not every graduation card needs the same approach. The right design depends on what you already used on the front.
- If your front is photo-heavy, go simpler on the back with text or a clean background
- If your front is minimal, use the back to add more photos or personality
- If you’re sending invitations, prioritize clarity—details first, then visuals
Think of the back as support—it should add to your graduation card, not compete with it.
Finalizing Your Graduation Card Design
Before placing your order, take a quick pass through your card in preview mode. Flip between the front and back to check spacing, alignment, and readability, especially for smaller text or multi-photo layouts.
If you added party details, double check accuracy. If you included photos, make sure they’re clear and cropped the way you want. This is also a good time to confirm background choices and that everything feels consistent across both sides.
Once everything is set, you’re ready to move forward and order your graduation announcements or invitations.
Additional Resources:
- Graduation Party ideas & Planning Tips
- How to Make a Graduation Announcement
- Graduation Card Trends for 2026
- Graduation Announcement Wording Ideas
- Graduation Messages & Wishes
- What to Say in a Graduation Thank You Card
- Graduation Announcement FAQs
- Graduation Invitation FAQs
- What Graduation Cards Do You Need?
- Graduation Party Decorations Checklist