


Organizing a photo book is easier when you can see the full story come together. That’s where Storyboard View in the Shutterfly Photo Book Builder comes in. Instead of focusing on one page at a time, Storyboard View gives you a complete overview of your photo book so you can quickly organize photos, rearrange spreads, and plan your layout more visually.
If you’re creating a travel photo book, wedding album, year-in-review book, or family keepsake, Storyboard View makes it simple to map out your pages before fine-tuning the details.
What Is Storyboard View in the Shutterfly Photo Book Builder?
Storyboard View is a layout option inside the Shutterfly Photo Book Builder that expands your photo tray and displays your book spreads side by side. This gives you a larger workspace and an easier way to organize photos across your entire book.
It’s especially helpful if you:
- Want to see the “big picture” before designing page details
- Need to organize hundreds of photos quickly
- Prefer drag-and-drop photo placement
- Want an easier way to rearrange pages and spreads
How to Open Storyboard View
There are two ways to access Storyboard View in the Shutterfly Photo Book Builder.
Option 1: Use the Top Menu
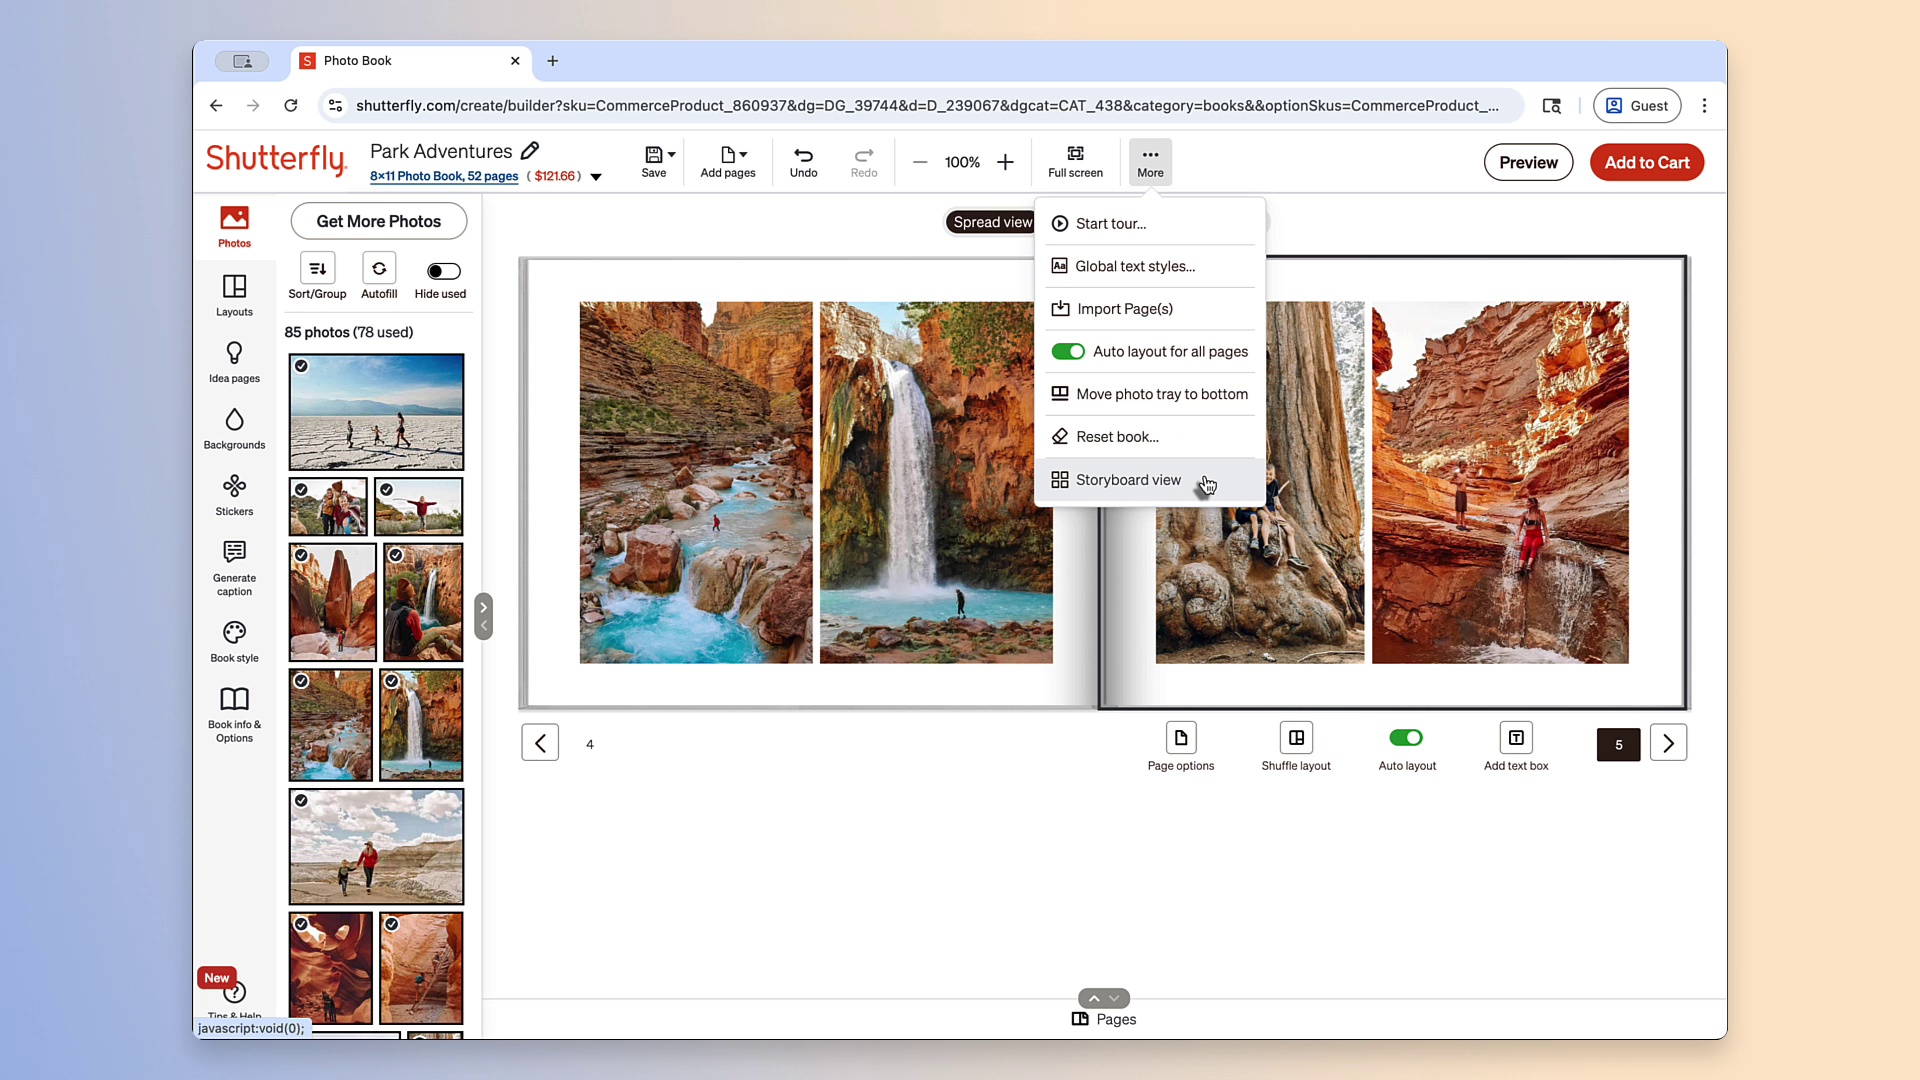
The fastest way to open Storyboard View is through the builder menu.
- Open your photo book project in the Shutterfly Photo Book Builder
- Navigate to the top menu
- Click More
- Select Storyboard View
Once selected, your photo tray will expand to full width so you can see more of your uploaded photos at once. On the right side of the builder, you’ll be able to scroll through your photo book spreads and view your pages at a glance.
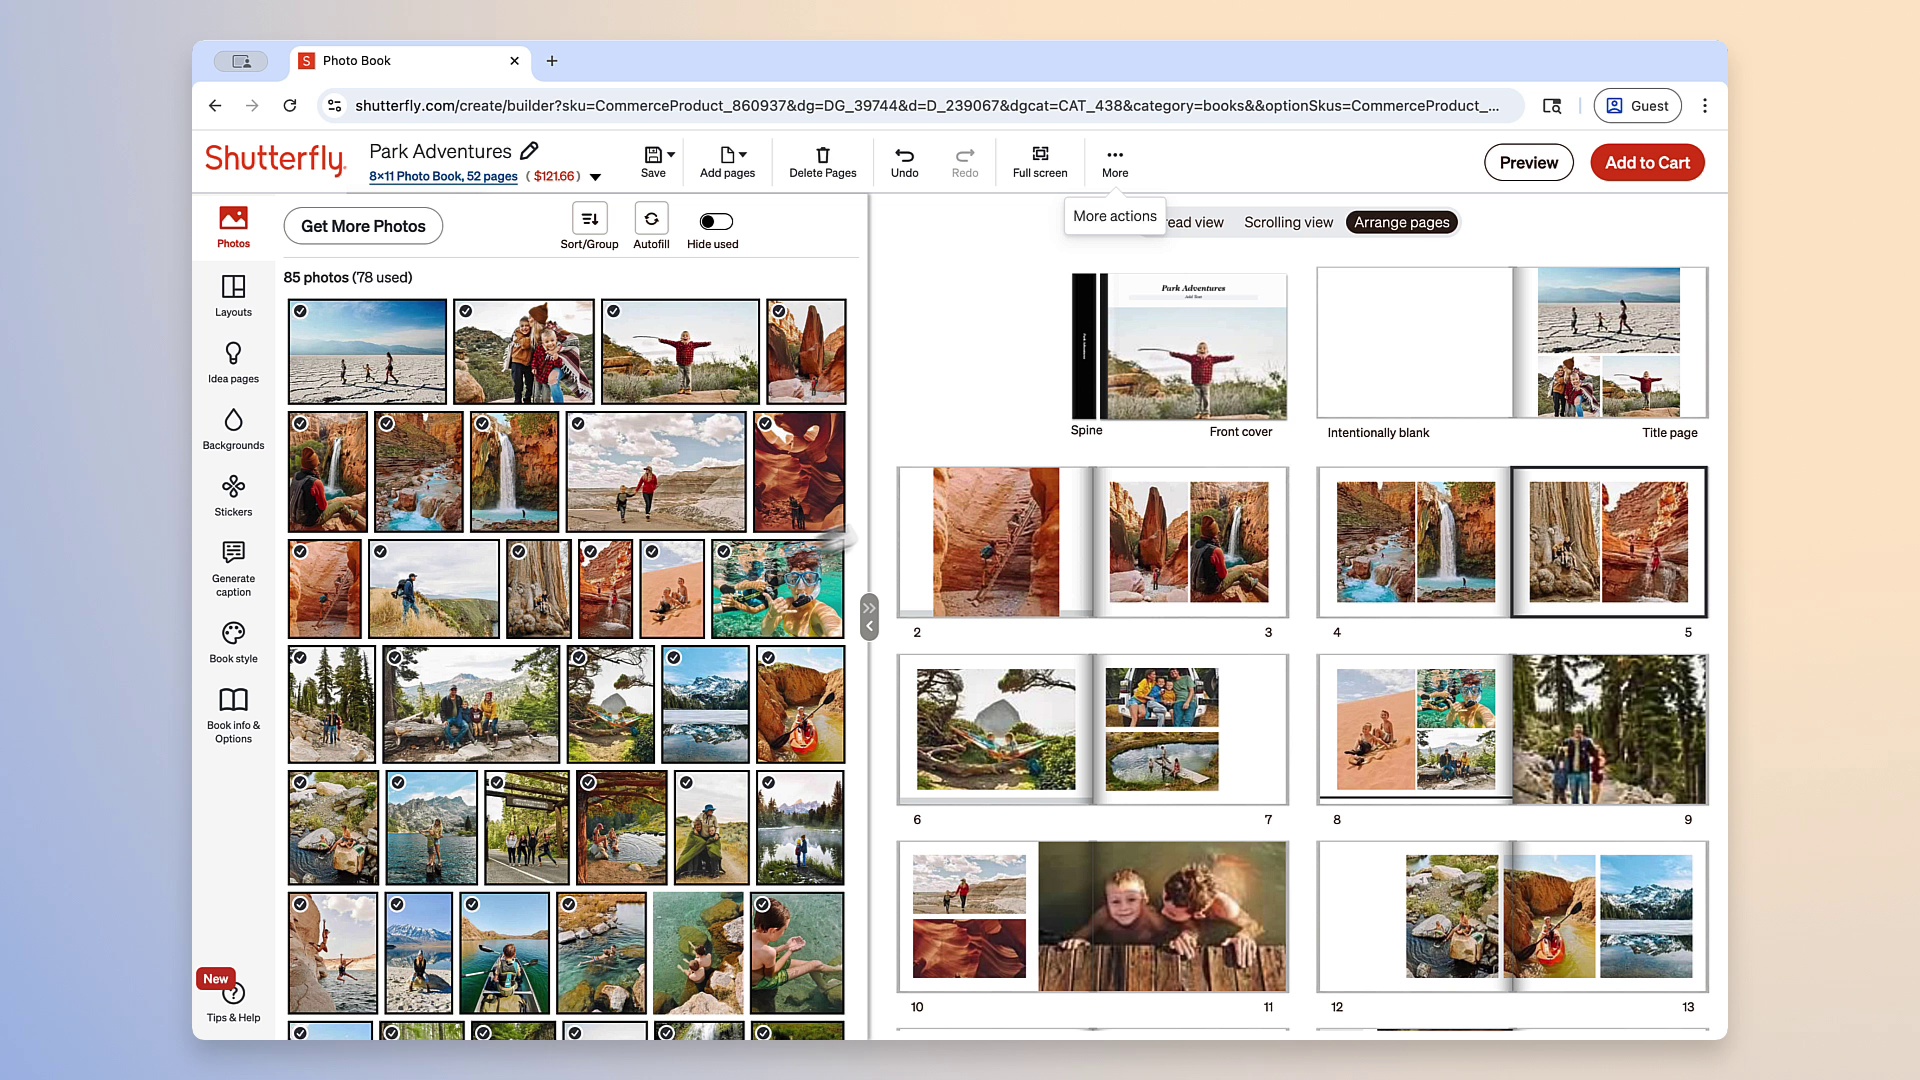
Option 2: Open Storyboard View Through Arrange Pages
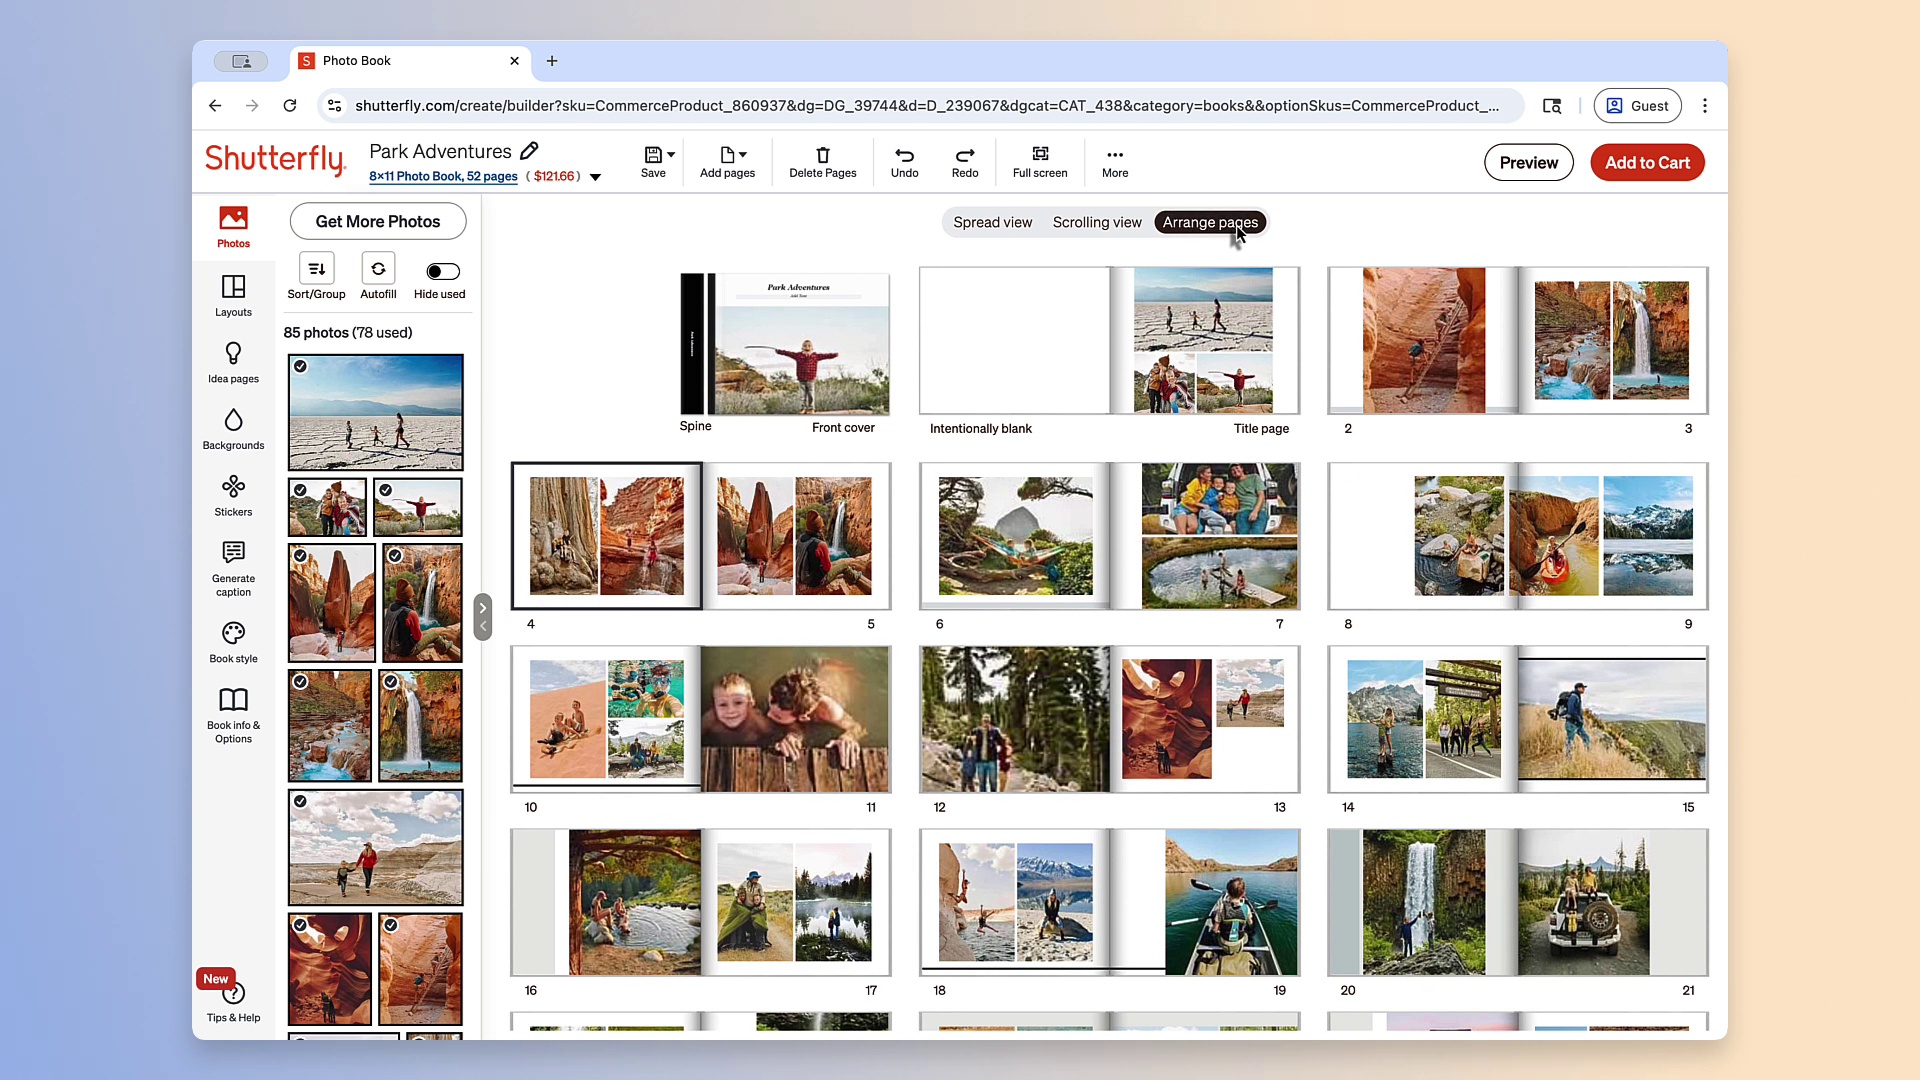
You can also customize your workspace manually using the Arrange Pages option.
- Click Arrange Pages
- Drag the photo tray to your preferred width
- Adjust the layout until you have the storyboard-style view you want
This option gives you a little more control over how much space is dedicated to your photos and page spreads while working on your photo book.
How to Add Photos to Pages in Storyboard View

Once Storyboard View is open, organizing your photo book is simple.
Drag your photos directly from the photo tray onto the pages or spreads where you want them to appear. Because you can see multiple pages at once, it’s easier to group photos by event, date, vacation stop, or memory without constantly flipping between pages.
This view works especially well for:
How to Rearrange Pages and Spreads
Storyboard View also makes it easier to reorganize your photo book layout as you work.
To move an entire spread:
- Click and drag the Move arrow located in the center of the spread
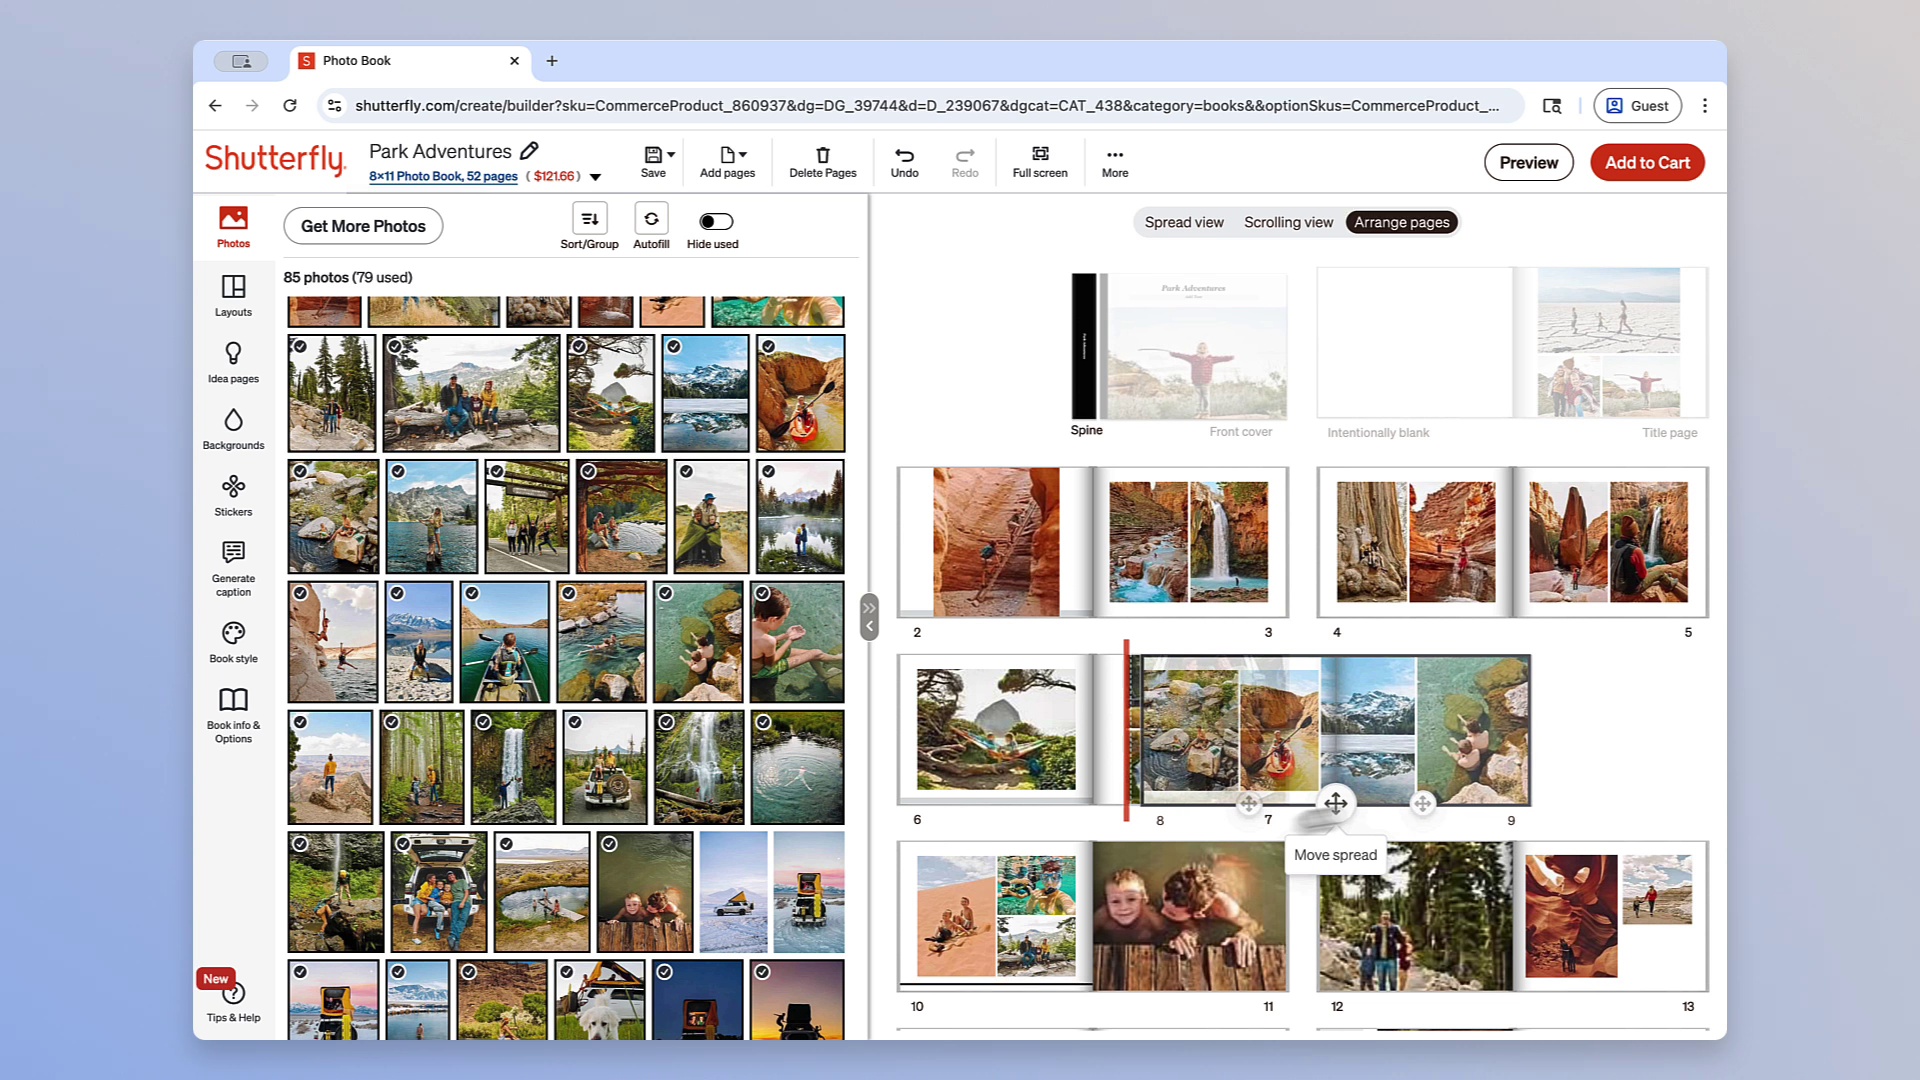
To move a single page:
- Use the move arrow on the individual page
- Break the spread if needed
- Drag the page to its new location
![]()
This makes it easy to reorder moments, adjust pacing, or fix layouts without starting over.
Why Storyboard View Makes Photo Book Design Easier
When you’re working with dozens or even hundreds of photos, designing page by page can feel overwhelming. Storyboard View simplifies the process by helping you organize your book visually first, then customize the details later.
It’s one of the easiest ways to:
- Plan your photo book layout
- Organize photos faster
- Rearrange pages quickly
- Build a more cohesive story from beginning to end
Whether you’re making a custom wedding album or a casual family photo book, Storyboard View helps streamline the creative process so you can spend less time organizing and more time personalizing your book.