


Why Make Christmas Cards with Shutterfly
Shutterfly makes it fast and easy to turn your favorite photos into beautiful holiday cards. The focus is always on your memories, and the tools make the process simple from start to finish:
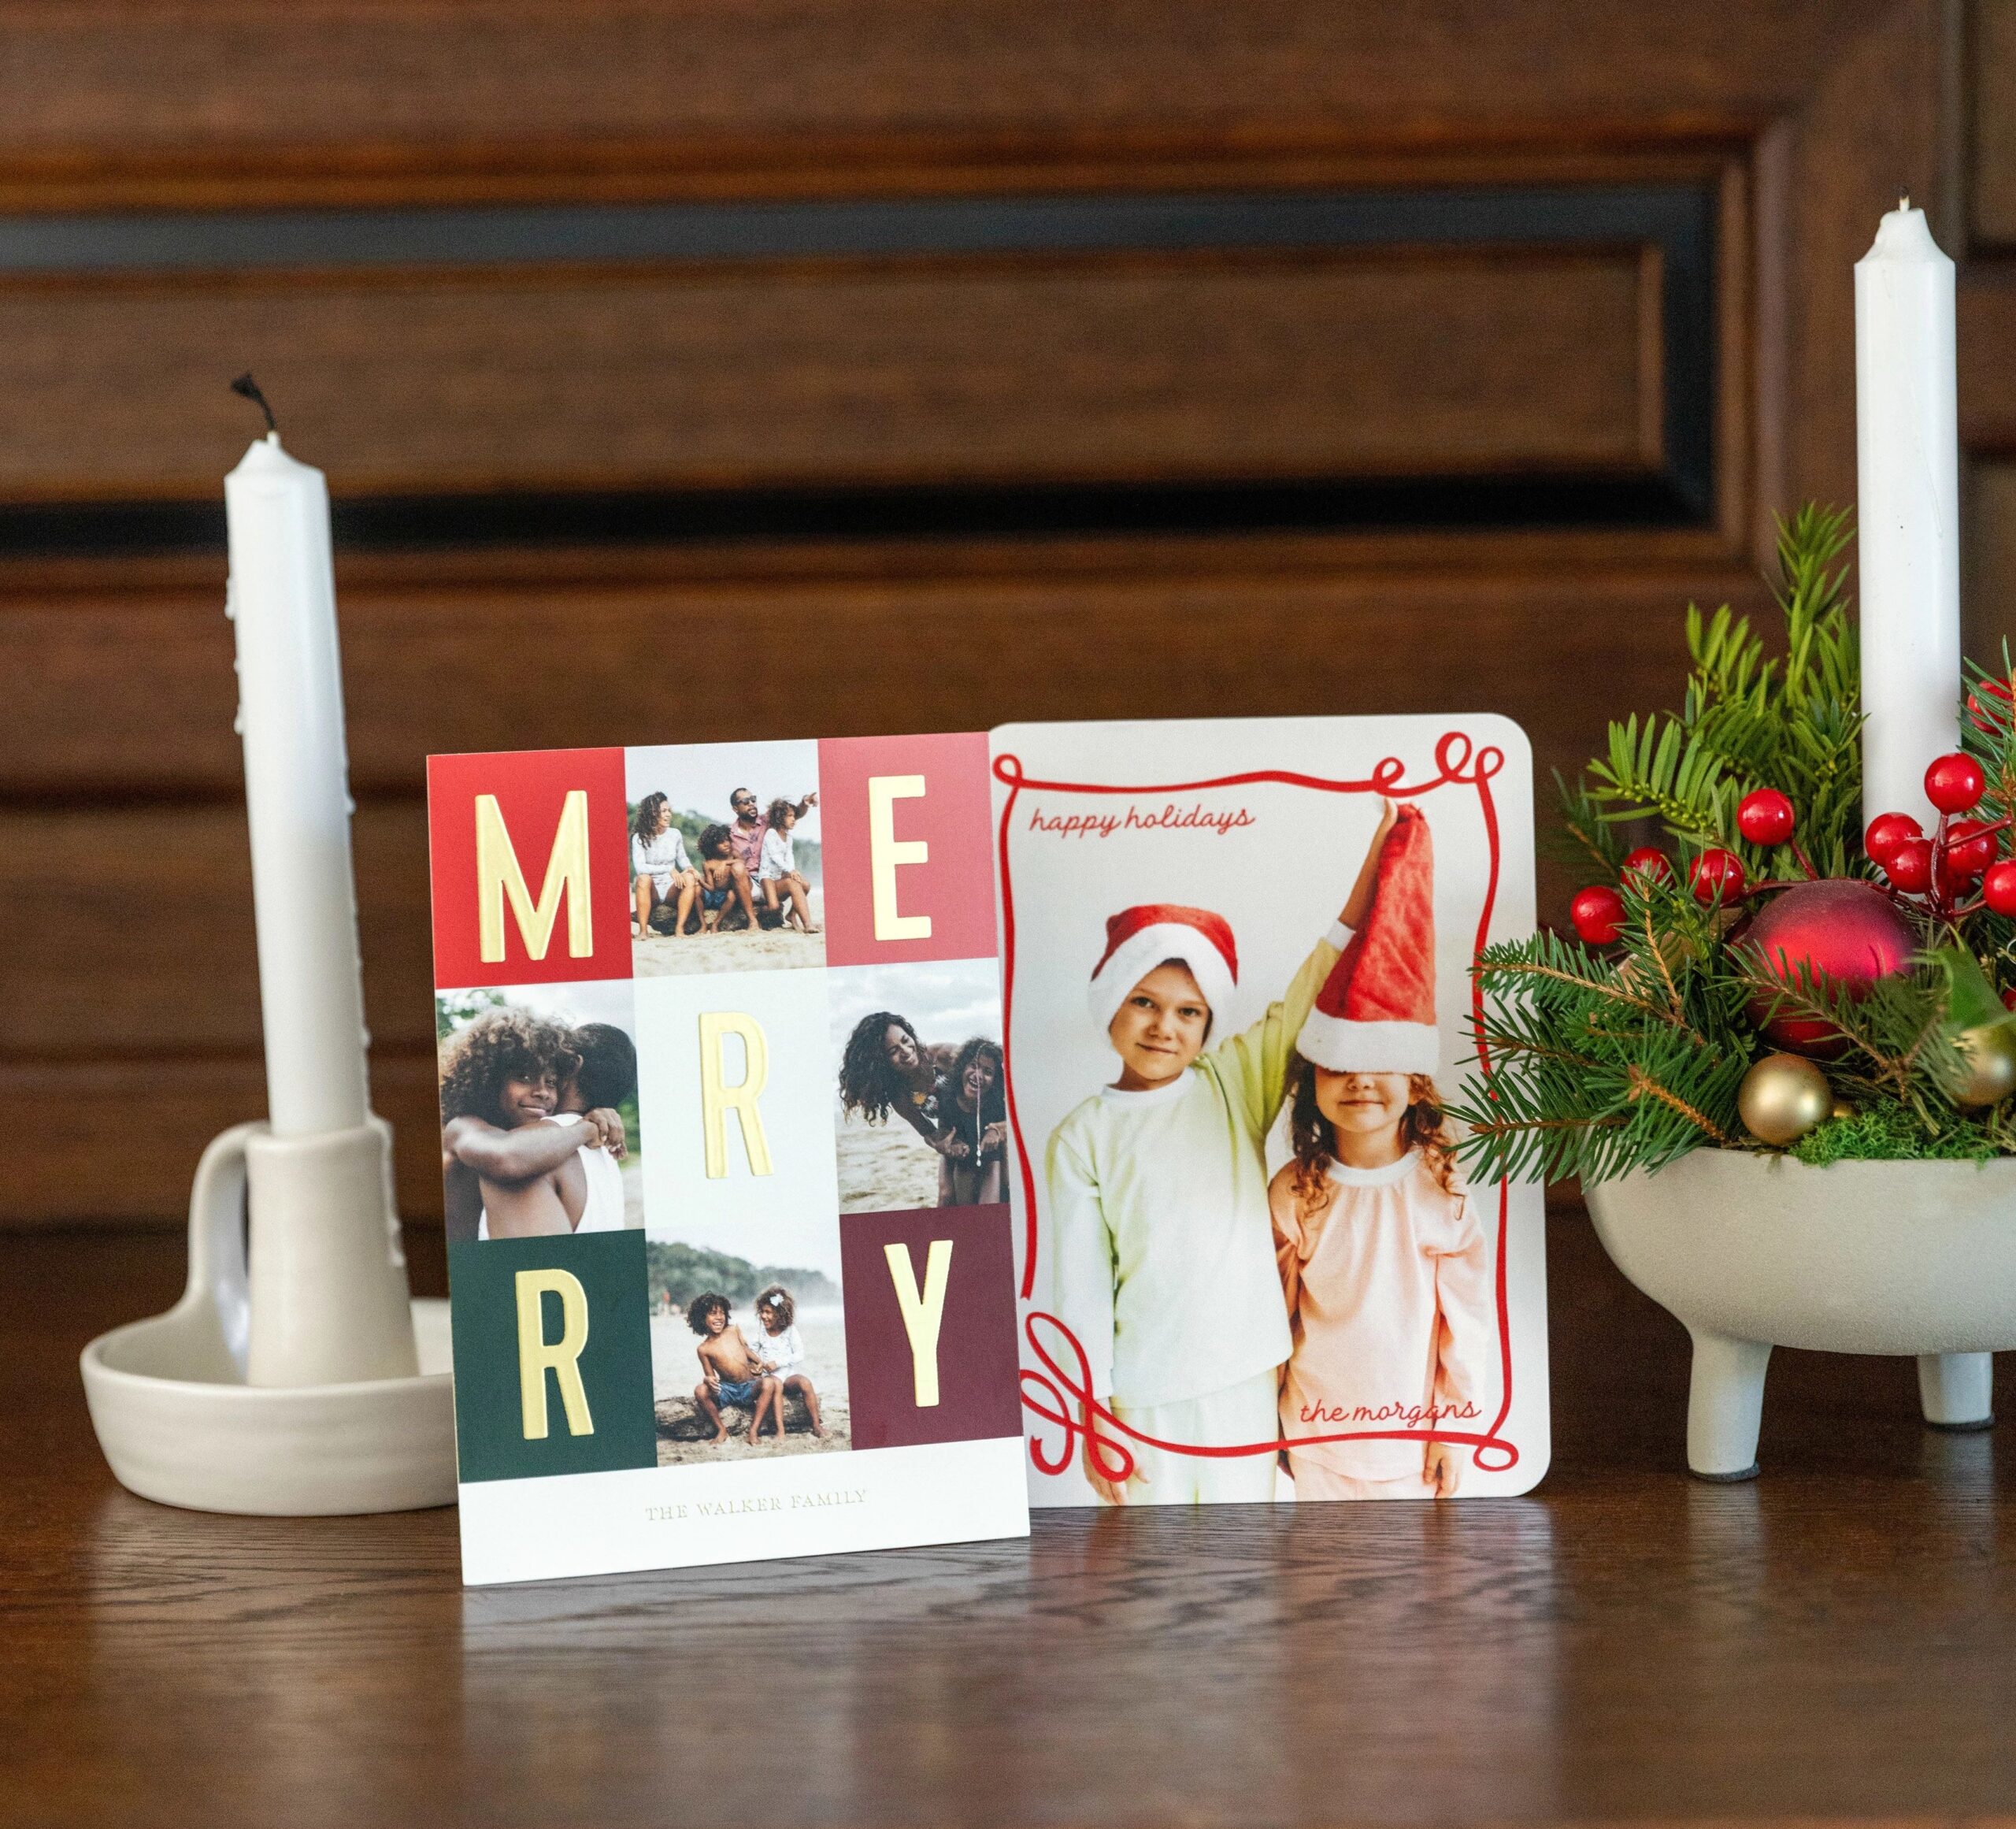
- Showcase your photos: Choose from hundreds of templates designed to highlight your pictures, whether it’s a single standout image or a playful collage of moments from the year.
- Easy customization: Drag, drop, and edit photos, change fonts, colors, and layouts — no design experience required.
- Quick and stress-free: Upload images from your phone or computer, customize your design, and order your cards in minutes.
- Trendy styles for every vibe: Classic, modern, or playful templates make it easy to match your family’s personality and holiday style.
- Finishes that shine: Foil stamping, glitter, or luxe card stock give your cards an extra-special holiday touch.
- Hassle-free mailing: With options like free recipient addressing and direct delivery, sending Christmas cards is just as easy as making them.
With Shutterfly, creating Christmas cards is not just easy, it’s fun — and the result is a card that truly puts your photos in the spotlight.
How to Make a Christmas Card with Shutterfly
Turning your favorite holiday memories into a beautiful Christmas card is easier than you might think. With Shutterfly, you can take the photos you love most — from family portraits to candid snapshots — and create a card that’s uniquely yours in just a few steps.
- Pick a template: Start by browsing hundreds of Christmas card templates. Whether you want a classic look, a modern twist, or something playful, you’ll find designs that put your photos front and center.
- Upload your best shots: Add images from your phone, computer, or social media accounts. Mix and match in collages, zoom in on favorite moments, or let a single standout photo shine.
- Customize the design: Include a greeting, family names, or a short message. Adjust fonts, colors, and layout to match your style — simple tweaks make your card feel completely unique.
- Choose premium finishes: Make your card extra special with foil accents, glitter details, luxe paper, or unique trims. These touches give your cards a polished, high-quality look with minimal effort.
- Preview and send: Double-check your design, place your order, and Shutterfly will print, address, and ship your cards straight to family and friends.
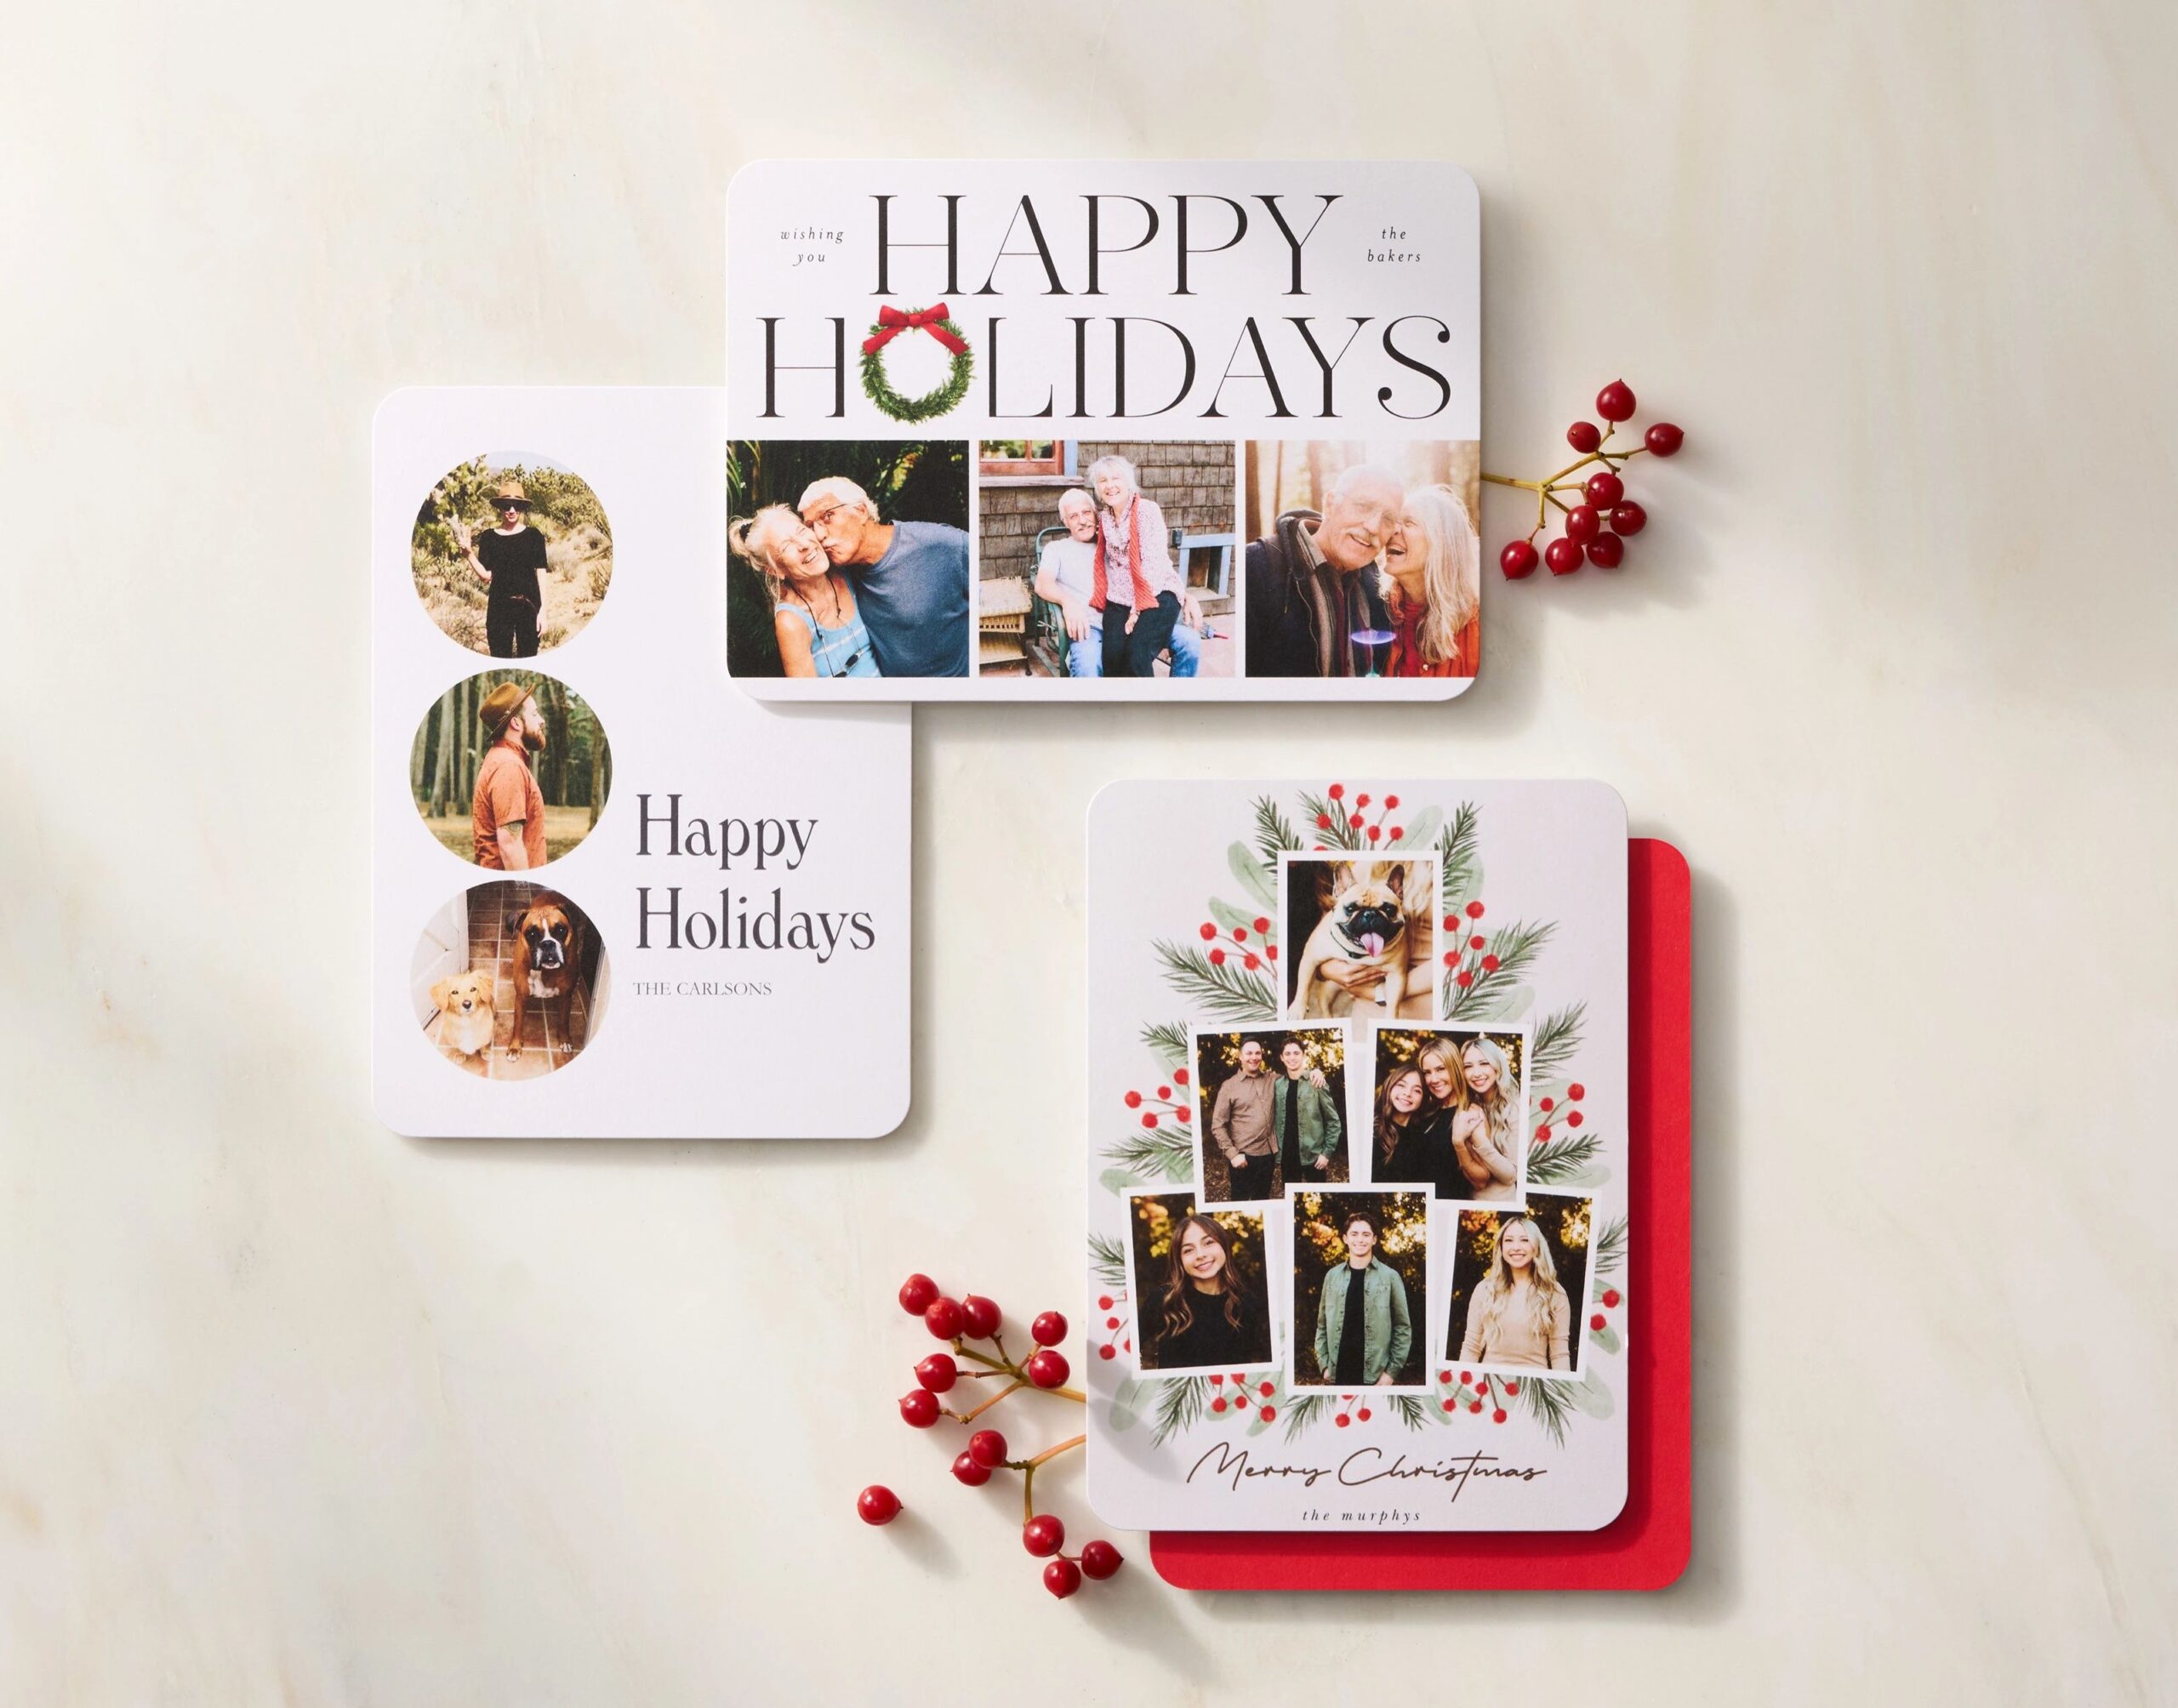
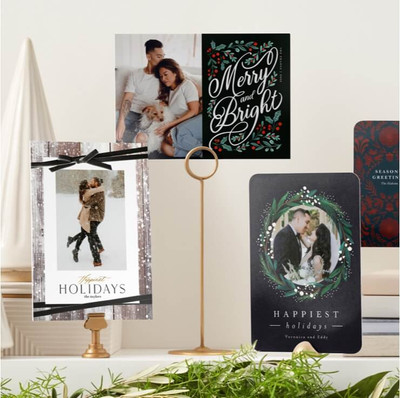
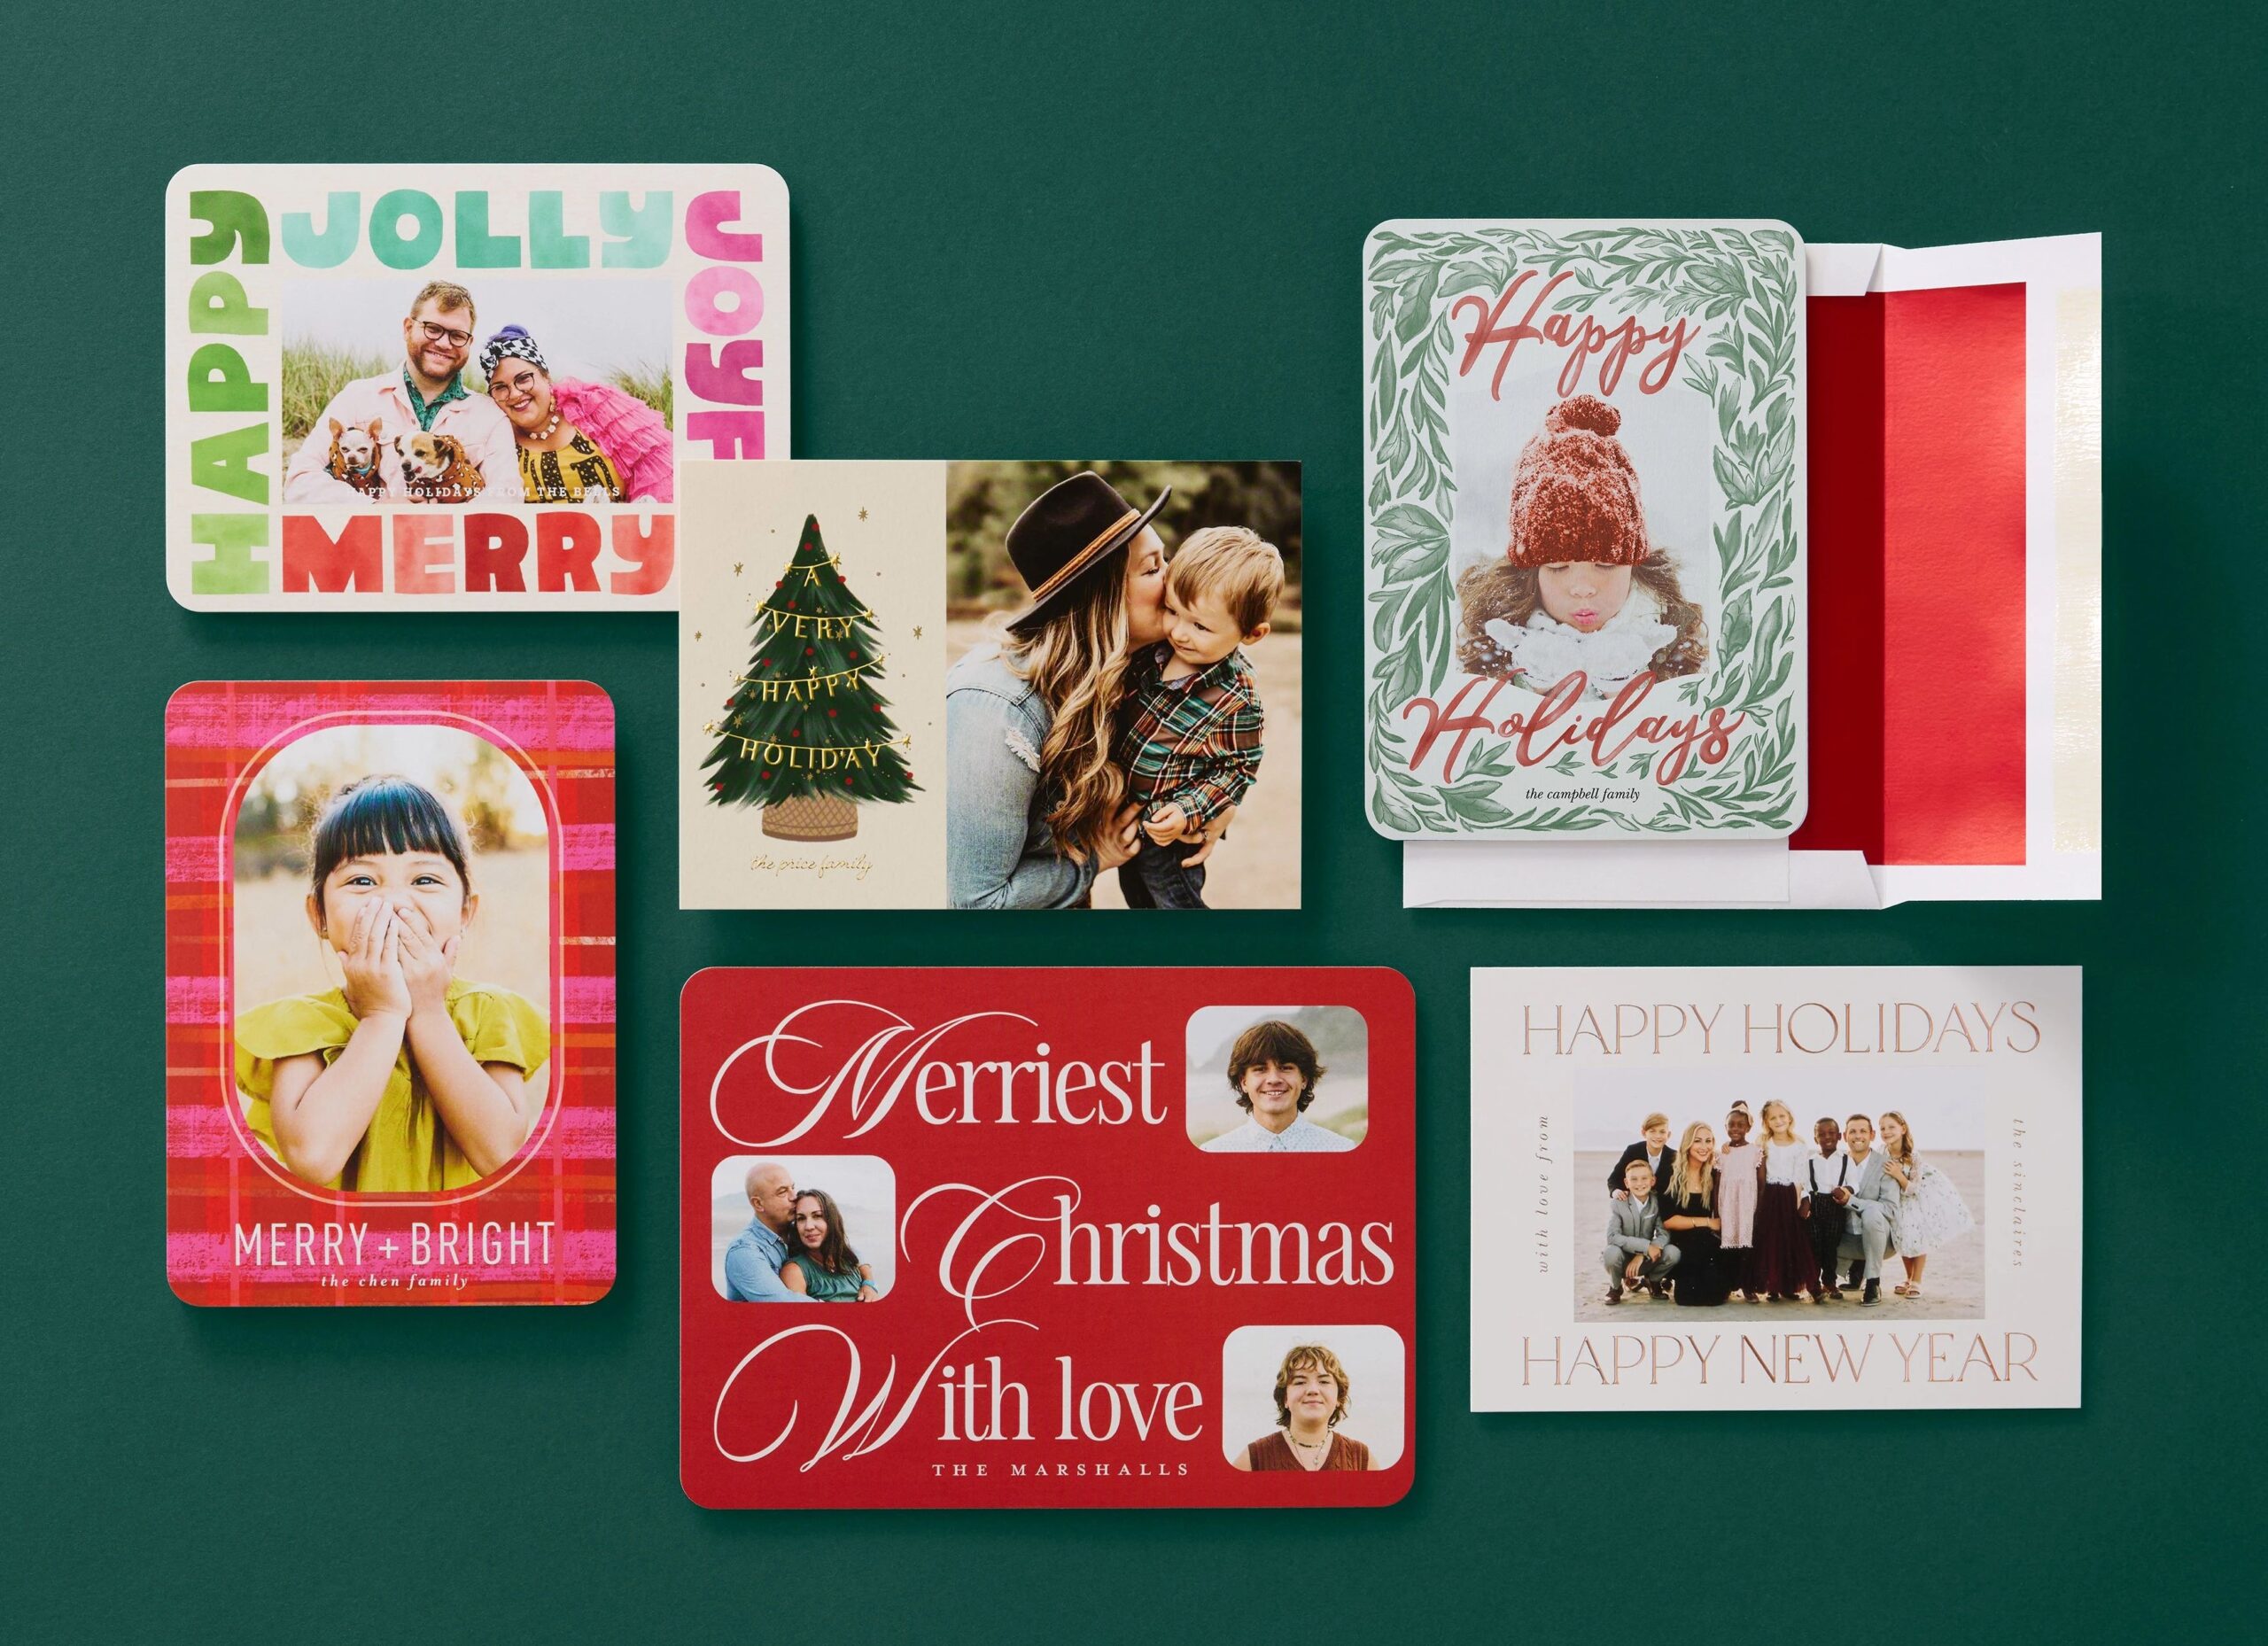
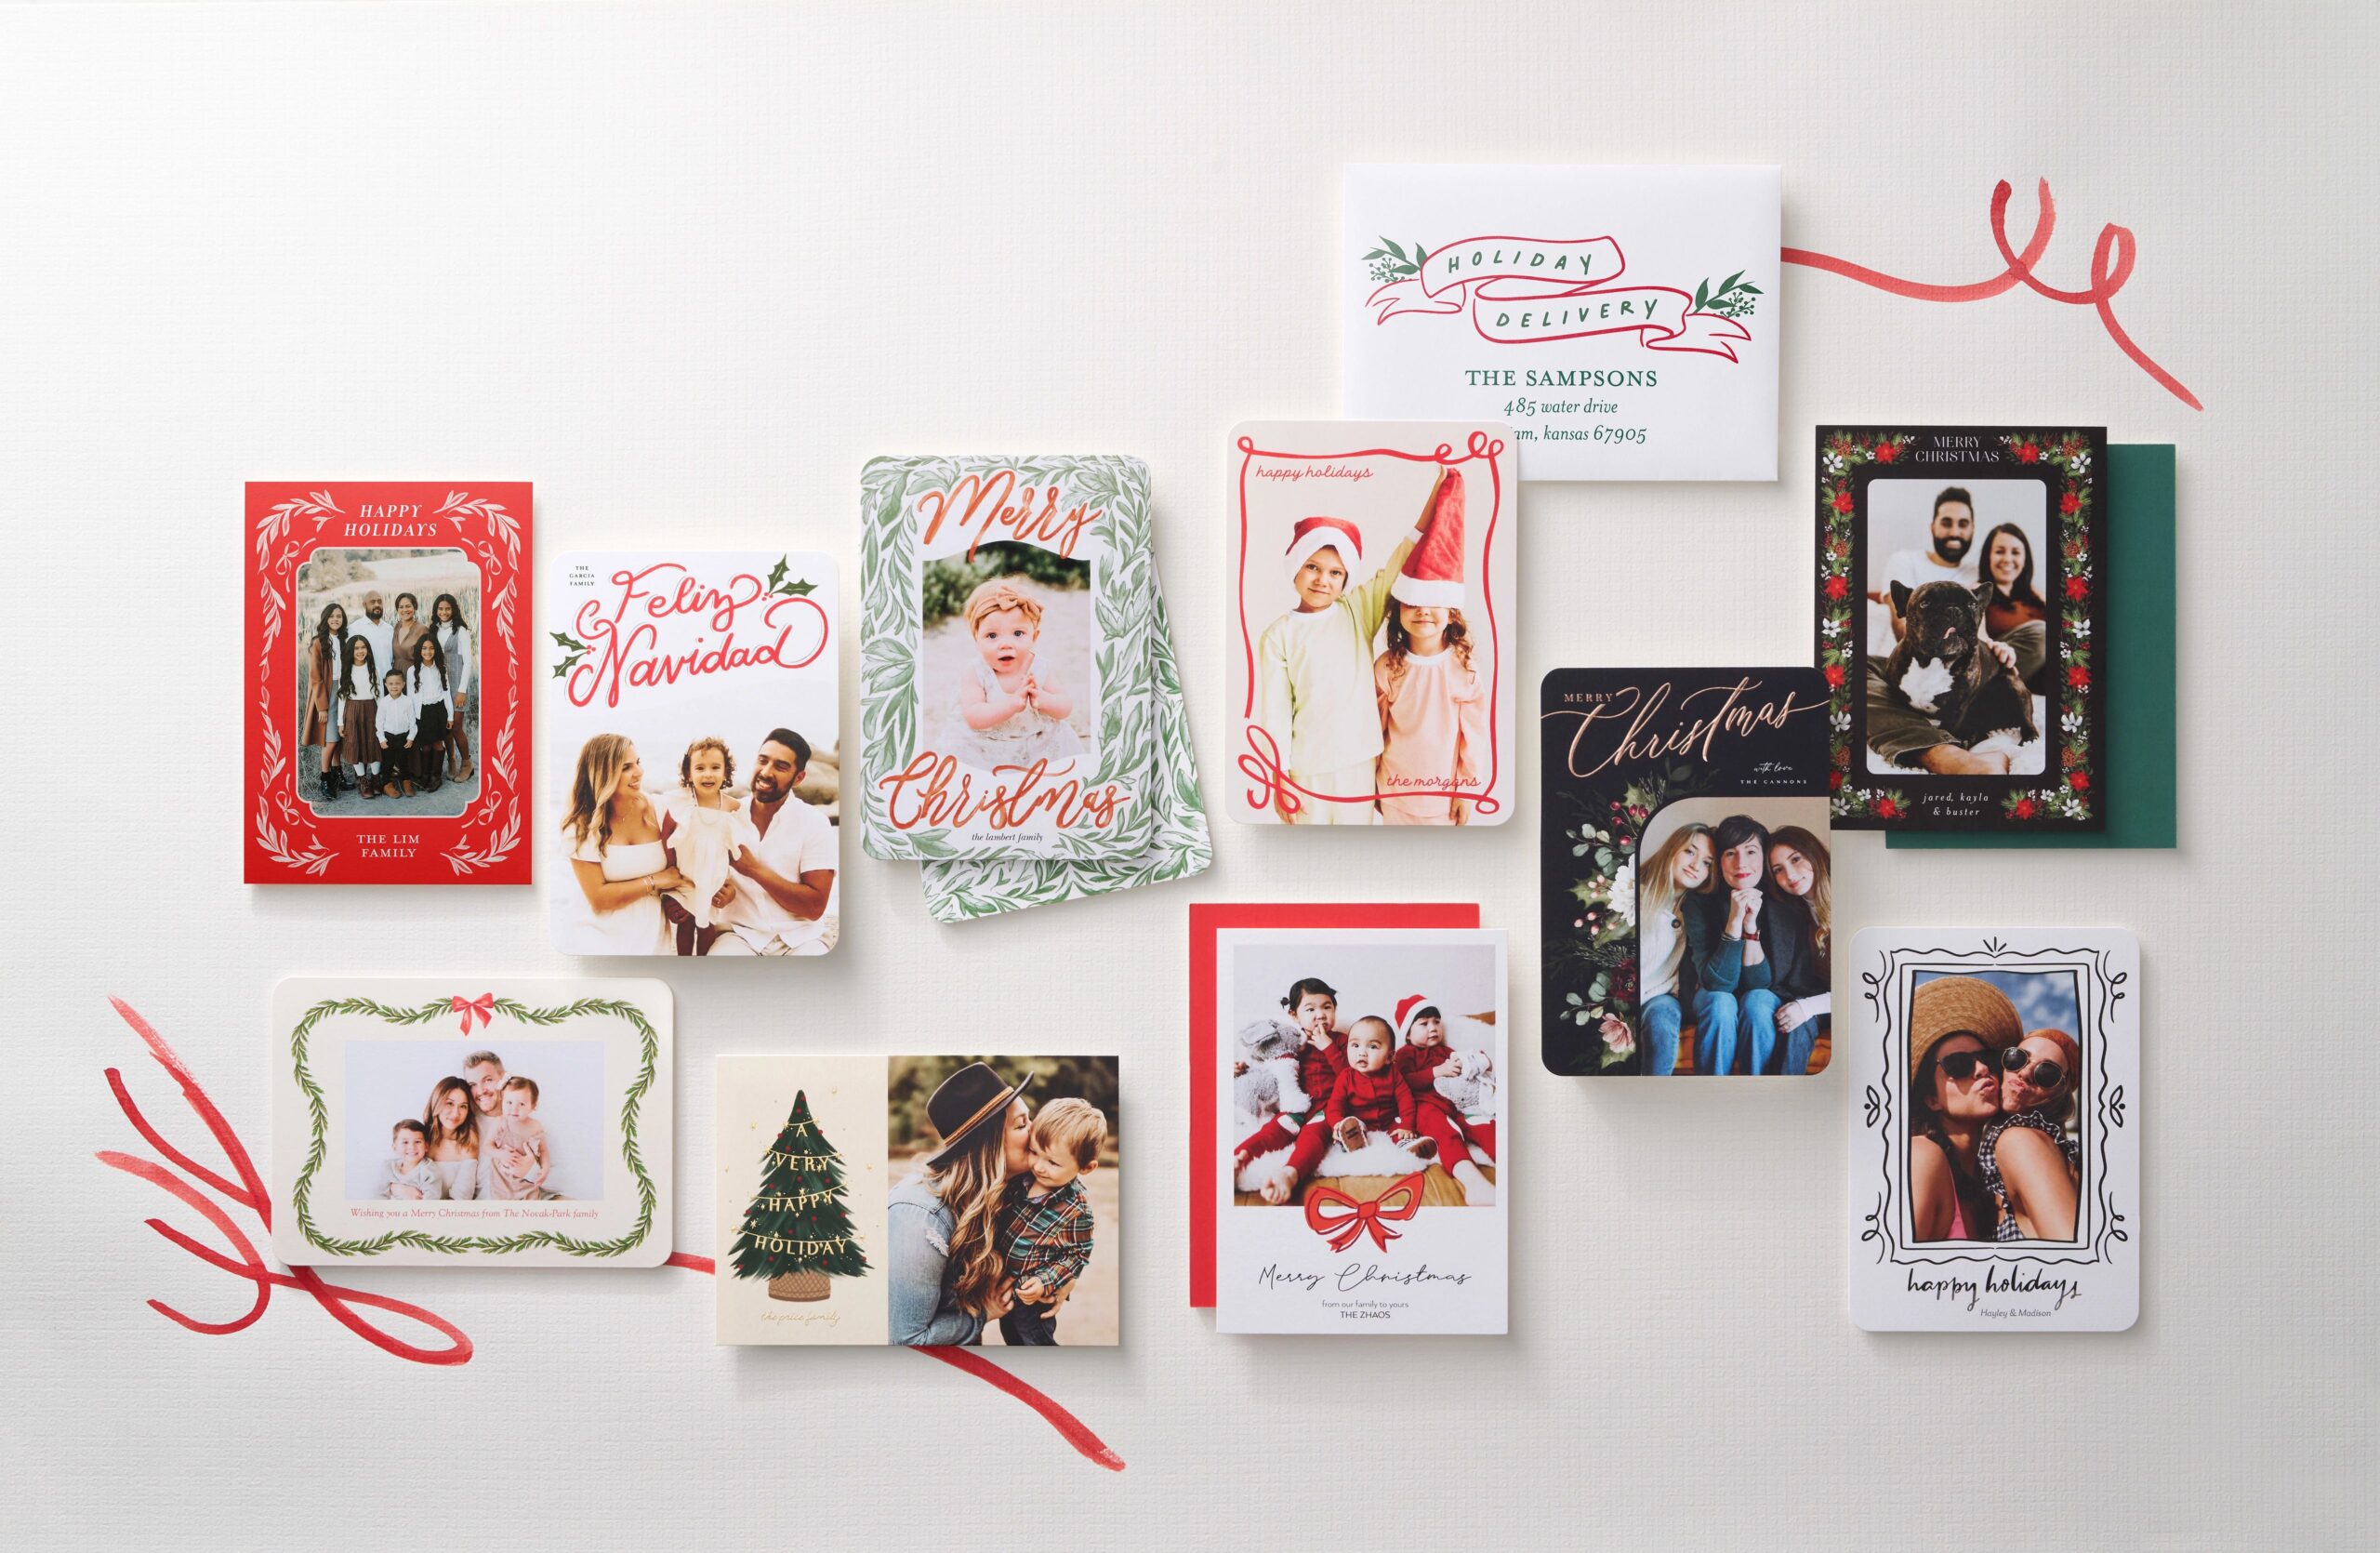
Christmas Card Ideas: Styles and Themes
Your photos tell the story of your year, and the right holiday card design can bring those memories to life. Shutterfly offers a variety of templates to fit every style, so you can create a Christmas card that feels personal and festive.
- Classic & Timeless: Traditional red, green, and gold colors with elegant fonts and simple layouts that never go out of style. These designs highlight your photos beautifully and give a warm, familiar holiday feel.
- Modern & Minimalist: Clean lines, simple fonts, and neutral color palettes let your photos take center stage. Ideal for sleek, contemporary designs that feel stylish yet effortless.
- Playful & Fun: Bright colors, whimsical patterns, and creative layouts make your card pop. Great for funny family snapshots, pet photos, or quirky holiday themes.
- Collage & Multi-Photo: Show off a year’s worth of memories with a multi-photo layout. Collages let you highlight several moments, from vacations to everyday family fun.
- Photo-Only Layouts: When a single photo says it all, choose a template that lets your picture fill the card. Minimal text keeps the focus on your favorite moment of the year.
Tip: Try mixing different styles for different recipients — Shutterfly makes it easy to save your designs and create multiple versions without starting from scratch.
Tips for Making the Best Christmas Cards
Make your photo Christmas cards look amazing with a few simple tips:
- Choose your best photos: Bright, clear images with good lighting make a huge difference. Candid shots or classic portraits both work — whatever tells your story best.
- Match the card style to your photos: Playful photos pair well with colorful, fun templates, while formal family portraits shine in classic or minimalist designs.
- Highlight special memories: Milestones like a new baby, engagement, new home, or a memorable trip make your card extra personal.
- Keep it concise: A short, heartfelt merry Christmas message or greeting keeps the focus on your photos and makes your card easy to read.
- Take advantage of Shutterfly tools: Save your design, use free recipient addressing, and order multiple versions effortlessly.
Related Resources on Making Christmas Cards
Creating photo Christmas cards should be fun, easy, and meaningful. With hundreds of templates, simple customization, and tools designed to showcase your photos, Shutterfly makes it simple to design cards that reflect your family’s style and memories. This holiday season, turn your favorite moments into festive keepsakes your friends and family will love — all with a few clicks, no stress, and beautiful results.
Additional Resources: