





Some of the best Christmas decorations start with a favorite photo and a little time around the craft table. A silly school picture, a wedding-day smile, or a snapshot of your pet can become an ornament you look forward to unpacking every December. Making your own lets you choose the memory, add a personal touch, and create extras for the people who shared it with you.
Start with Shutterfly photo prints, gather a few supplies, and choose one of the projects below. These DIY photo ornaments use mini frames, craft sticks, wood blanks, or photo stickers to turn favorite pictures into something special for the tree. You can even make a matching set with a different memory for each family member.
Choose the Best Photos for DIY Photo Ornaments
The best photo for an ornament is one that still looks clear when displayed in a small space. A close-up of one person or a pet is often easier to fit than a large group picture. Look for an image with a little extra background around the subject so you have room to trim without cutting into faces.
Before ordering, measure the ornament surface or frame opening. A 4×6 print can work well for these projects, but the print size alone won’t tell you whether your subject will fit. A face that fills most of a 4×6 picture may be too large for a two-inch frame opening.
Use these tips to plan your prints:
- Check the crop: Leave space around faces, hair, and other details you want to keep.
- Make a paper template: Cut scrap paper to the size of your ornament’s photo area so you can check the fit before trimming your print.
- Plan for small openings: If the subject would be too large, choose a wider crop that includes more of the original background. If the subject still looks too large, use a photo-editing tool to place a smaller version of the picture on a 4×6 layout before uploading.
- Order extra copies: Keep a few spares for trimming mistakes, additional gifts, or another round of crafting.
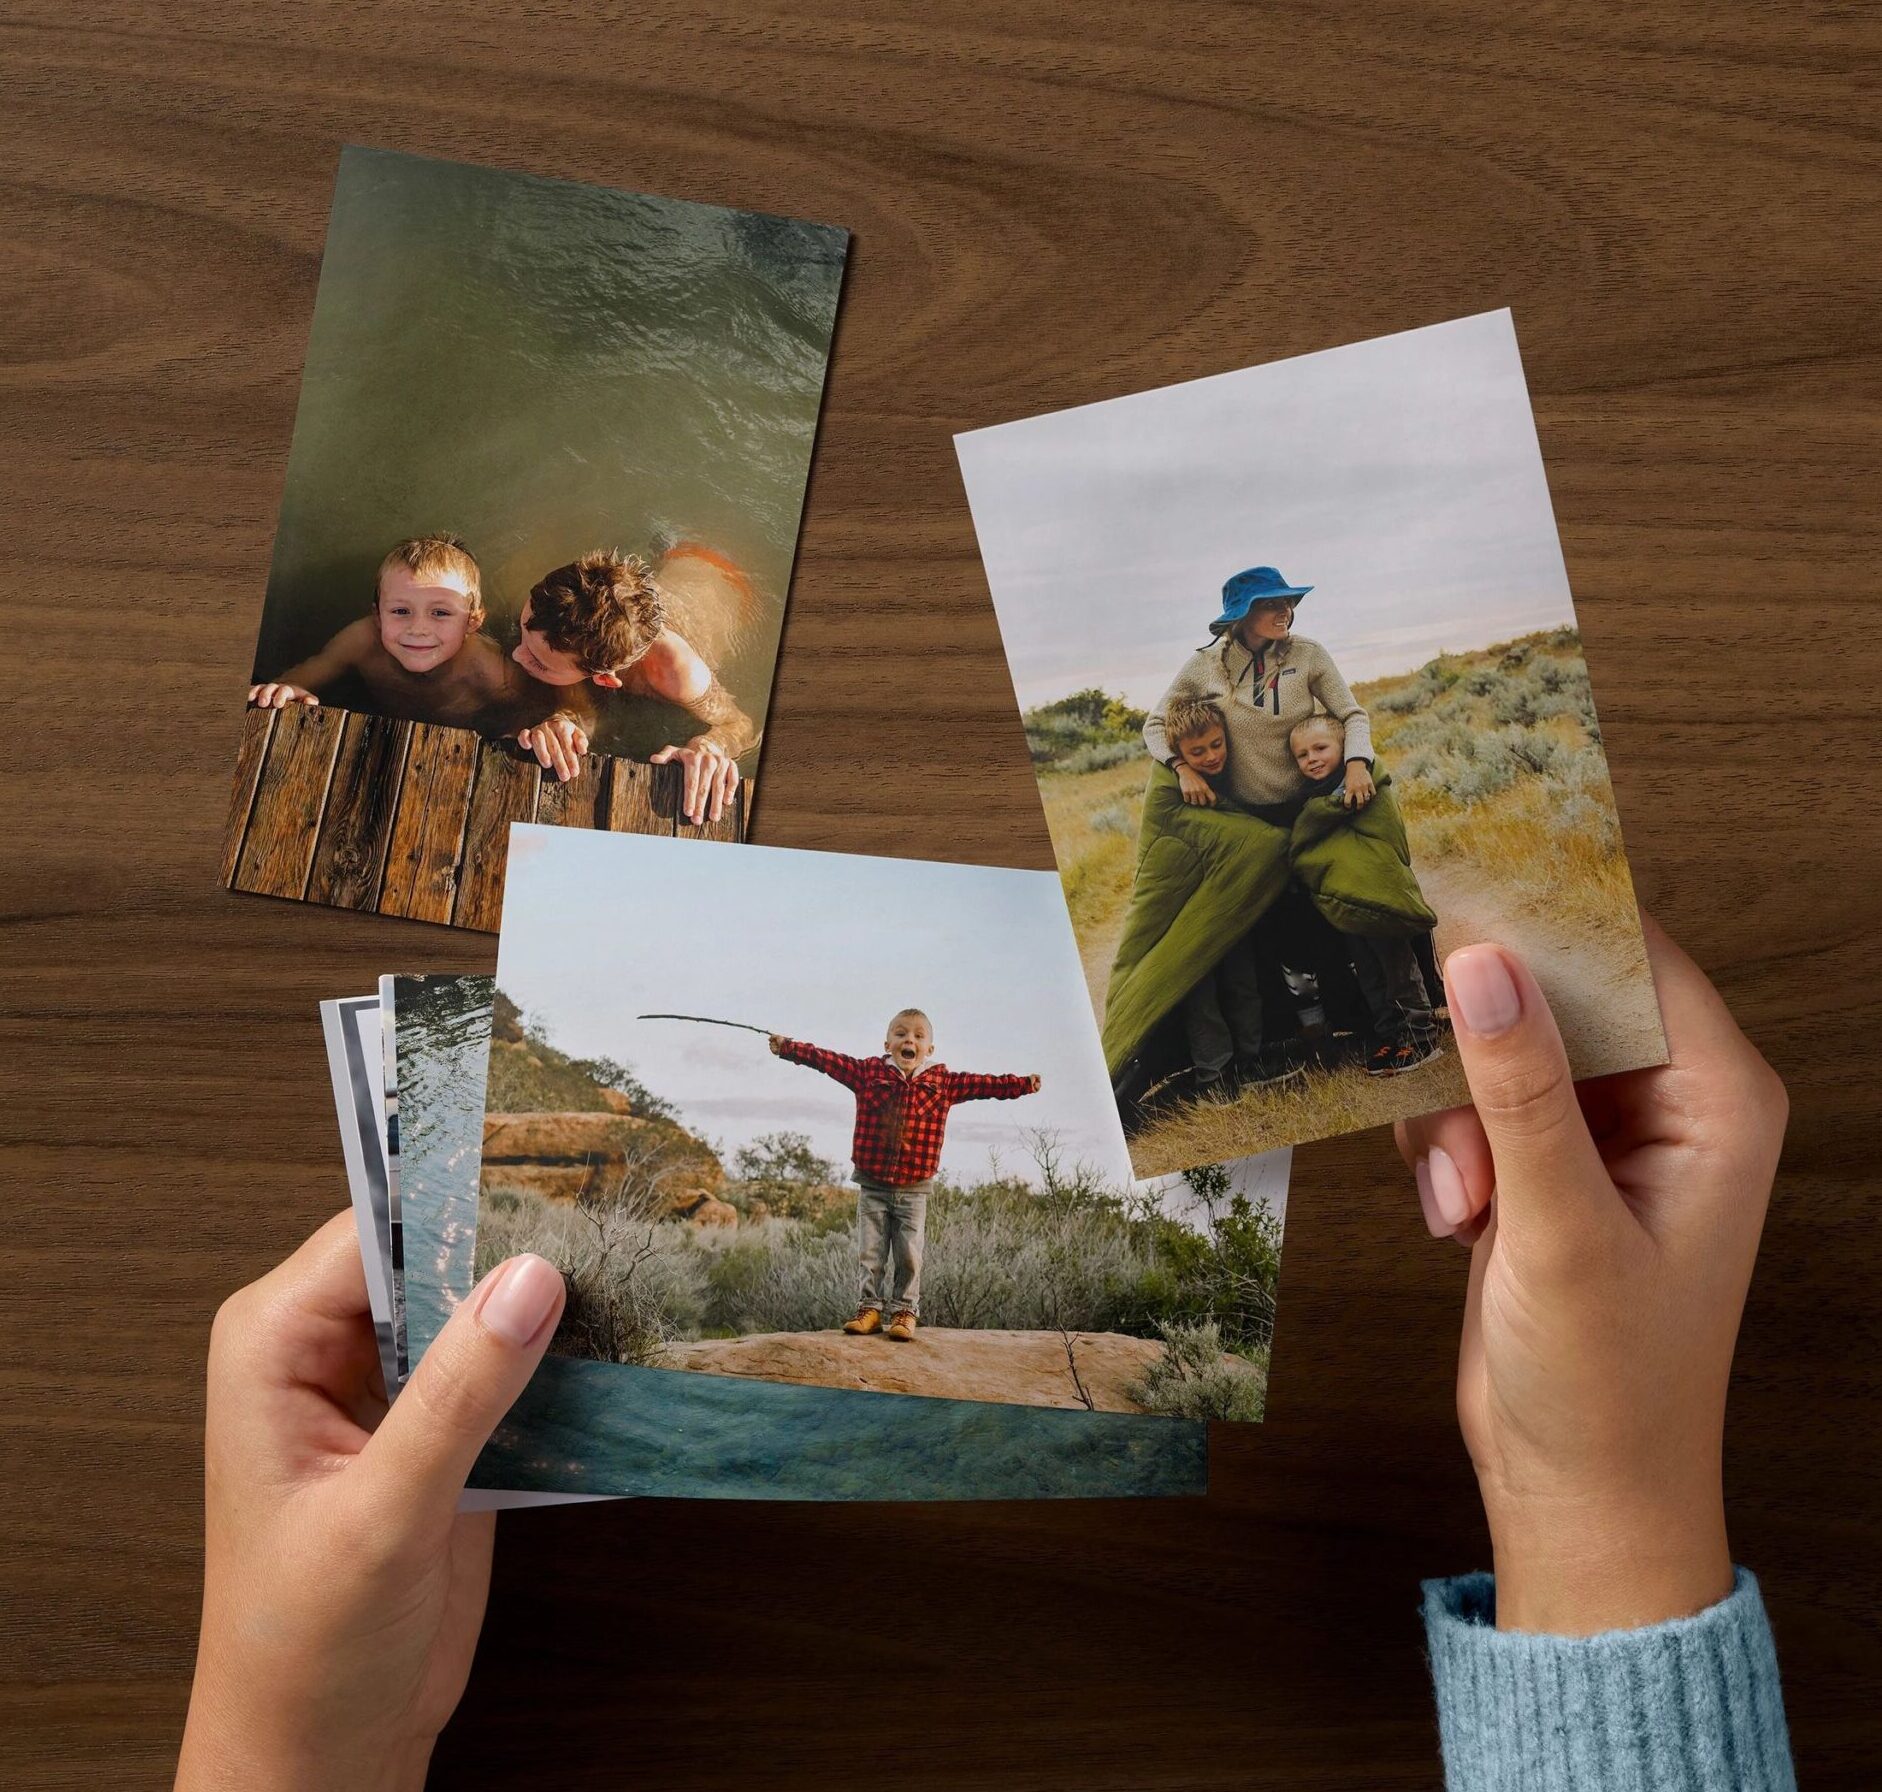
Get Photo Prints for Your DIY Ornaments
Planning a Christmas craft afternoon? Shutterfly’s same-day photo pickup lets you order eligible prints and collect them at participating CVS and Walgreens locations. Check your store’s estimated pickup time, then put on your holiday playlist and gather your supplies while you wait for the notification that your photos are ready.
Pickup options and processing times vary by store, so allow a little extra time, especially if you’re ordering near closing. Orders placed late in the day may be ready the following day. Shutterfly promo codes and free print offers don’t apply to retail pickup orders.
How to Make Mini Frame Photo Ornaments
Think of a mini frame photo ornament as a tiny family portrait for your Christmas tree. Tucked among the lights and ribbons, a favorite picture becomes a little reminder of the people, pets, and moments that made your year special. Choose a frame that matches your holiday decorations, or mix different colors and styles for a tree full of memories.
For this project, choose an empty mini photo frame ornament with a removable back and an attached hanger, available at craft stores or online. Check the photo opening before printing, since the frame’s outside dimensions will be larger than the space for your picture. Once you have the right fit, putting it together takes just a few steps.
Supplies for Mini Frame Photo Ornaments
Gather these supplies before you begin:
- Photo prints
- Mini ornament frames with removable backs
- Scissors
- Pencil
- Ribbon or twine, if needed
Steps to Make Mini Frame Photo Ornaments
Follow these steps to fit your picture inside the frame:
- Remove the backing. Take out the frame’s paper insert, if it has one, and use it as your cutting template.
- Position your photo. Place the template over your print and check that your subject fits within the frame’s visible opening.
- Mark and trim. Lightly mark the cutting outline on the back of the print. Cut a little at a time, checking the fit as you go.
- Assemble the ornament. Insert your photo and secure the backing according to the frame’s instructions.
- Finish the hanger. If needed, thread ribbon through the frame’s hanging loop and tie it securely.
How to Make Craft Stick Photo Ornaments
Craft sticks turn a favorite photo into a colorful little frame for the Christmas tree. Kids can decorate the sticks with paint, markers, or stickers while an adult helps with cutting and assembly. Add their name and the year for an ornament you’ll love rediscovering each holiday season.
Supplies for Craft Stick Photo Ornaments
Set out these materials for each ornament:
- Photo print
- Four craft sticks
- Cardstock
- Craft glue suitable for wood and paper
- Scissors
- Pencil
- Ribbon or twine
- Paint, markers, or stickers
Steps to Make Craft Stick Photo Ornaments
Make your frame first so you can trim the photo to fit:
- Plan the opening. Arrange four sticks in a square, overlapping their ends. Place them over the photo to check that the opening shows the details you want.
- Decorate the sticks. Add color, patterns, a name, or the year. Let any paint dry before assembling.
- Glue the frame. Glue the overlapping corners together and let the frame dry flat according to the adhesive’s directions.
- Trim the photo and backing. Cut the photo slightly larger than the frame opening so its edges sit behind the sticks. Cut cardstock to cover the back without extending beyond the frame.
- Attach the picture. Apply a small amount of suitable glue to the back of the sticks where the photo’s edges will sit. Lay the frame face down, then place the photo face down over the opening so the picture will show through the front.
- Add the hanger and backing. Glue the two ends of a ribbon loop to the back of the frame. Glue the cardstock over the back to cover the photo and ribbon ends.
- Let it dry. Keep the ornament flat until the glue has fully dried, then check that the hanger is secure.
How to Make Wood Photo Ornaments
A favorite photo, a little ribbon, and a wood ornament can bring a cozy, homemade touch to your Christmas tree. Leave a border around your picture for a festive paint color, or add a name and the year to remember a special holiday. These make sweet gifts for grandparents, especially with a smiling school photo or a picture of the whole family together.
Start with a smooth, flat wood ornament blank, an unfinished wooden shape you can buy at a craft store or online. Choose one with a predrilled hanging hole so it’s ready for ribbon or twine. For this project, you’ll attach the print with adhesive behind the picture and leave the photo surface uncovered.
Supplies for Wood Photo Ornaments
Have these supplies ready:
- Photo print
- Smooth, predrilled wood ornament blank
- Adhesive labeled suitable for photo prints and wood
- Scrap paper
- Pencil
- Scissors
- Ribbon or twine
- Optional paint or paint pen
Steps to Make Wood Photo Ornaments
Use a paper template to plan your photo’s placement:
- Prepare the wood. Make sure the surface is clean, dry, and smooth. If you want a painted border, paint it first and let it dry completely.
- Make a template. Trace the blank onto scrap paper, then cut a smaller shape that leaves a wood border and keeps the hanging hole uncovered.
- Check the photo placement. Hold the template over your print to find the best position. Lightly mark the outline on the back and trim the photo to fit.
- Attach the print. Follow your adhesive’s directions for applying the photo to the wood. Use the recommended amount and press it into place as directed.
- Allow time to dry. Keep the ornament flat for the adhesive’s recommended drying or curing time.
- Add the finishing details. Write a name or date on the exposed wood, then thread ribbon through the hole and tie a secure hanging loop.
How to Make Photo Sticker Ornaments
A favorite face and a handful of festive decorations can turn a piece of cardstock into something special for the Christmas tree. With photo stickers, kids can peel, stick, and decorate their own ornaments with smiling family pictures, pet portraits, or memories from the year. Leave room around each sticker for colorful drawings, a handwritten name, or a little Christmas sparkle.
Choose a sticker design that lets you add a photo, then check its dimensions before planning your ornament. Use sturdy cardstock for the backing, with enough space for a decorative border and a hanging hole above the picture. You can stick with classic circles or cut out Christmas trees, stars, and other holiday shapes.
Supplies for Photo Sticker Ornaments
Gather these supplies for your craft table:
- Personalized photo stickers
- Cardstock
- Pencil
- Scissors
- Hole punch
- Ribbon or twine
- Markers, crayons, or decorative stickers
Steps to Make Photo Sticker Ornaments
Follow these steps to turn your stickers into tree decorations:
- Plan your ornament shape. With the photo sticker still on its backing, place it over the cardstock to check the fit. Draw a shape around it, leaving a border for decorating and extra space at the top for the hanging hole.
- Cut out the backing. Cut along your outline, with an adult helping younger children.
- Add your photo sticker. Peel the sticker from its backing and press it onto the cardstock, smoothing it into place.
- Decorate the border. Draw candy cane stripes, snowflakes, or colorful dots around the picture. Add a name and the year to the front or back.
- Punch the hanging hole. Make a hole near the top, leaving enough cardstock above it so the ribbon won’t easily tear through.
- Tie on the ribbon. Thread ribbon or twine through the hole and tie it into a secure loop, ready to hang on the tree or tuck into a gift box.
DIY Photo Ornament Ideas for Gifts
Some photos bring a whole story rushing back: the grandkids piled onto Grandma’s lap, a snowy afternoon with your best friend, or the puppy who couldn’t stay away from the Christmas tree. Turning one of those pictures into an ornament gives someone a little piece of that memory to hang up each year. As they unpack their decorations, it can become the ornament that makes them pause, smile, and say, “Remember this?”
For a gift that feels especially personal, choose a picture you know the recipient loves, or surprise them with one they may have forgotten. Write the year on the back and tuck it into a small gift box with a note about the memory. Here are a few photo ideas to help you get started:
- Baby’s first Christmas: A newborn portrait or a favorite photo from the baby’s first year.
- Your first married Christmas: A wedding portrait, first-dance photo, or honeymoon snapshot.
- Grandparents and grandchildren: A picture from a visit, family celebration, or everyday afternoon together.
- School-year memories: An annual school photo with the child’s name and grade.
- Favorite pets: A close-up of your dog or cat, especially one that captures their personality.
- Family adventures: A photo from a vacation, camping trip, or day everyone still talks about.
FAQs
What size photo should I use for a DIY ornament?
Measure your frame opening or ornament surface first. A 4×6 print can be trimmed for many small ornaments, but your subject needs to fit within the area you’ll keep. Check the crop before ordering and use a paper template before cutting.
Can I use regular photo prints to make ornaments?
Photo prints work for mini frames, craft stick frames, and wood ornament projects. For glued projects, choose an adhesive labeled suitable for your print and backing materials. Follow its application and drying instructions, and test an extra print if you’re unsure how it will react.
Do I need to seal a photo ornament?
A frame ornament generally doesn’t require a coating over the picture. For other projects, a topcoat is optional and should only be used if it’s compatible with the photo print and other materials. Test a spare print first, since a coating can change the photo’s appearance.
Can I get photo prints the same day for ornament making?
Shutterfly offers same-day pickup for eligible prints at participating CVS and Walgreens locations. Available options and processing times vary by store. Check the estimated pickup time when ordering and wait for the ready notification before visiting.
Create More Photo Ornaments With Shutterfly

A homemade ornament is a sweet way to spend an afternoon with your favorite memories. If you’d like to explore more ways to feature those pictures on the tree, browse Shutterfly’s personalized Christmas ornaments. Choose a design for a milestone, make gifts for family, or add a new photo ornament to your collection each year.
Additional Resources:
